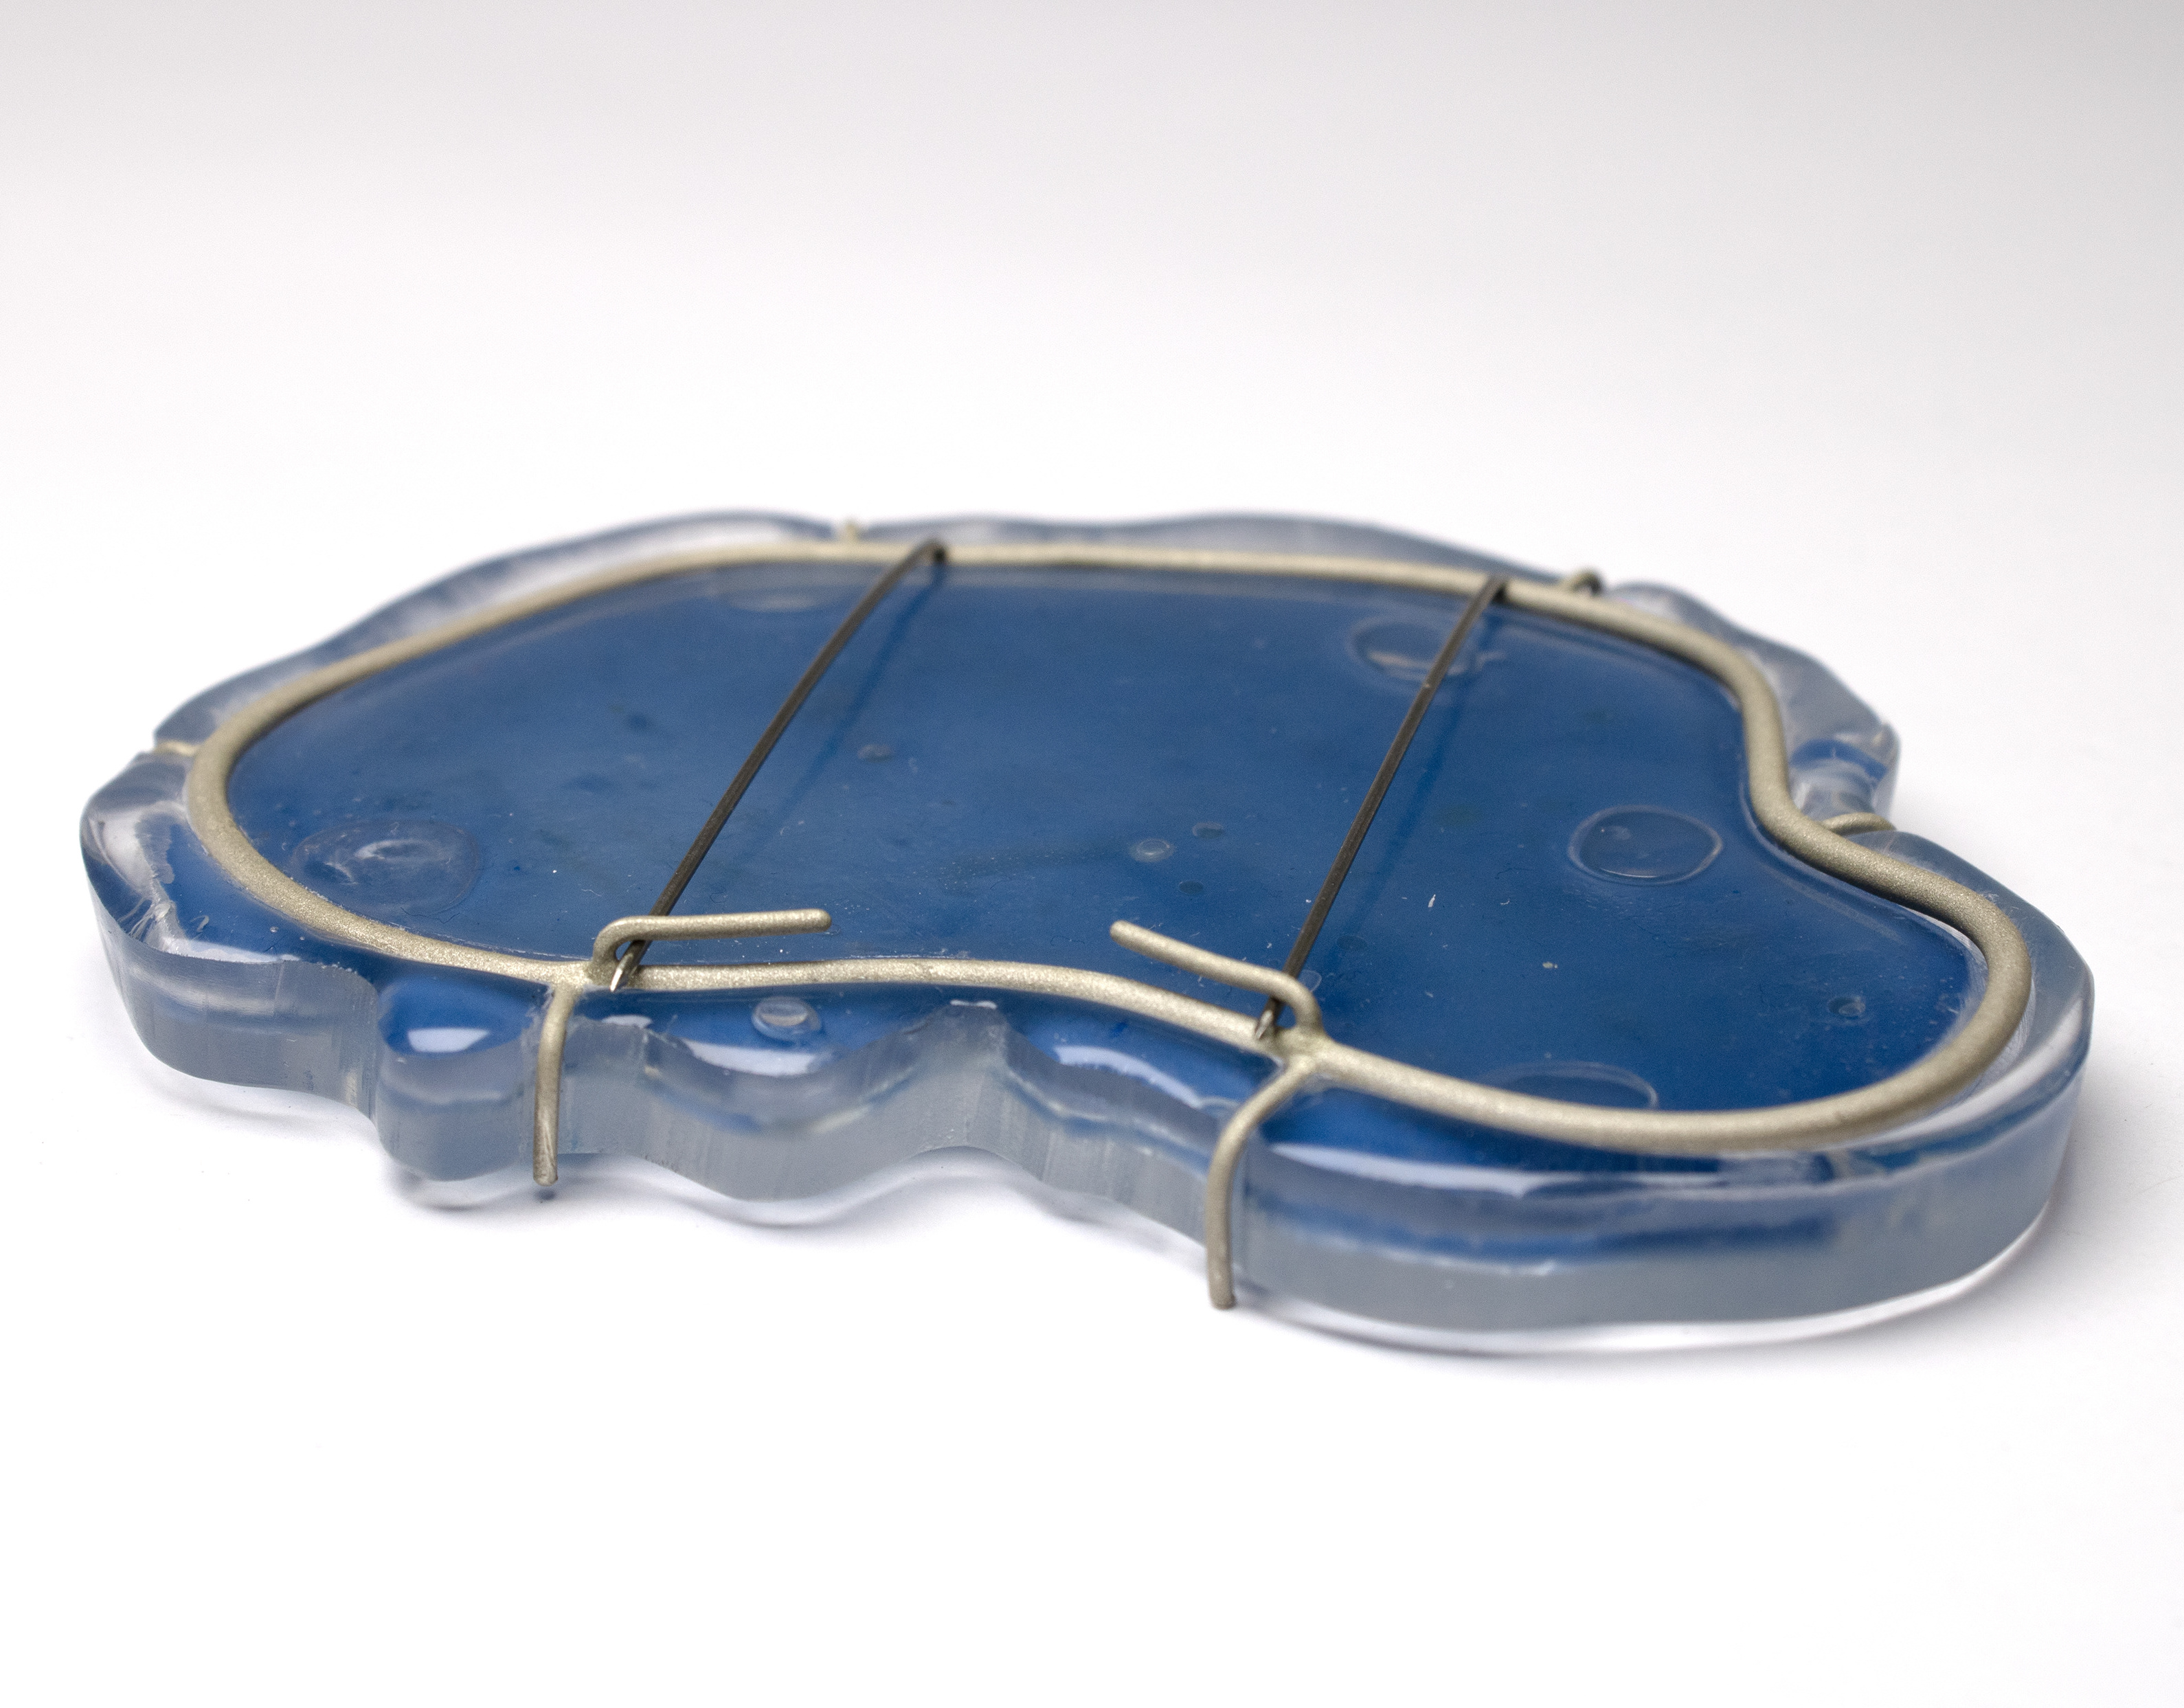
As part of my context video, I wanted to include a time-lapse of bacteria growing in the blue petri dish. I’d previously attempted this during Unit X, but my setup wasn’t stable enough, and the camera kept shifting during the shoot. This time, I used an iPhone X as I was able to shoot 4K video and the 'SkyFlow' app to take an image every five minutes.

Unfortunately, the setup didn’t work as planned. Since I had to leave the petri dish lid off, I placed a large plastic container over everything to help keep in moisture and heat, as well as for safety. Despite this, the agar dried out, and no bacterial growth occurred. This was likely due to a lack of moisture, though I also suspect a lack of heat played a role. I had to leave the cupboard door slightly open to fit the extension lead for the phone and light, which may have let the warm air escape.
Below is the resulting time-lapse taken over five days, where you can see the agar gradually shrinking.
After having no luck with the timelapse video, I knew that I needed to come up with another solution. While I did not initially want to use AI, I decided to try using AI to simulate the bacteria growing. I decided to use pictures from previous bacteria samples taken from my ring to help create a video.
I knew that to make the context video flow, I couldn't simply add static pictures of the bacteria, some sort of movement was necessary, hence why I had originally thought a time-lapse would be best. A time-lapse also shows the changes in the bacteria over a period of time.
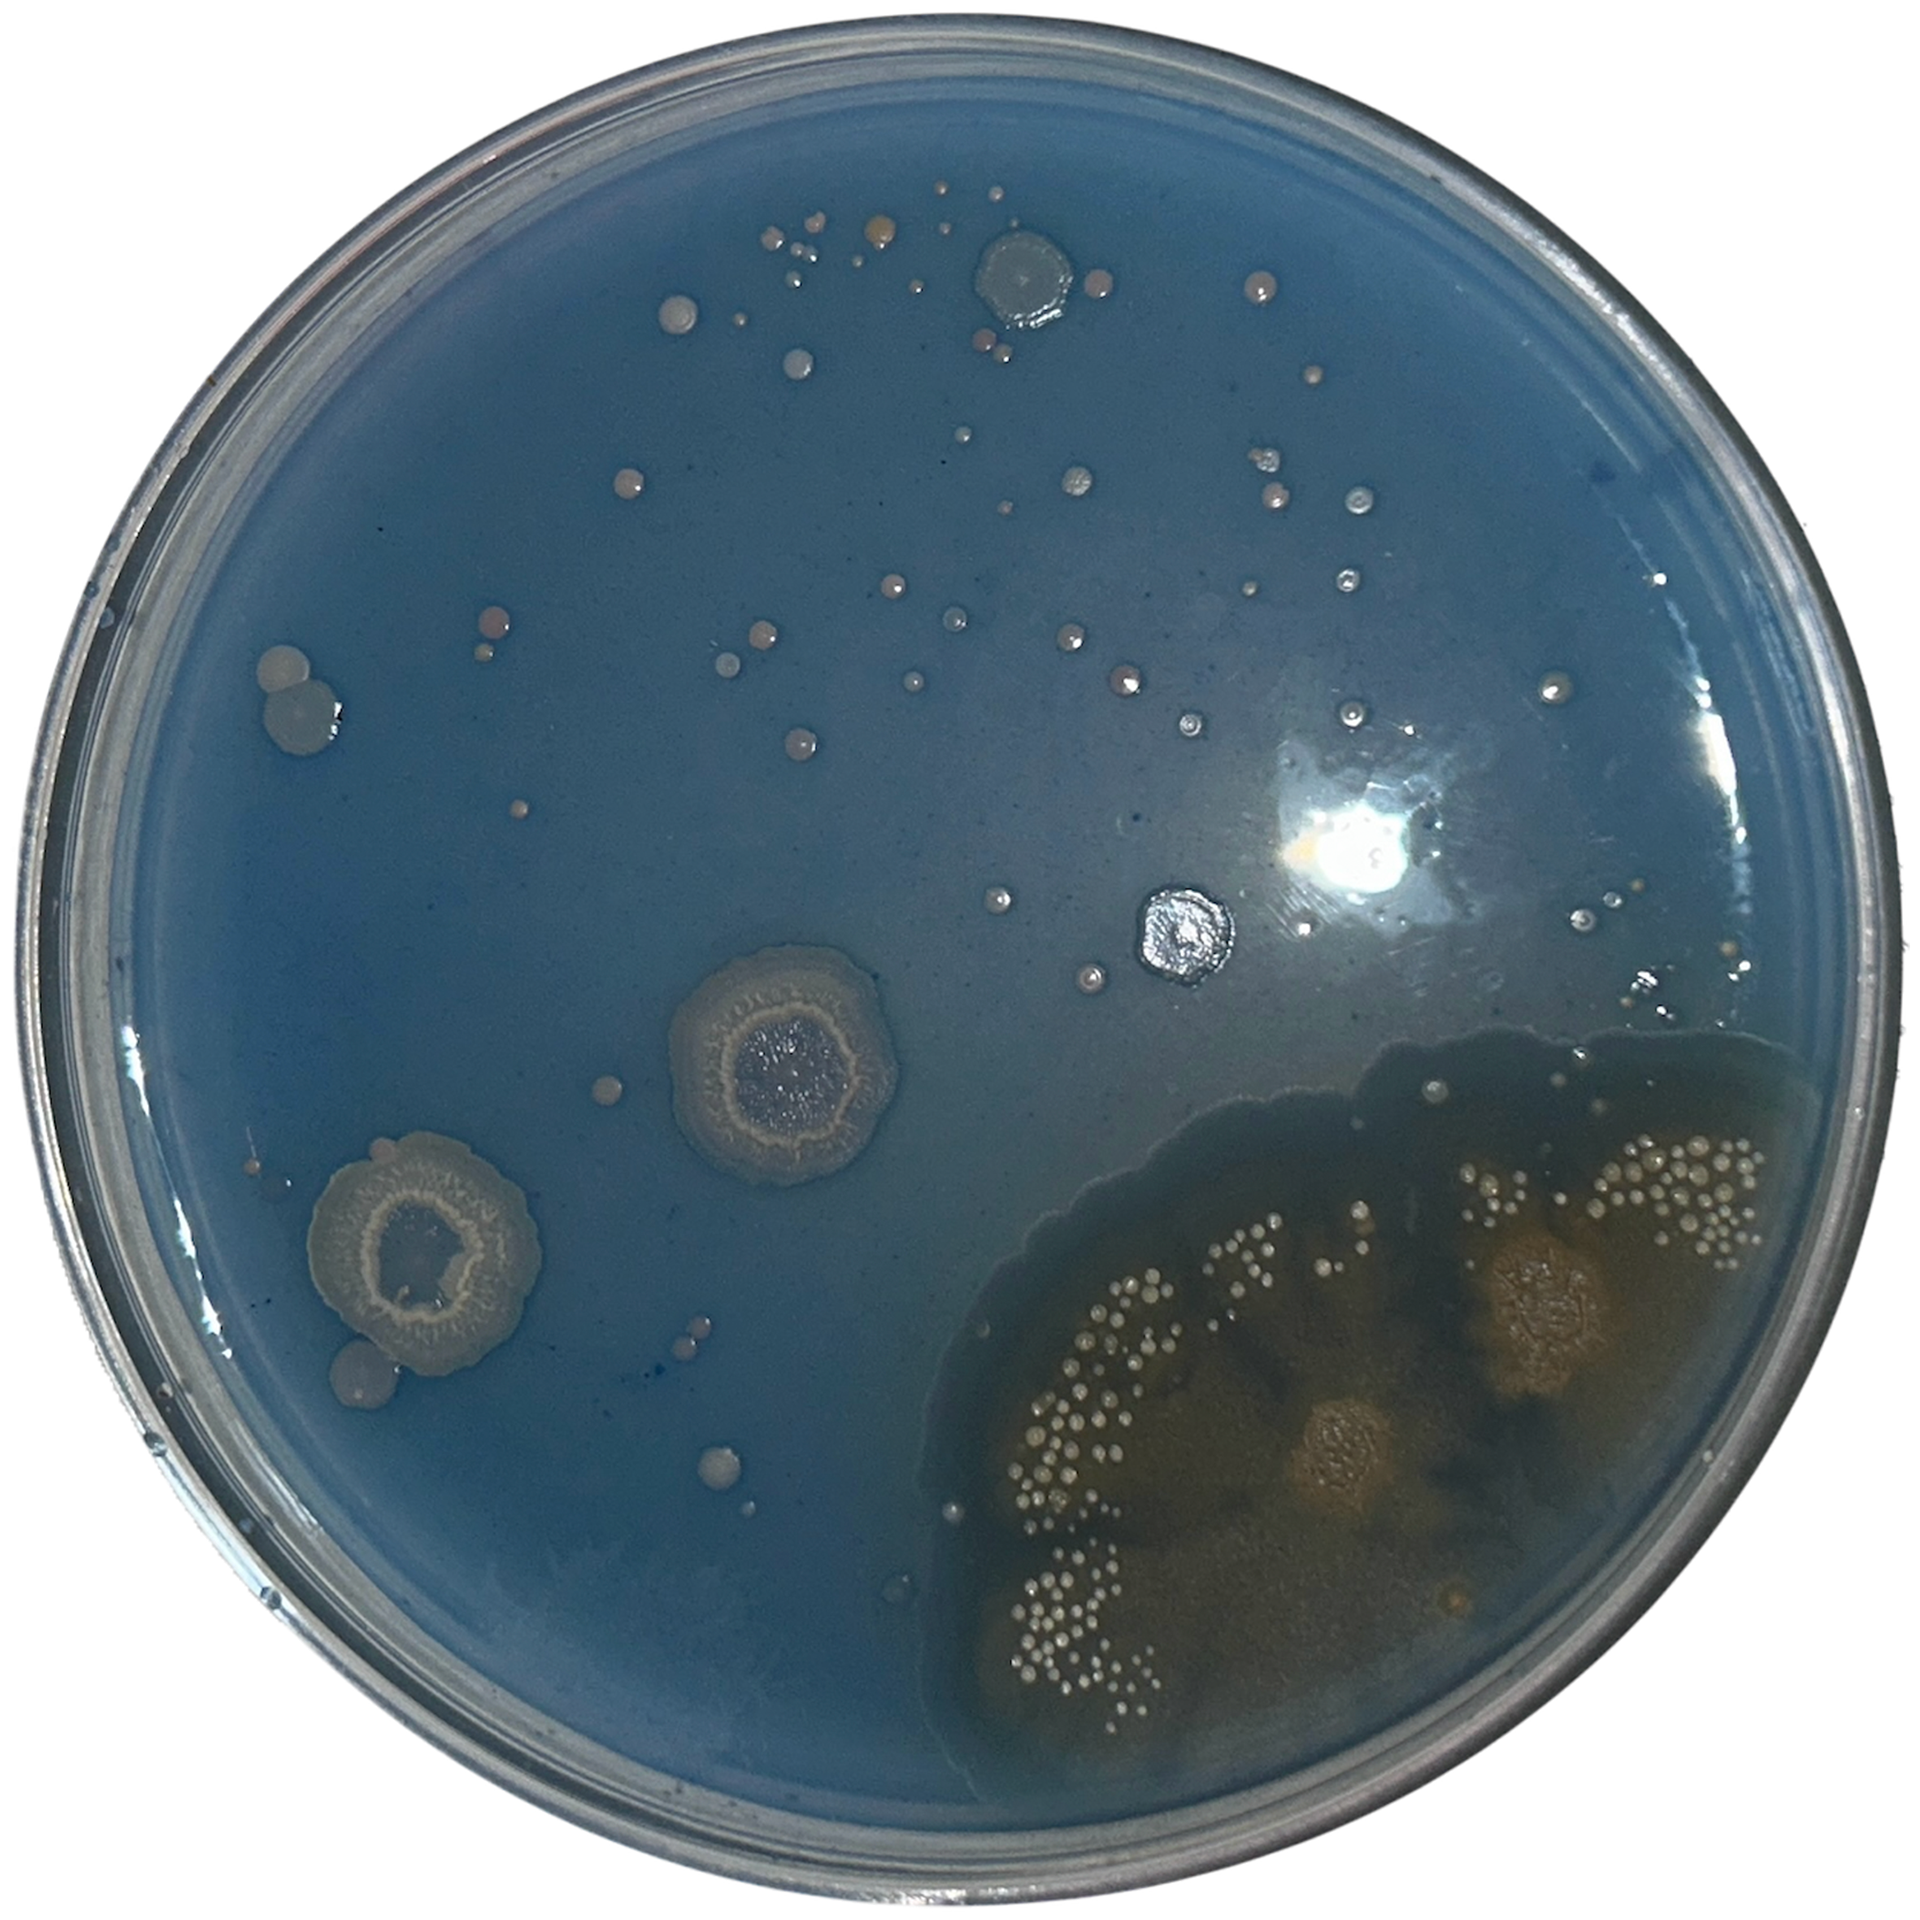
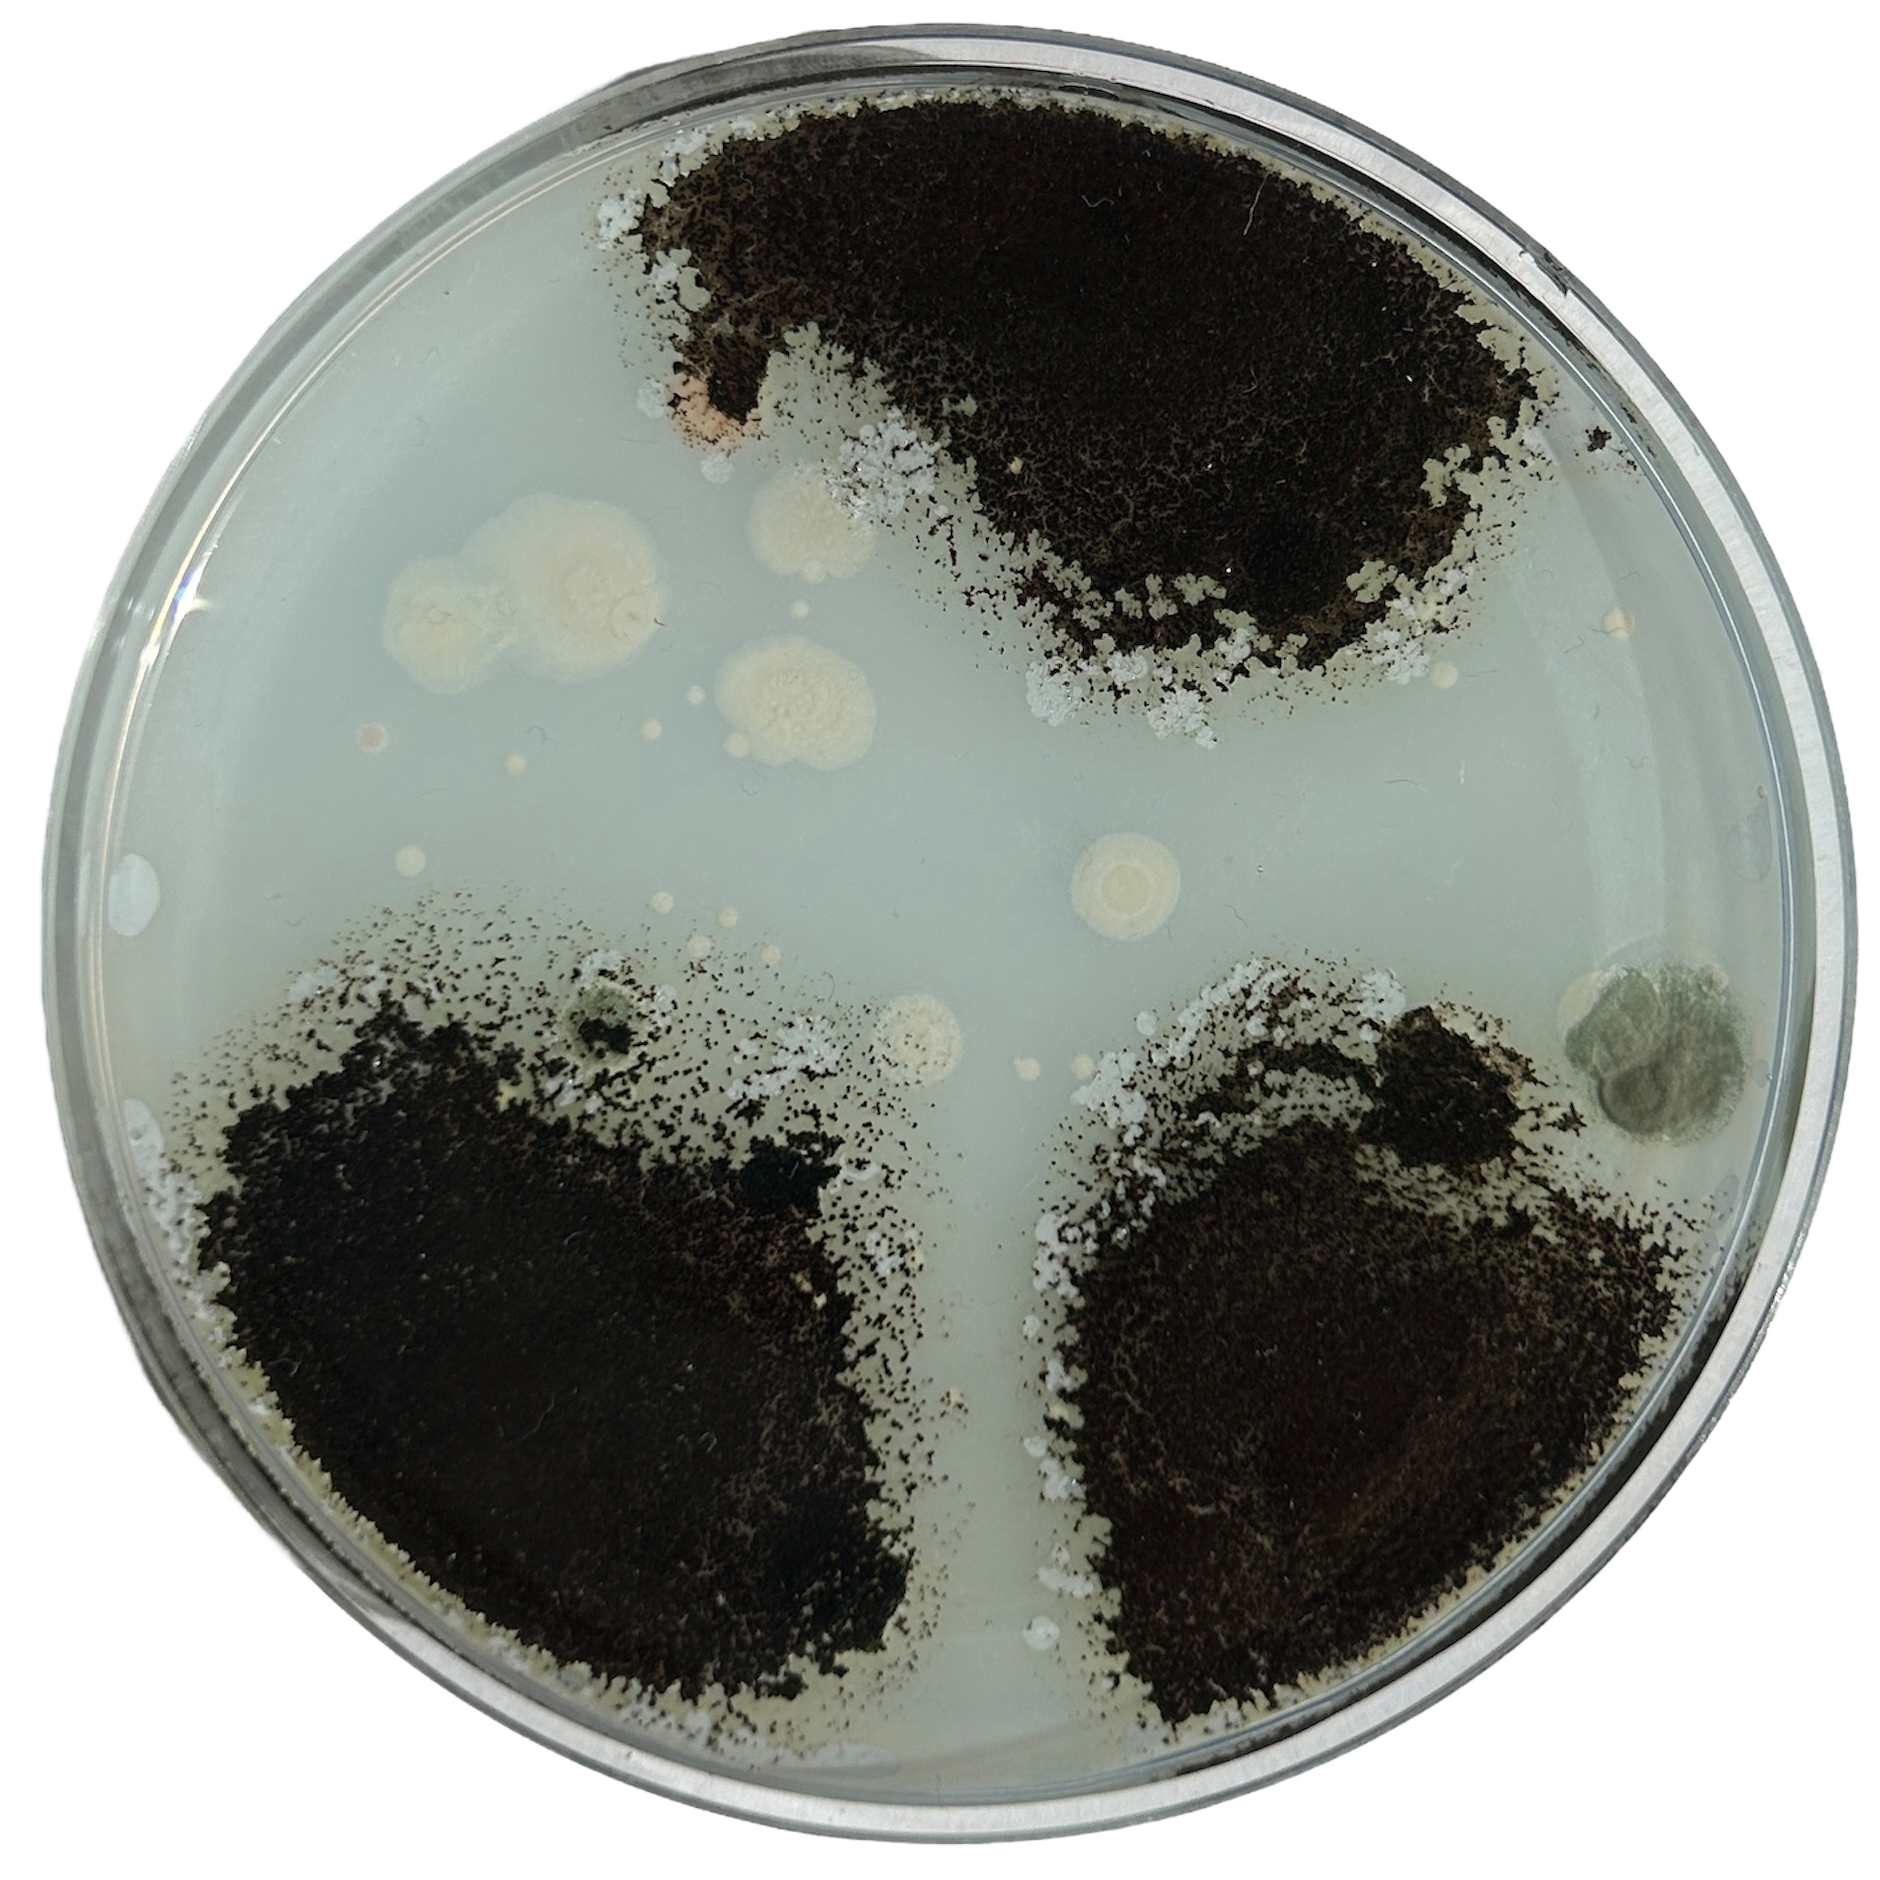
For the tests using AI, I decided to use some of my favourite bacteria samples grown, two of which coincidentally looked as if it is the same dish but at different stages of bacterial growth, as well as a plain dish.


Using AI to Generate Bacterial Growth
Adobe Firefly
I first tried using Adobe Firefly to generate bacterial growth using a picture of a plain blue petri dish. I did not like any of the results of this, and did not understand the sort of growth I wanted. I wanted the growth to be realistic and not look like it was generated by AI.
PikaArt
I then moved on to PikaArt, recommended by Chatgpt, a software that lets you input images to create a video. PikaArt, however, had the same issue as Adobe Firefly; it produced interesting results, but unrealistic results nonetheless. I think these would be good for something like an Instagram story, which would grab the viewer's attention, but not for a context video where it needs to be realistic.
Runway
Runway was also recommended by Chatgpt, and so I decided to try this as well. This once again did not give me the results I wanted, but was interesting to use. There were aspects of the videos that I liked, for example, the smoothness of the bacterial growth, however, there were parts I didn't like, for example, the movement if the bacteria.
ComfyUI with Wan2.1 Model
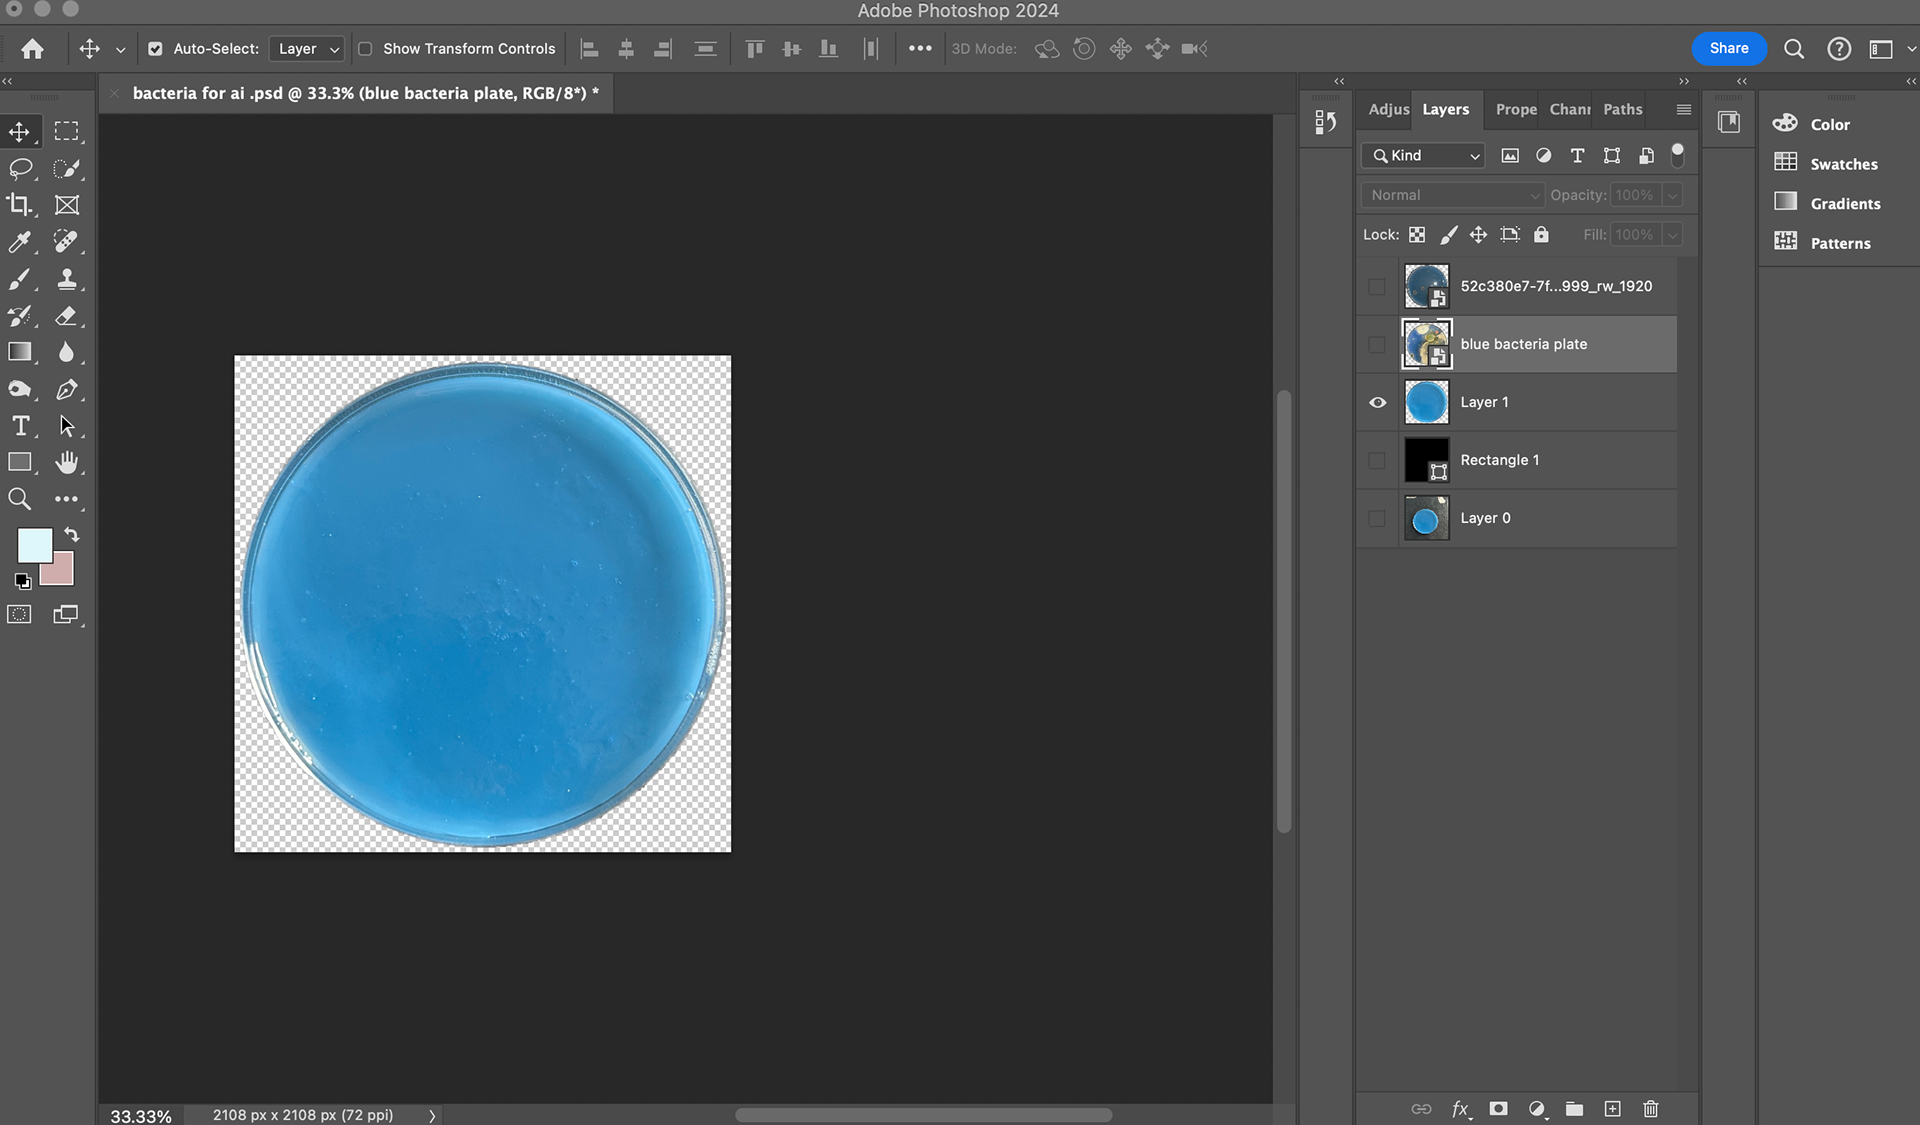
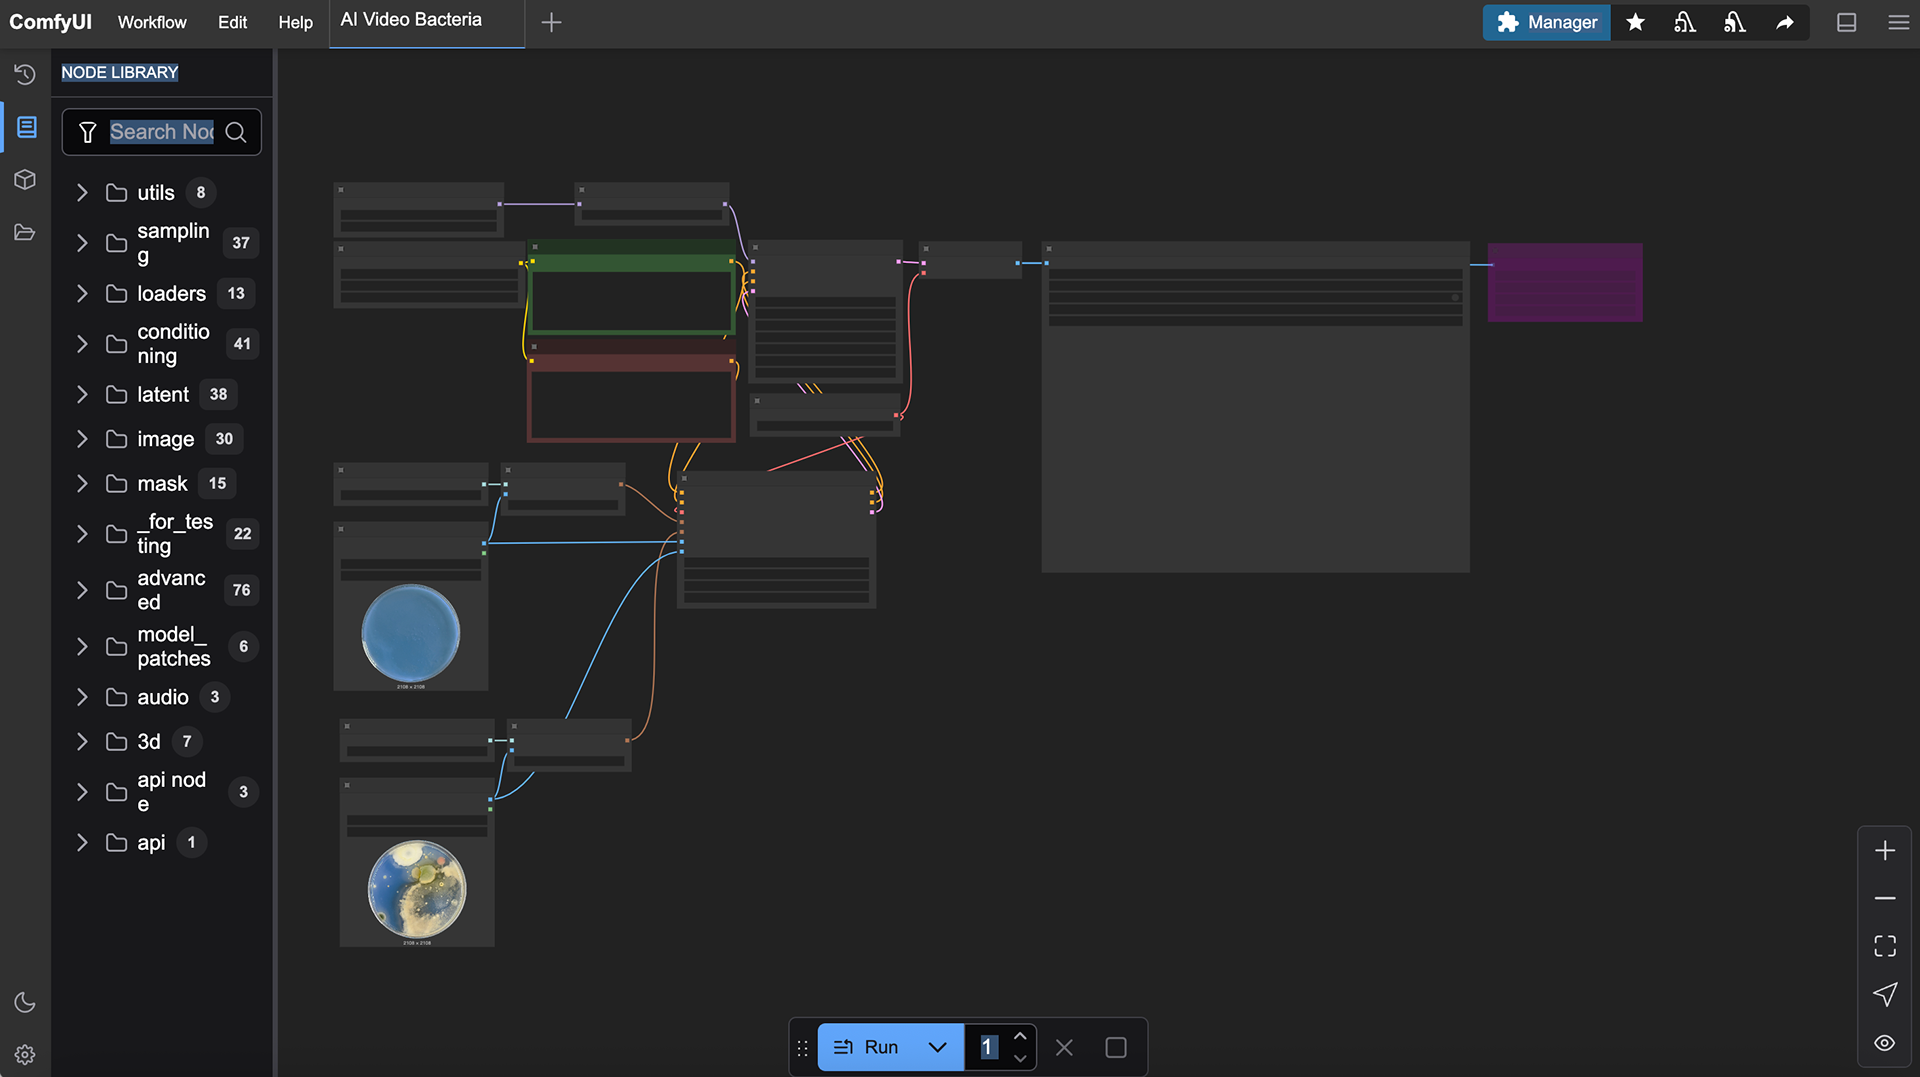
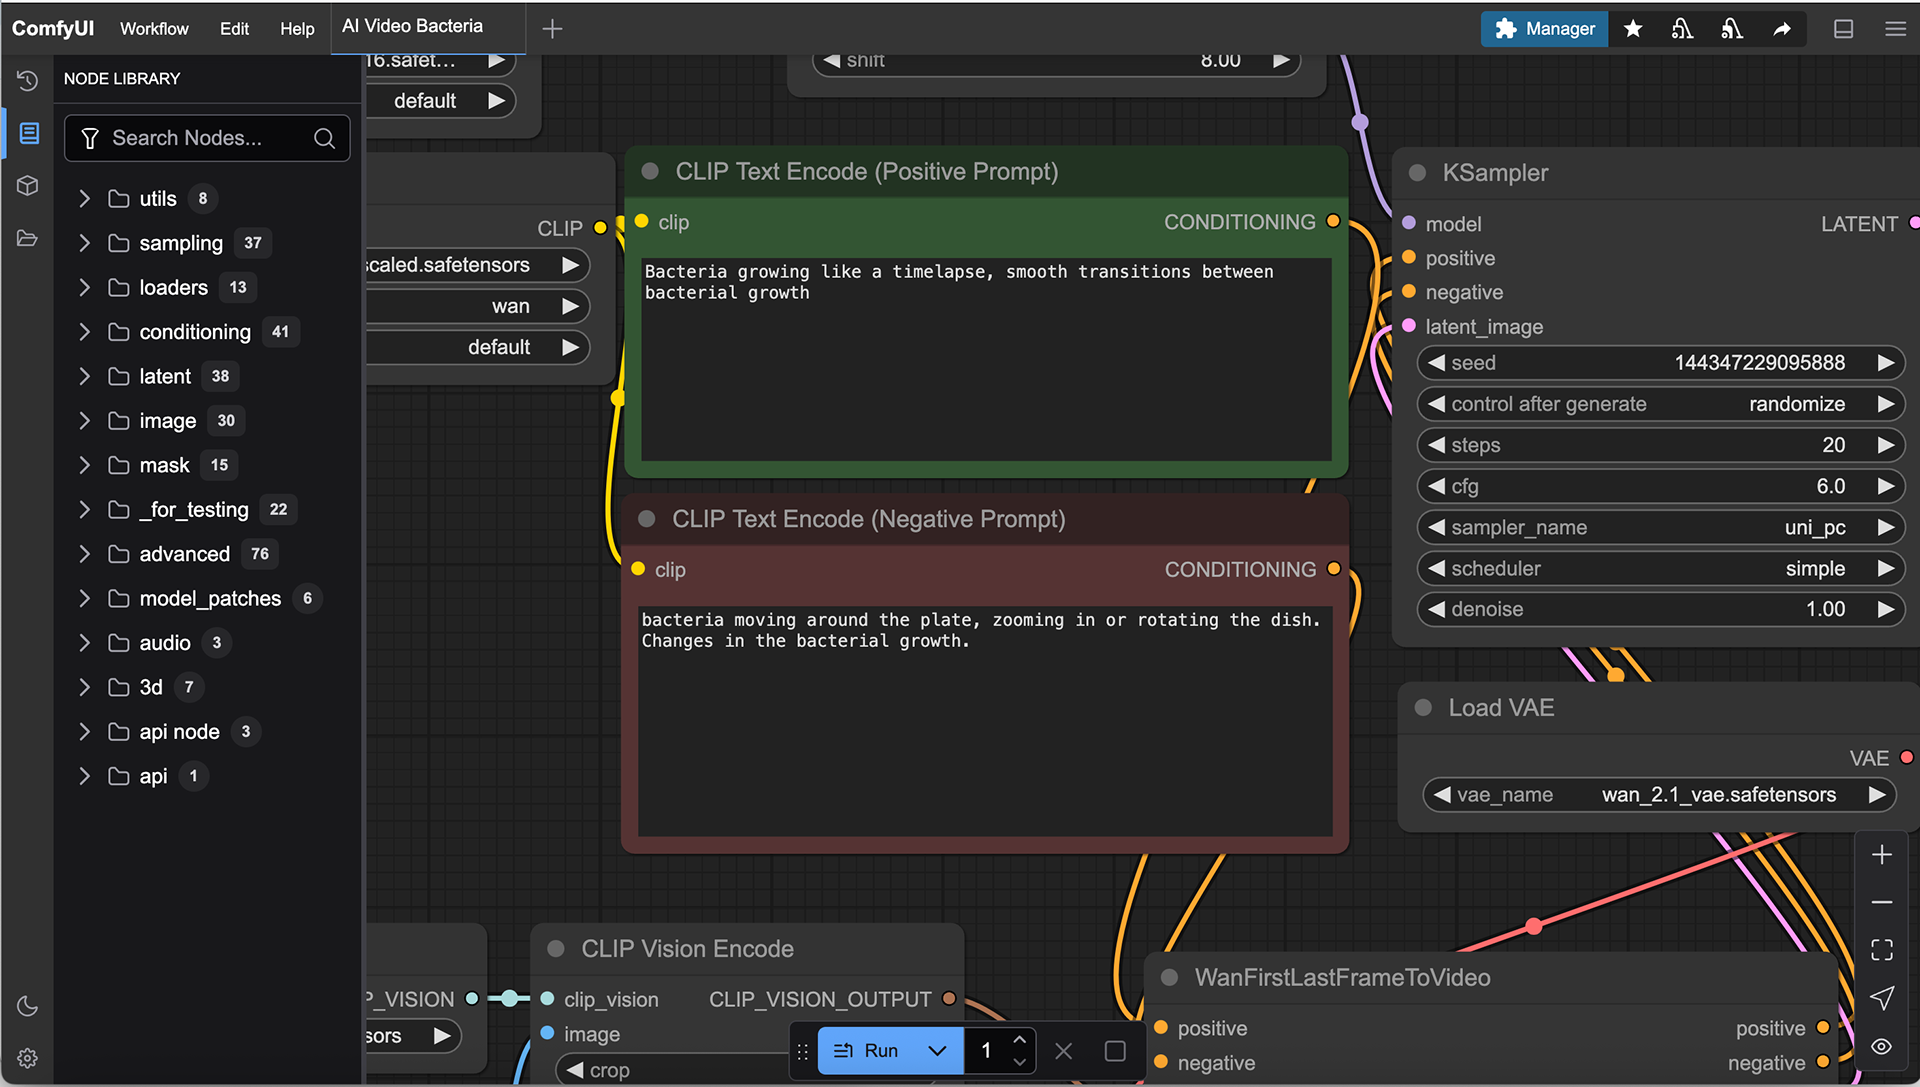
As a last attempt at using AI to make a timelapse video, I decided to try ComfyUI using the Wan2.1 Model. This program allowed me to add positive and negative prompts, as well as use custom nodes, meaning that I could alter parts of the video and customise it to my liking. I first had to use Photoshop to make sure that the pictures were all the same aspect ratio.
This was going to be the most ambitious of all of the programs, but I knew that this had the capabilities to create the most realistic effects.
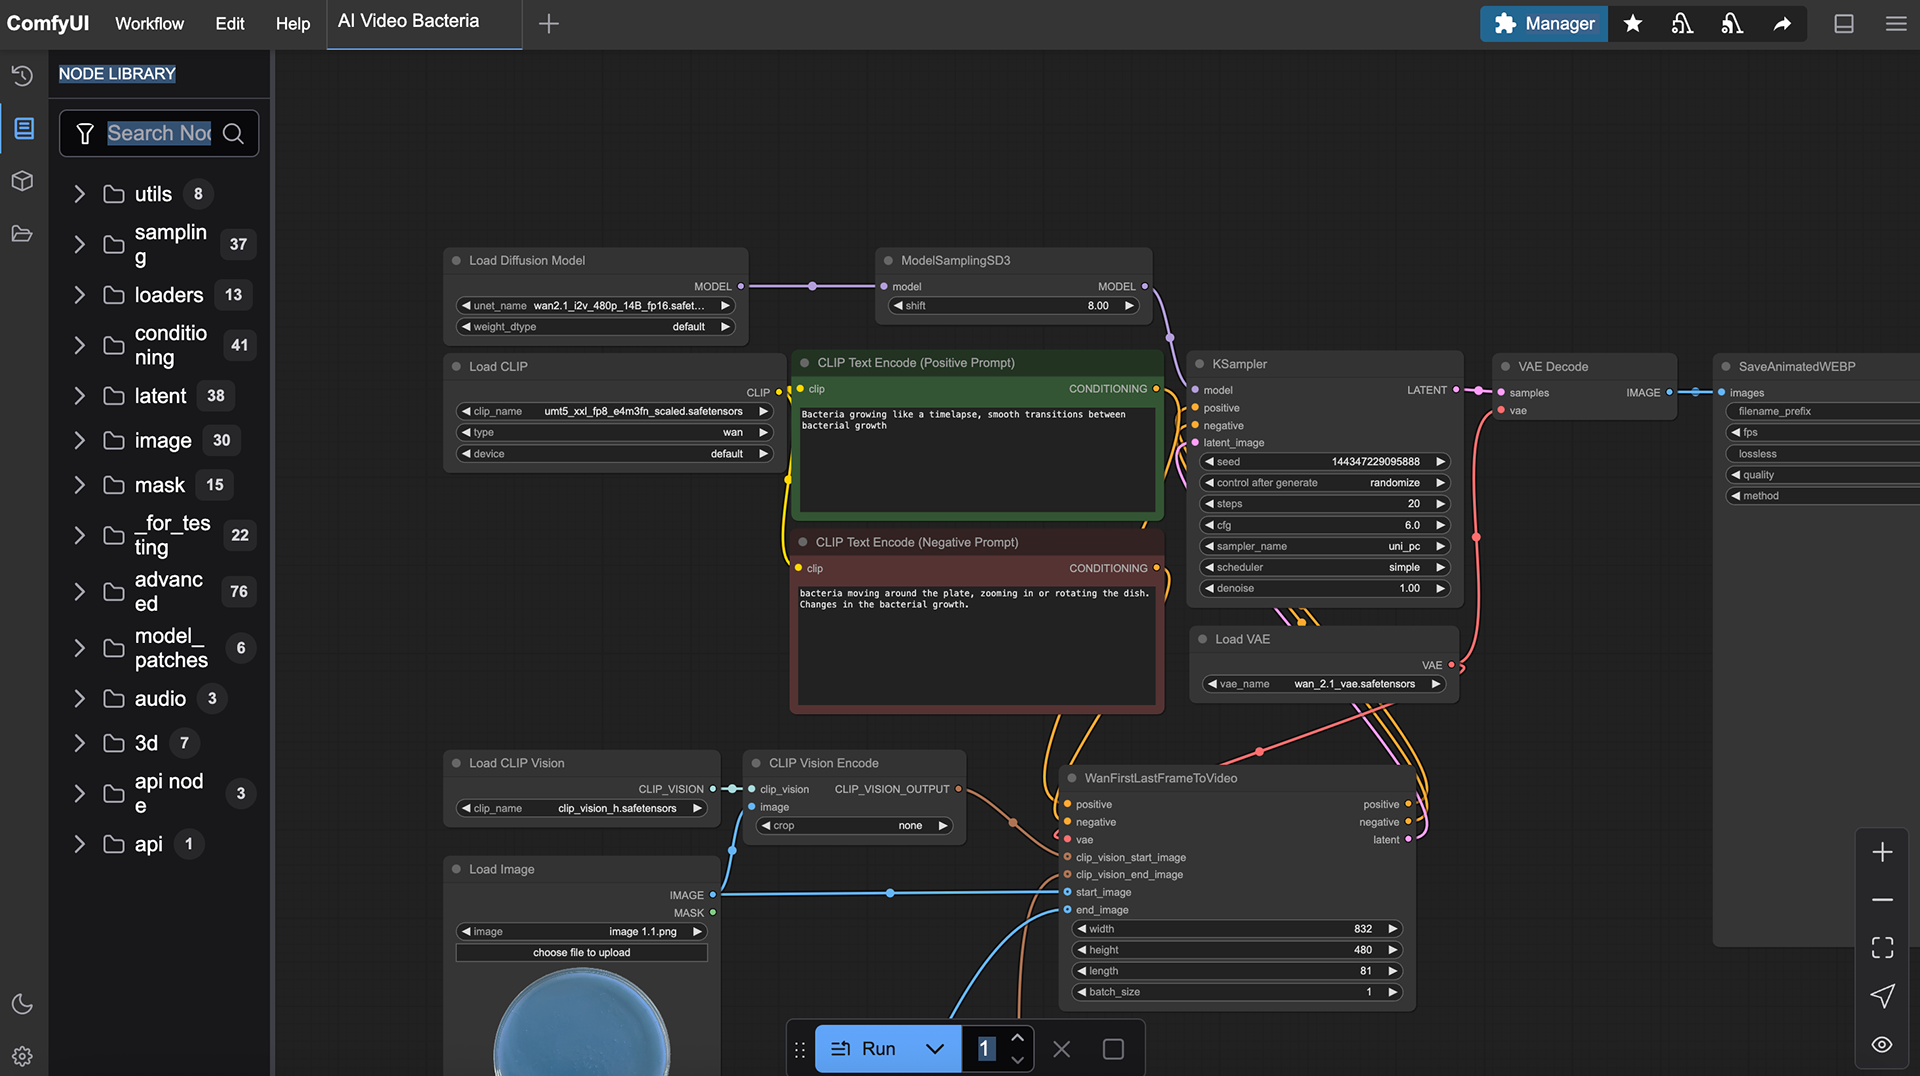
I then took these images and imported them into ComfyUI and used the Wan 2.1 model to generate a video from these stills. At first, I was only able to figure out how to use two images at a time, which led to results that felt quite unrealistic and disjointed. The transitions lacked coherence, and the generated frames didn’t capture the organic qualities of bacterial growth that I was aiming for.
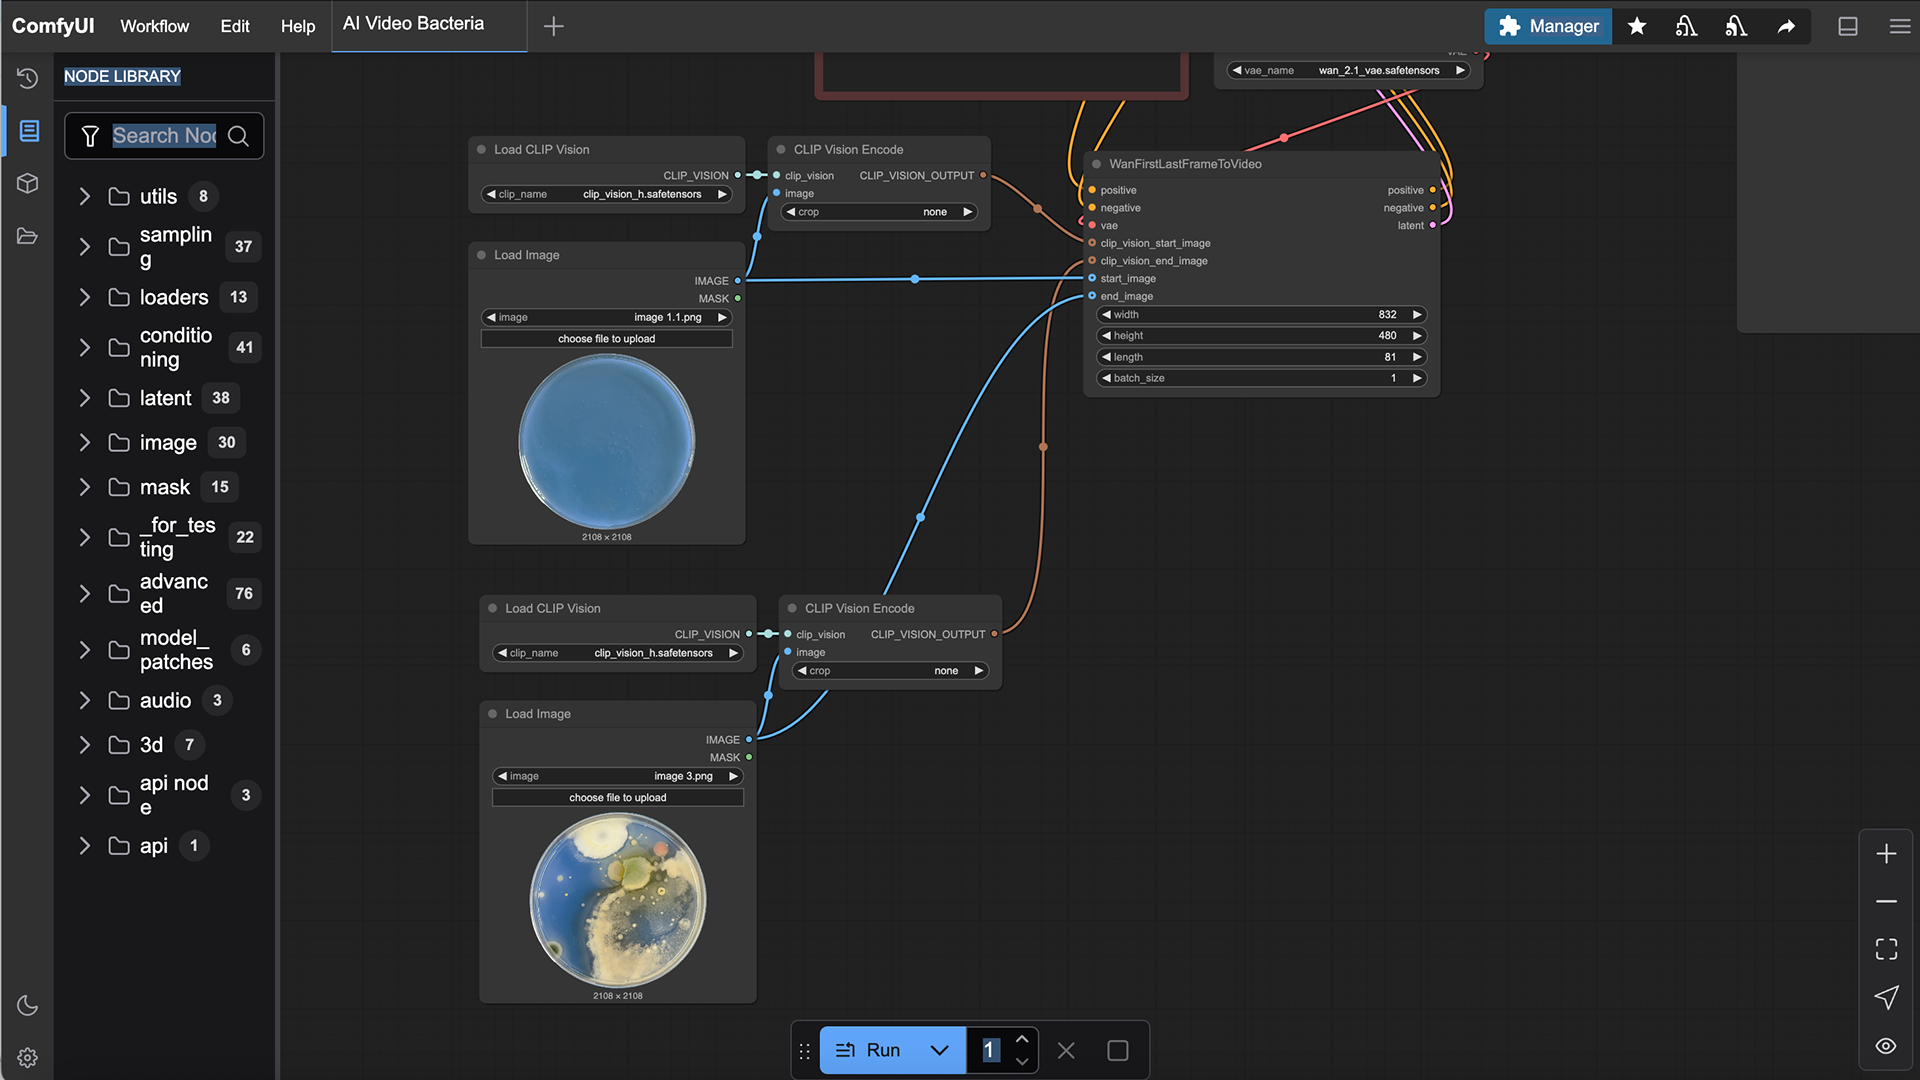
However, after some experimentation and much trial and error, I found out how to input three images into the workflow instead of just two. This small but important change made a significant difference, and the outcomes became much more realistic, with custom nodes I could then add smoother transitions and a more natural flow between frames.
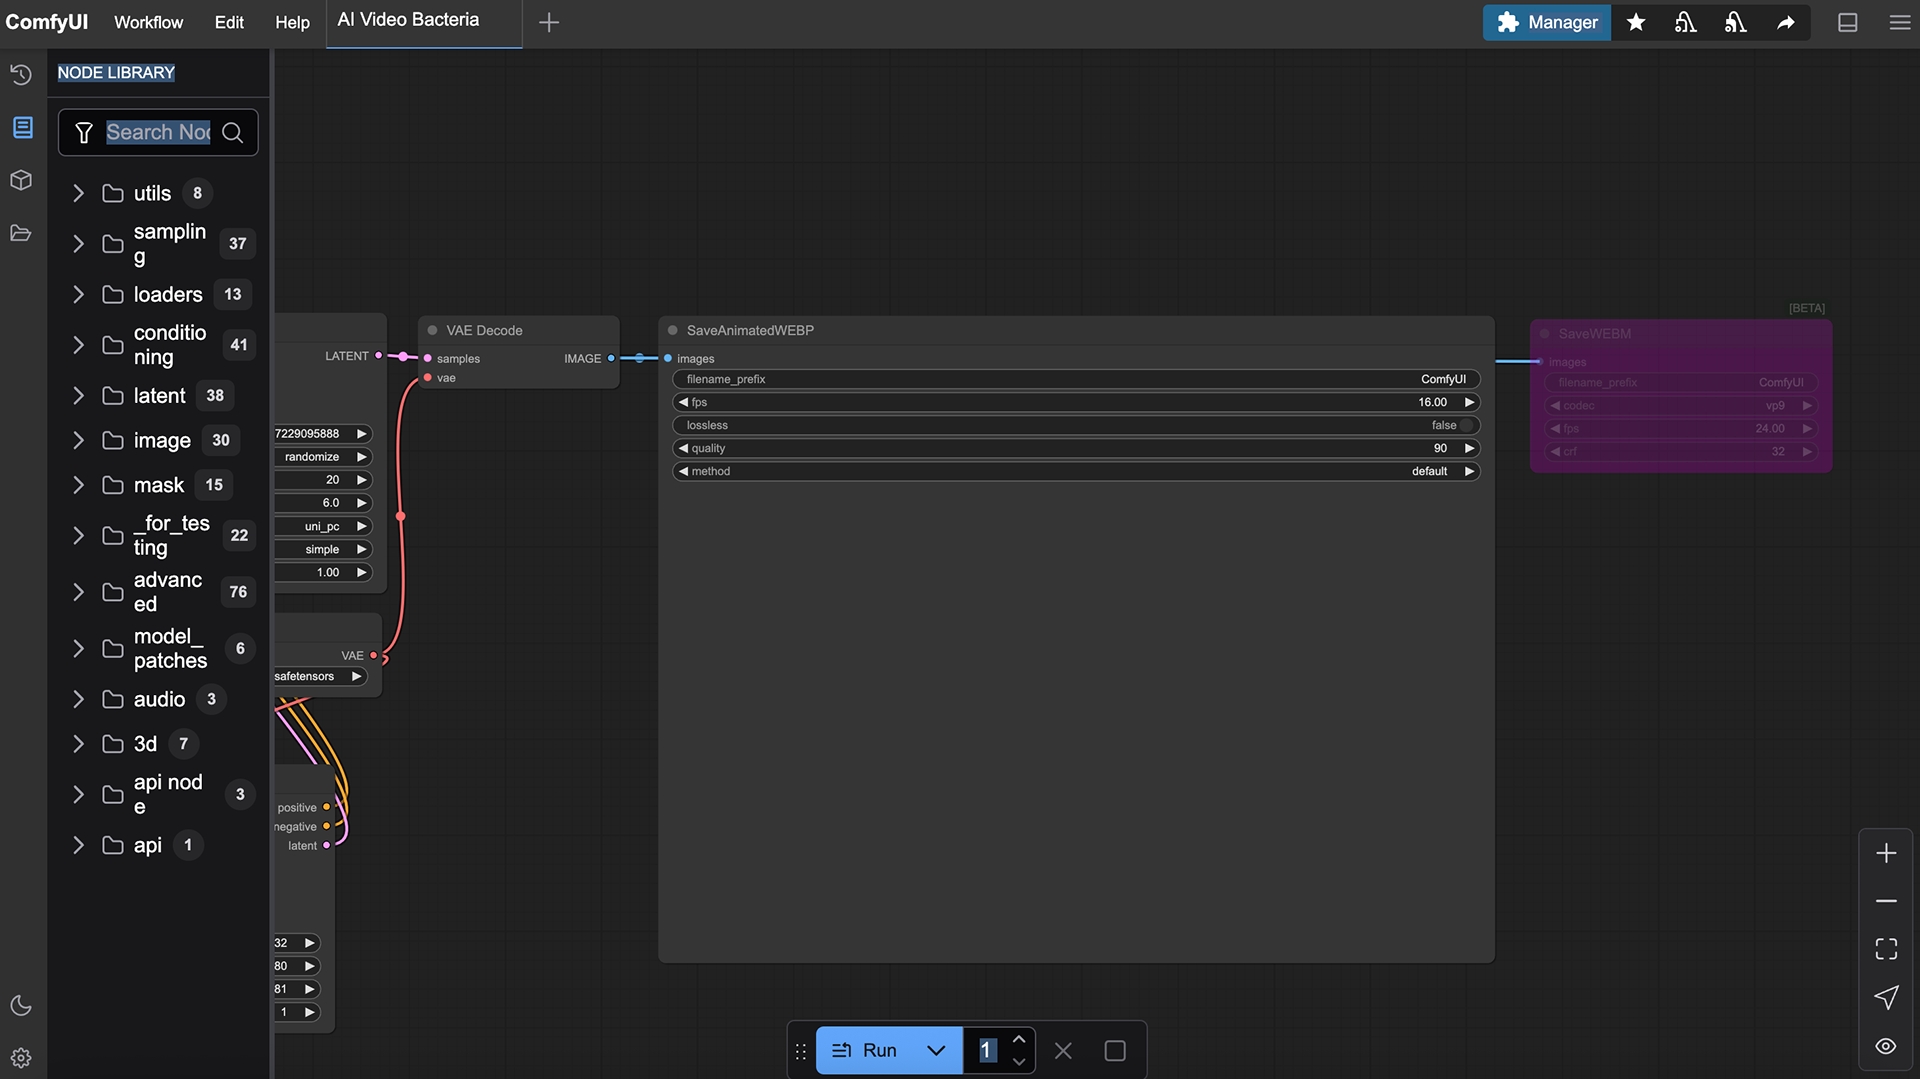
When I first started using ComfyUI, I found the system quite overwhelming and confusing. The user interface felt complex, and there were many different nodes and settings that weren’t immediately obvious as to what they did. However, once I spent time researching and figuring out the specific nodes I needed to edit each part of the video, the process became much clearer. I was able to build a workflow that created more realistic growth patterns, had much smoother transitions, and had minimal movement of the growth colonies.
Wan2.1 Workflow with 2 images
Example Results using 3 Images
This was the final video I created. I was happy with the results of the AI-generated growth using 3 images, and will be including this in my context video.
Editing Video

To edit my video, I used CapCut. I had previously worked with the app version of CapCut when creating a process reel for Unit X, so I was already familiar with the basic tools and interface. Although I had never used the desktop version before, I found it very similar, which made it easier to use.
For the context video, I decided to include footage of my ring, along with the process of swabbing the ring onto agar. While this might seem more suited to a process reel, I felt it was essential to include, as it clearly explains the concept behind my work. For viewers who are unfamiliar with my practice, it was important to visually demonstrate that the bacteria featured in my pieces originate directly from my ring. This connection between the object and the bacteria is a key part of the narrative I want to convey. I then included images of the bacterial growth from the 7 days of the week. I kept this image on for 10 seconds, as it gives the viewer the opportunity to look at all of the dishes together and see the changes in the growth.
As well as that, I used an image of my favourite bacterial growth, which I now use almost as a 'brand icon'. This image appears both at the beginning and end of the context video, helping to reinforce a visual identity for my work.
Final Video