Materials
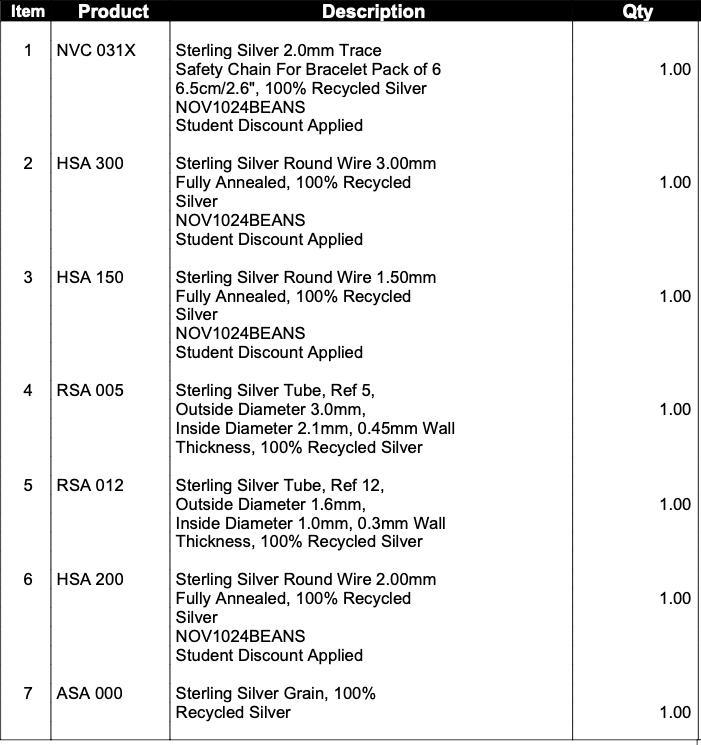
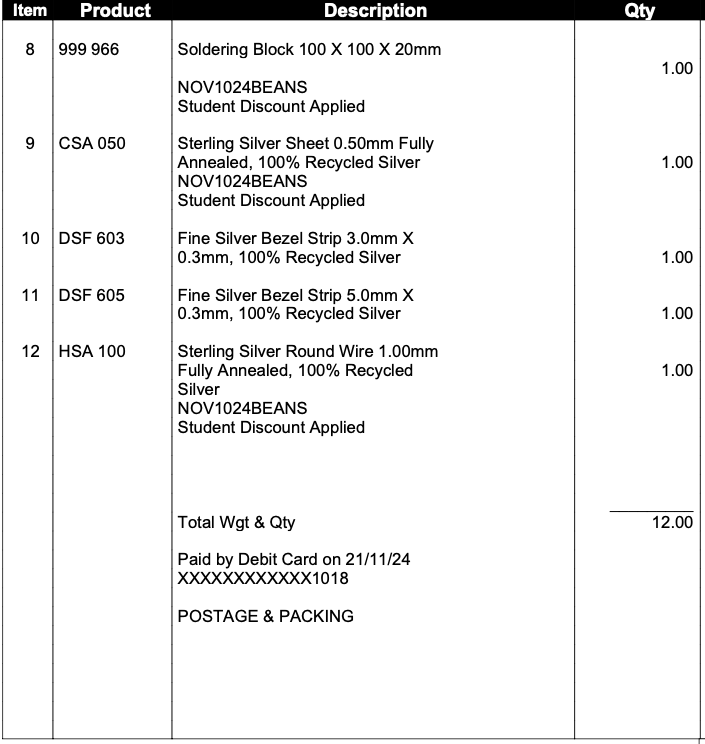
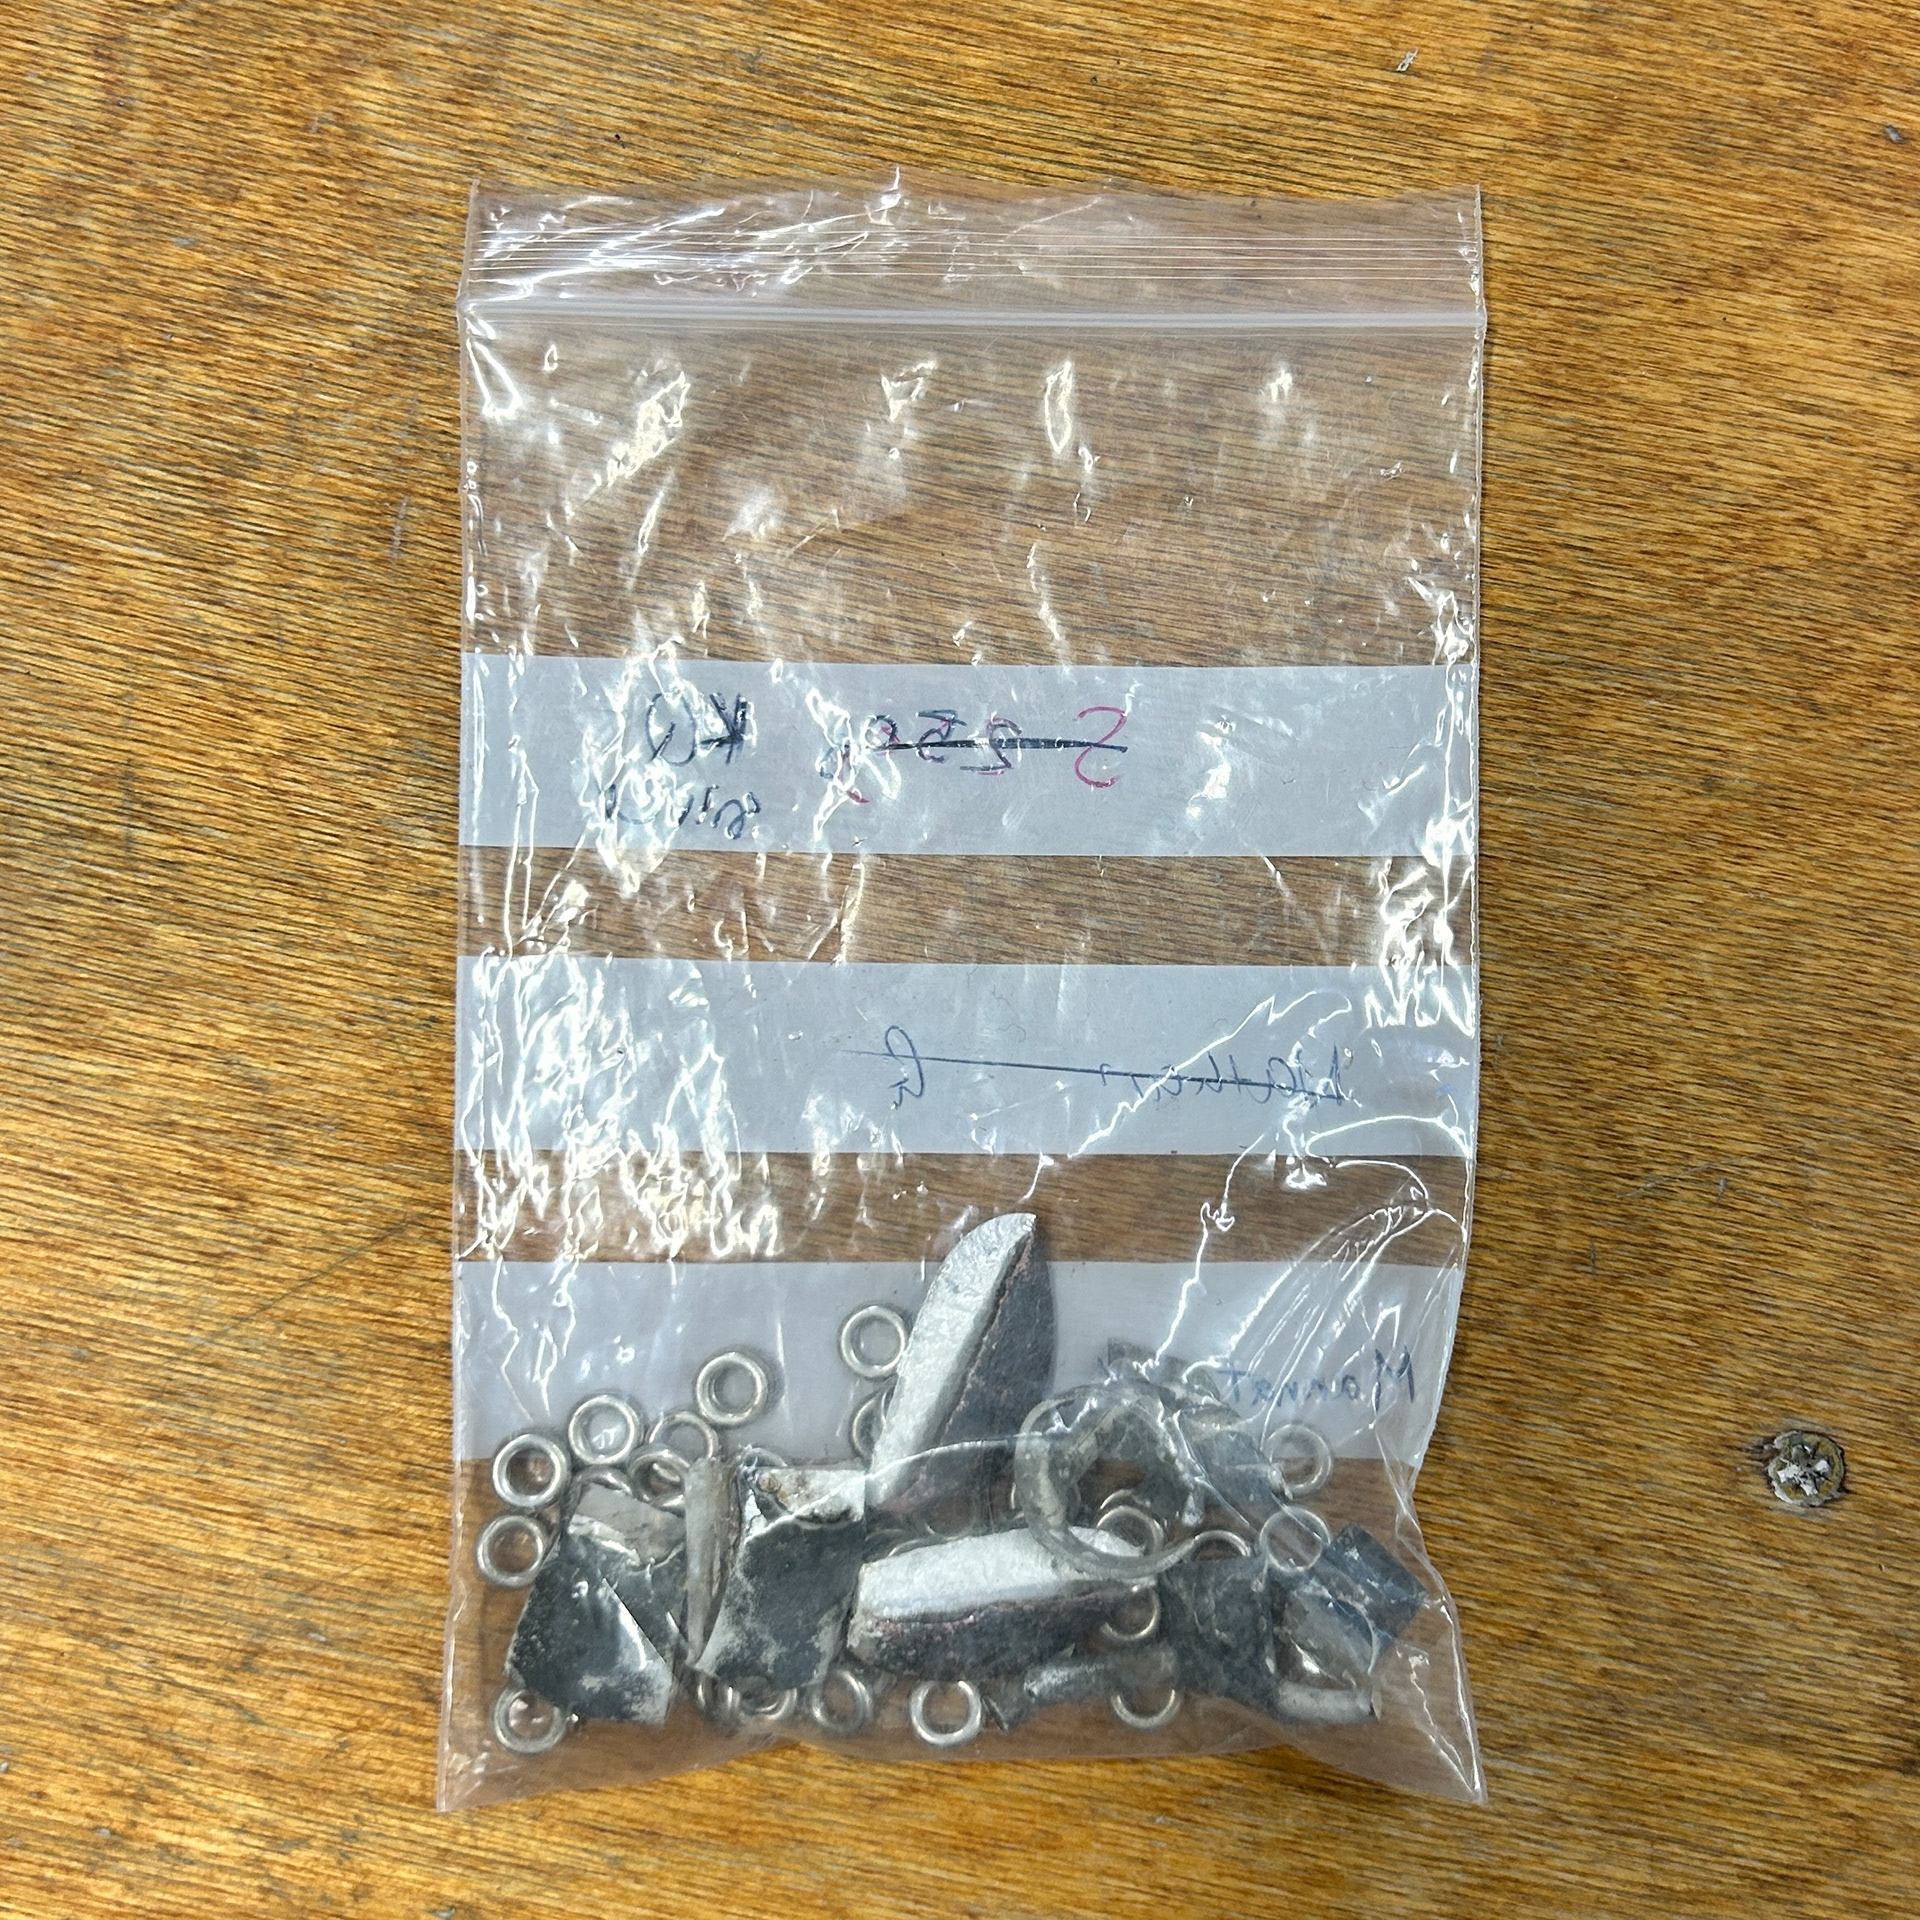
To make my final piece, I had to order silver wire and tubing in a few different thicknesses, as well as silver chain and grain for casting. At this point in the project, I had planned to make the magnetic mechanism, hence why I ordered the different thicknesses of wire and tubing.
I had previously bought hallmarked scrap silver from eBay a couple of weeks prior, however since it had not arrived yet I decided to order 70g of grain as well, just in case it did not arrive in time for my casting slot on the 27th. The scrap silver did not arrive in time so I had to use the grain, as seen under 'Casting - 28th November 2024'.
Making the Silicone Moulds
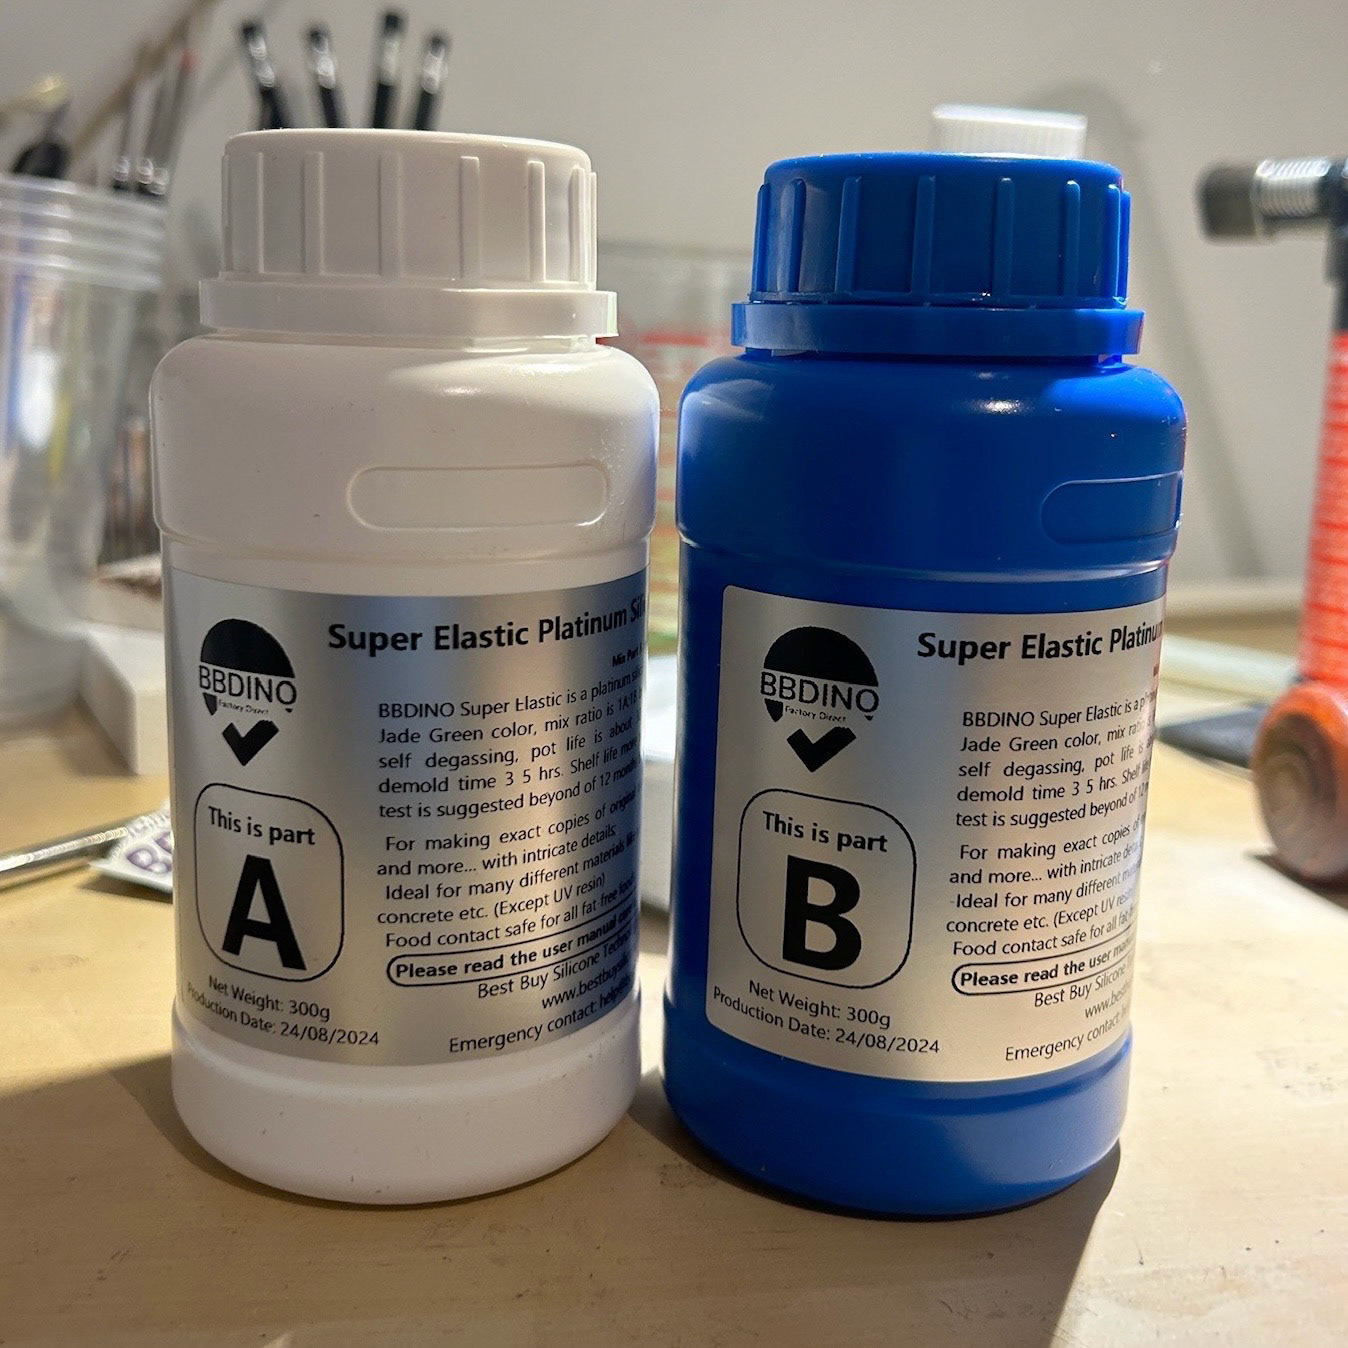
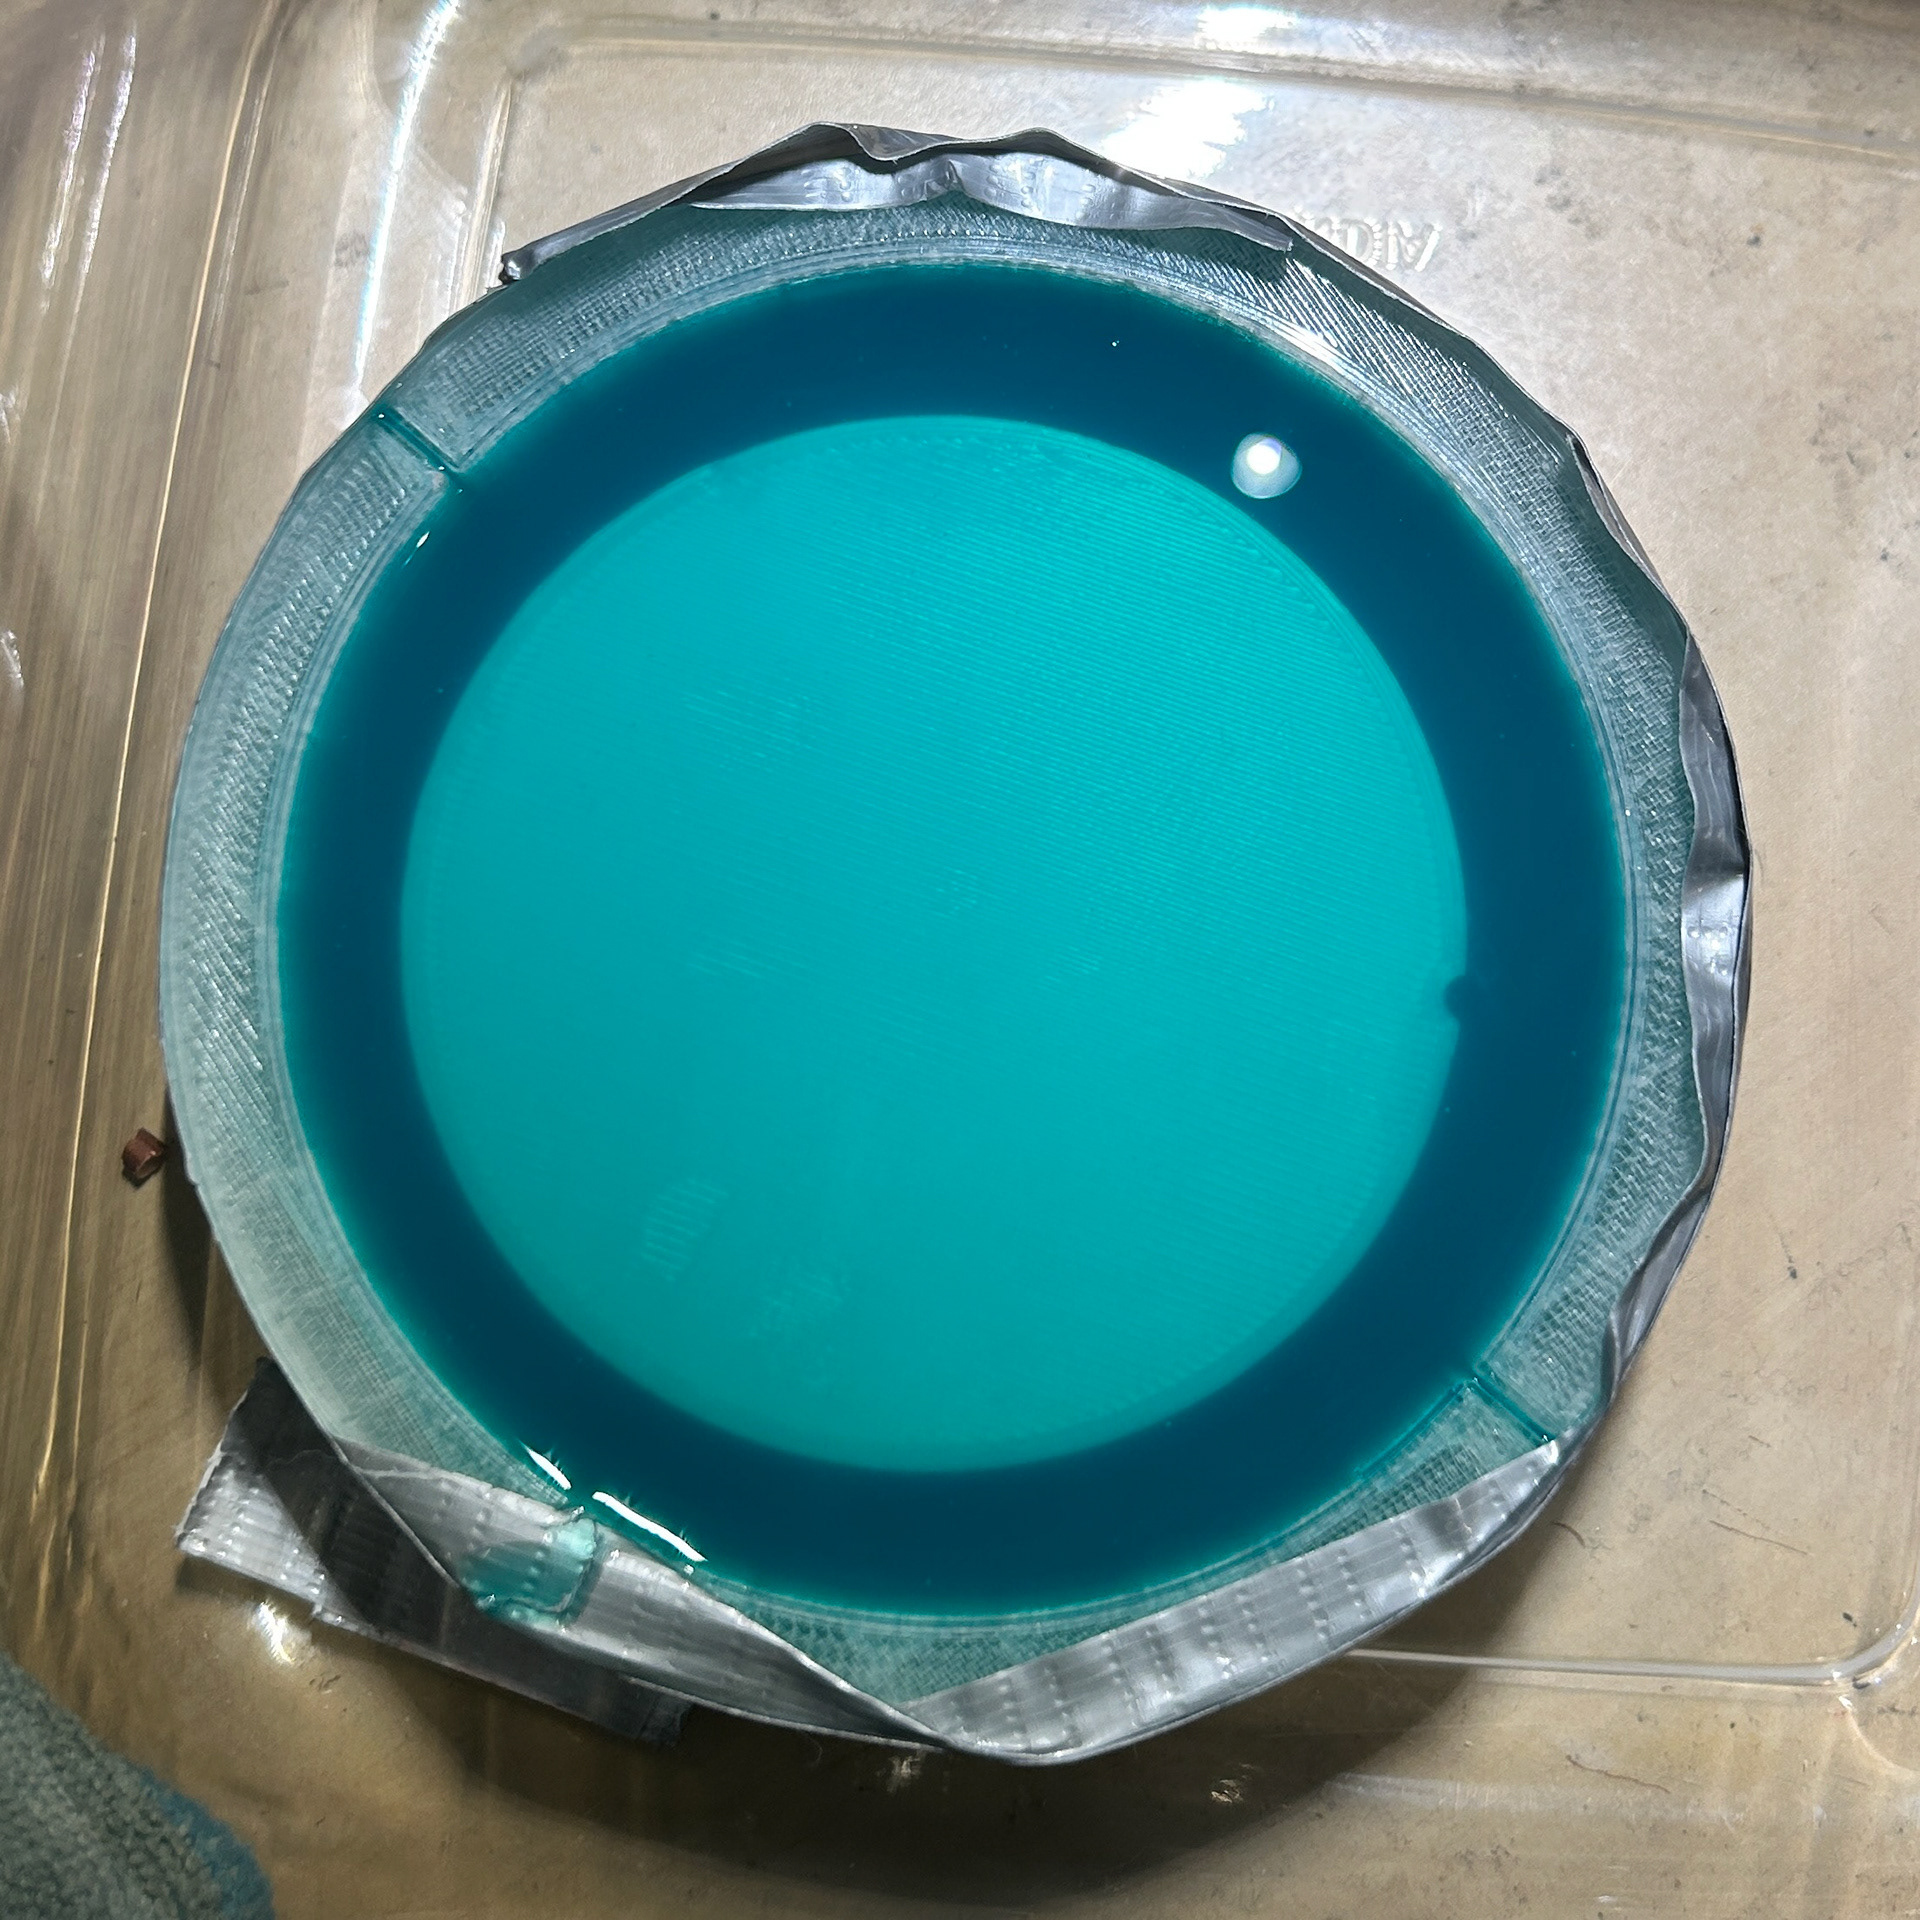
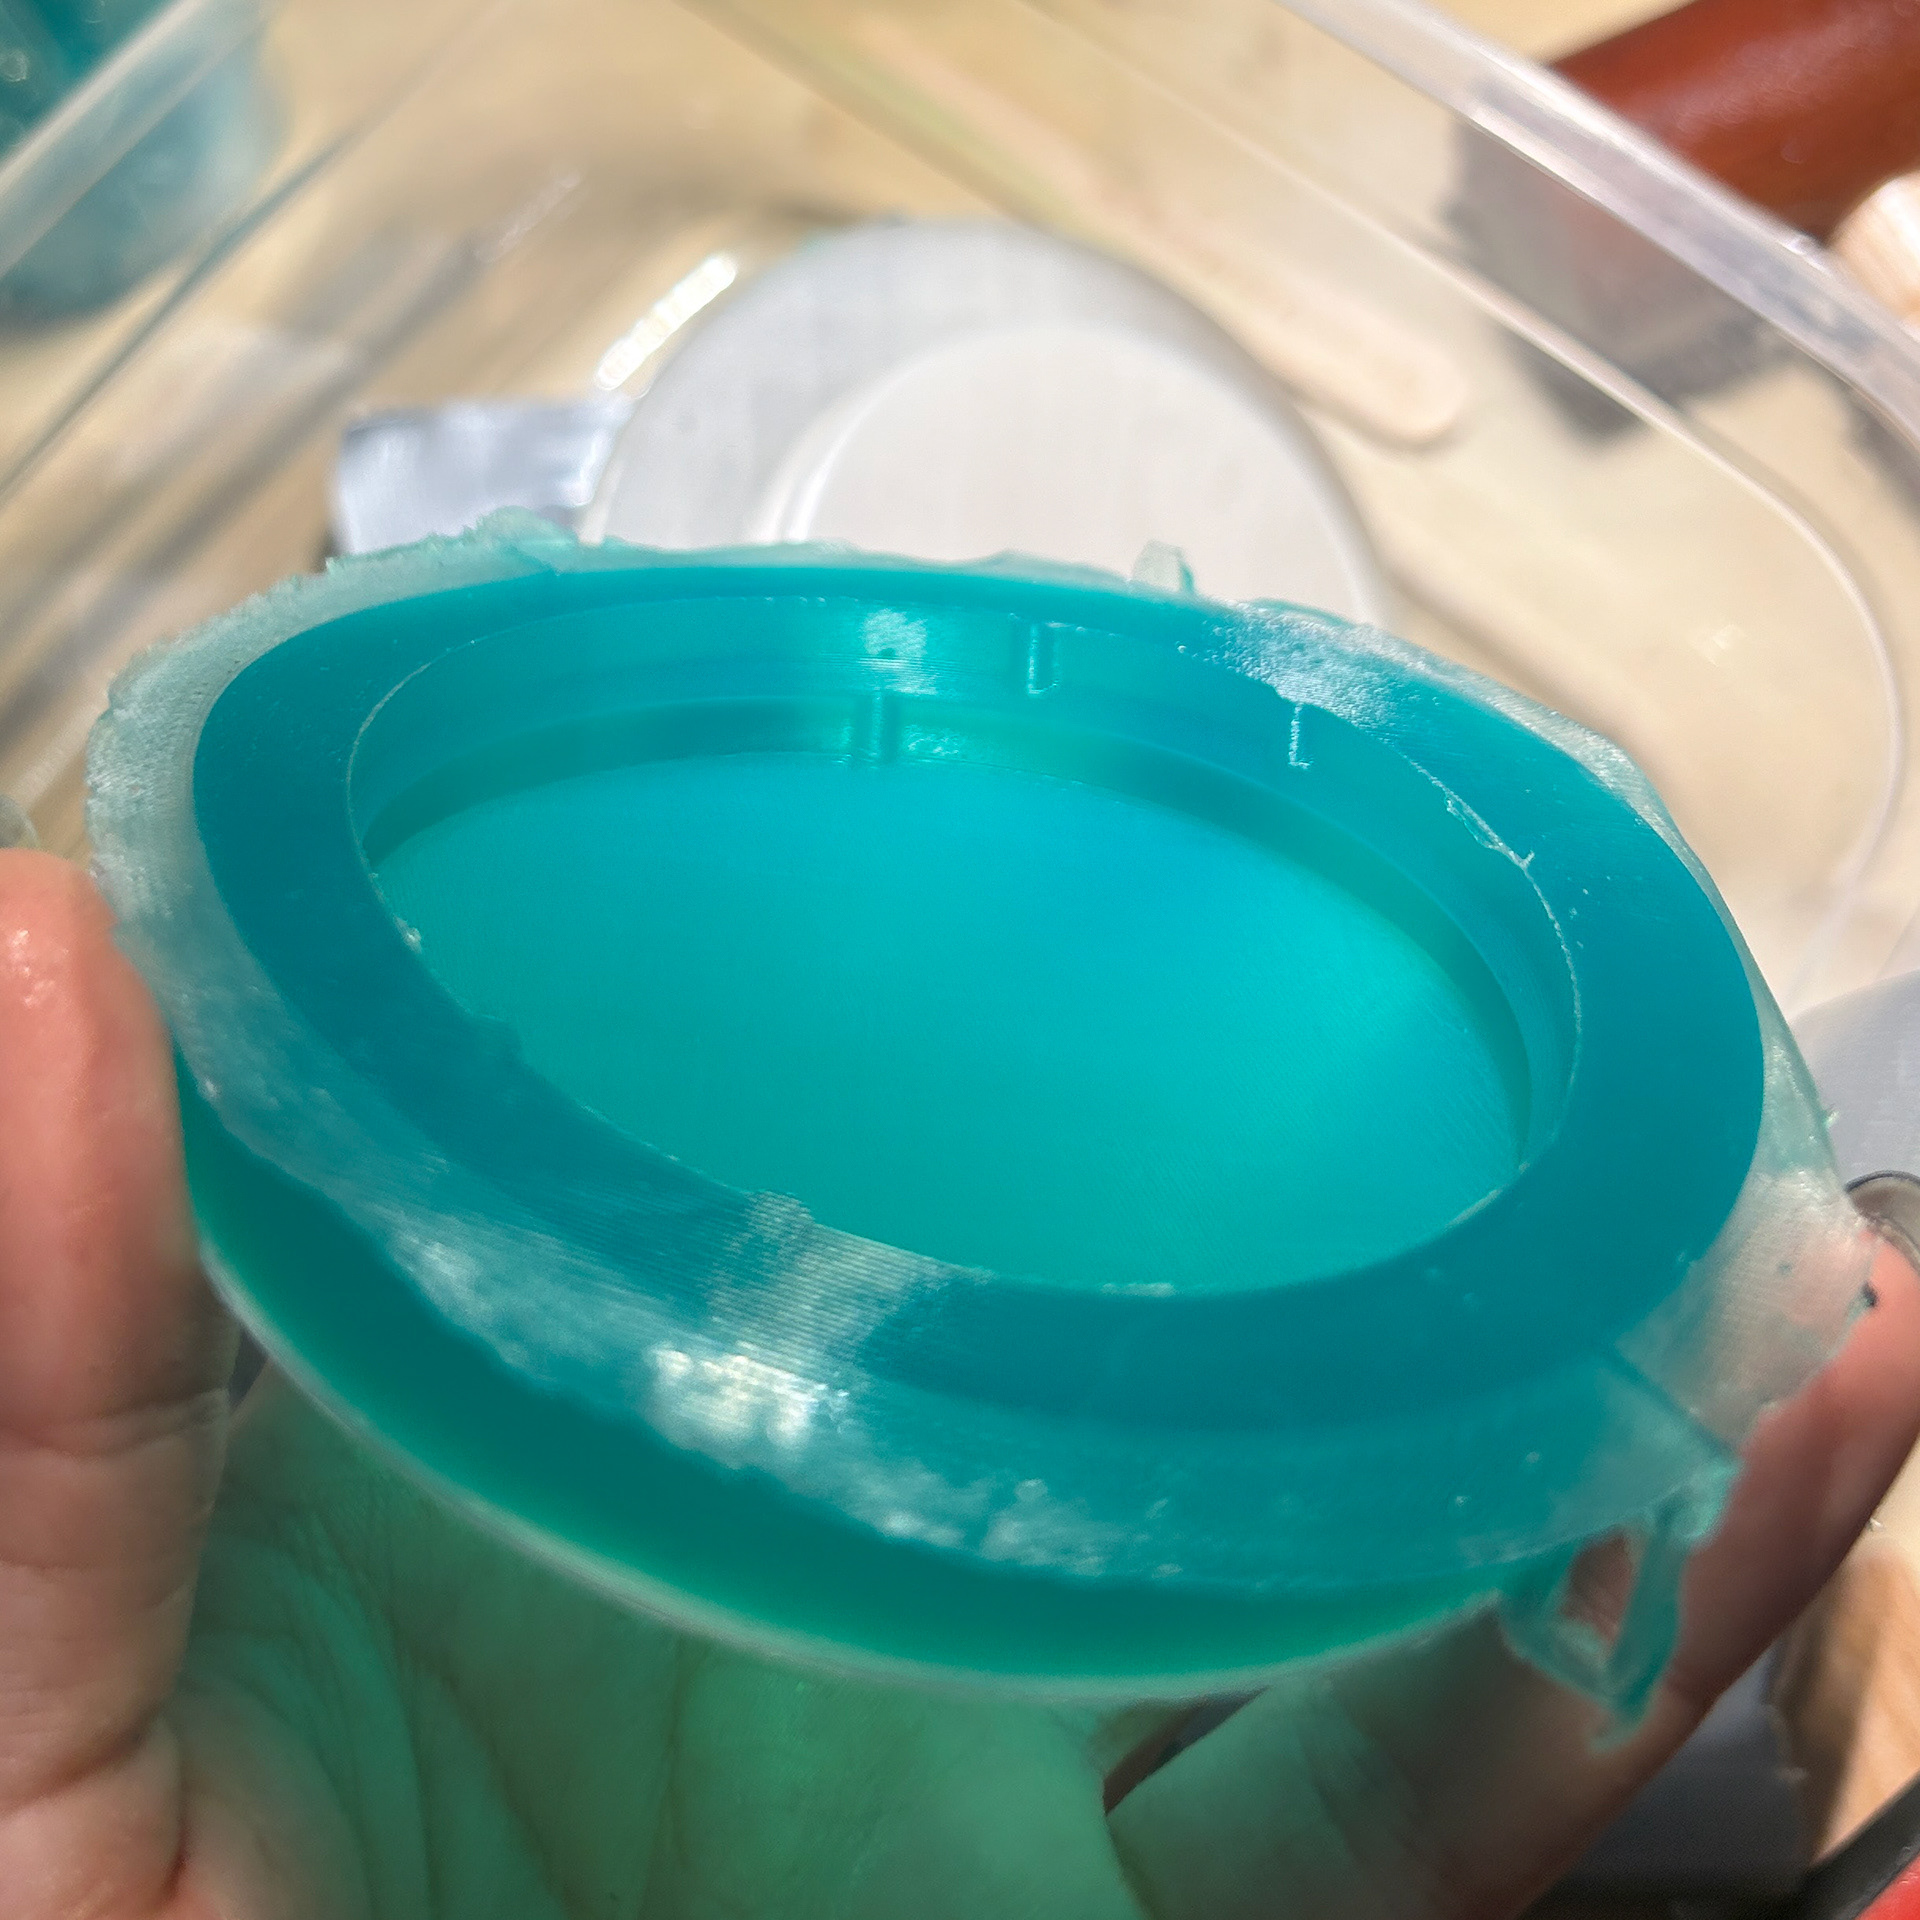
To make the silicone moulds, I used a two-part silicone mixture. I secured the cottle pieces with tape and placed them in a box in case there was any leakage. I then carefully demoulded the silicone ready for the bacteria/resin.
Making the Resin Dish
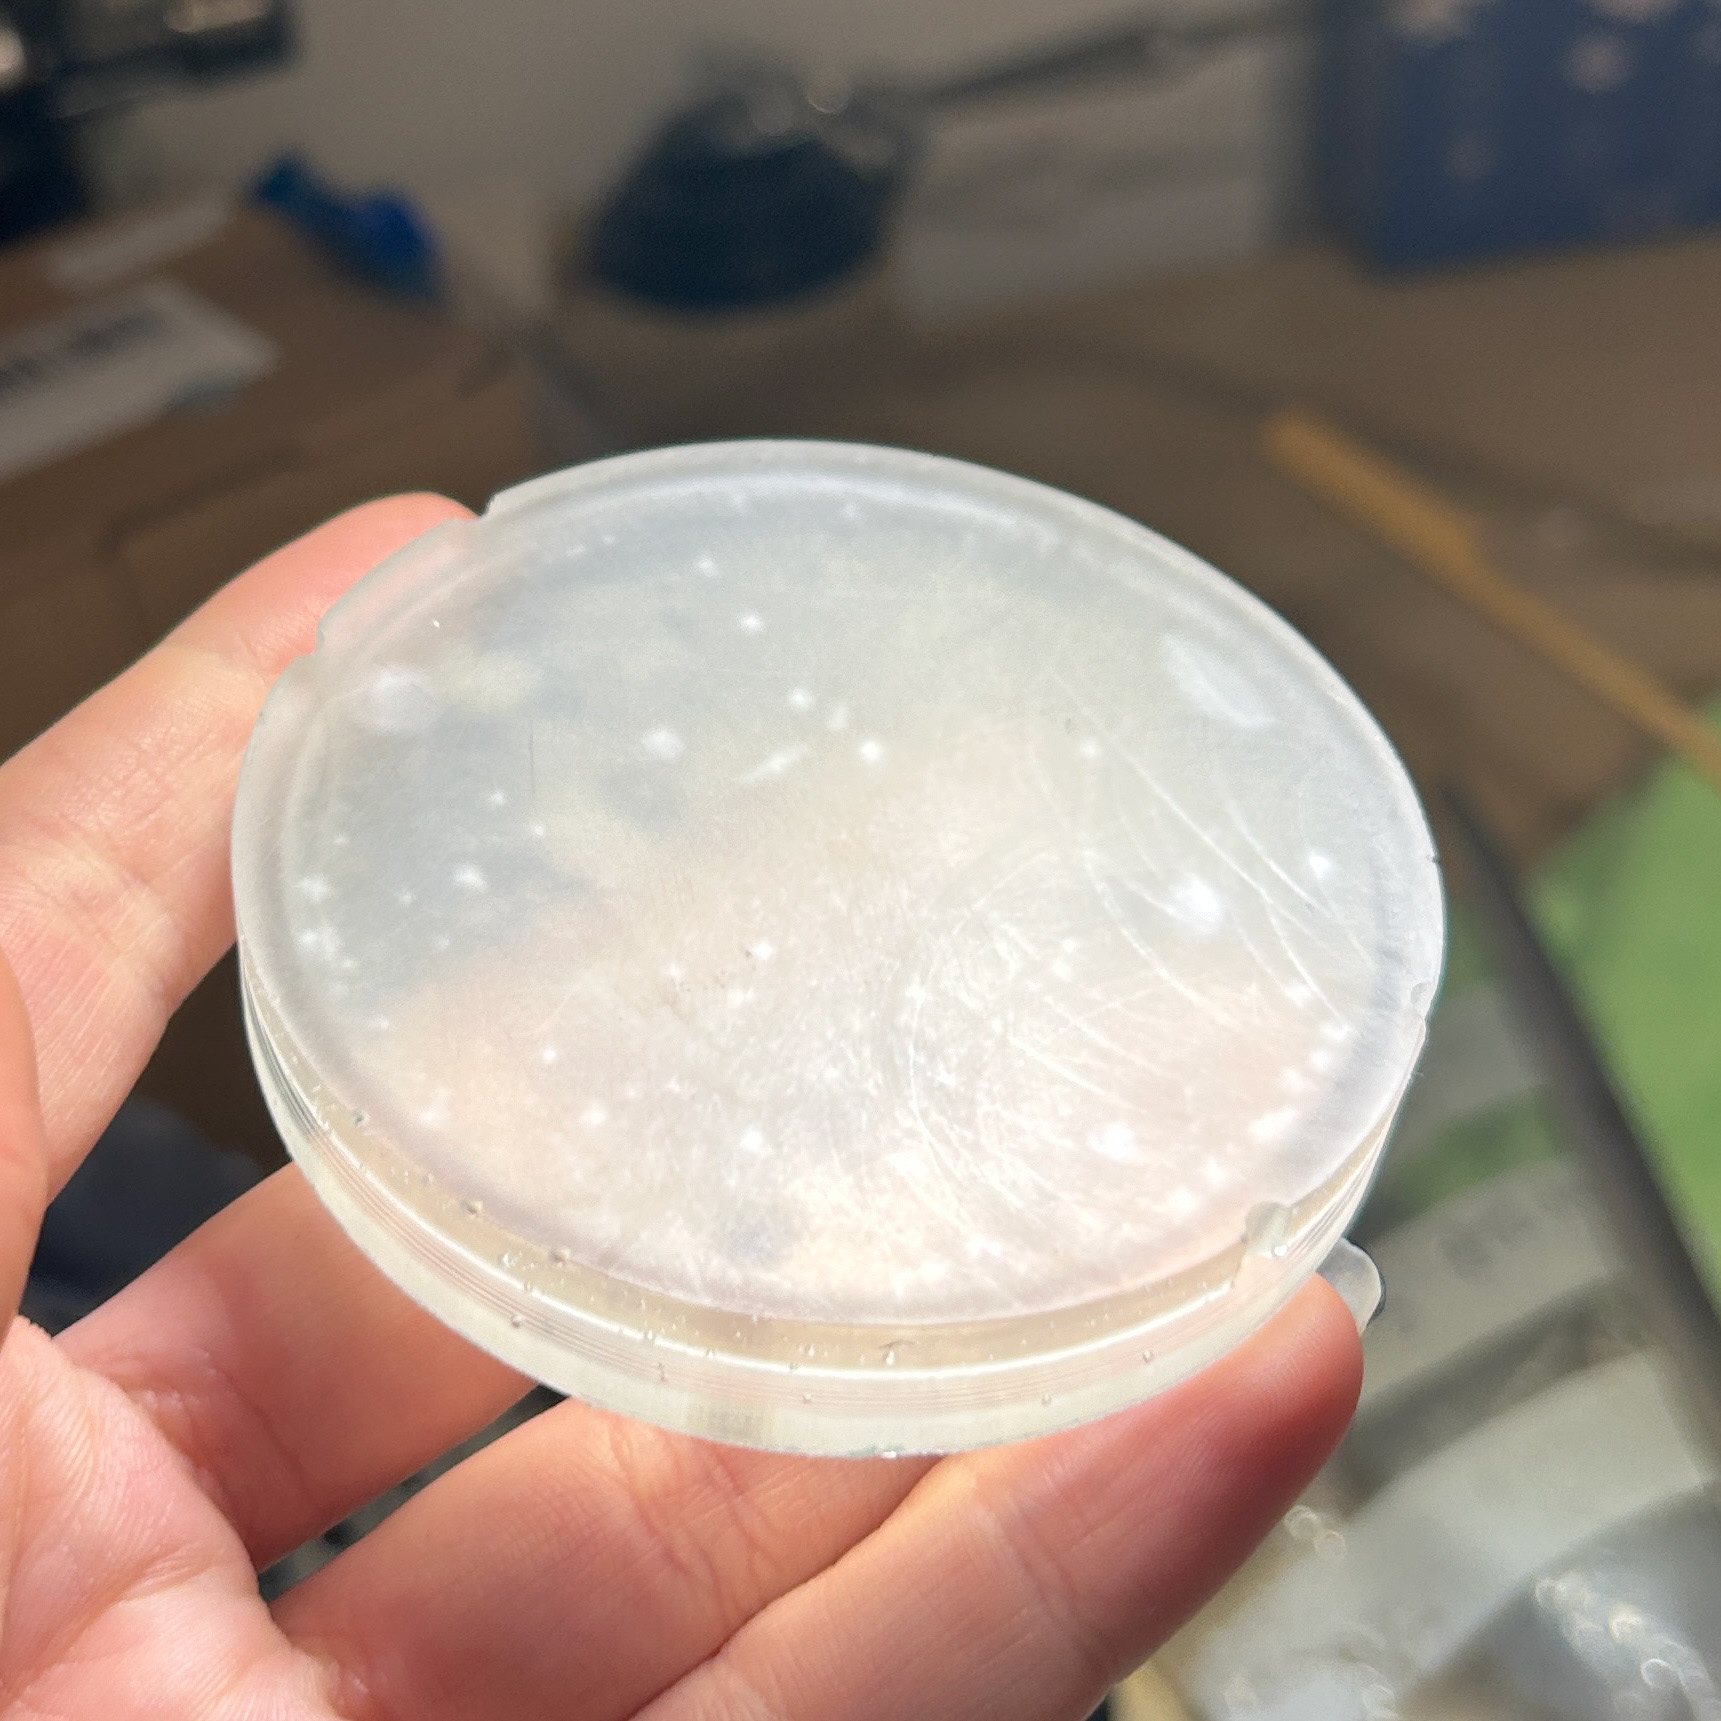
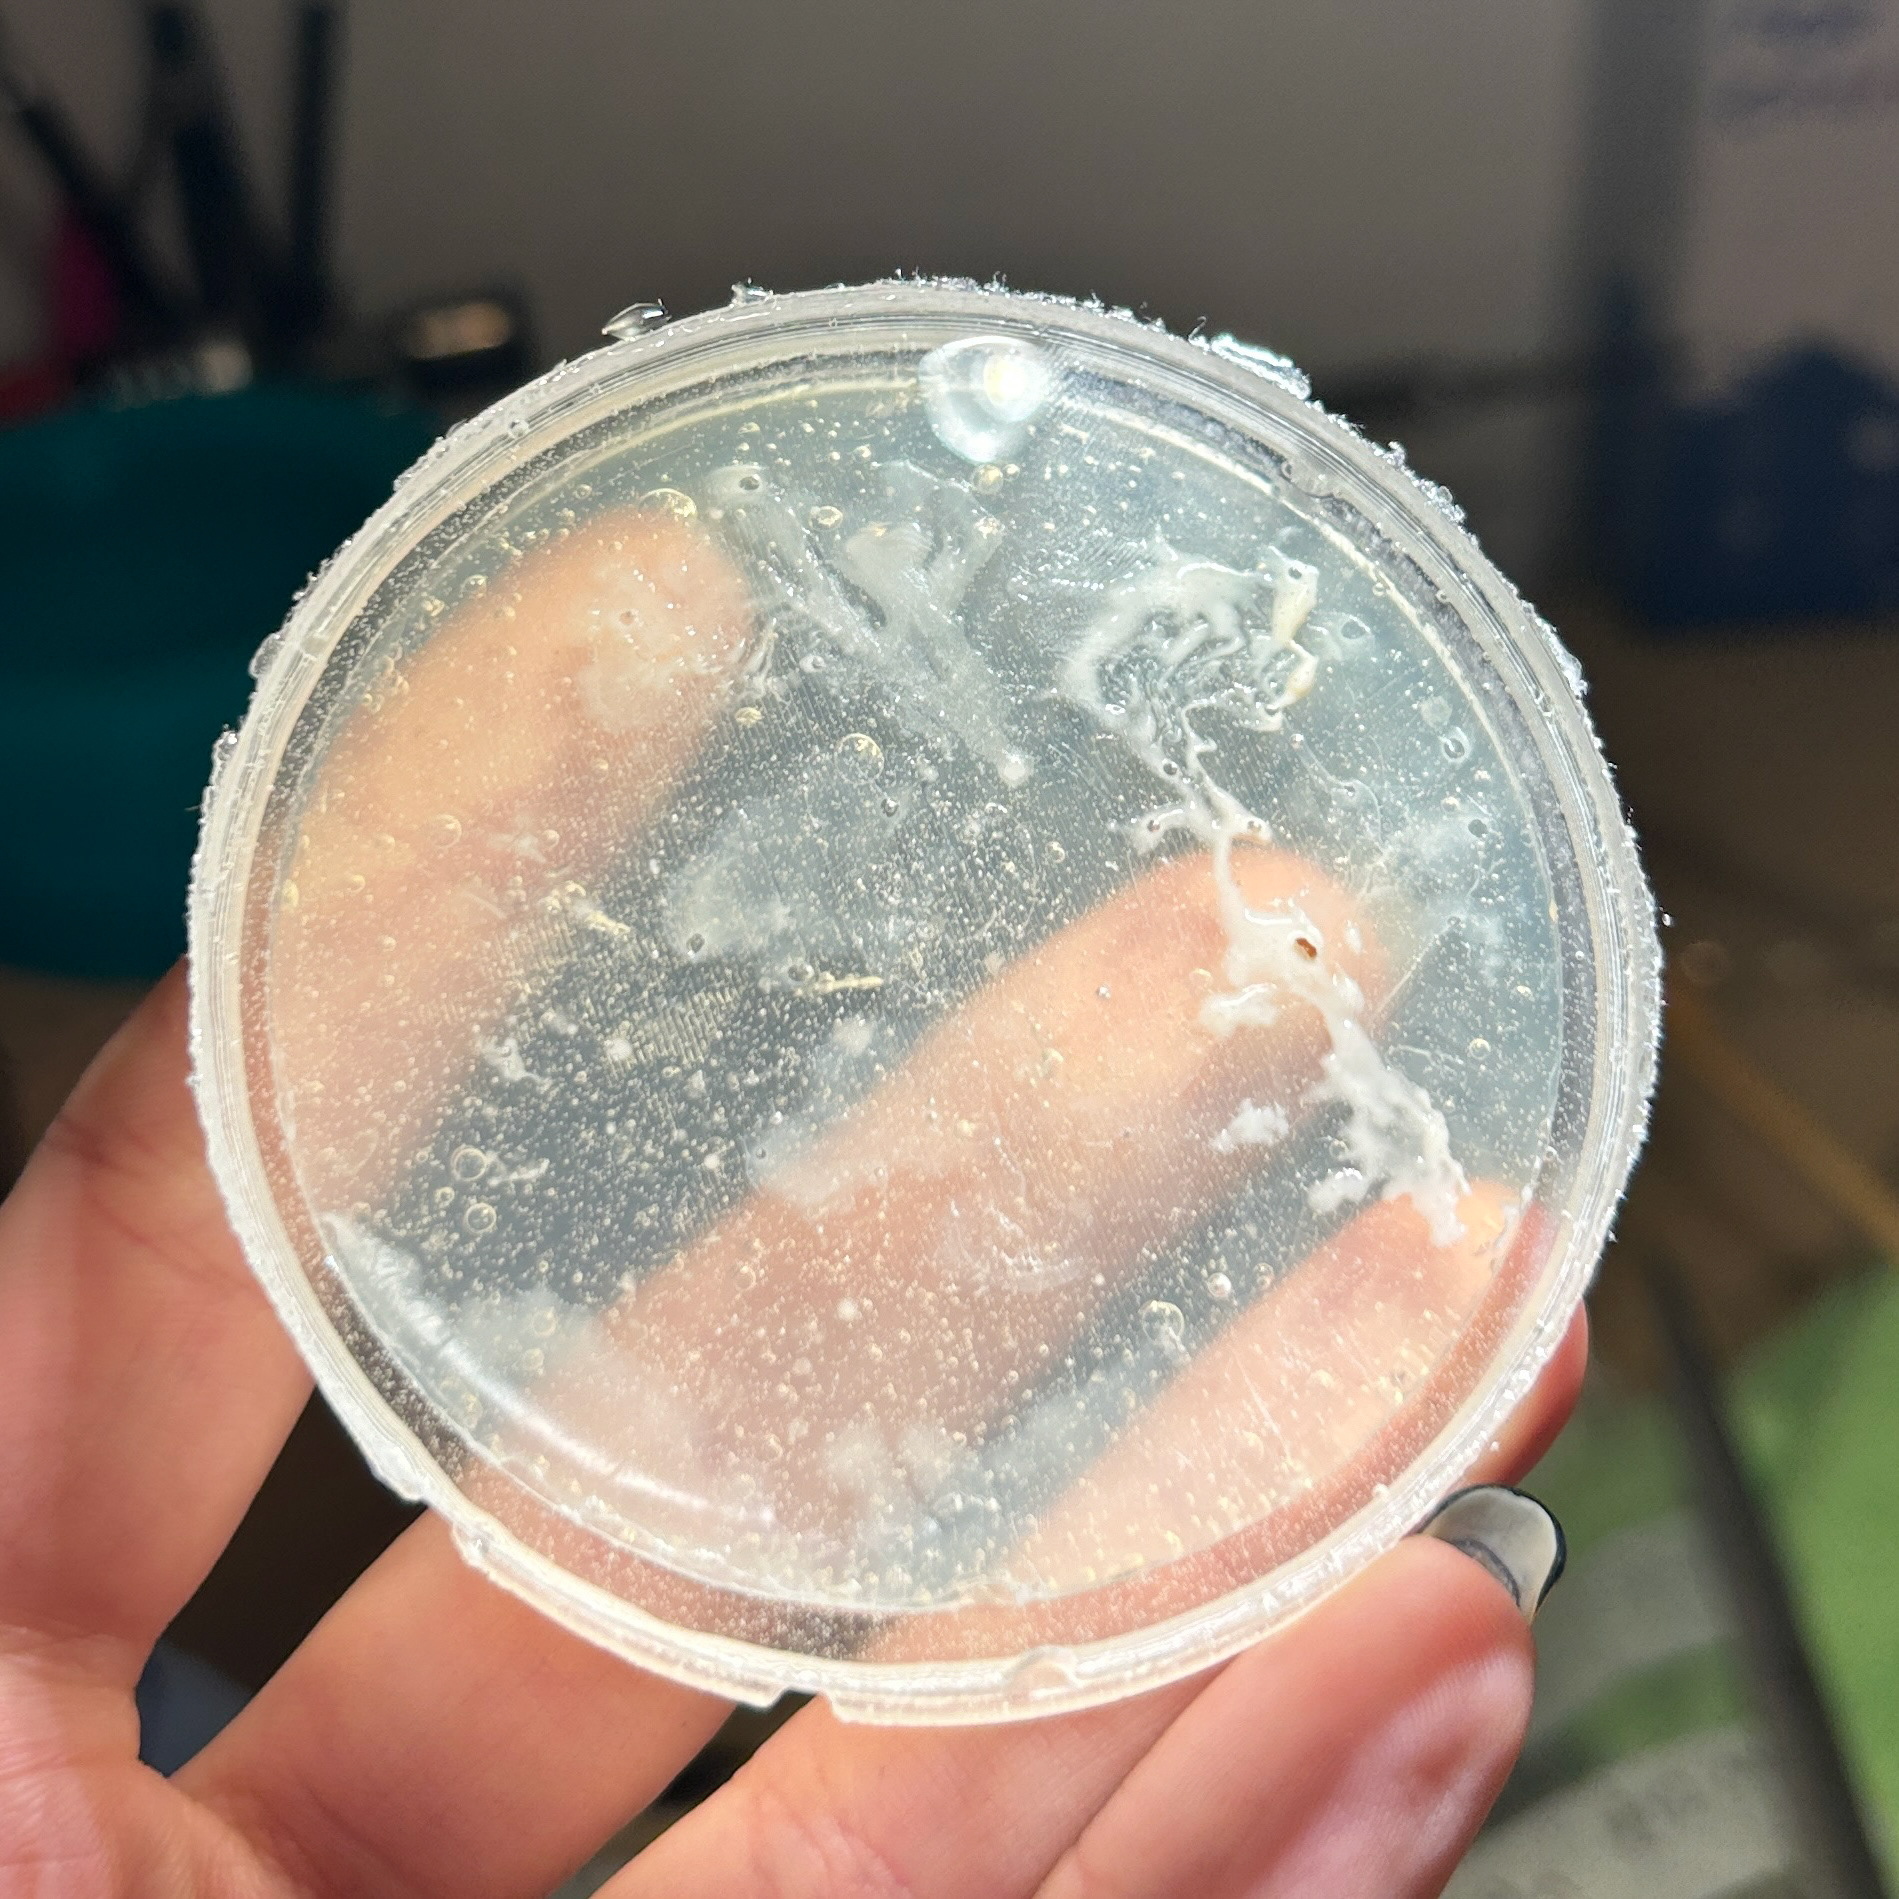
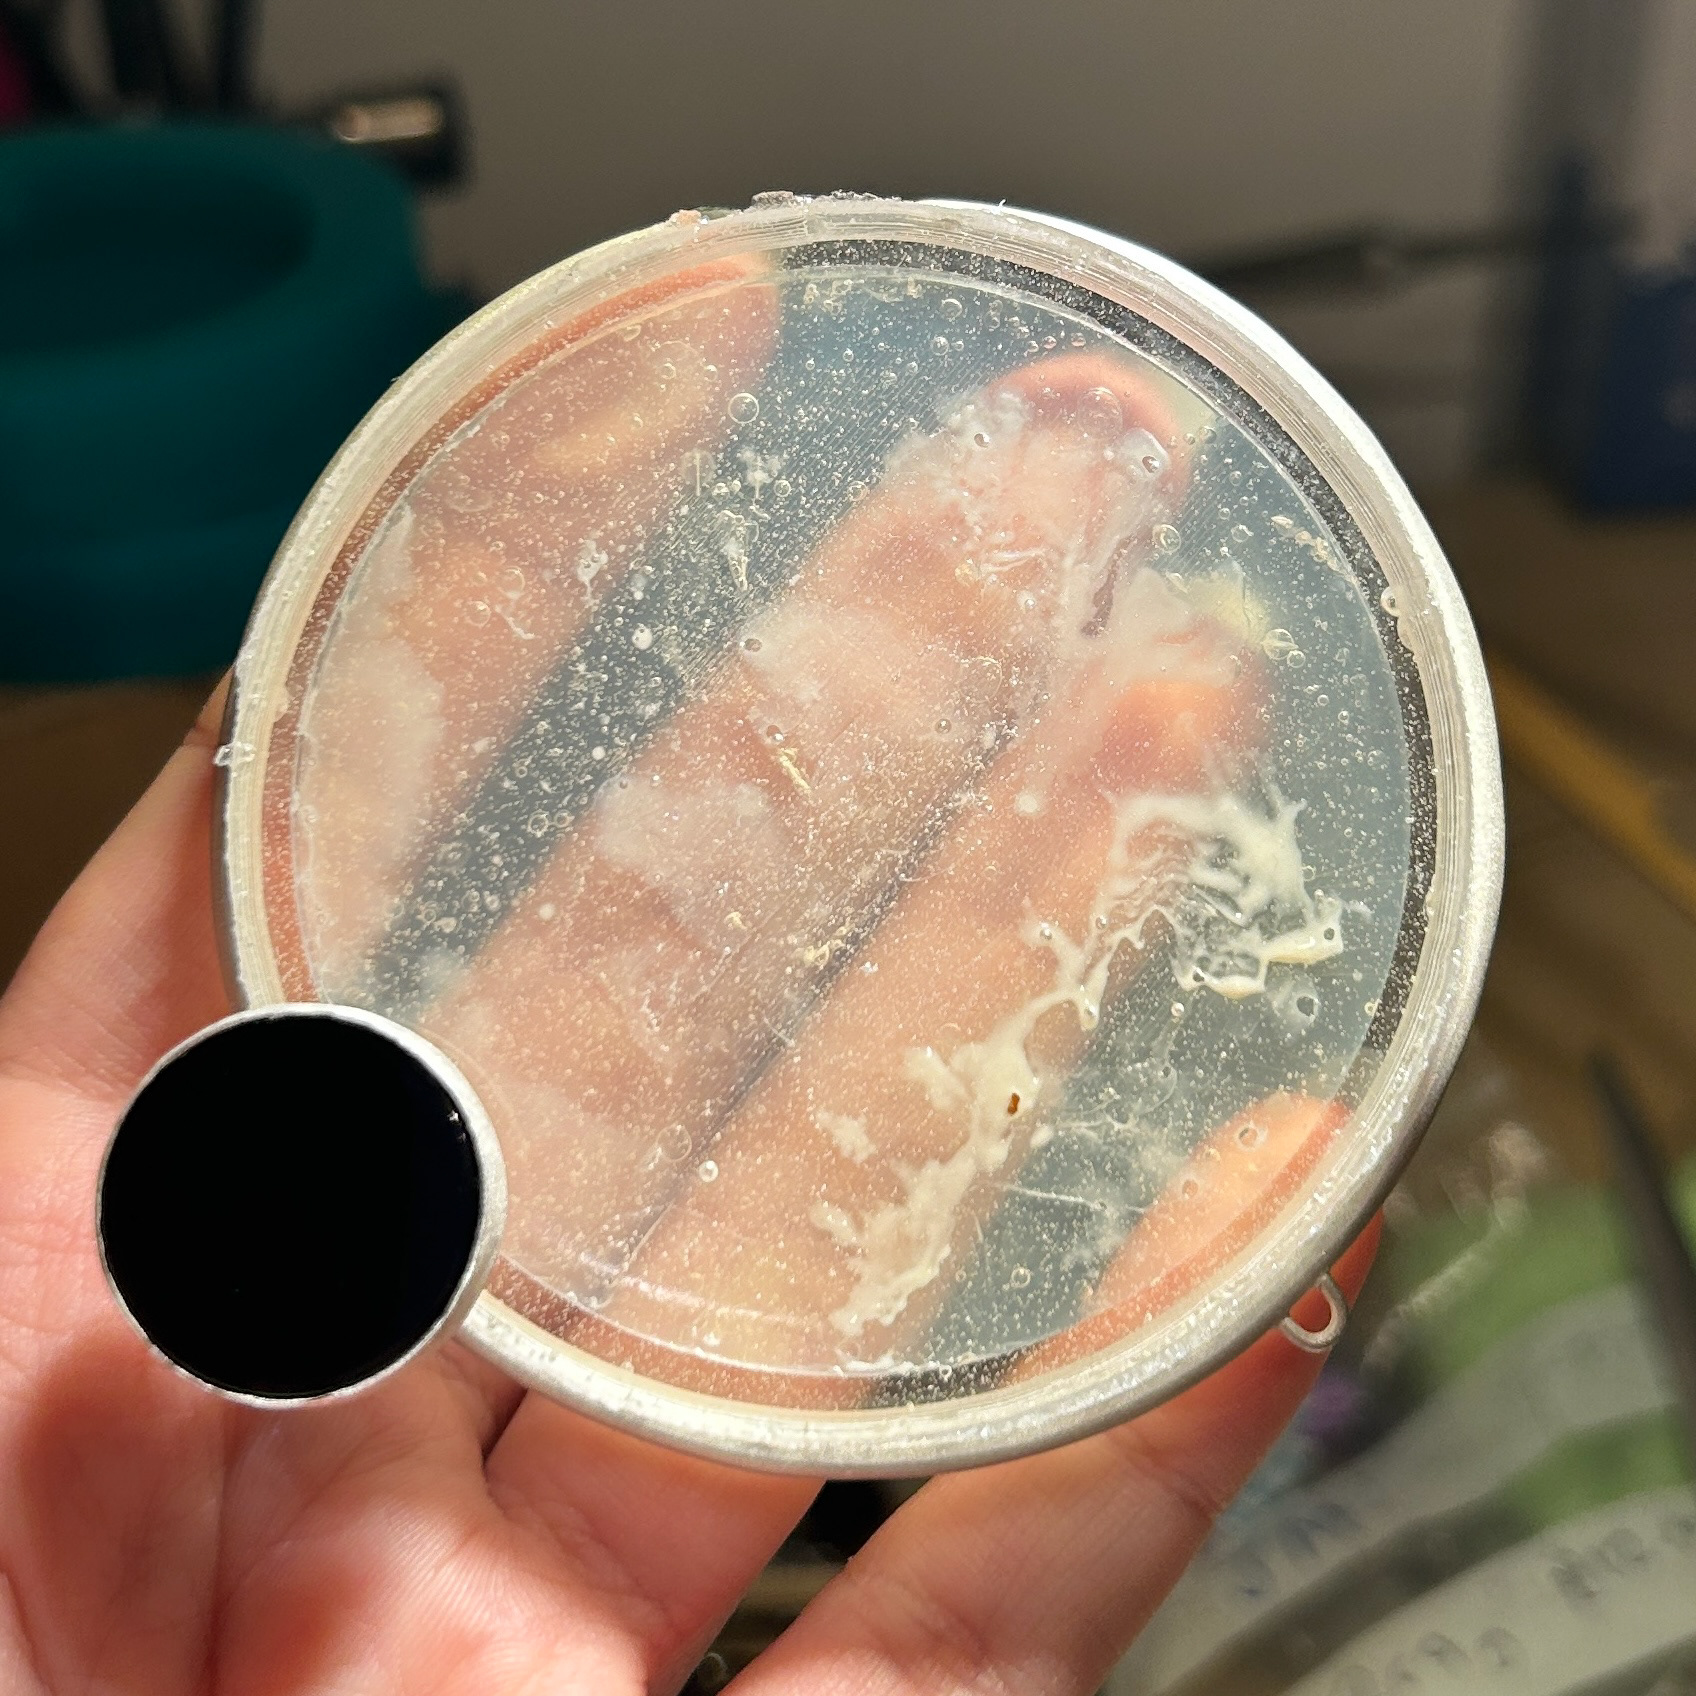
Before making any resin parts for my final piece, I started by growing another batch of bacteria from the silver bangle and the silver and onyx cufflinks. I decided to swab different areas of each one to see if I could grow a variety of bacteria. This way, I’d have a range of options to choose from for the final piece.
Silver and Onyx Cufflinks

Silver Bangle

UV Resin
1st December 2024
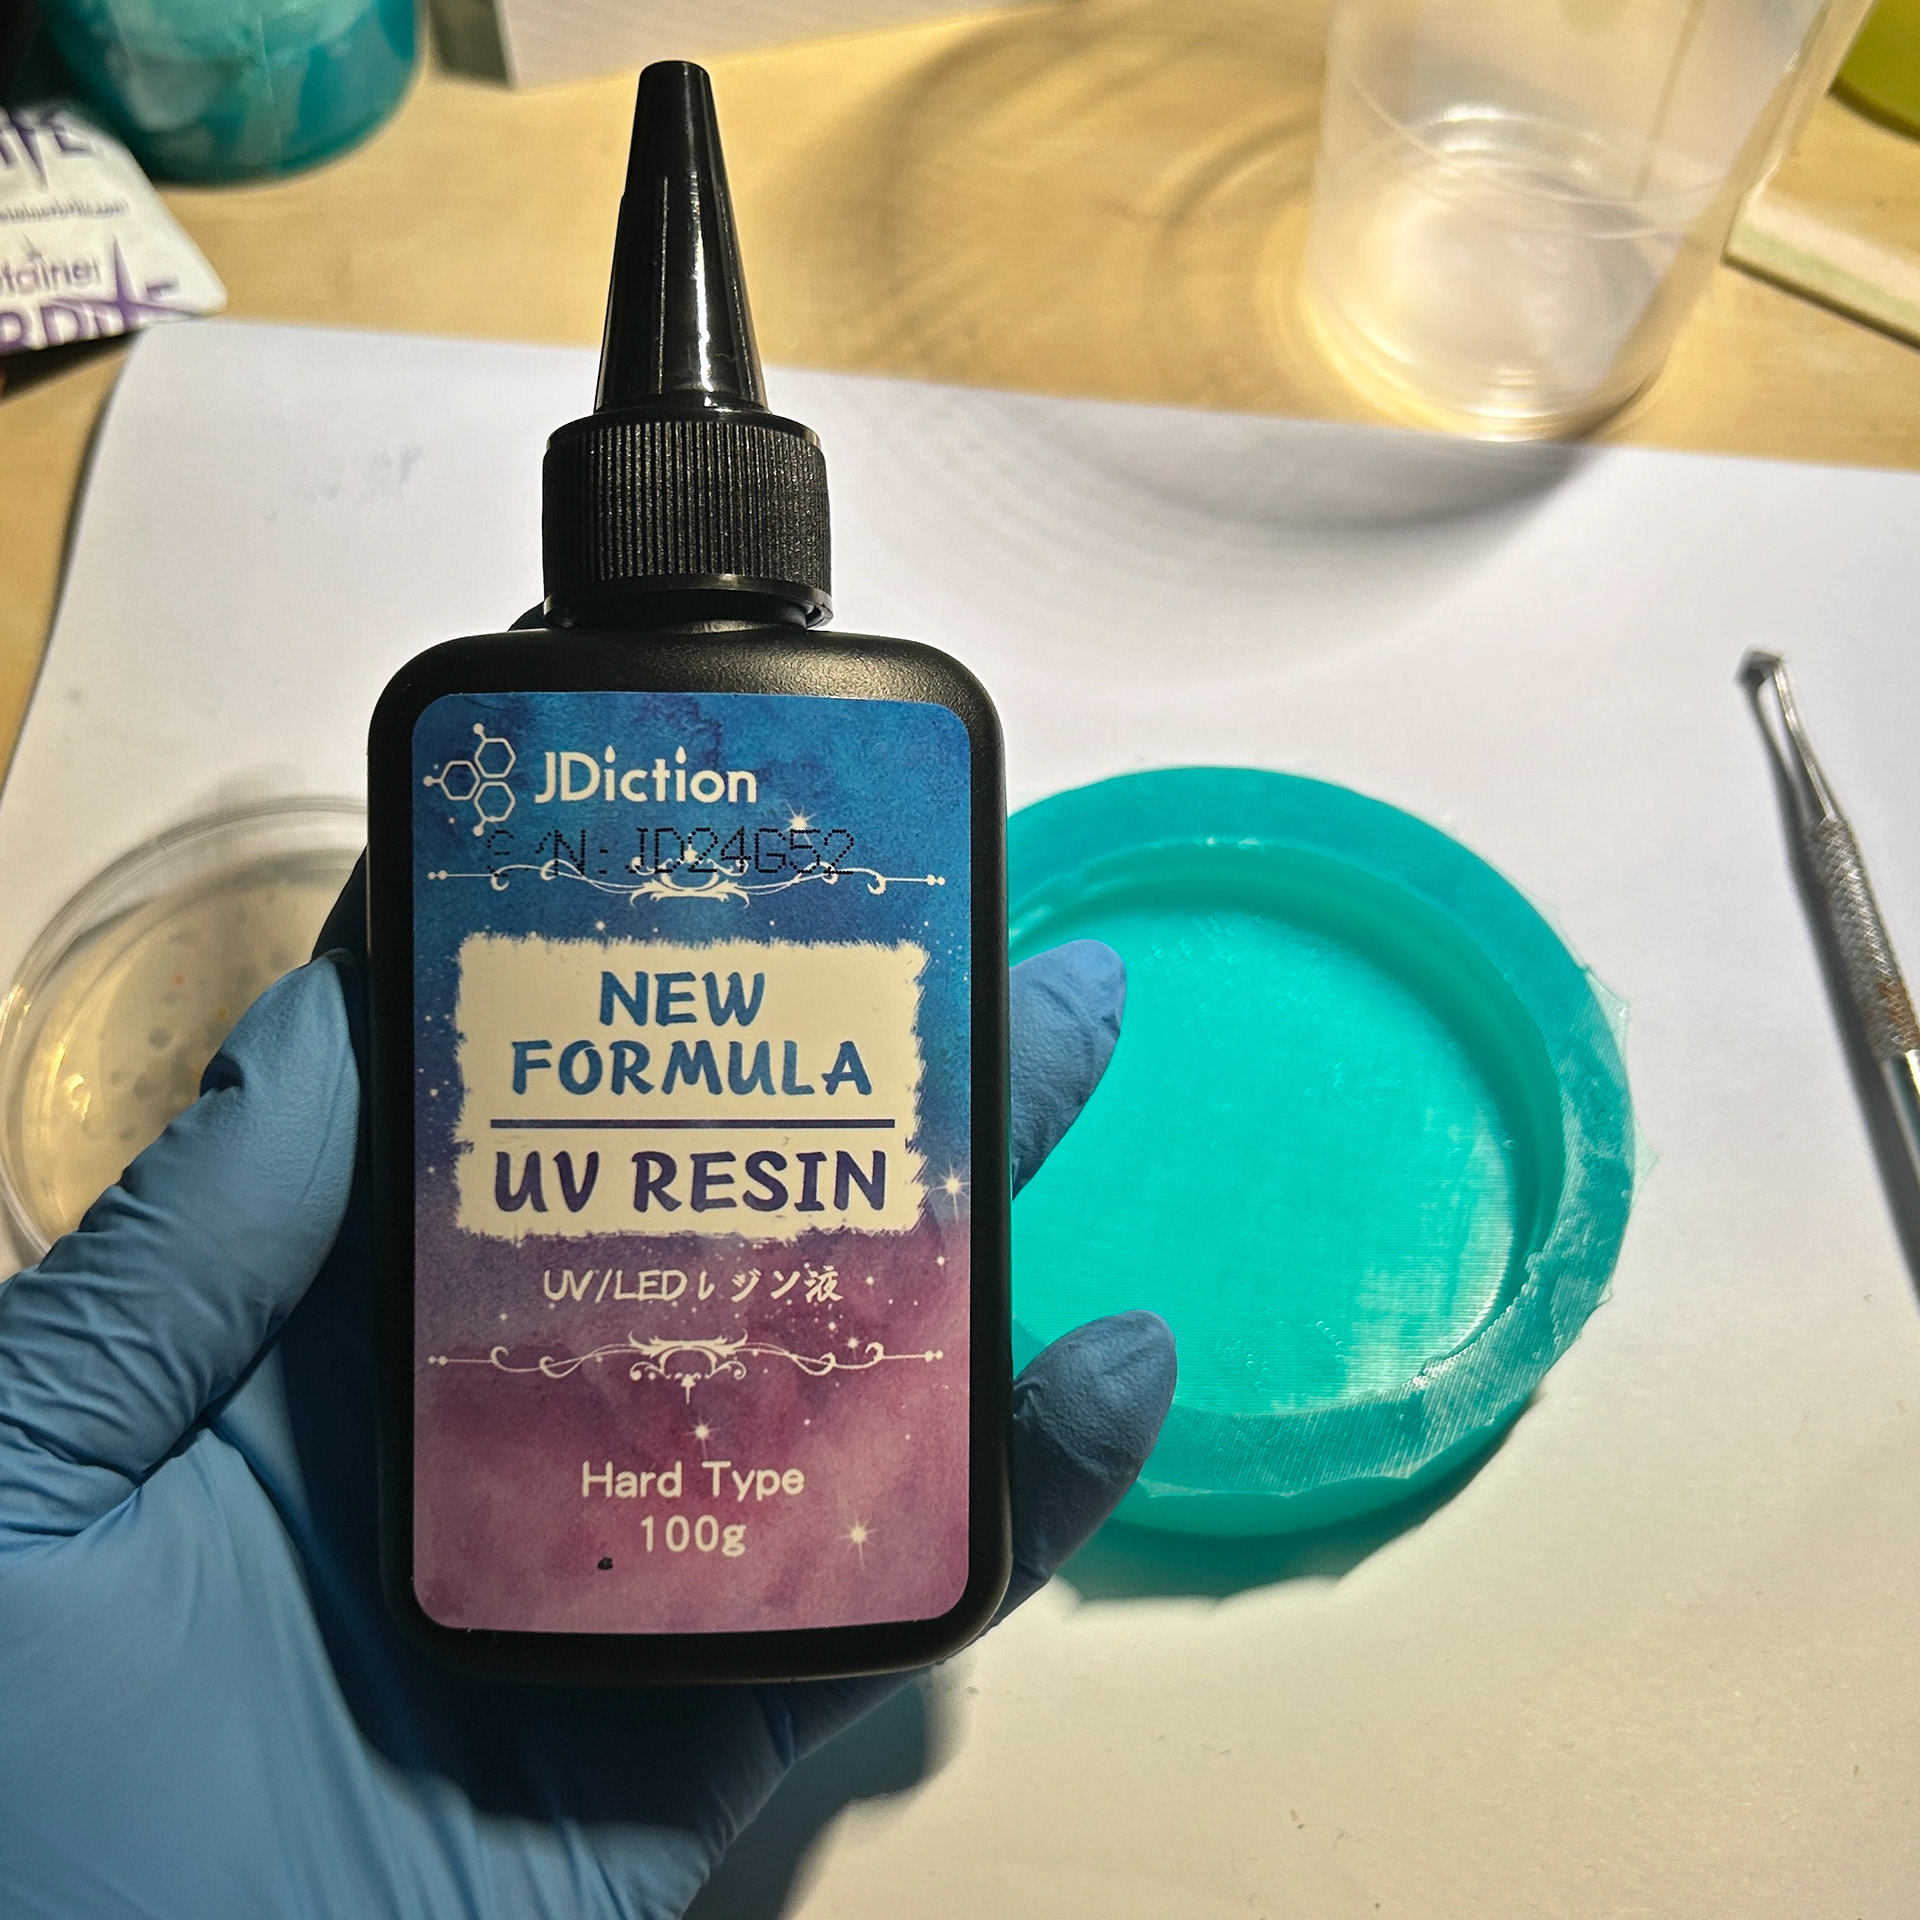
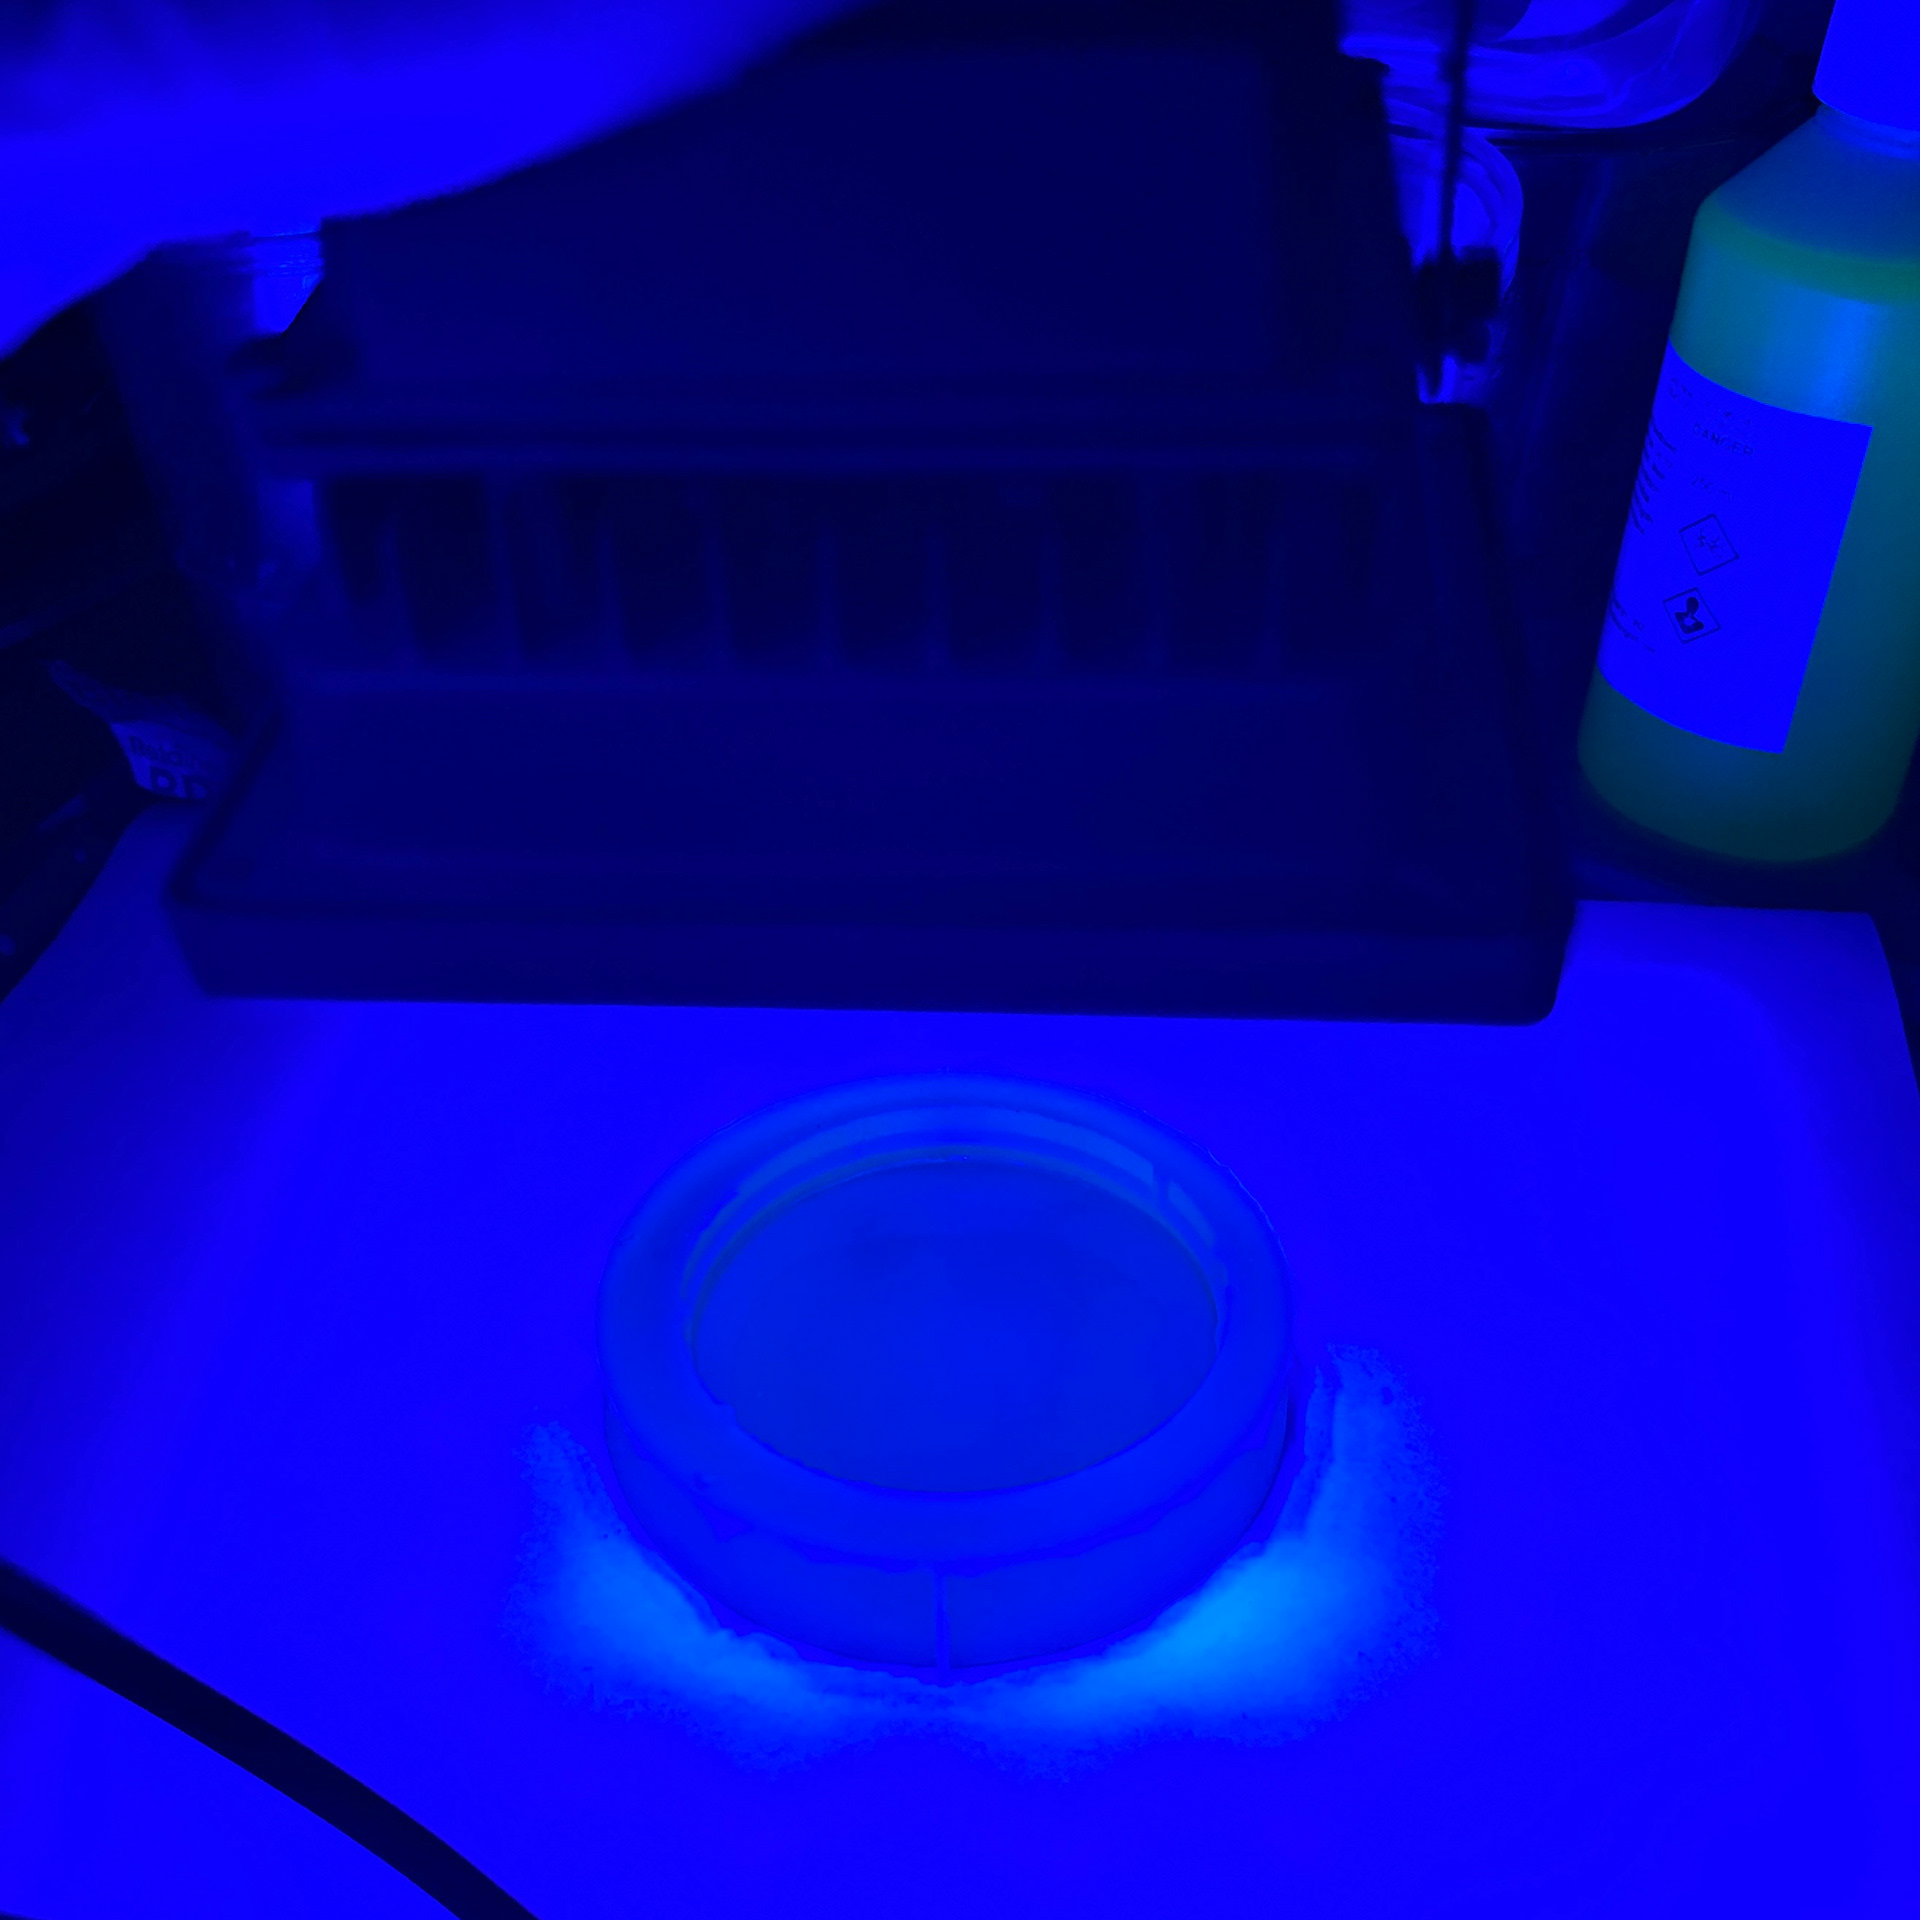

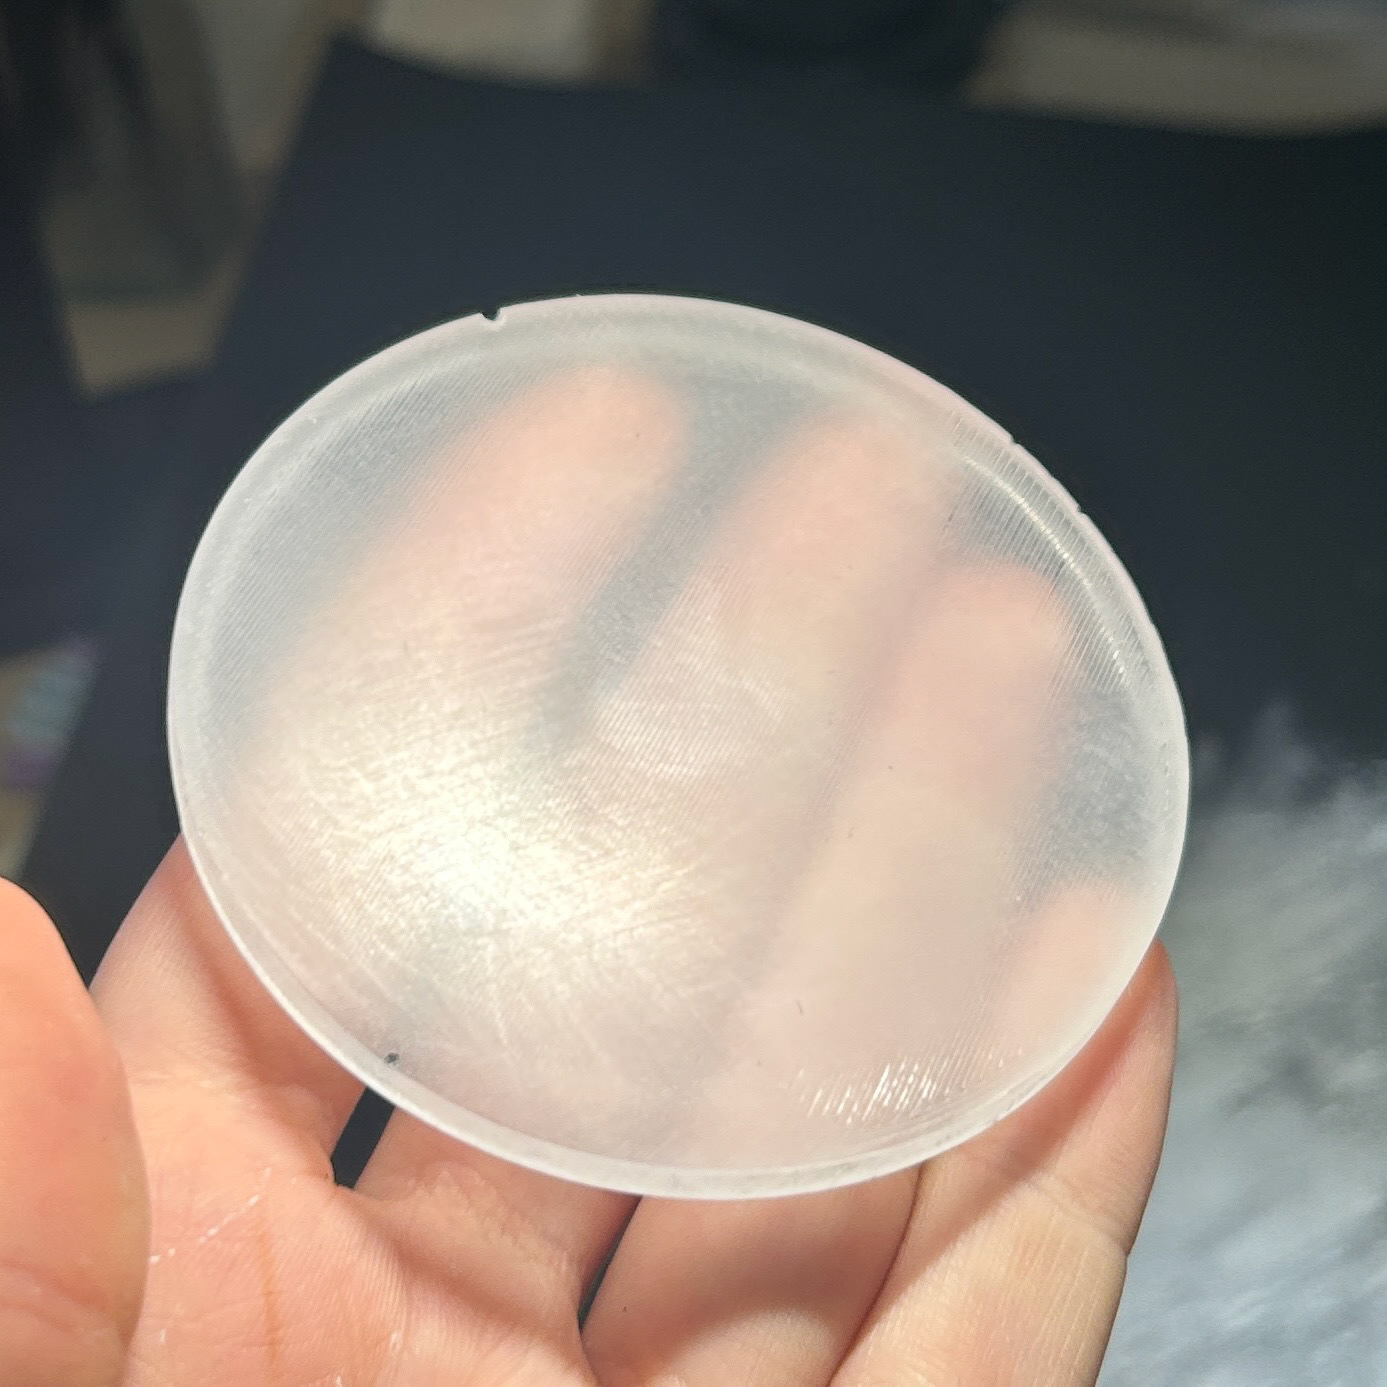
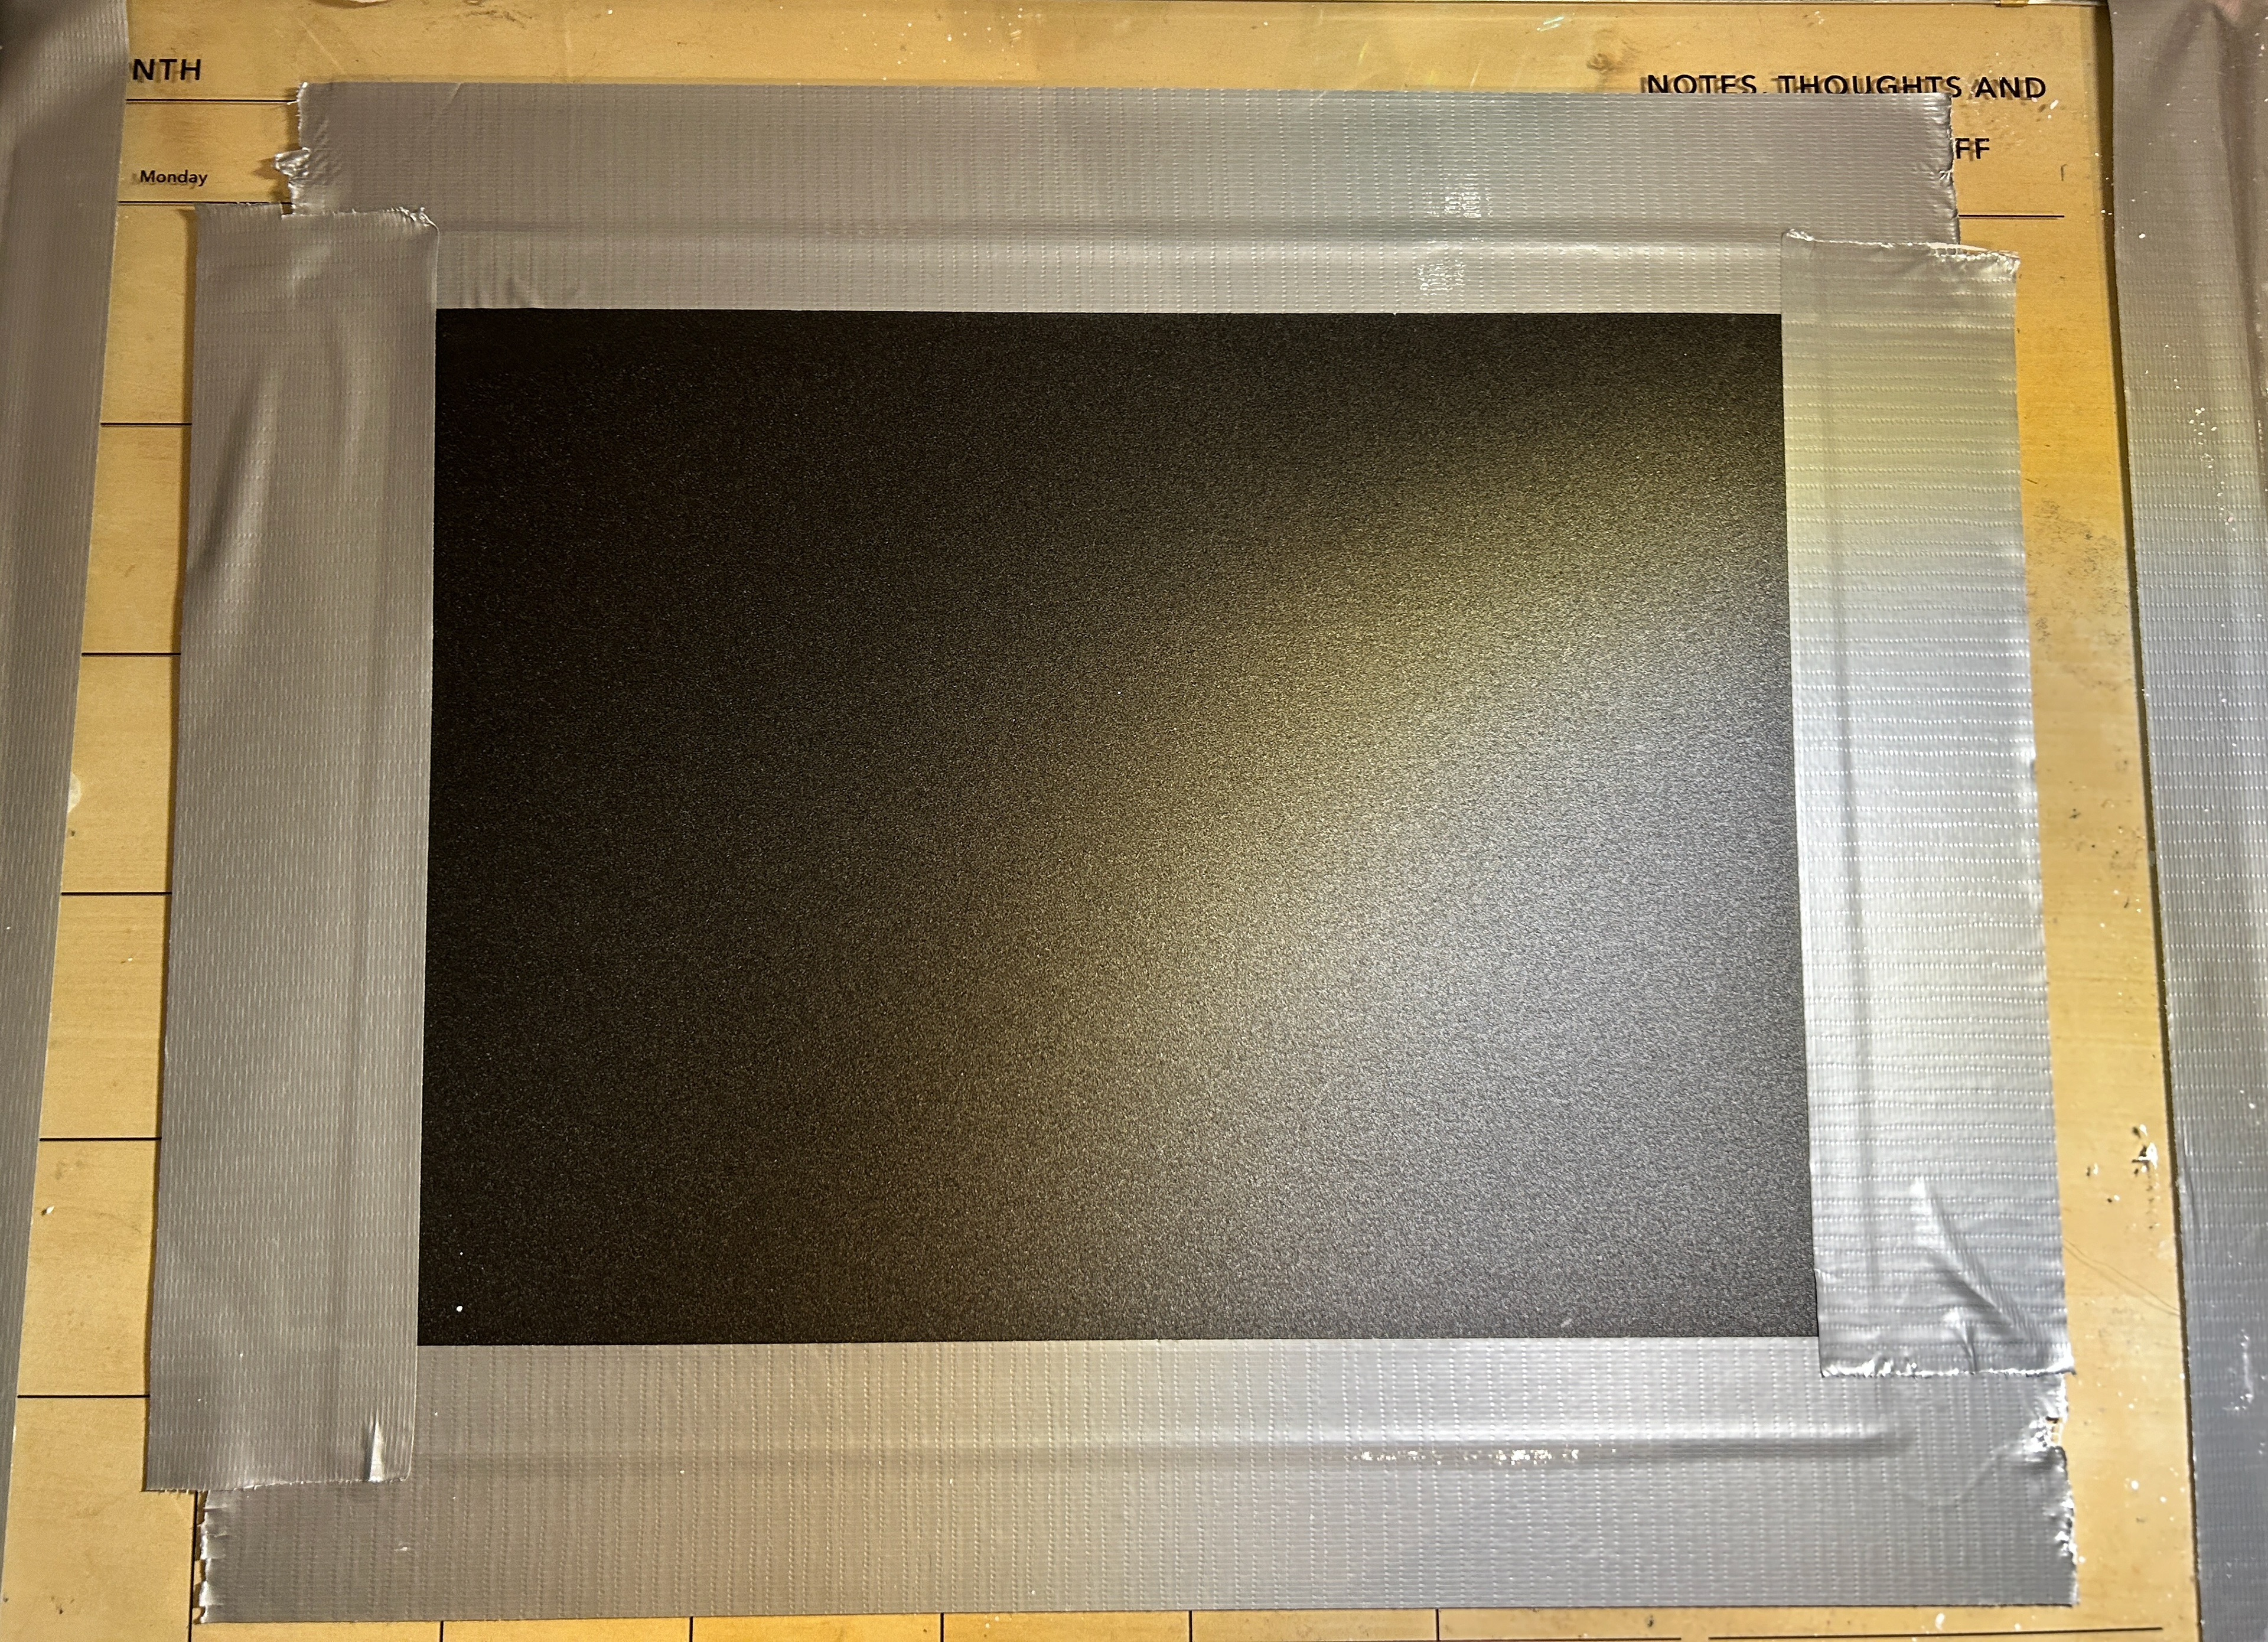
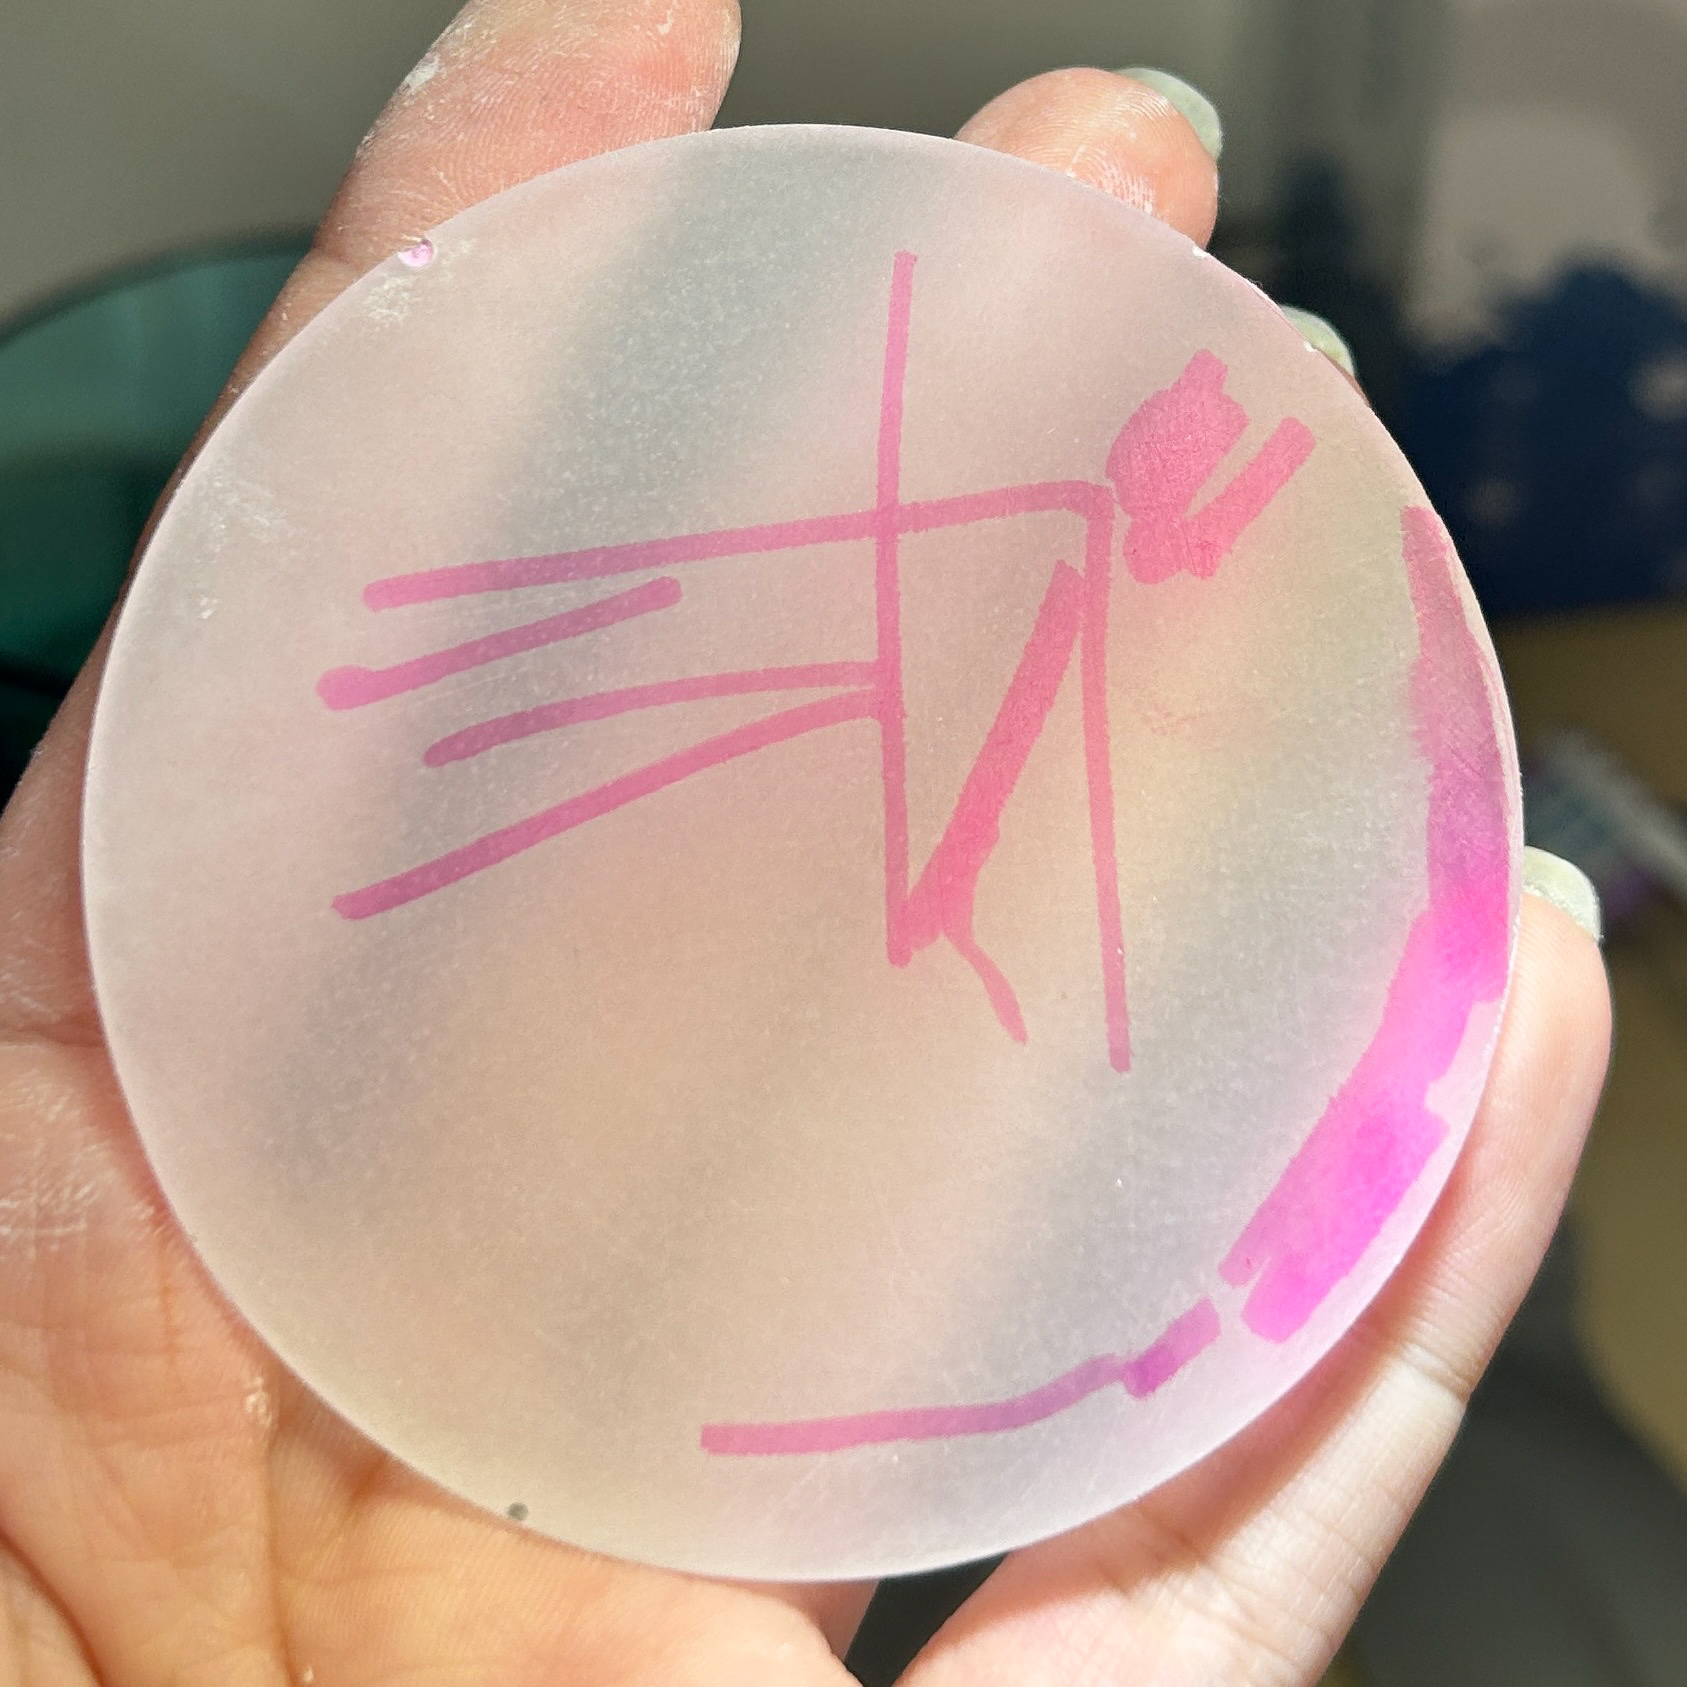
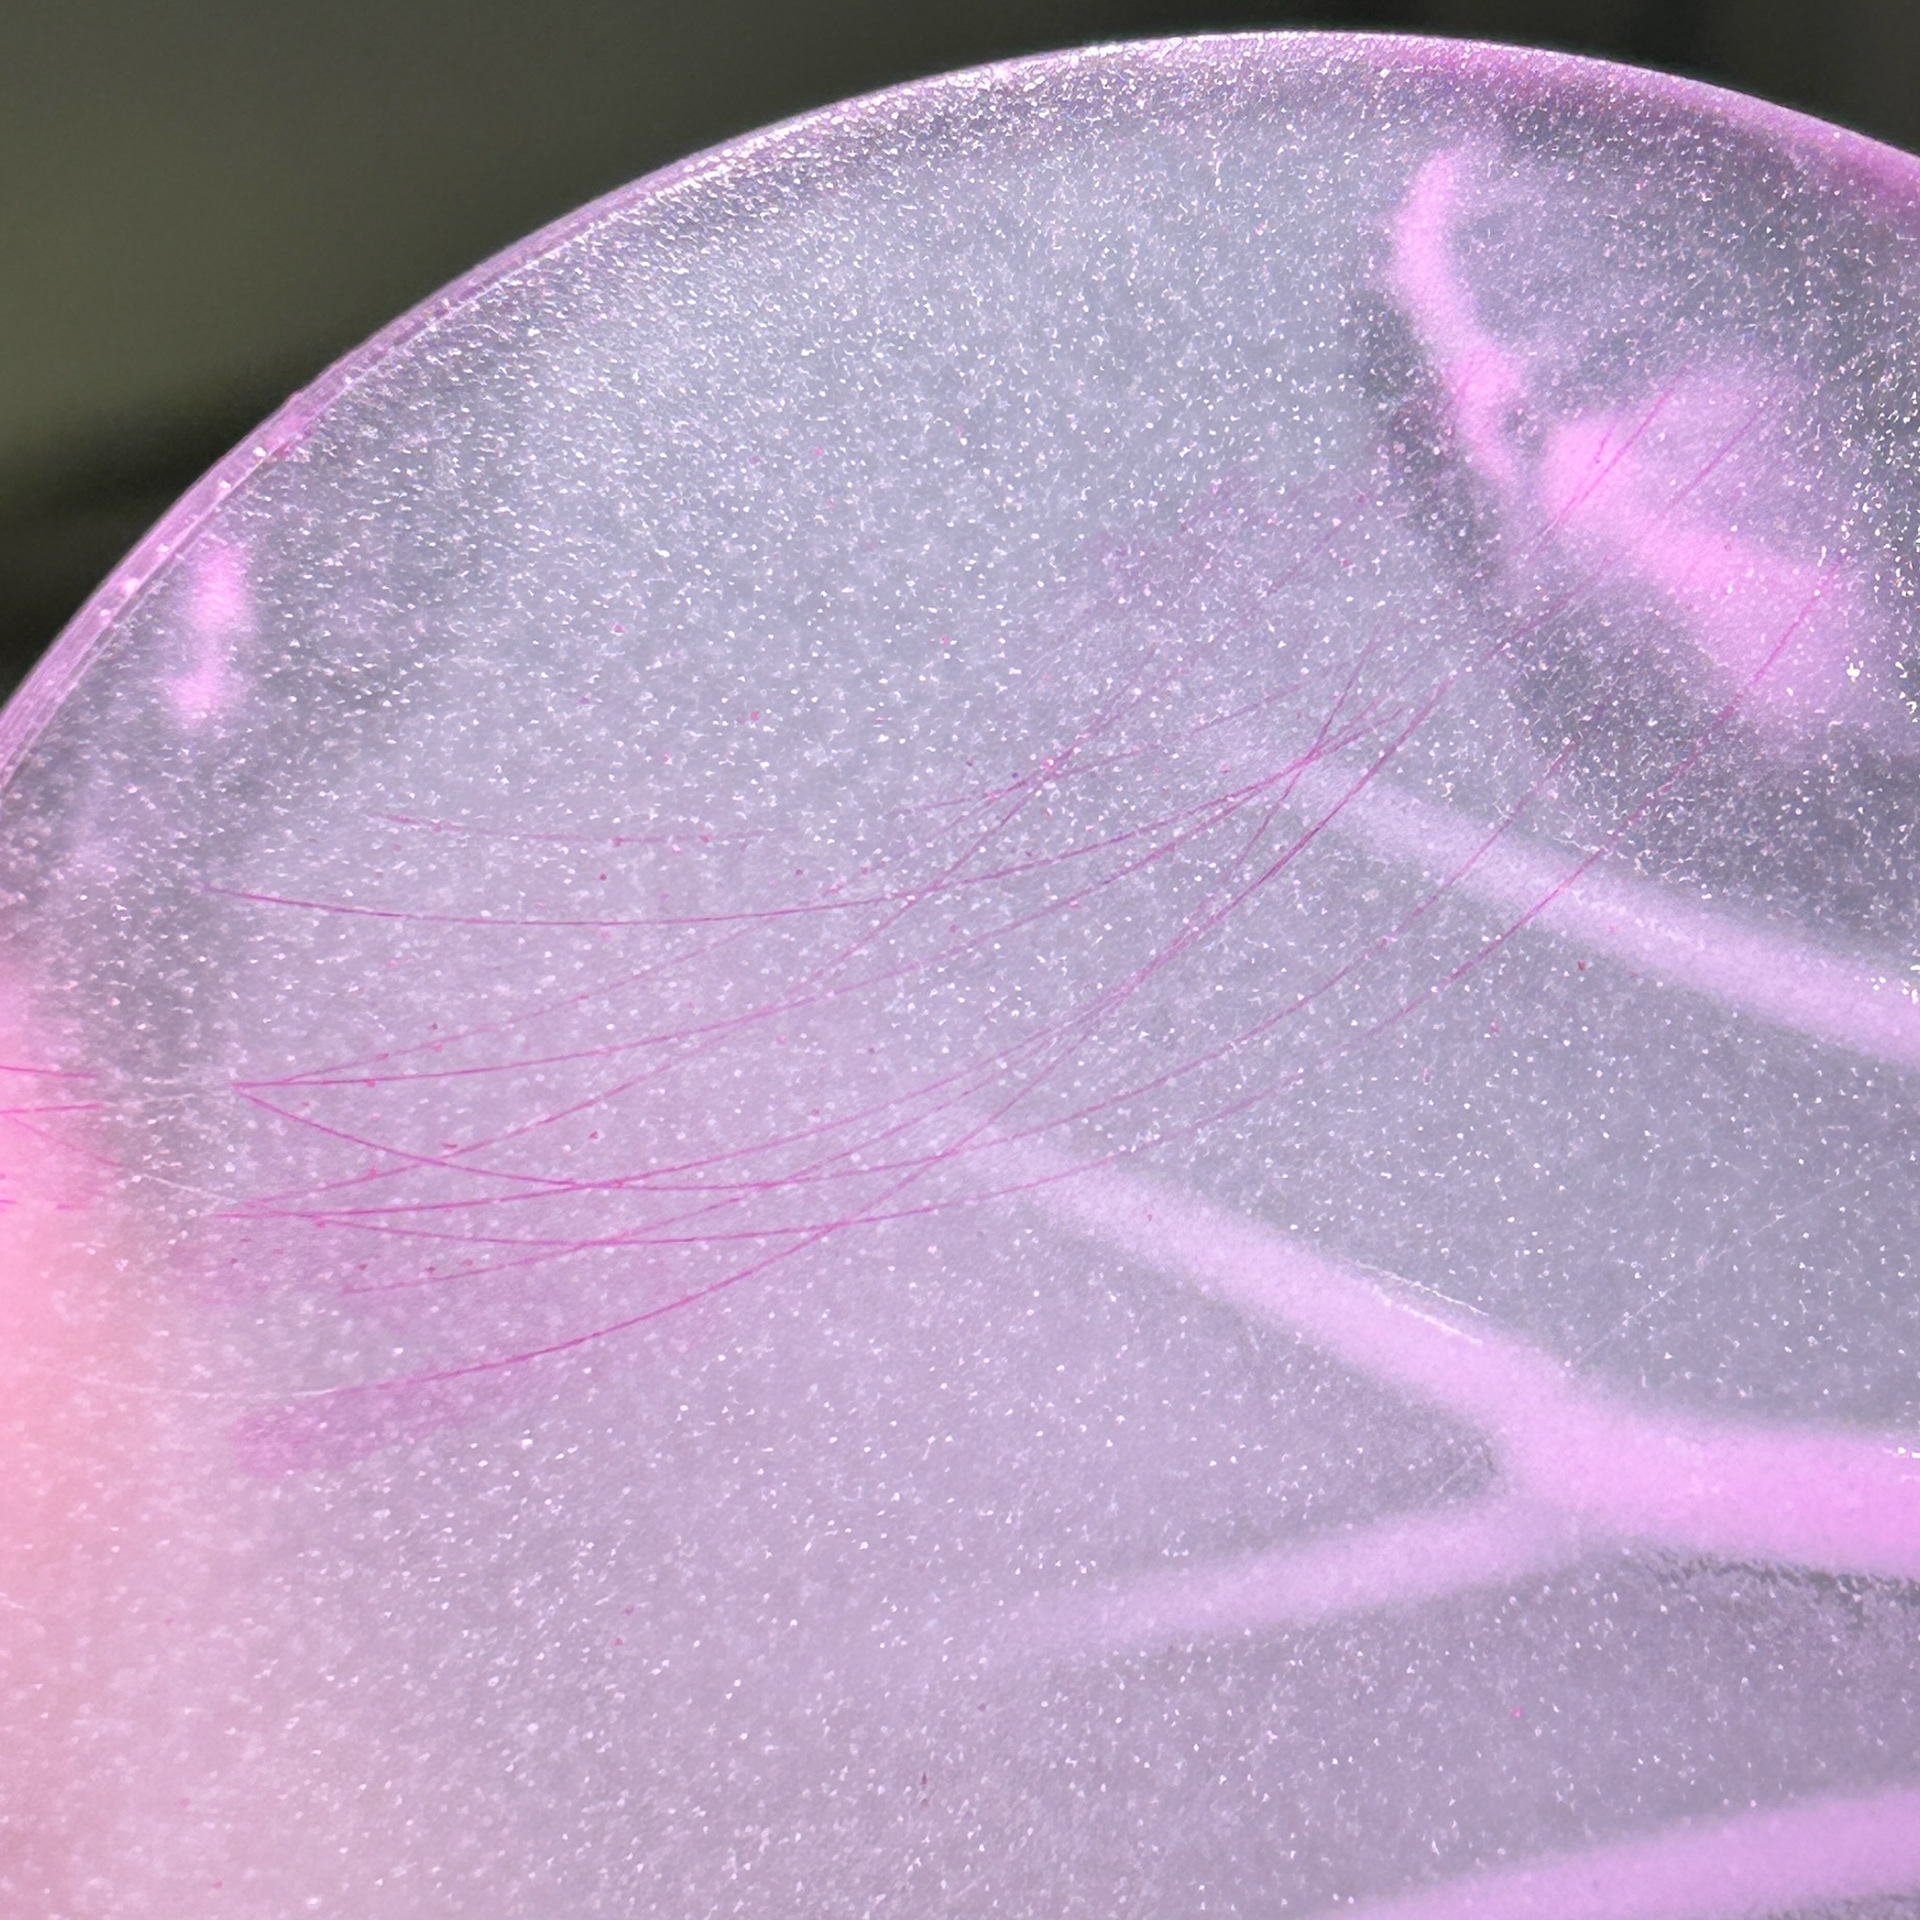
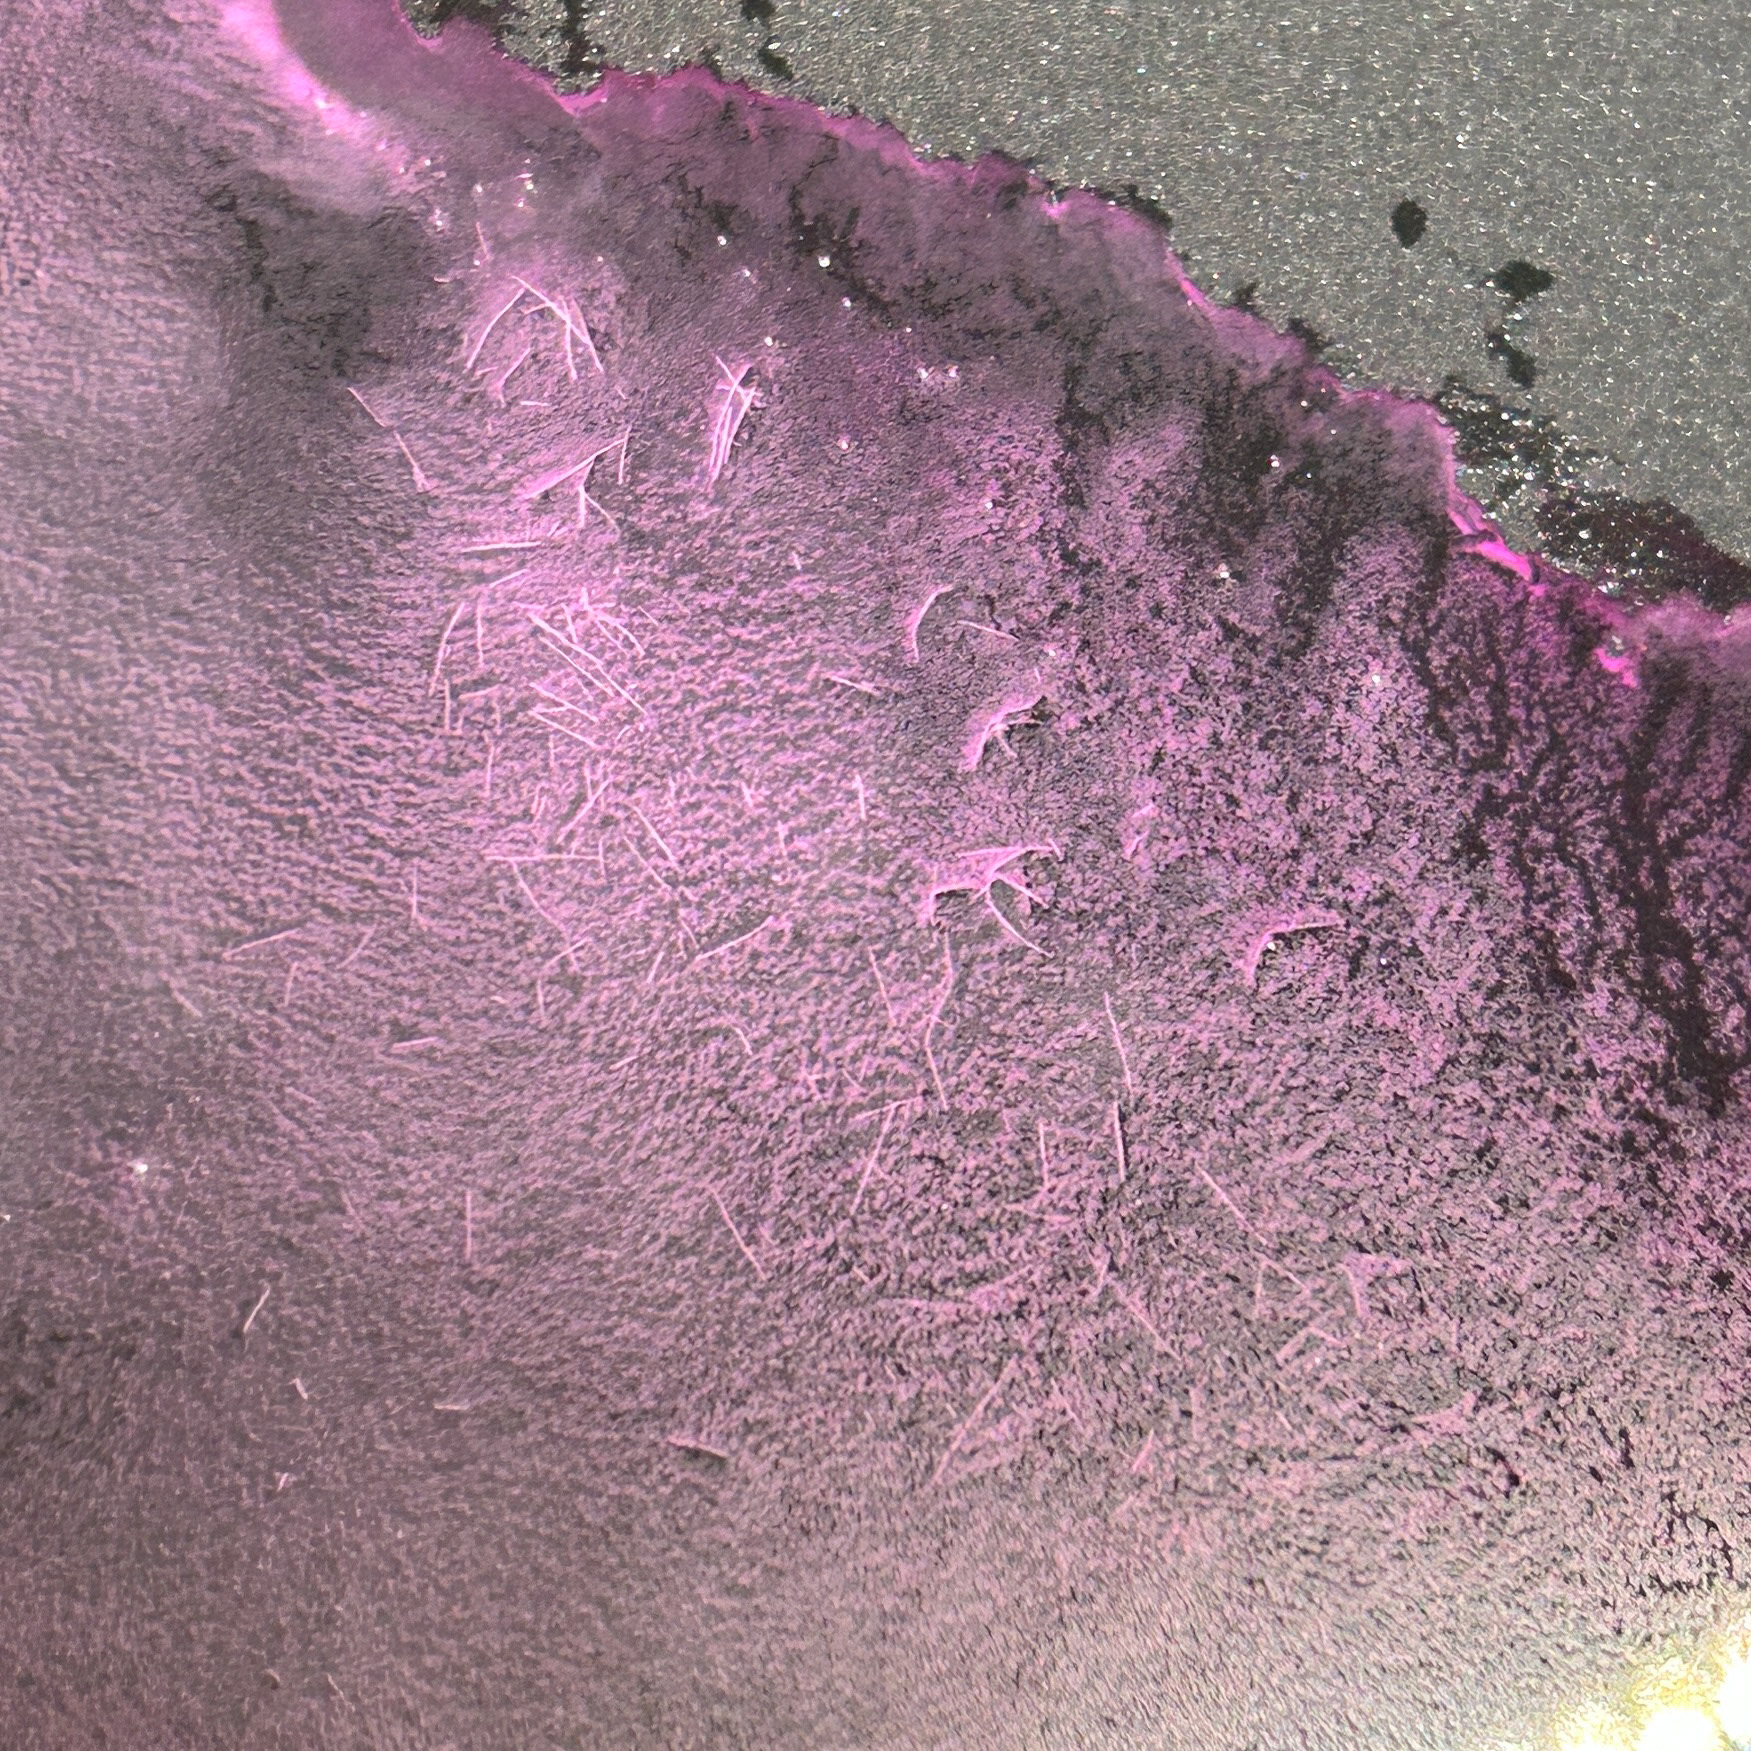
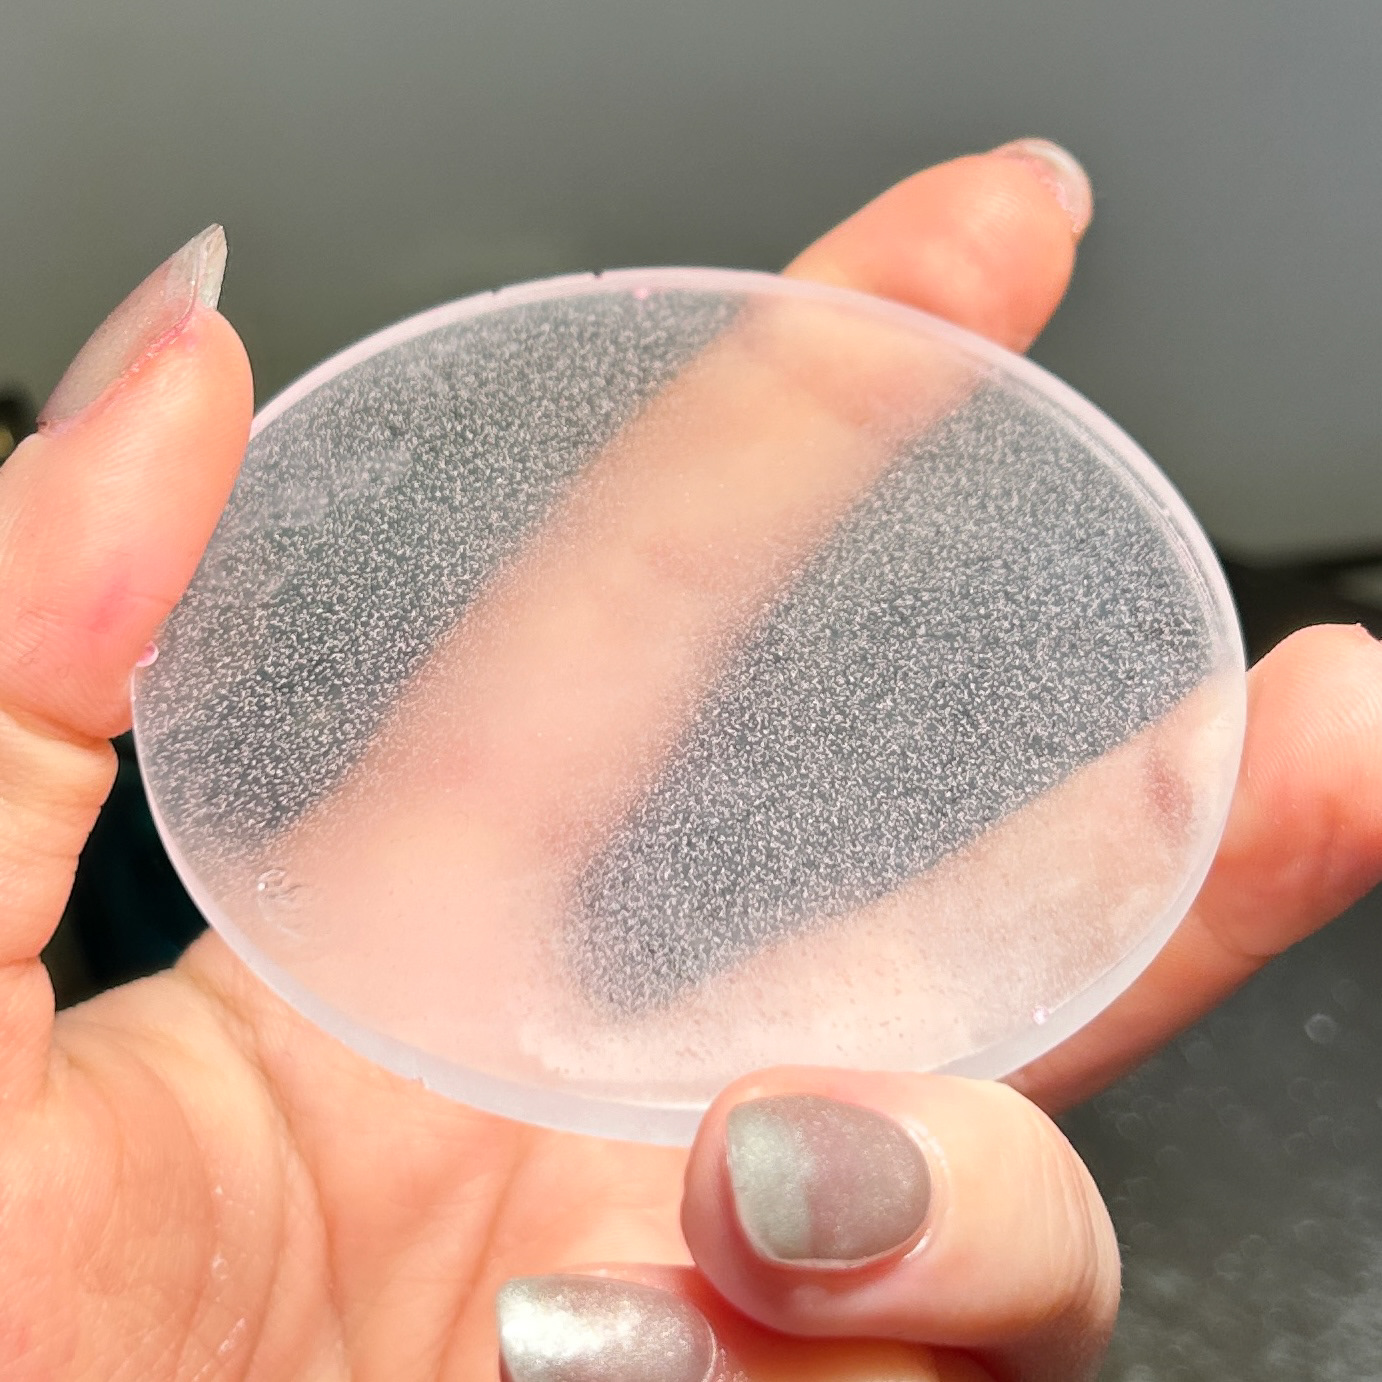
To make the bacteria resin plates, I used UV resin instead of epoxy. Because of the issues I had previously had with the epoxy sliding the agar around while curing, I decided that by using UV resin which cures under UV light in a matter of minutes, it reduced the chance for this misalignment. I had not previously tested this with a piece this large and was taking a gamble on it working correctly.
I cured a layer of resin first, added the bacteria, cured a layer around the edges, and then 2 more thinner layers on top of that. The reason I chose to do multiple thinner layers rather than one thicker one is that UV resin cures best at thinner heights. The UV light has to reach the resin to be cured and so I decided that this would be the best approach.
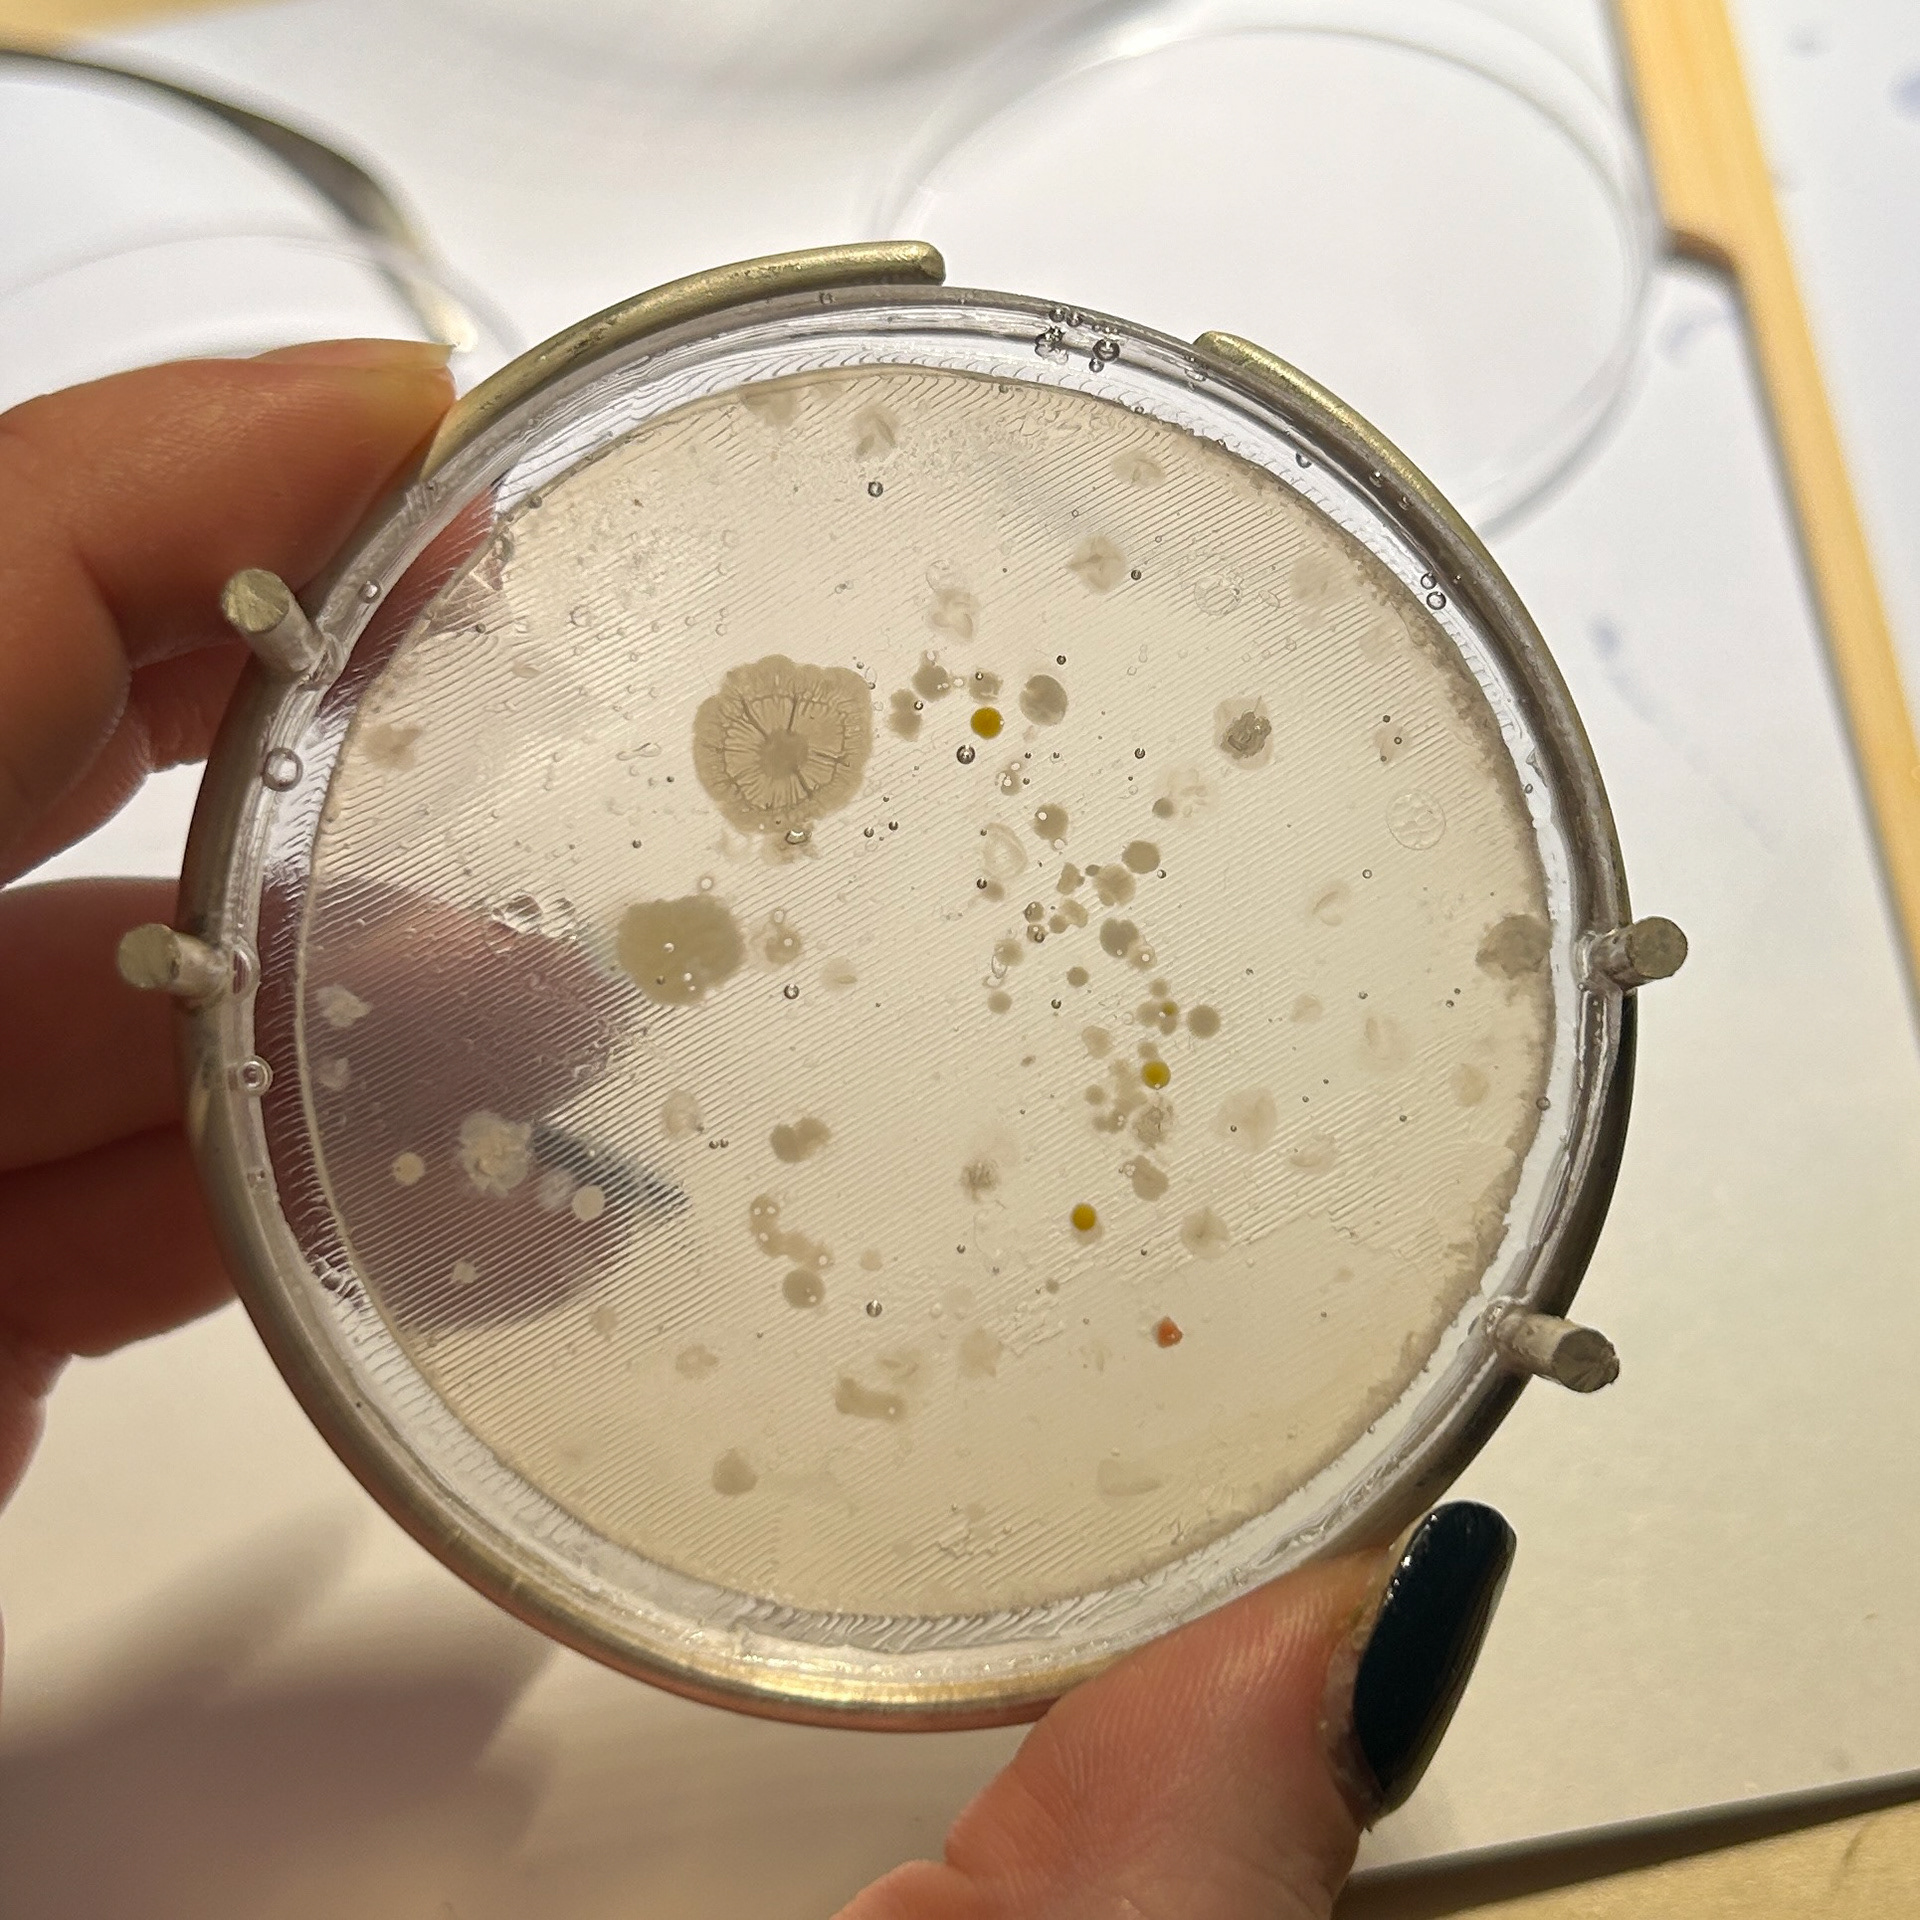
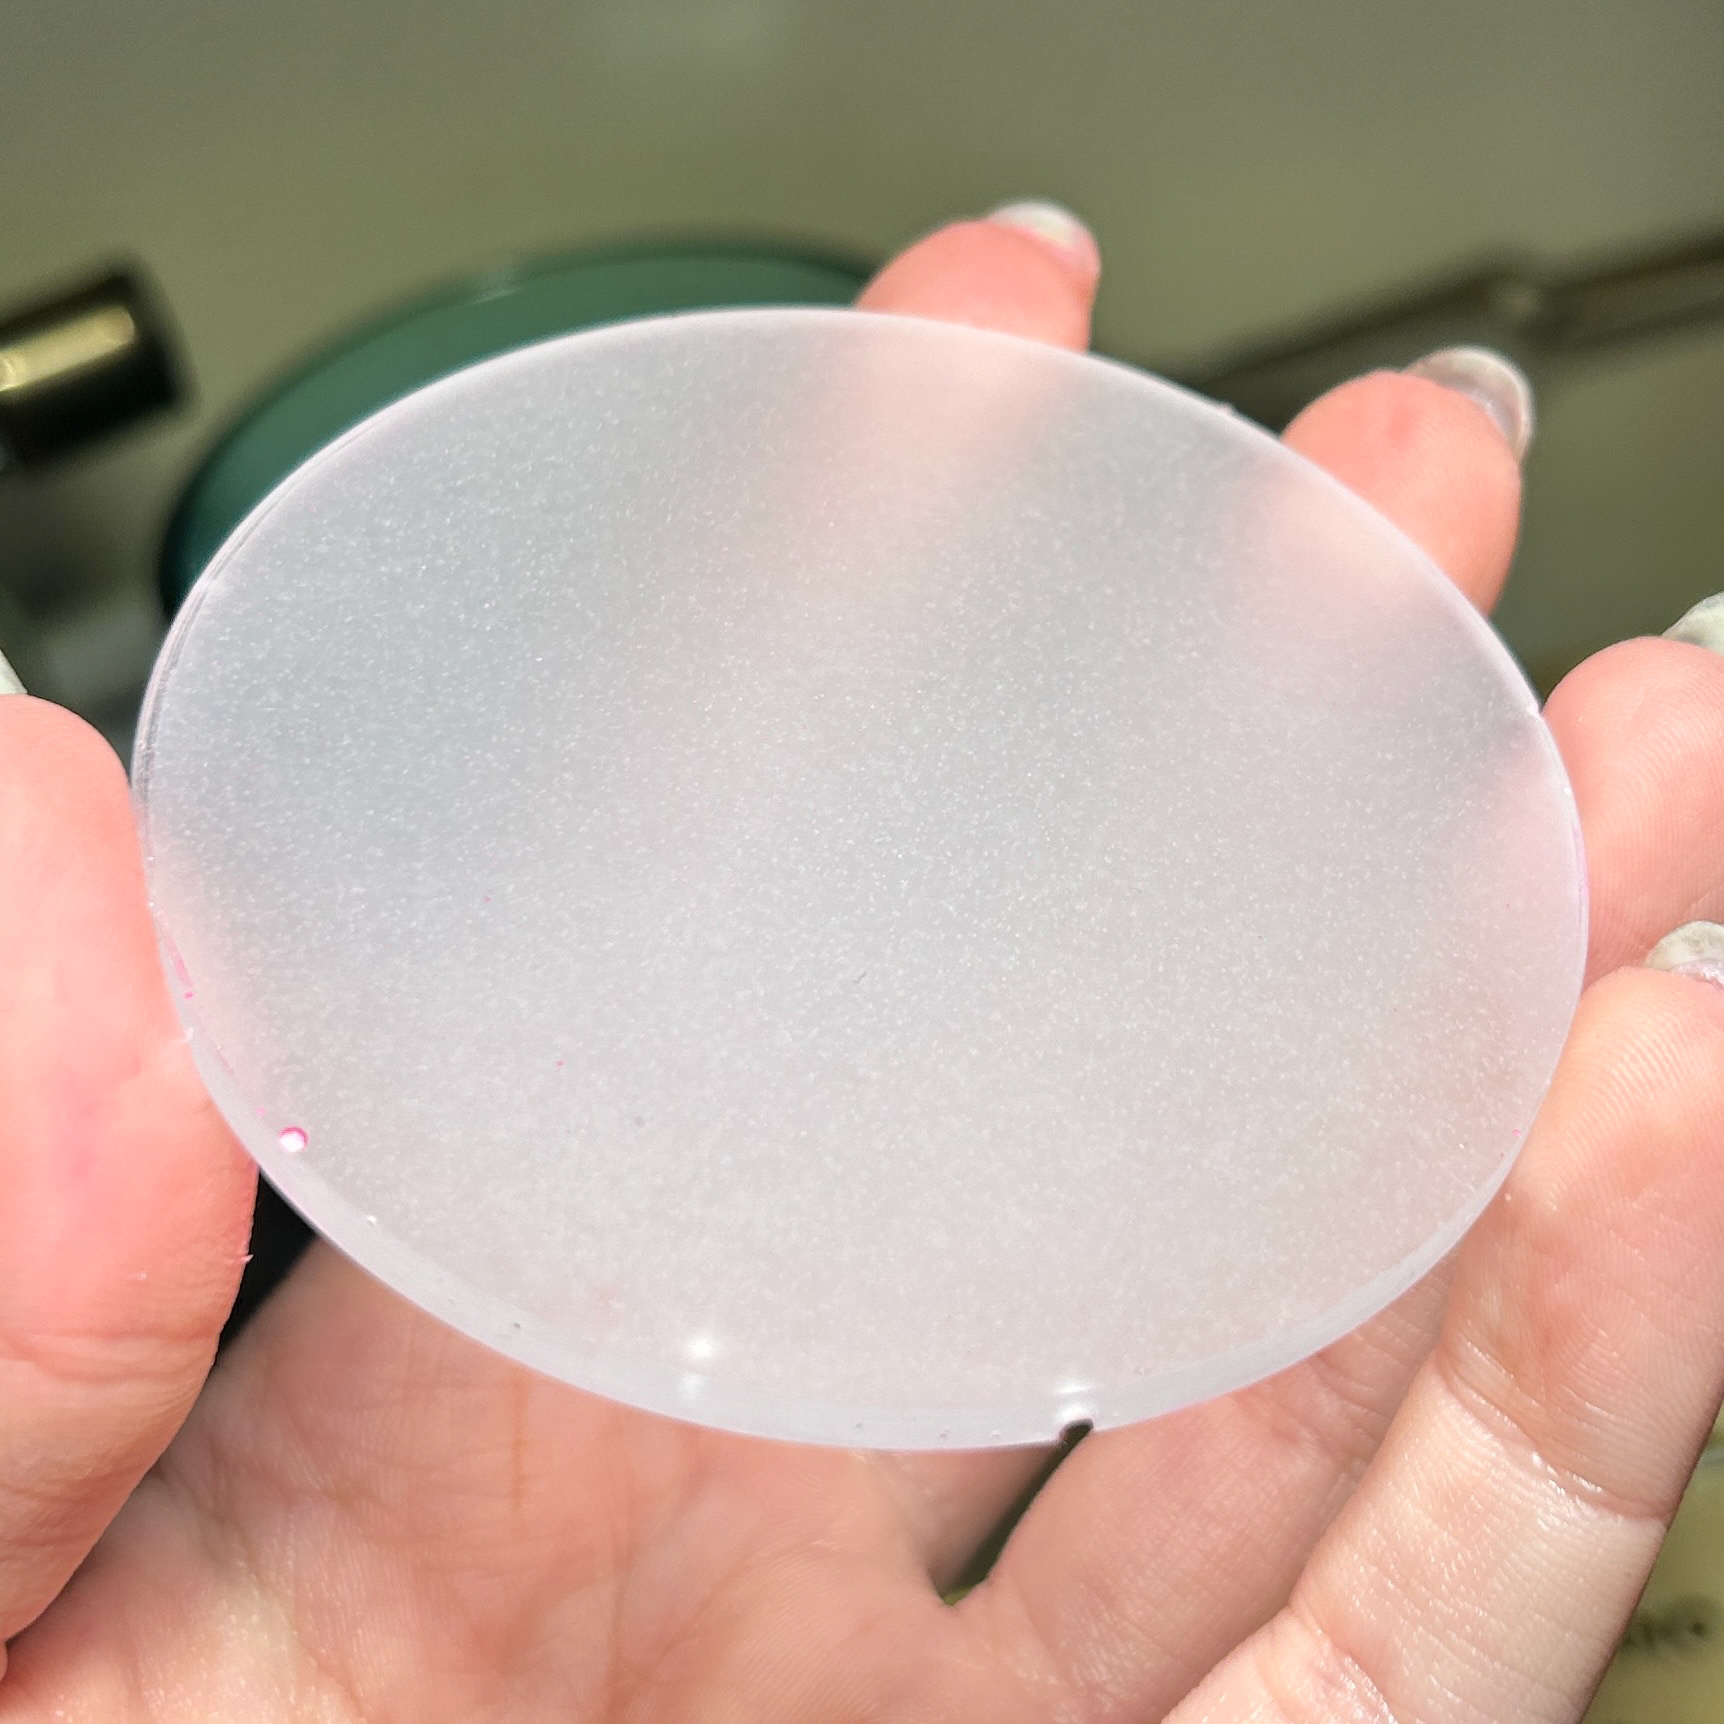
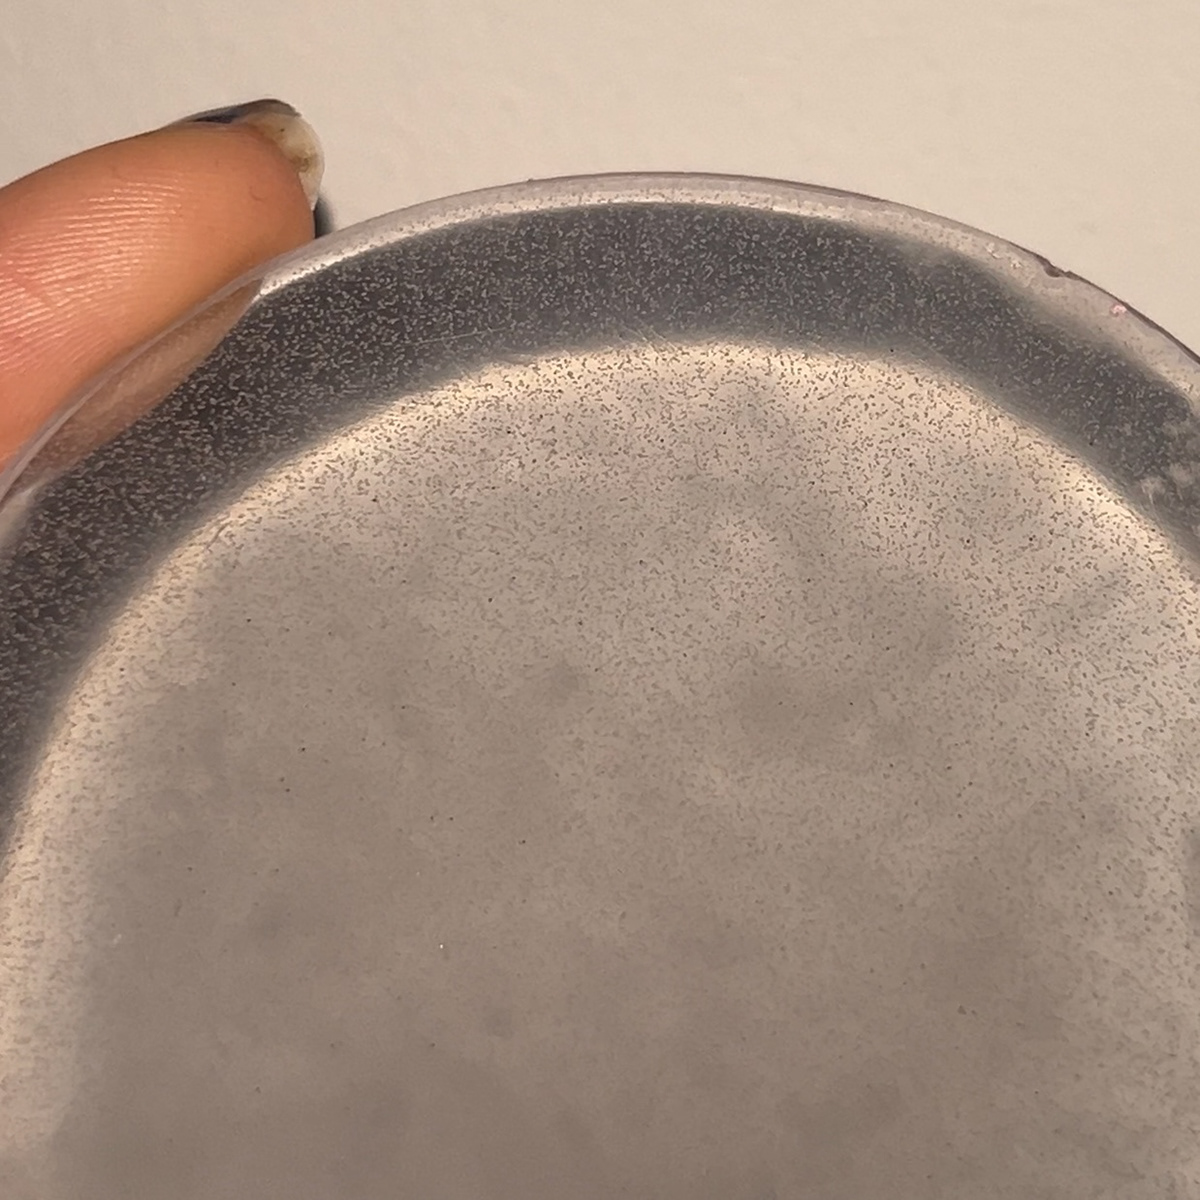
Testing the fit using the siver bezel
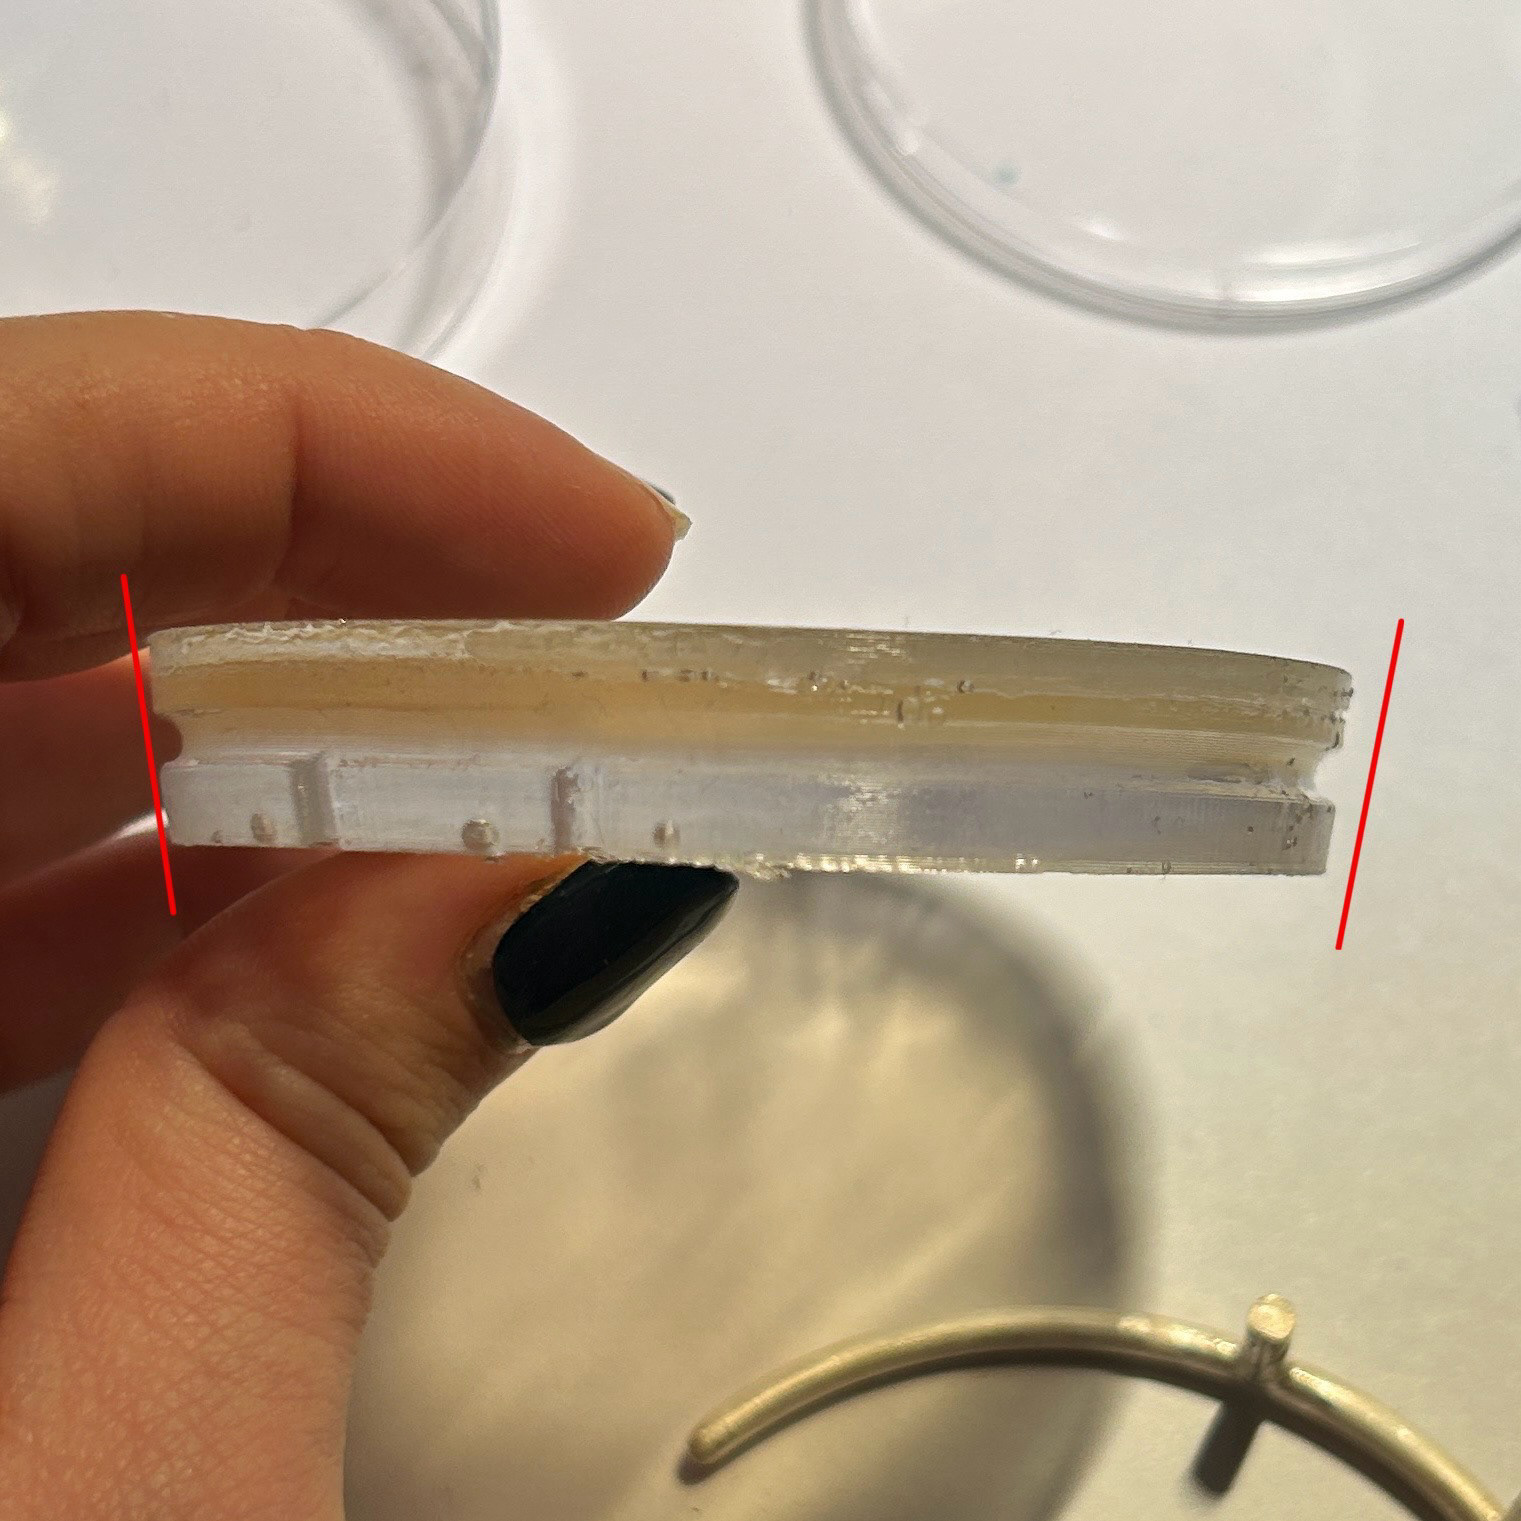
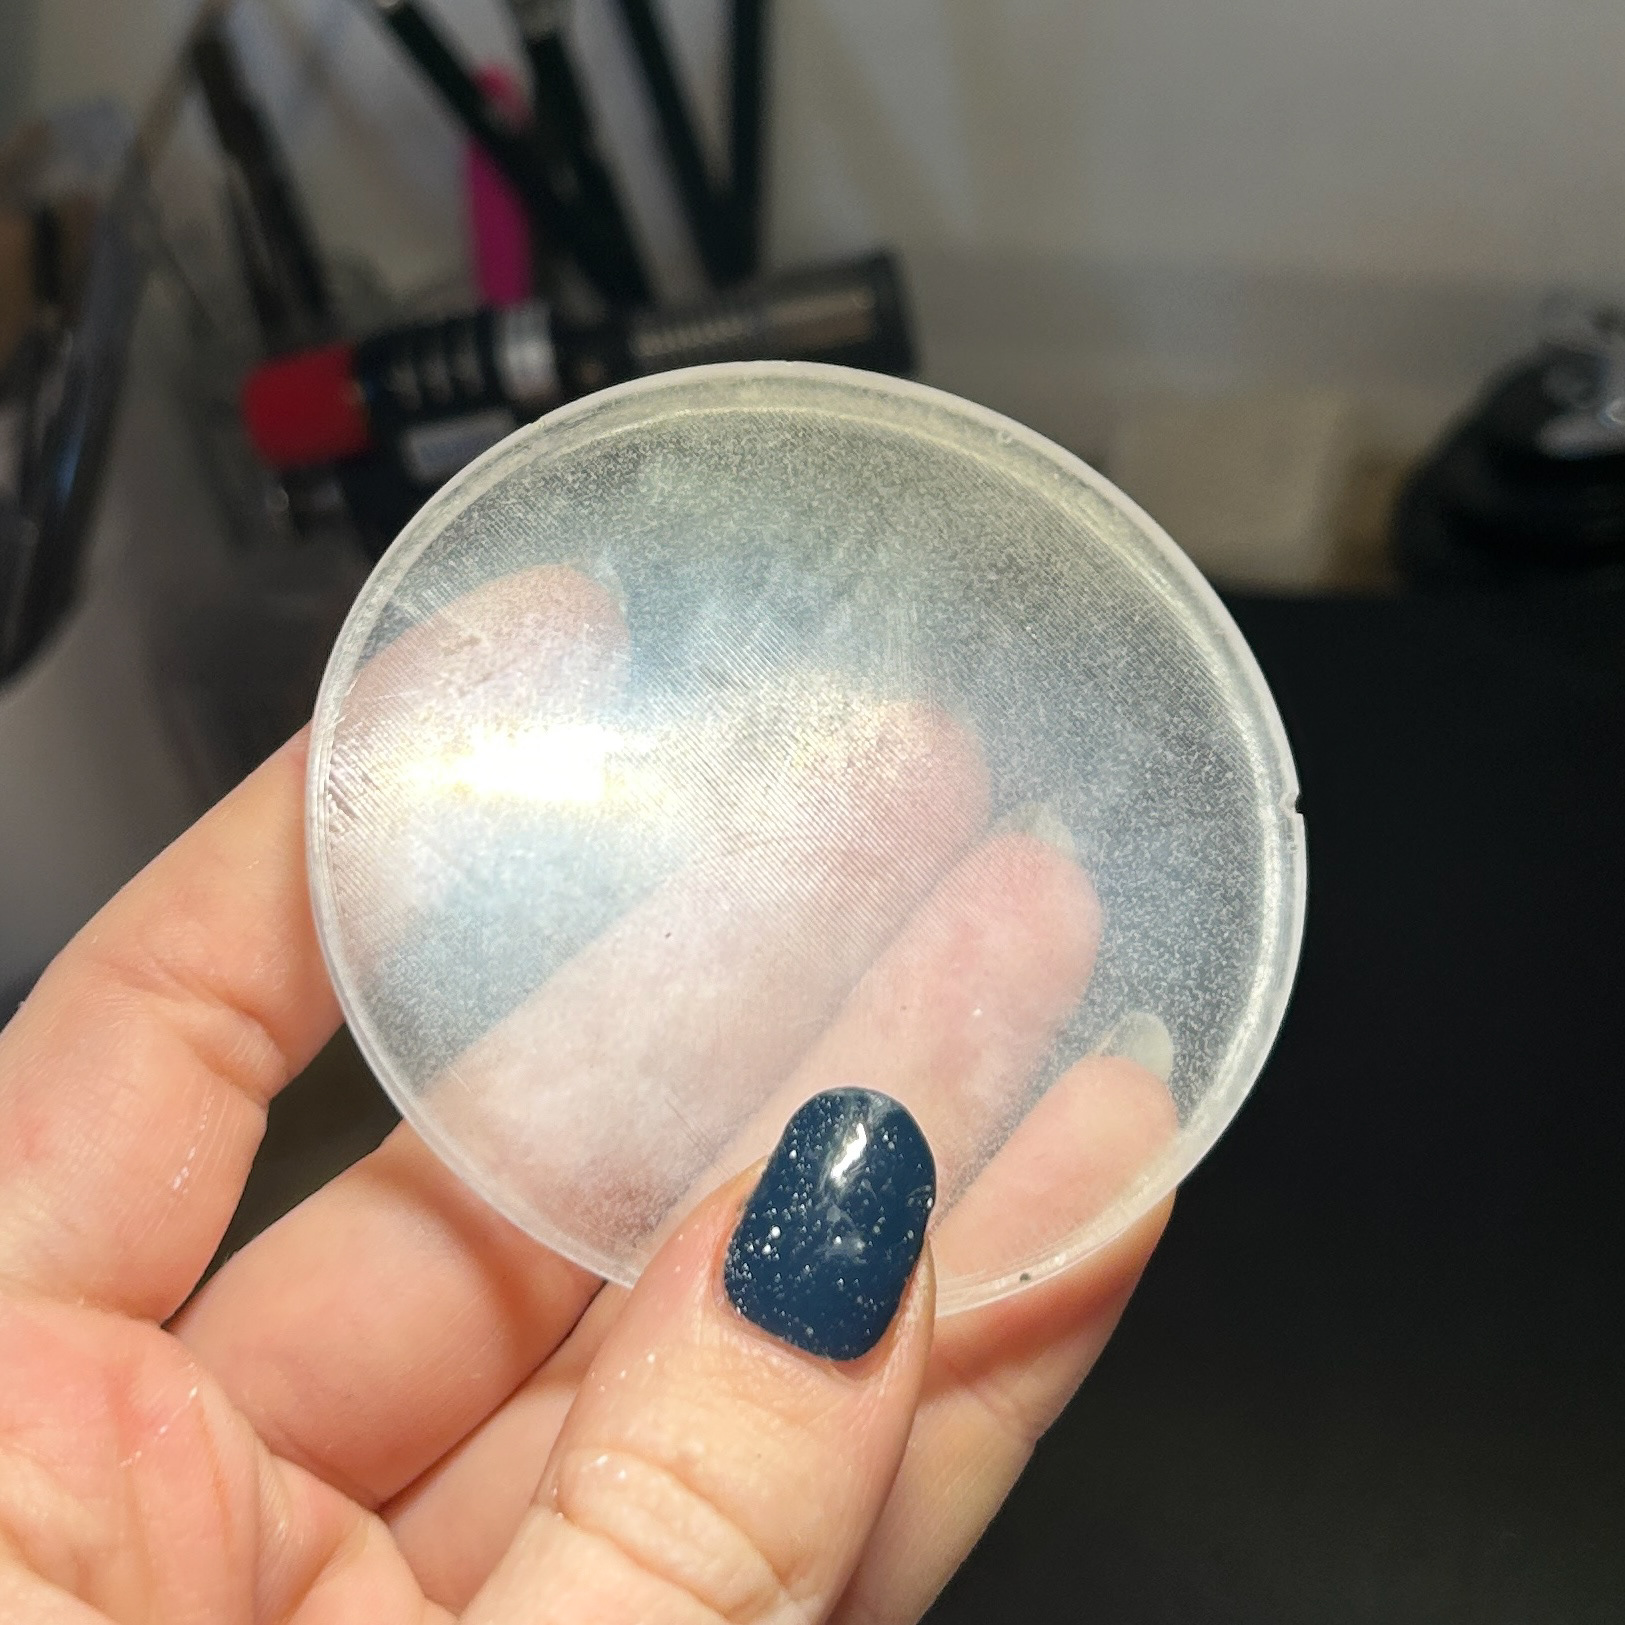
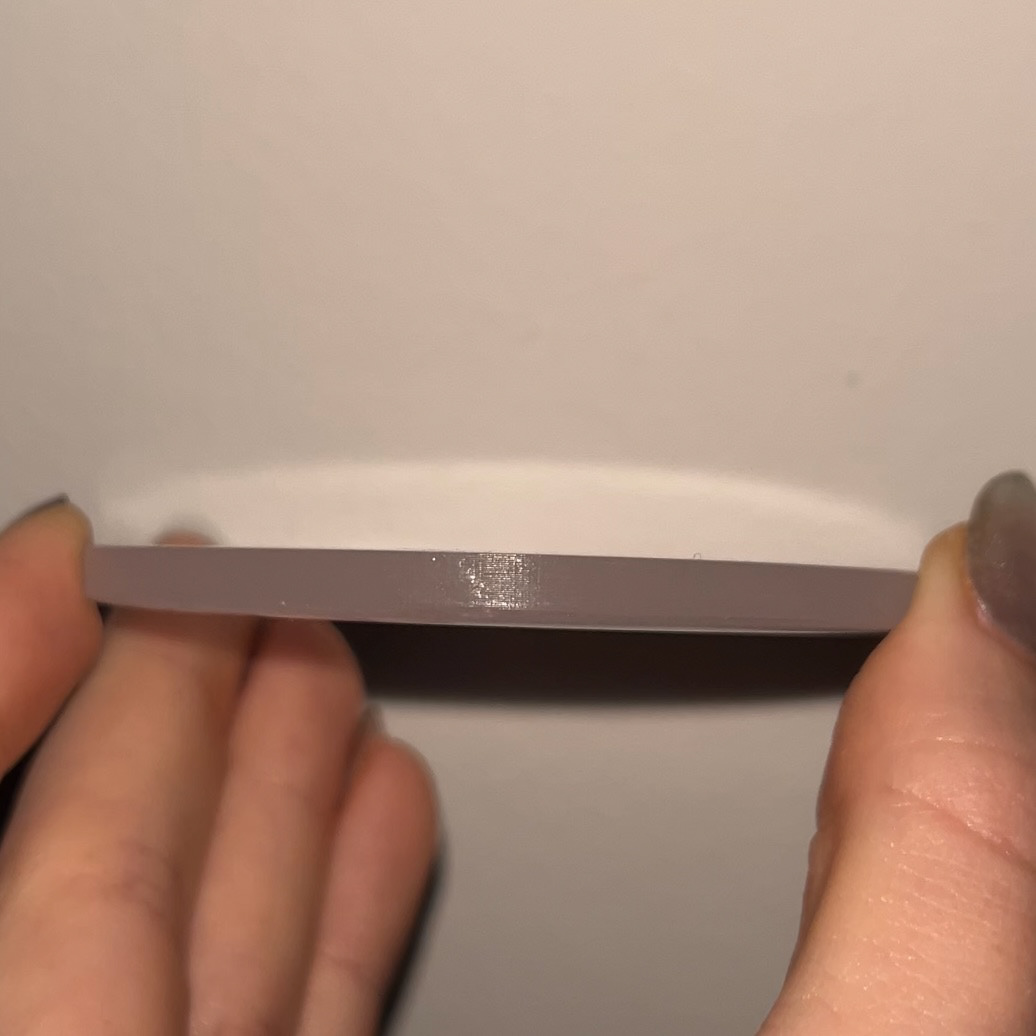
Showing the shrinkage of the UV resin
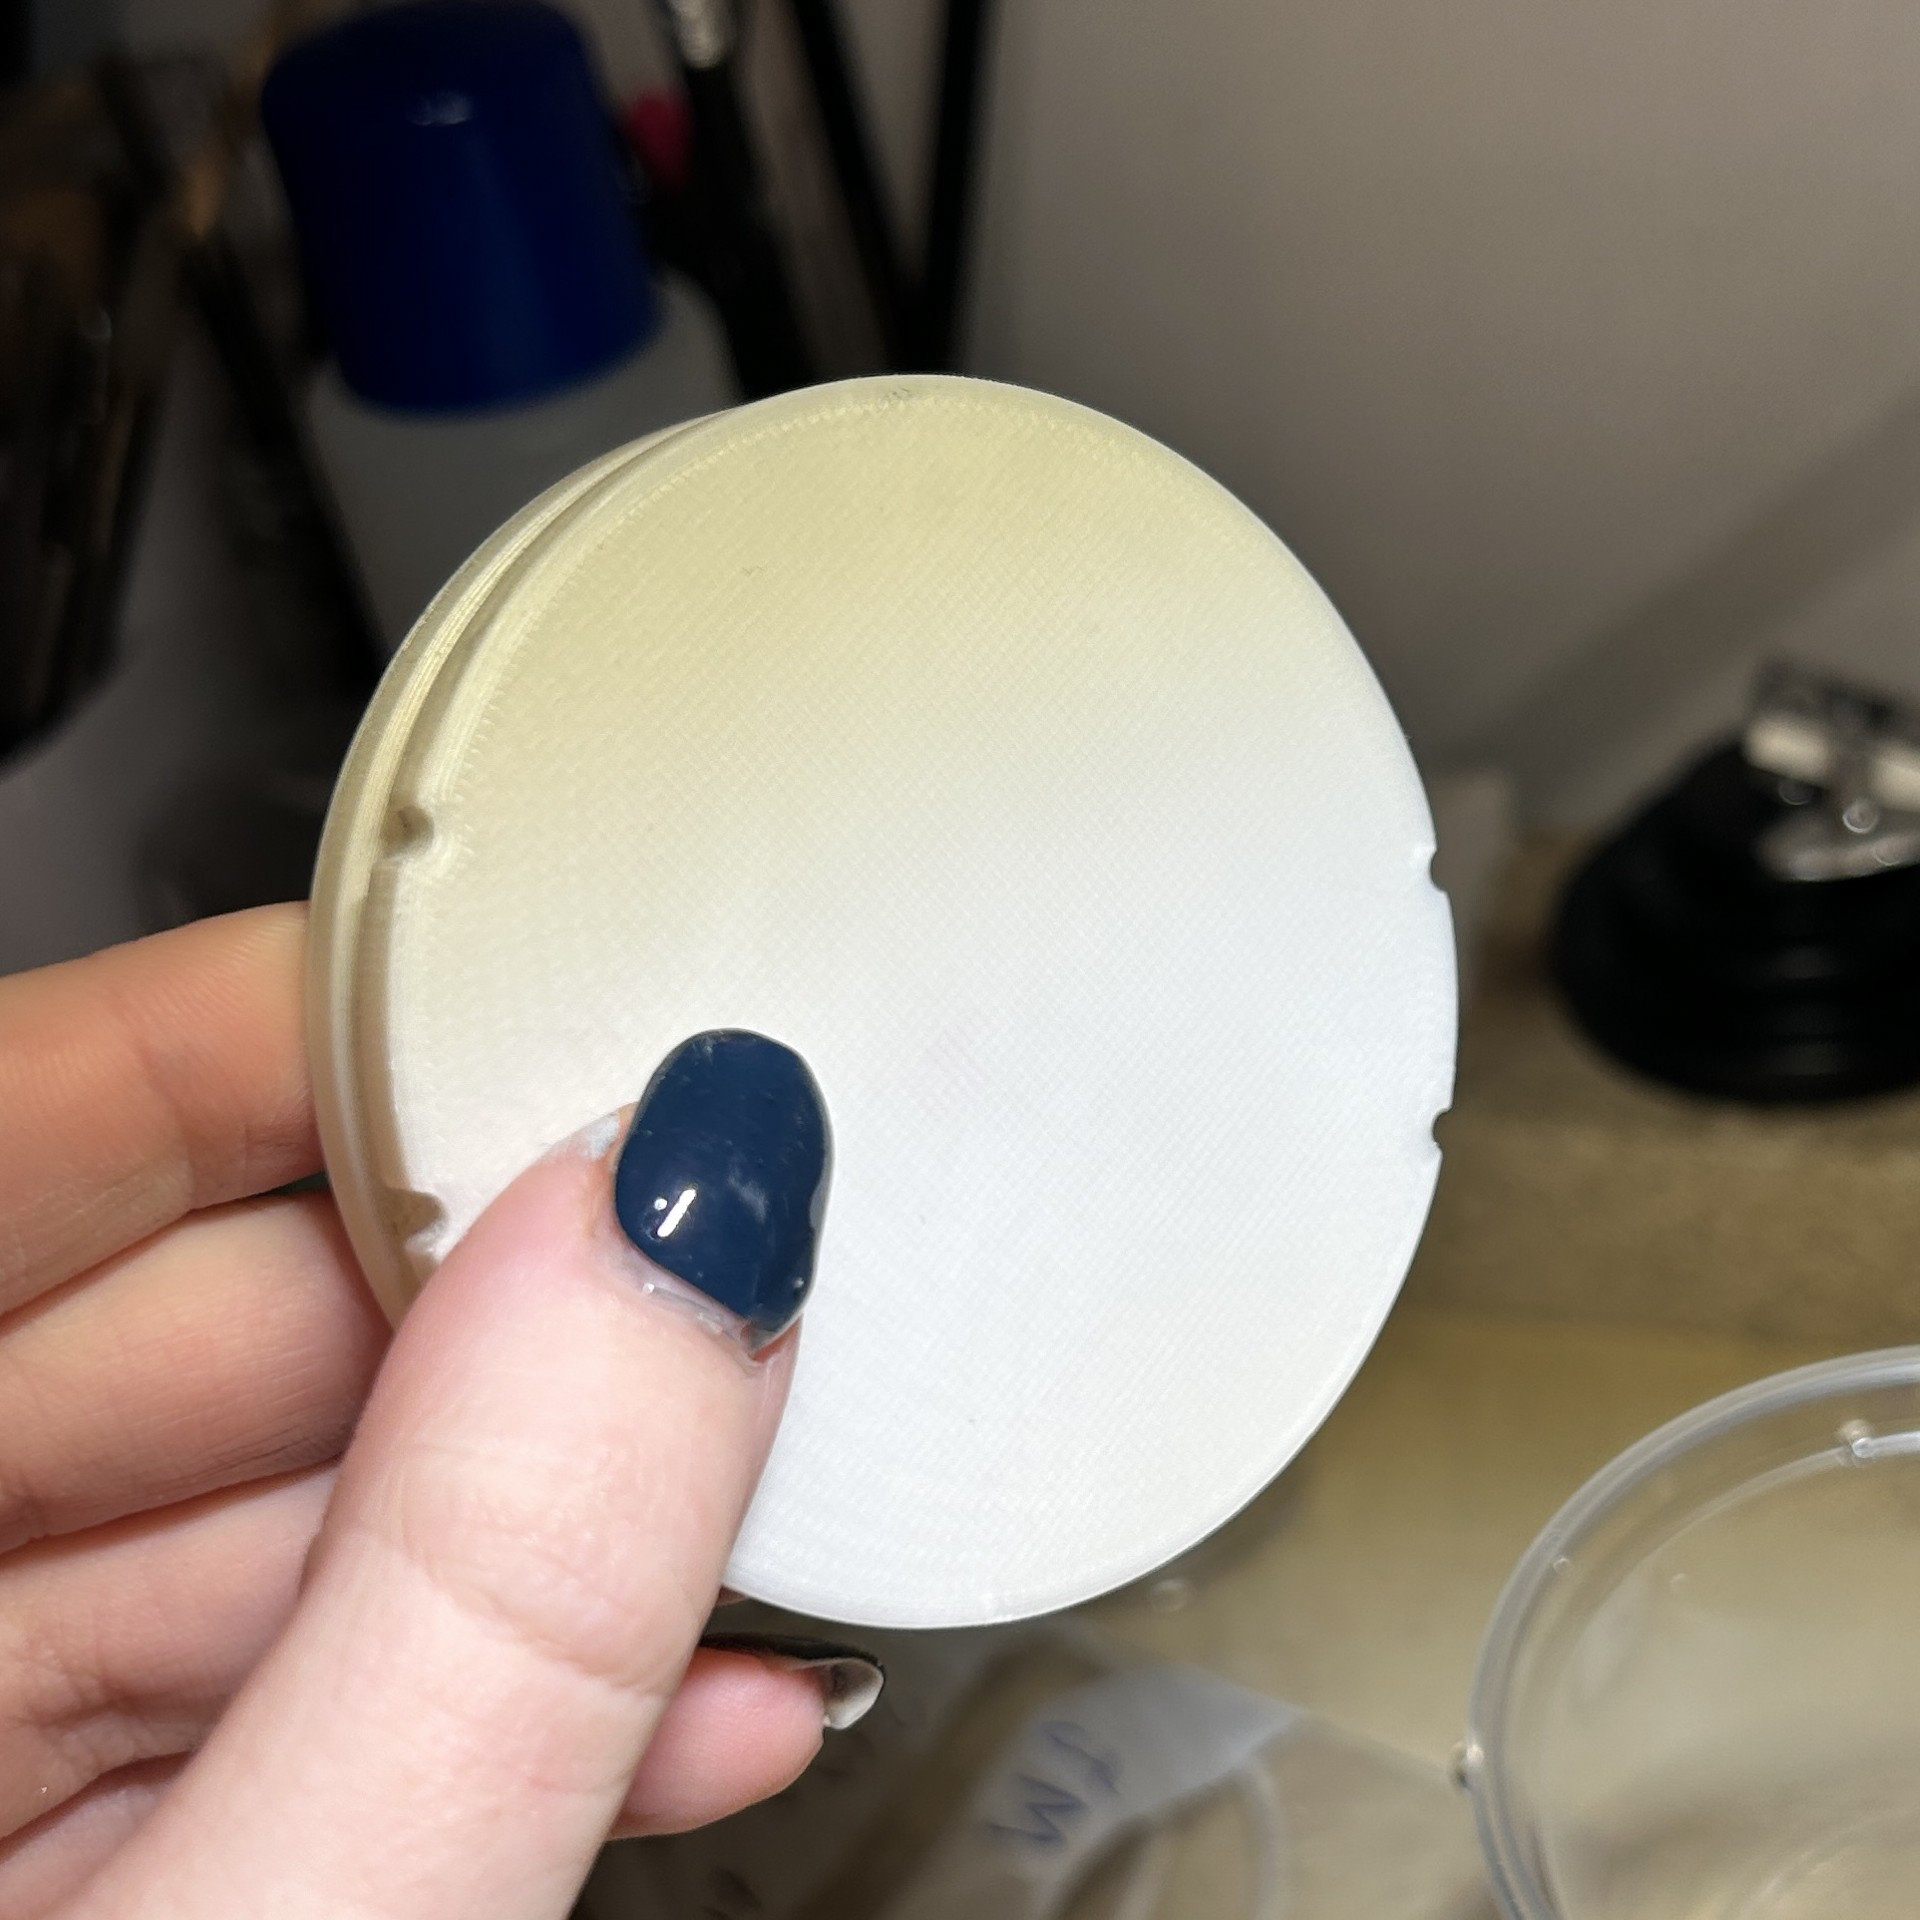
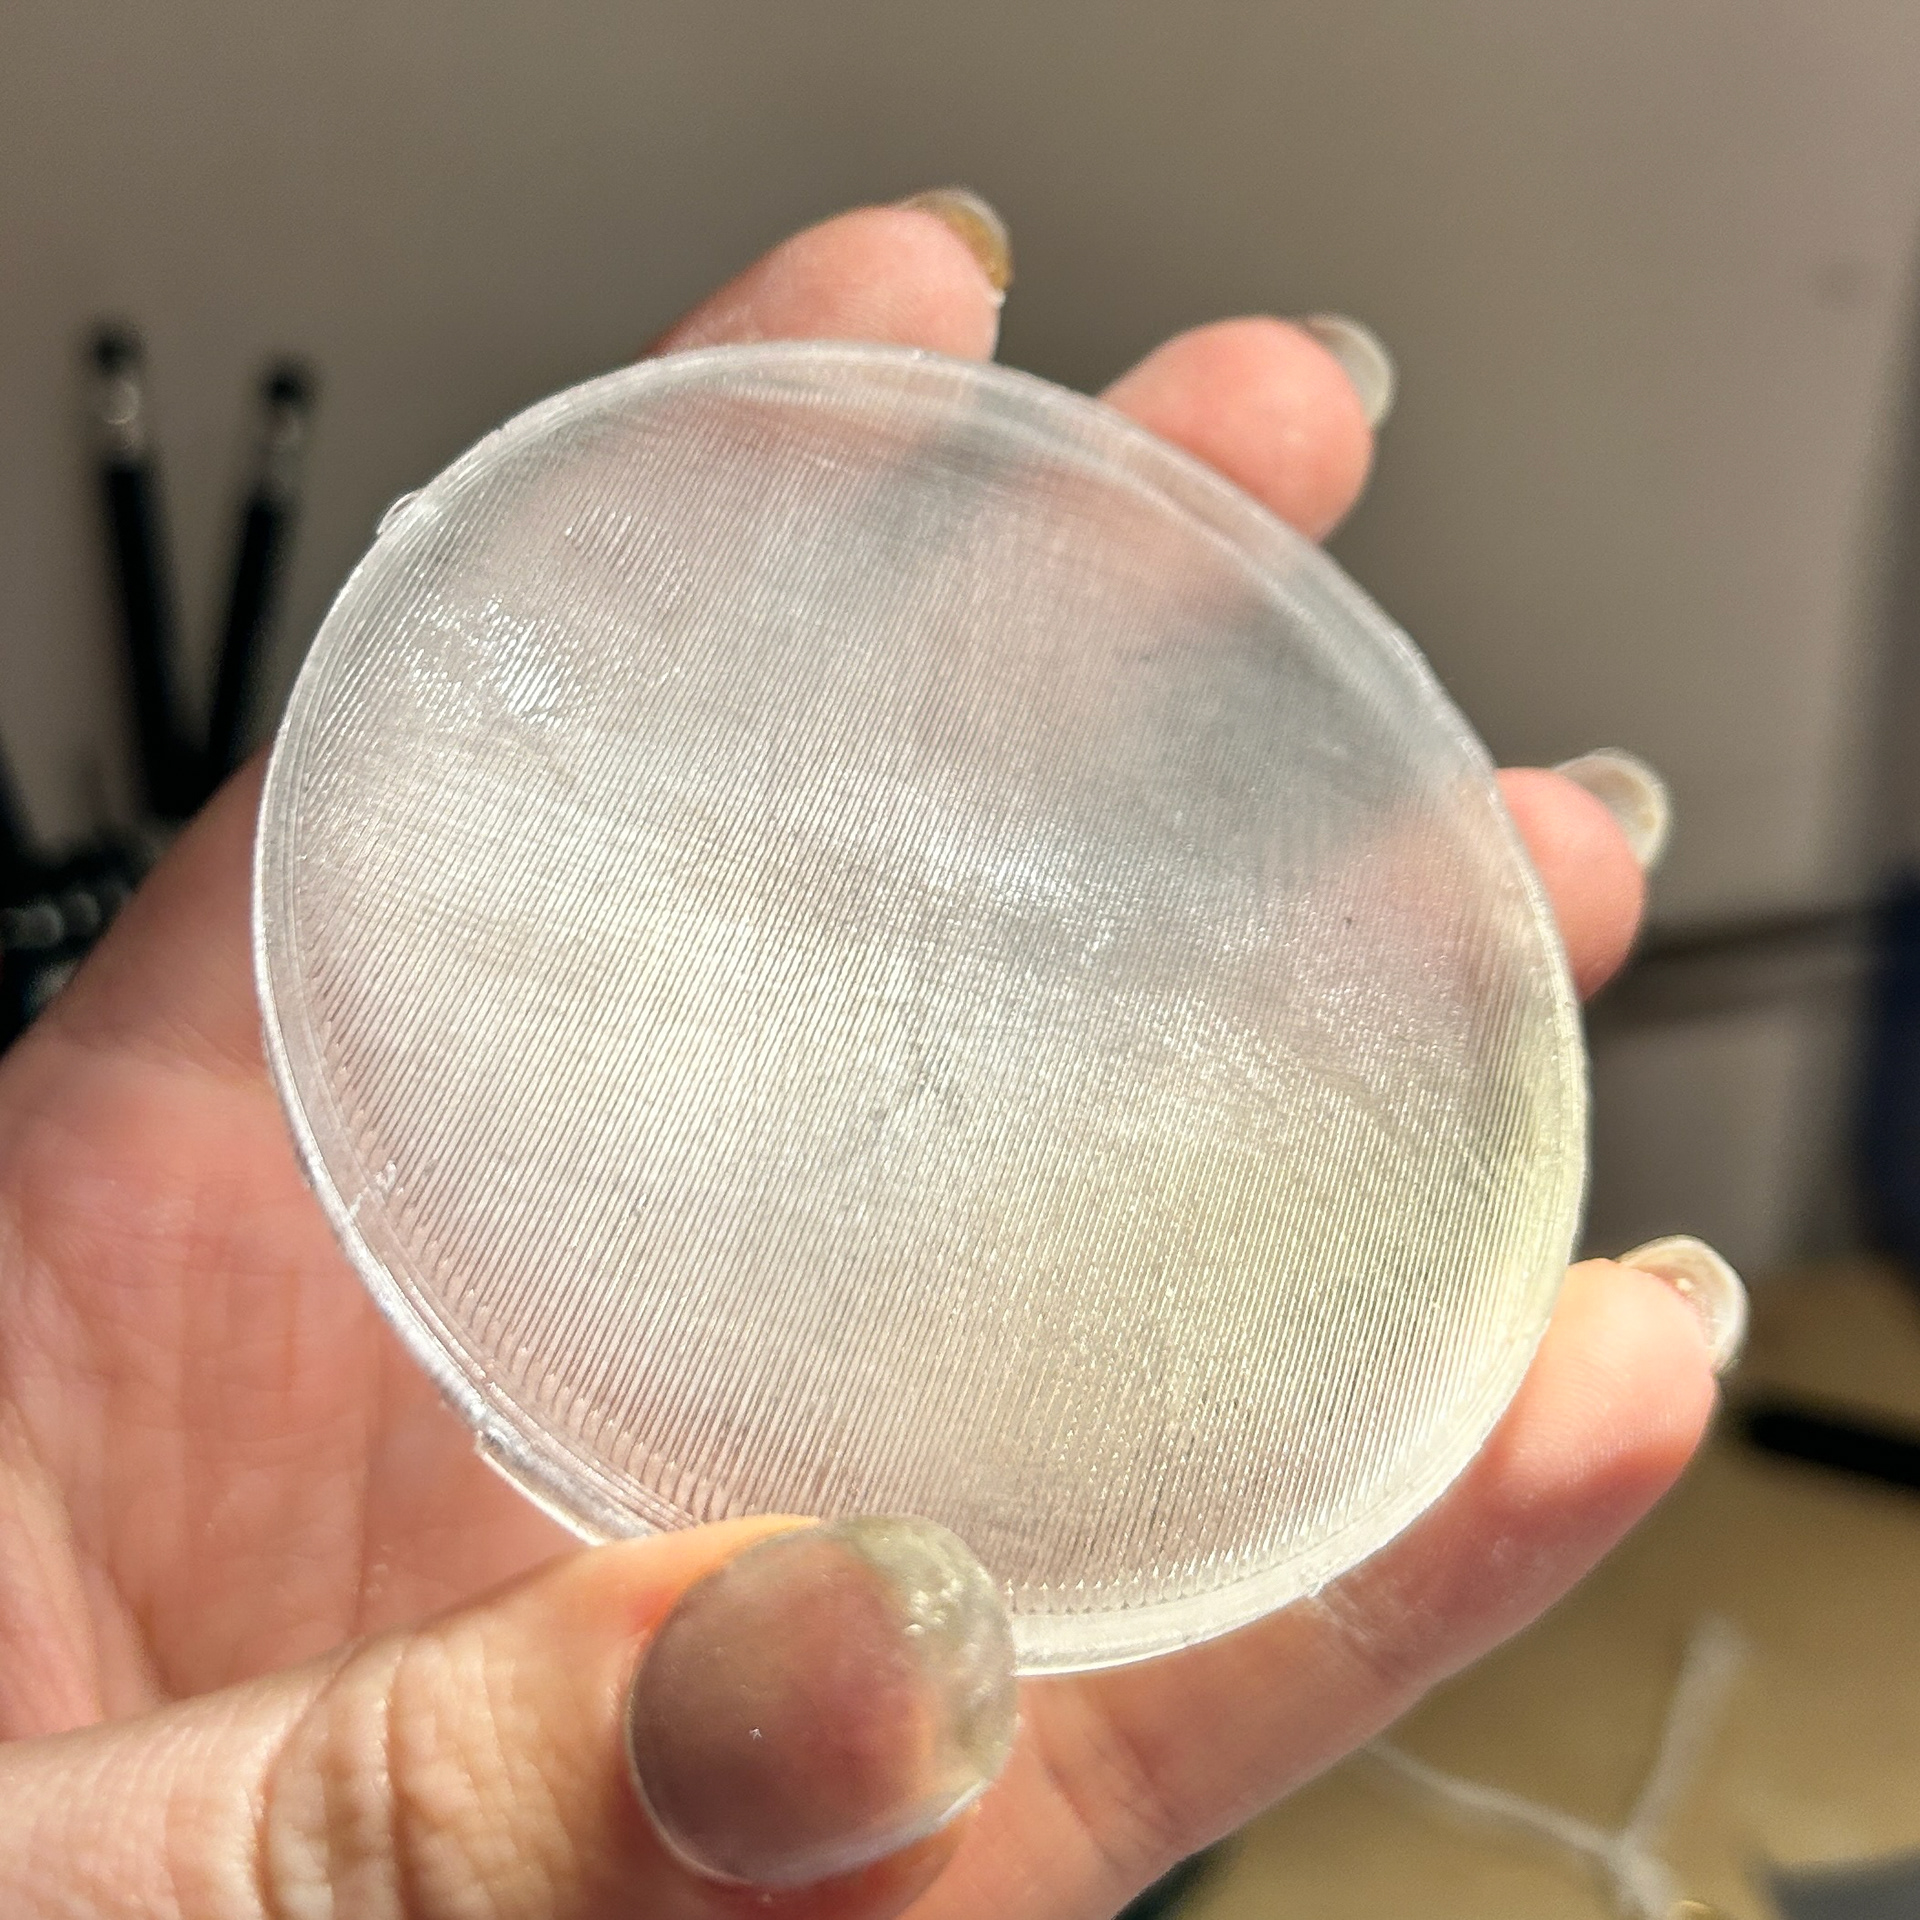
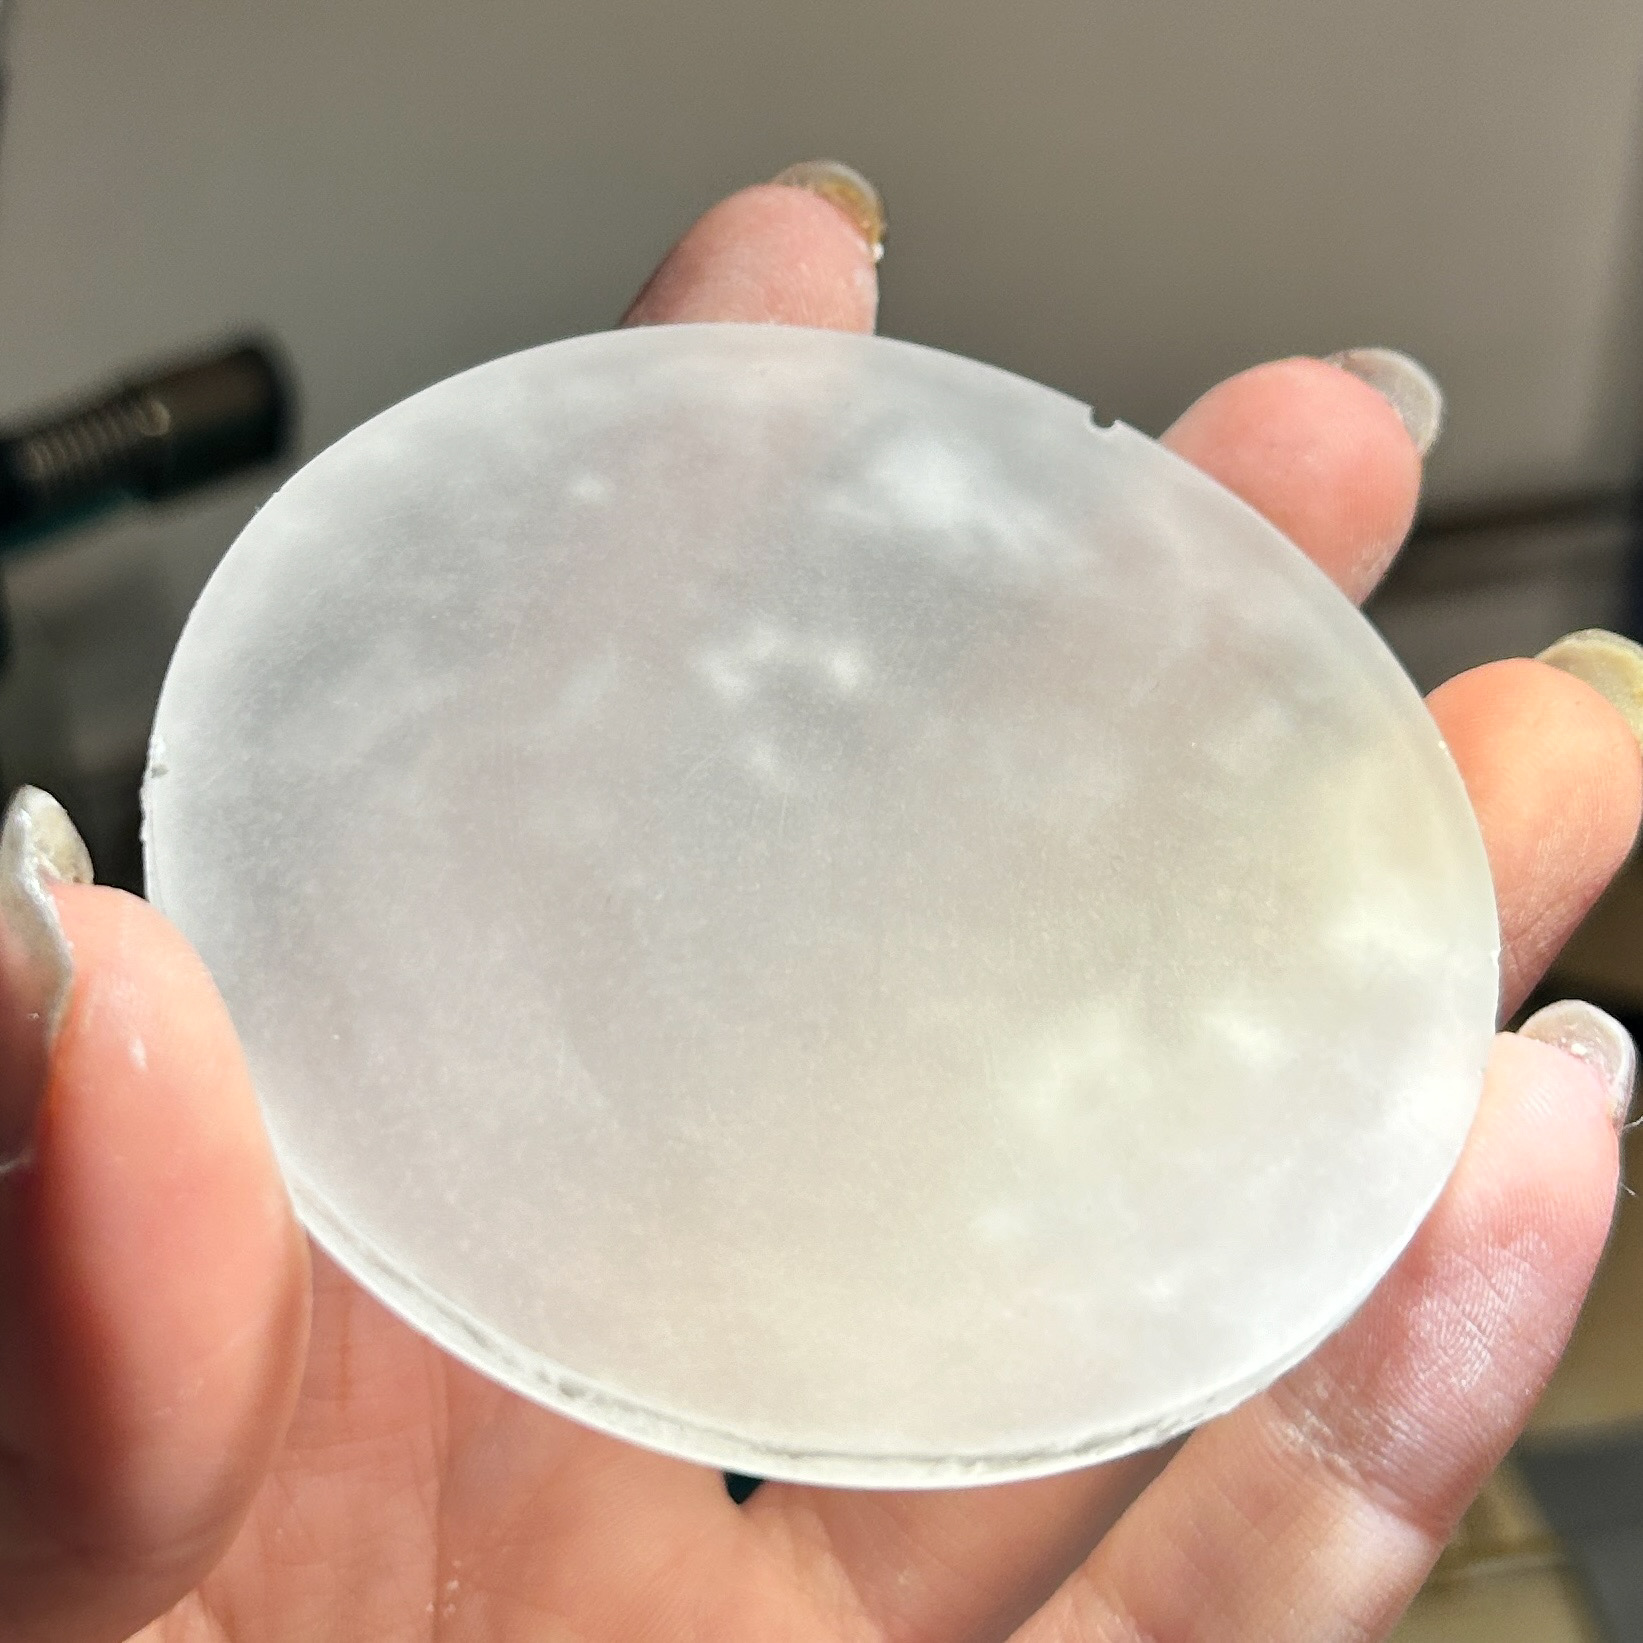
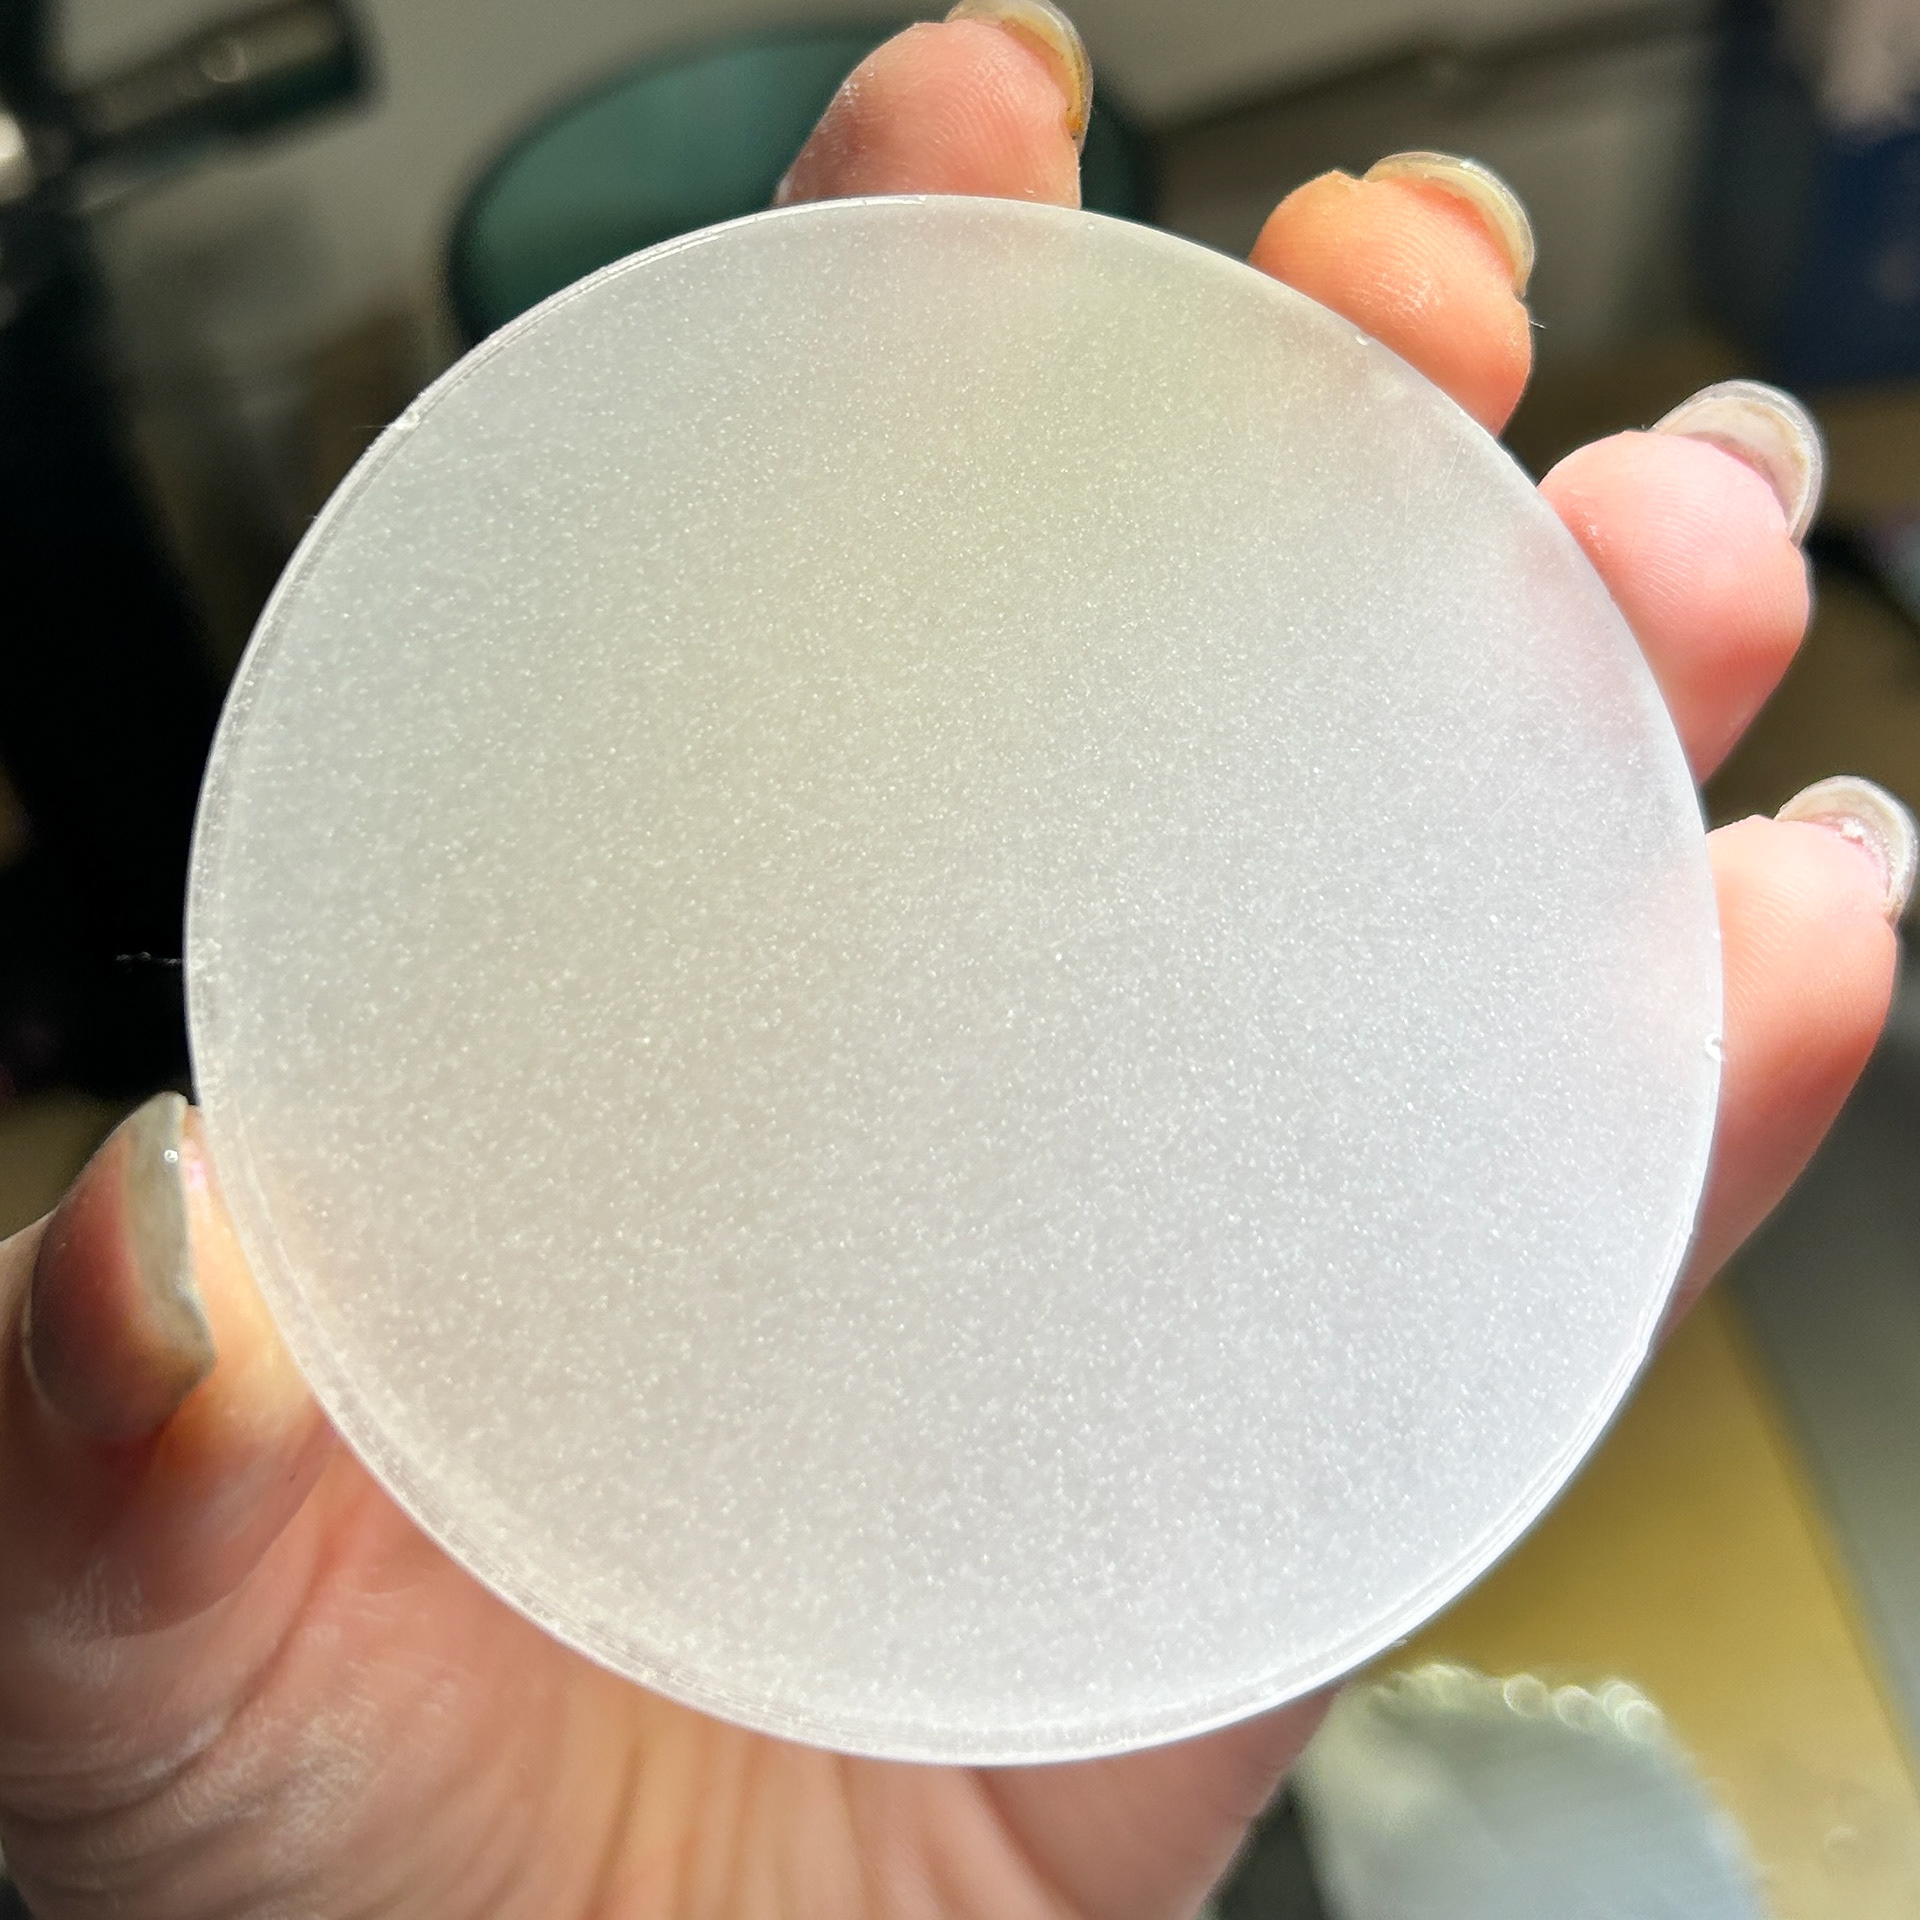
After demoulding the resin I unfortunately found a few issues. The sanding I had done on my 3D prints was not enough, and had left multiple lines all over my resin. While I did not hate this, it was not what I wanted for the front of my piece, as you could not properly see the bacteria. As well as that, there was some noticeable shrinkage of the resin, resulting in the edges being at an angle, as shown in picture 2.
This was very frustrating on both parts, it meant that I had to remake my silicone moulds after sanding my prints again, and also meant that I had to go back to using epoxy resin, which will take much longer to cure. This meant that I was stretched for time, however, luckily both of these problems could be fixed outside of the workshop, and so I was not having to rely on workshop availability.
However, even with these problems, it did give me the chance to see what my final piece would look like, which I was starting to like.

After speaking with Geoff about the problems I had with the resin, he suggested that I speak to Bentley Advanced Materials, a company who supply materials for casting. After speaking with them on the phone, I was unfortunately told that the only resin that isn't sensitive to moisture and has virtually no shrinkage would be epoxy resin. I was told that there are epoxy resins that have different curing times, however with anything that might have moisture, a resin with a longer cure time would be better, as the moisture would not "shock" the resin while curing and cause cloudiness.
While this was frustrating, it meant that I could go back and sand my prints for another set of silicone moulds and then start on the resin right away. I decided to use the same resin that I have used previously in this project, as I know that it works and is not affected by the moisture in the agar jelly.
I also spoke to Bentley Advanced Materials about the movement of the agar within the resin while curing. They suggested that I use something like a pane of glass to create a completely smooth surface, however, movement with something that is mainly water-based is not uncommon (for reasons that the person I spoke to could not explain). While this is frustrating to hear, it does mean that I can only do my best to create a completely flat surface.
I mentioned that I had previously applied a thin layer of epoxy resin over the cured layer before adding the agar to help secure it. They suggested a different approach: instead of pouring a layer, I should try painting on a very thin coat, waiting about 30 minutes for it to become tacky, and then adding the agar. I will be using this method in my next set of resin dishes.
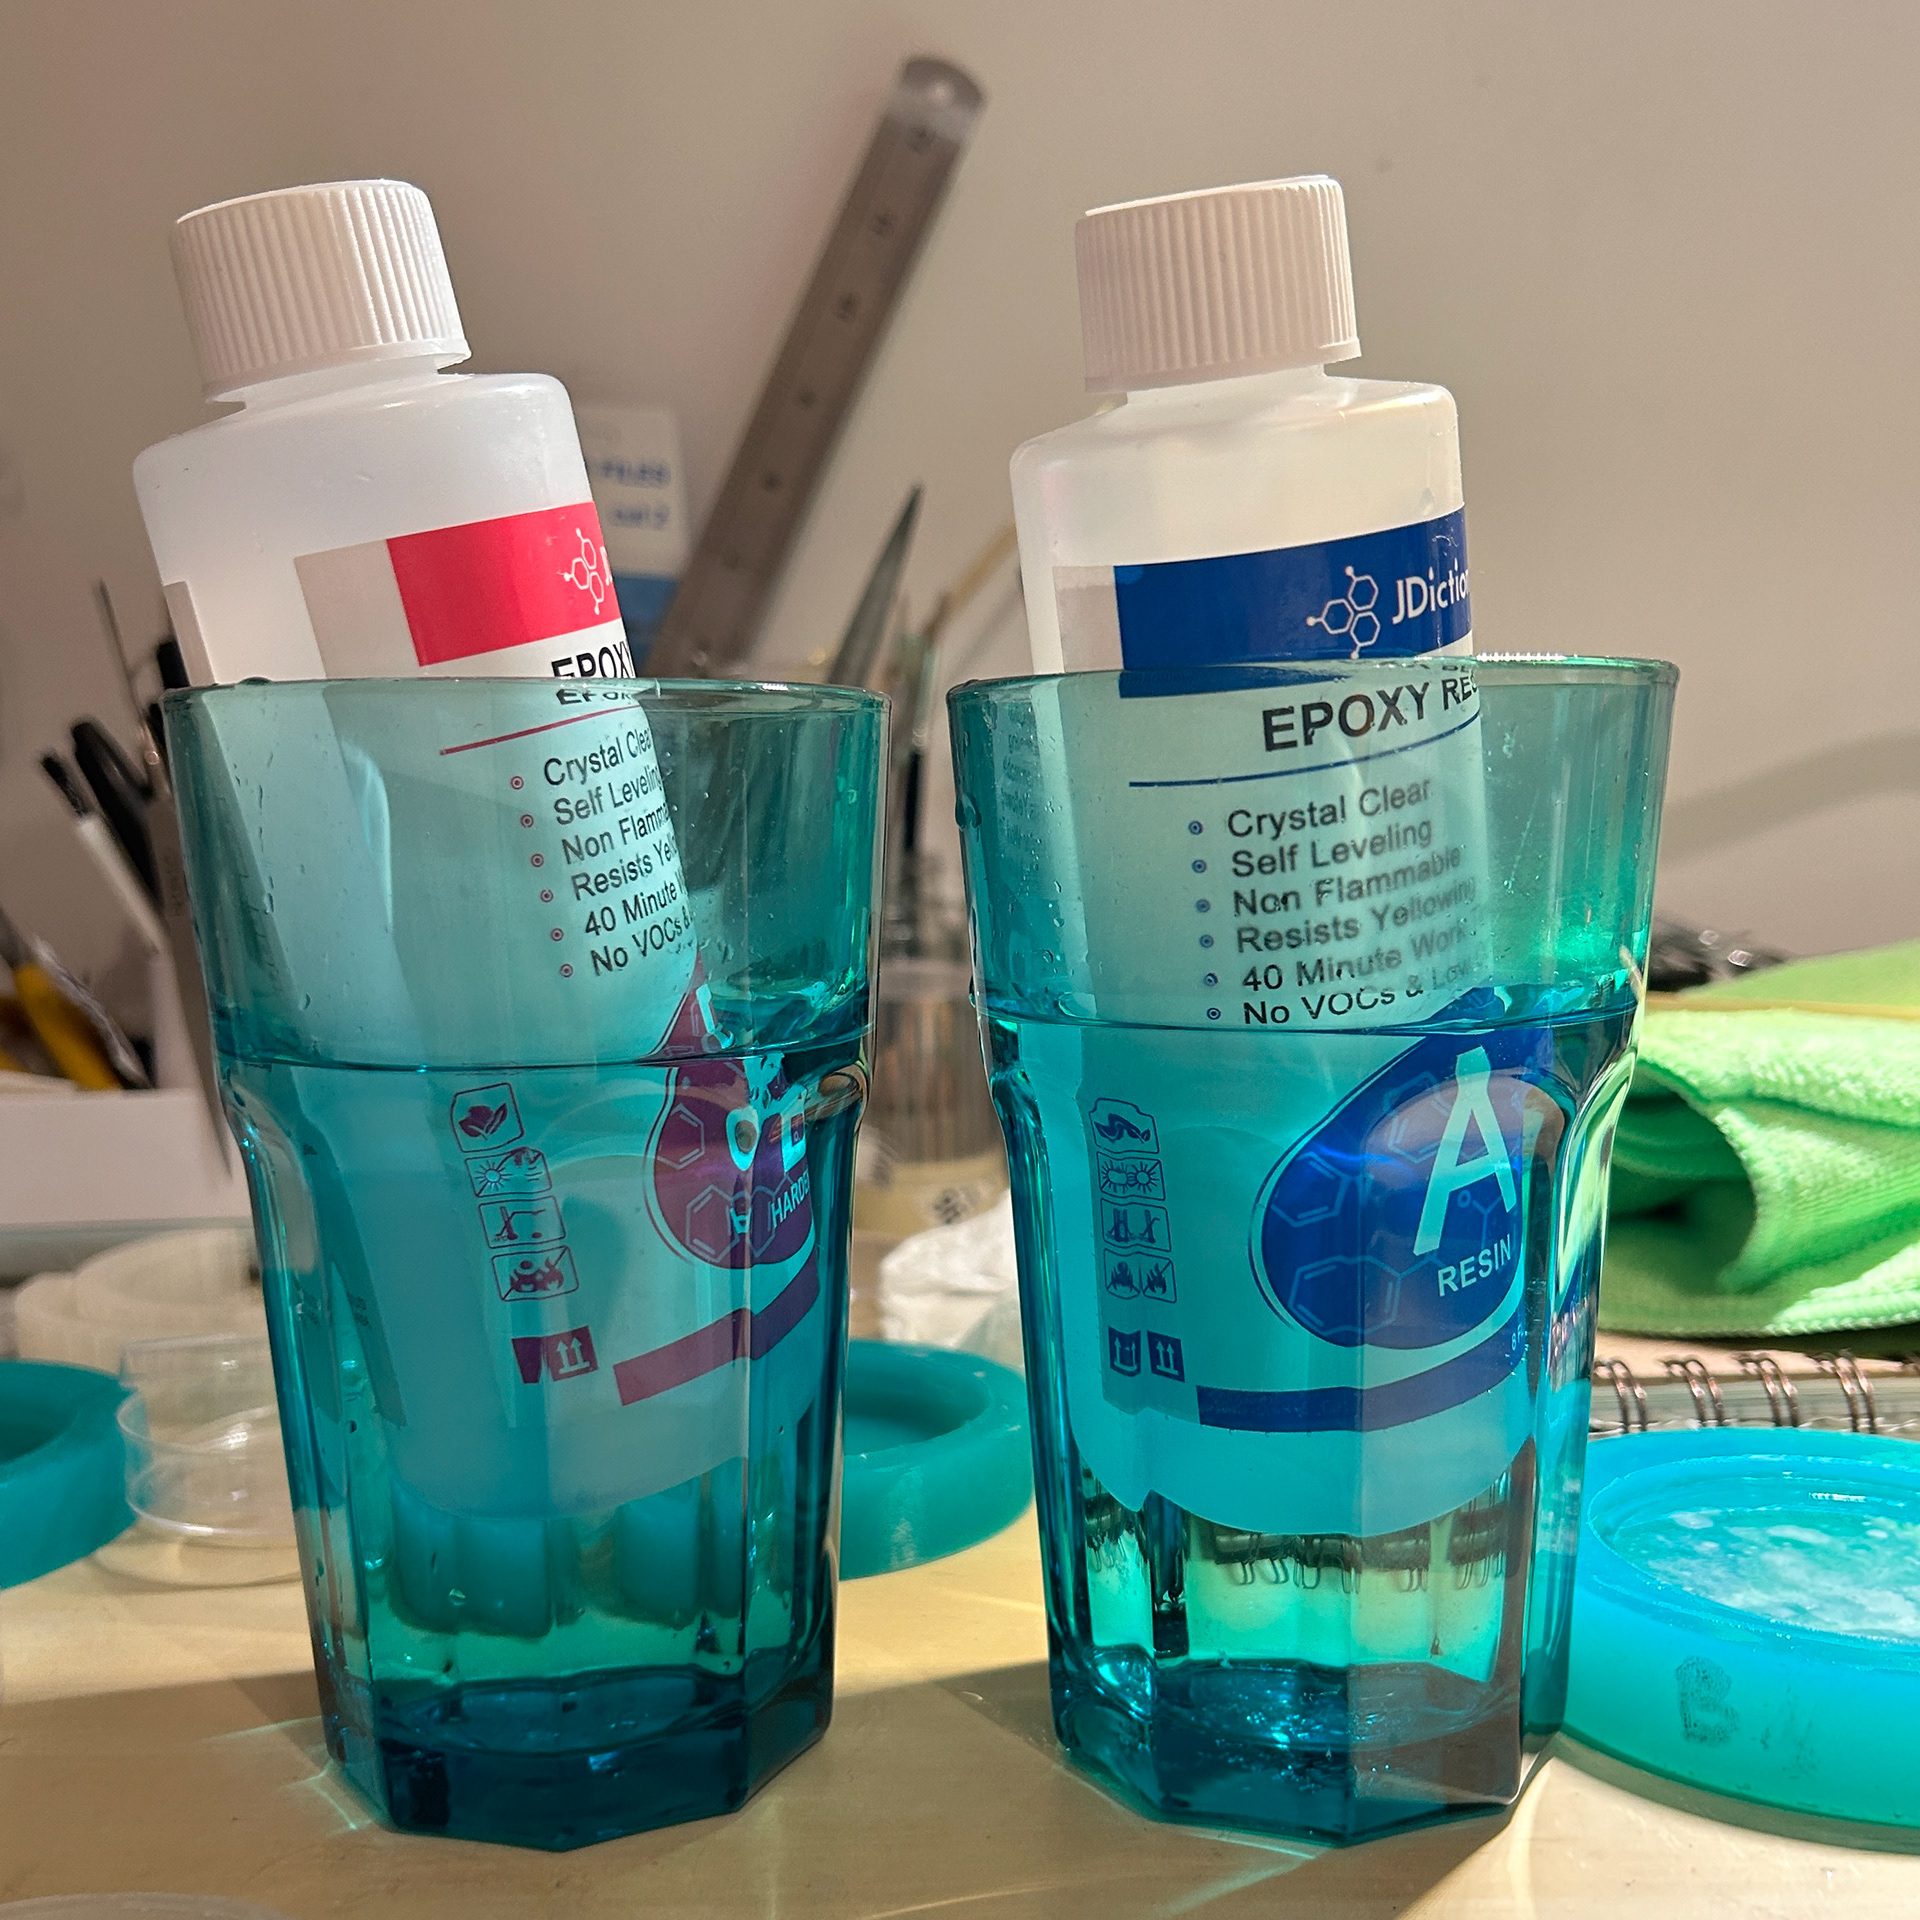
Epoxy Resin
1st December
Before I started to set the bacteria in epoxy resin, I first had to make a new silicone mould. I decided to use the prints from a couple of weeks prior, Which were my final prints minus the piece for a sprue. When of trying to get my print with the sprue out of the cottle base I ended up breaking the sprue off and was stuck in the cottle base. I found it easier to use superglue on the bottom of my print and use the silicone moulds from when I was originally testing the encapsulation idea than to reprint my cottle base and pieces again.
While superglue does not stick to silicone, it would help create a seal around my print for when I would be pouring my silicone over it.
However, before any of this, I had to sand my prints using various different grits of sandpaper. I found this part very hard as I could not easily tell where the grooves were on the surface, and where the material had gone slightly translucent and was showing the print Iines from underneath. However, I did the best I could and ordered resin polish incase there was any finer lines that needed to be removed after demoulding.
After I had cured a layer of resin, I then had to add the agar with the bacteria. Instead of pouring a layer of resin and then placing the agar on top of this, I took the advice from Benam and painted a very thin layer of resin, and waited until it was tacky to then add the agar. I then poured a layer of resin around the edge of the agar, and a thin layer on top of the agar. This meant that if the agar was to rise in the resin as it had in my previous epoxy attempt, I would still have a few mm of height left to cover with resin.
Once this middle layer of agar had cured, I then had to pour the final layer of resin. I found that with the cold weather, my resin felt particularly cold, which could affect the curing. I decided to use a trick that I used in UC2 where I used water baths to help heat up the resin before mixing.

Diagram showing how I applied the resin
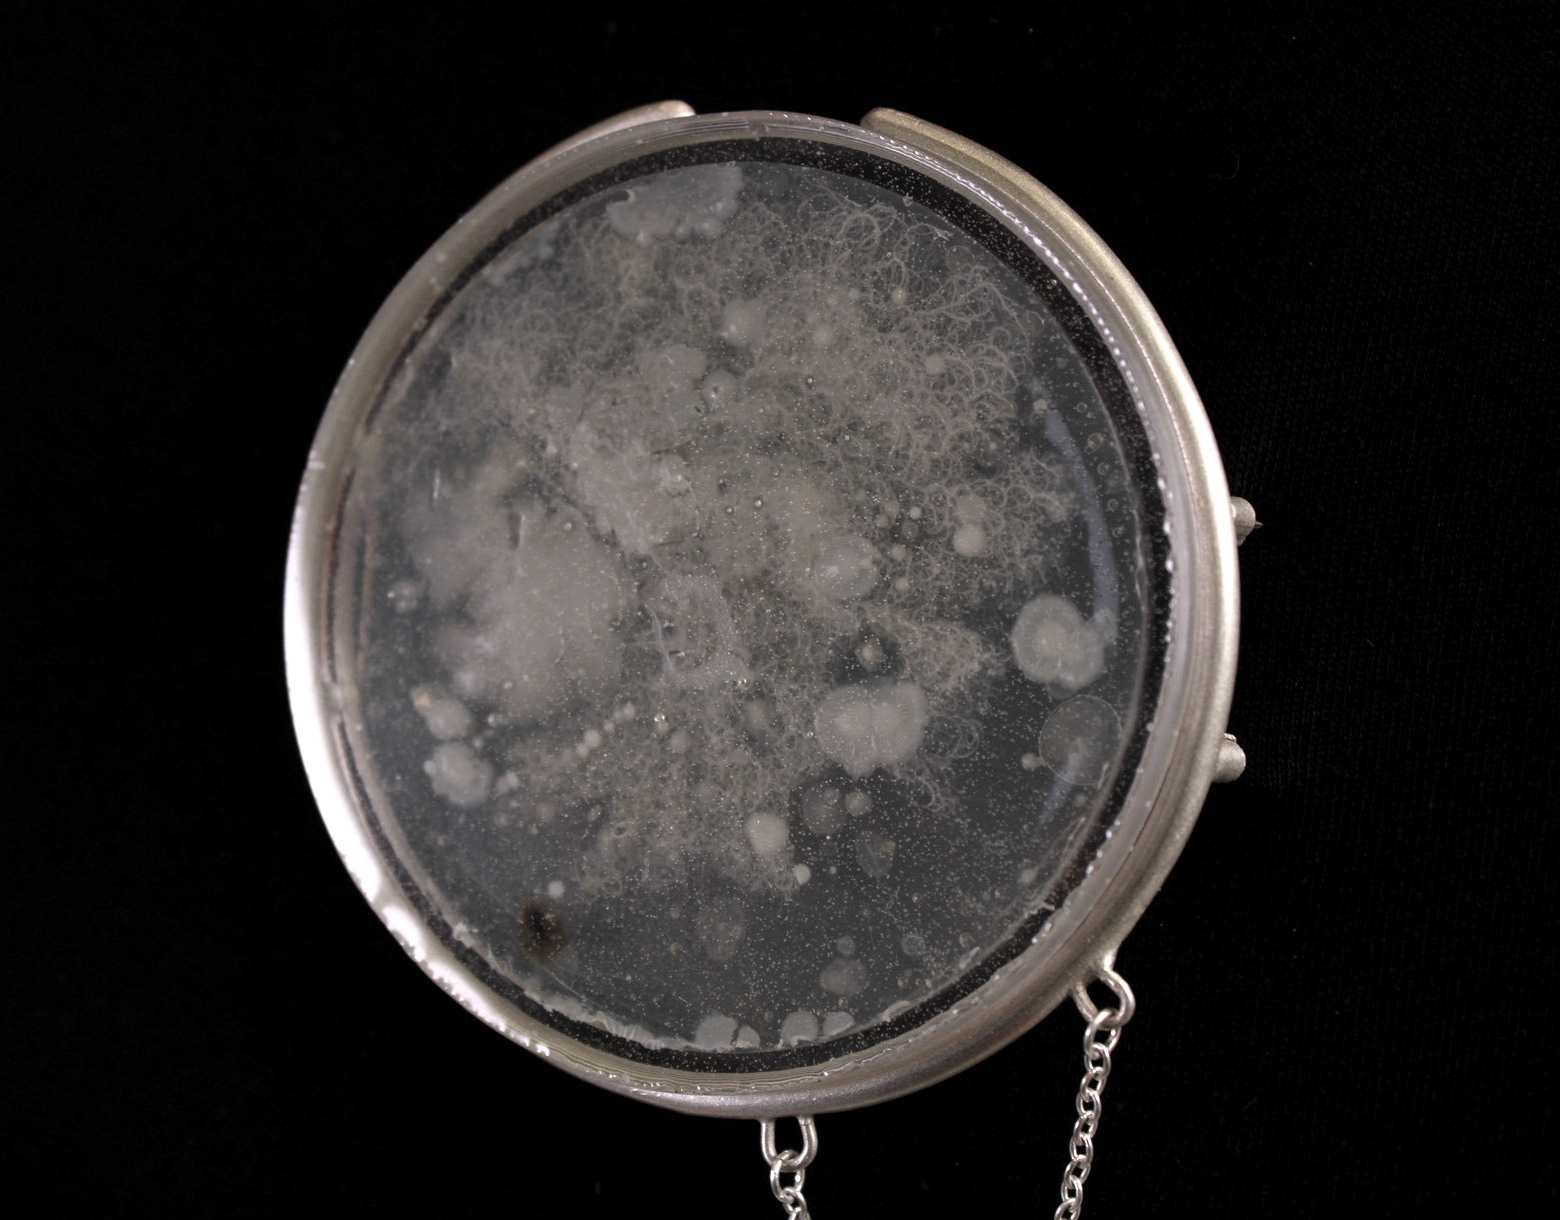
Polishing the Resin
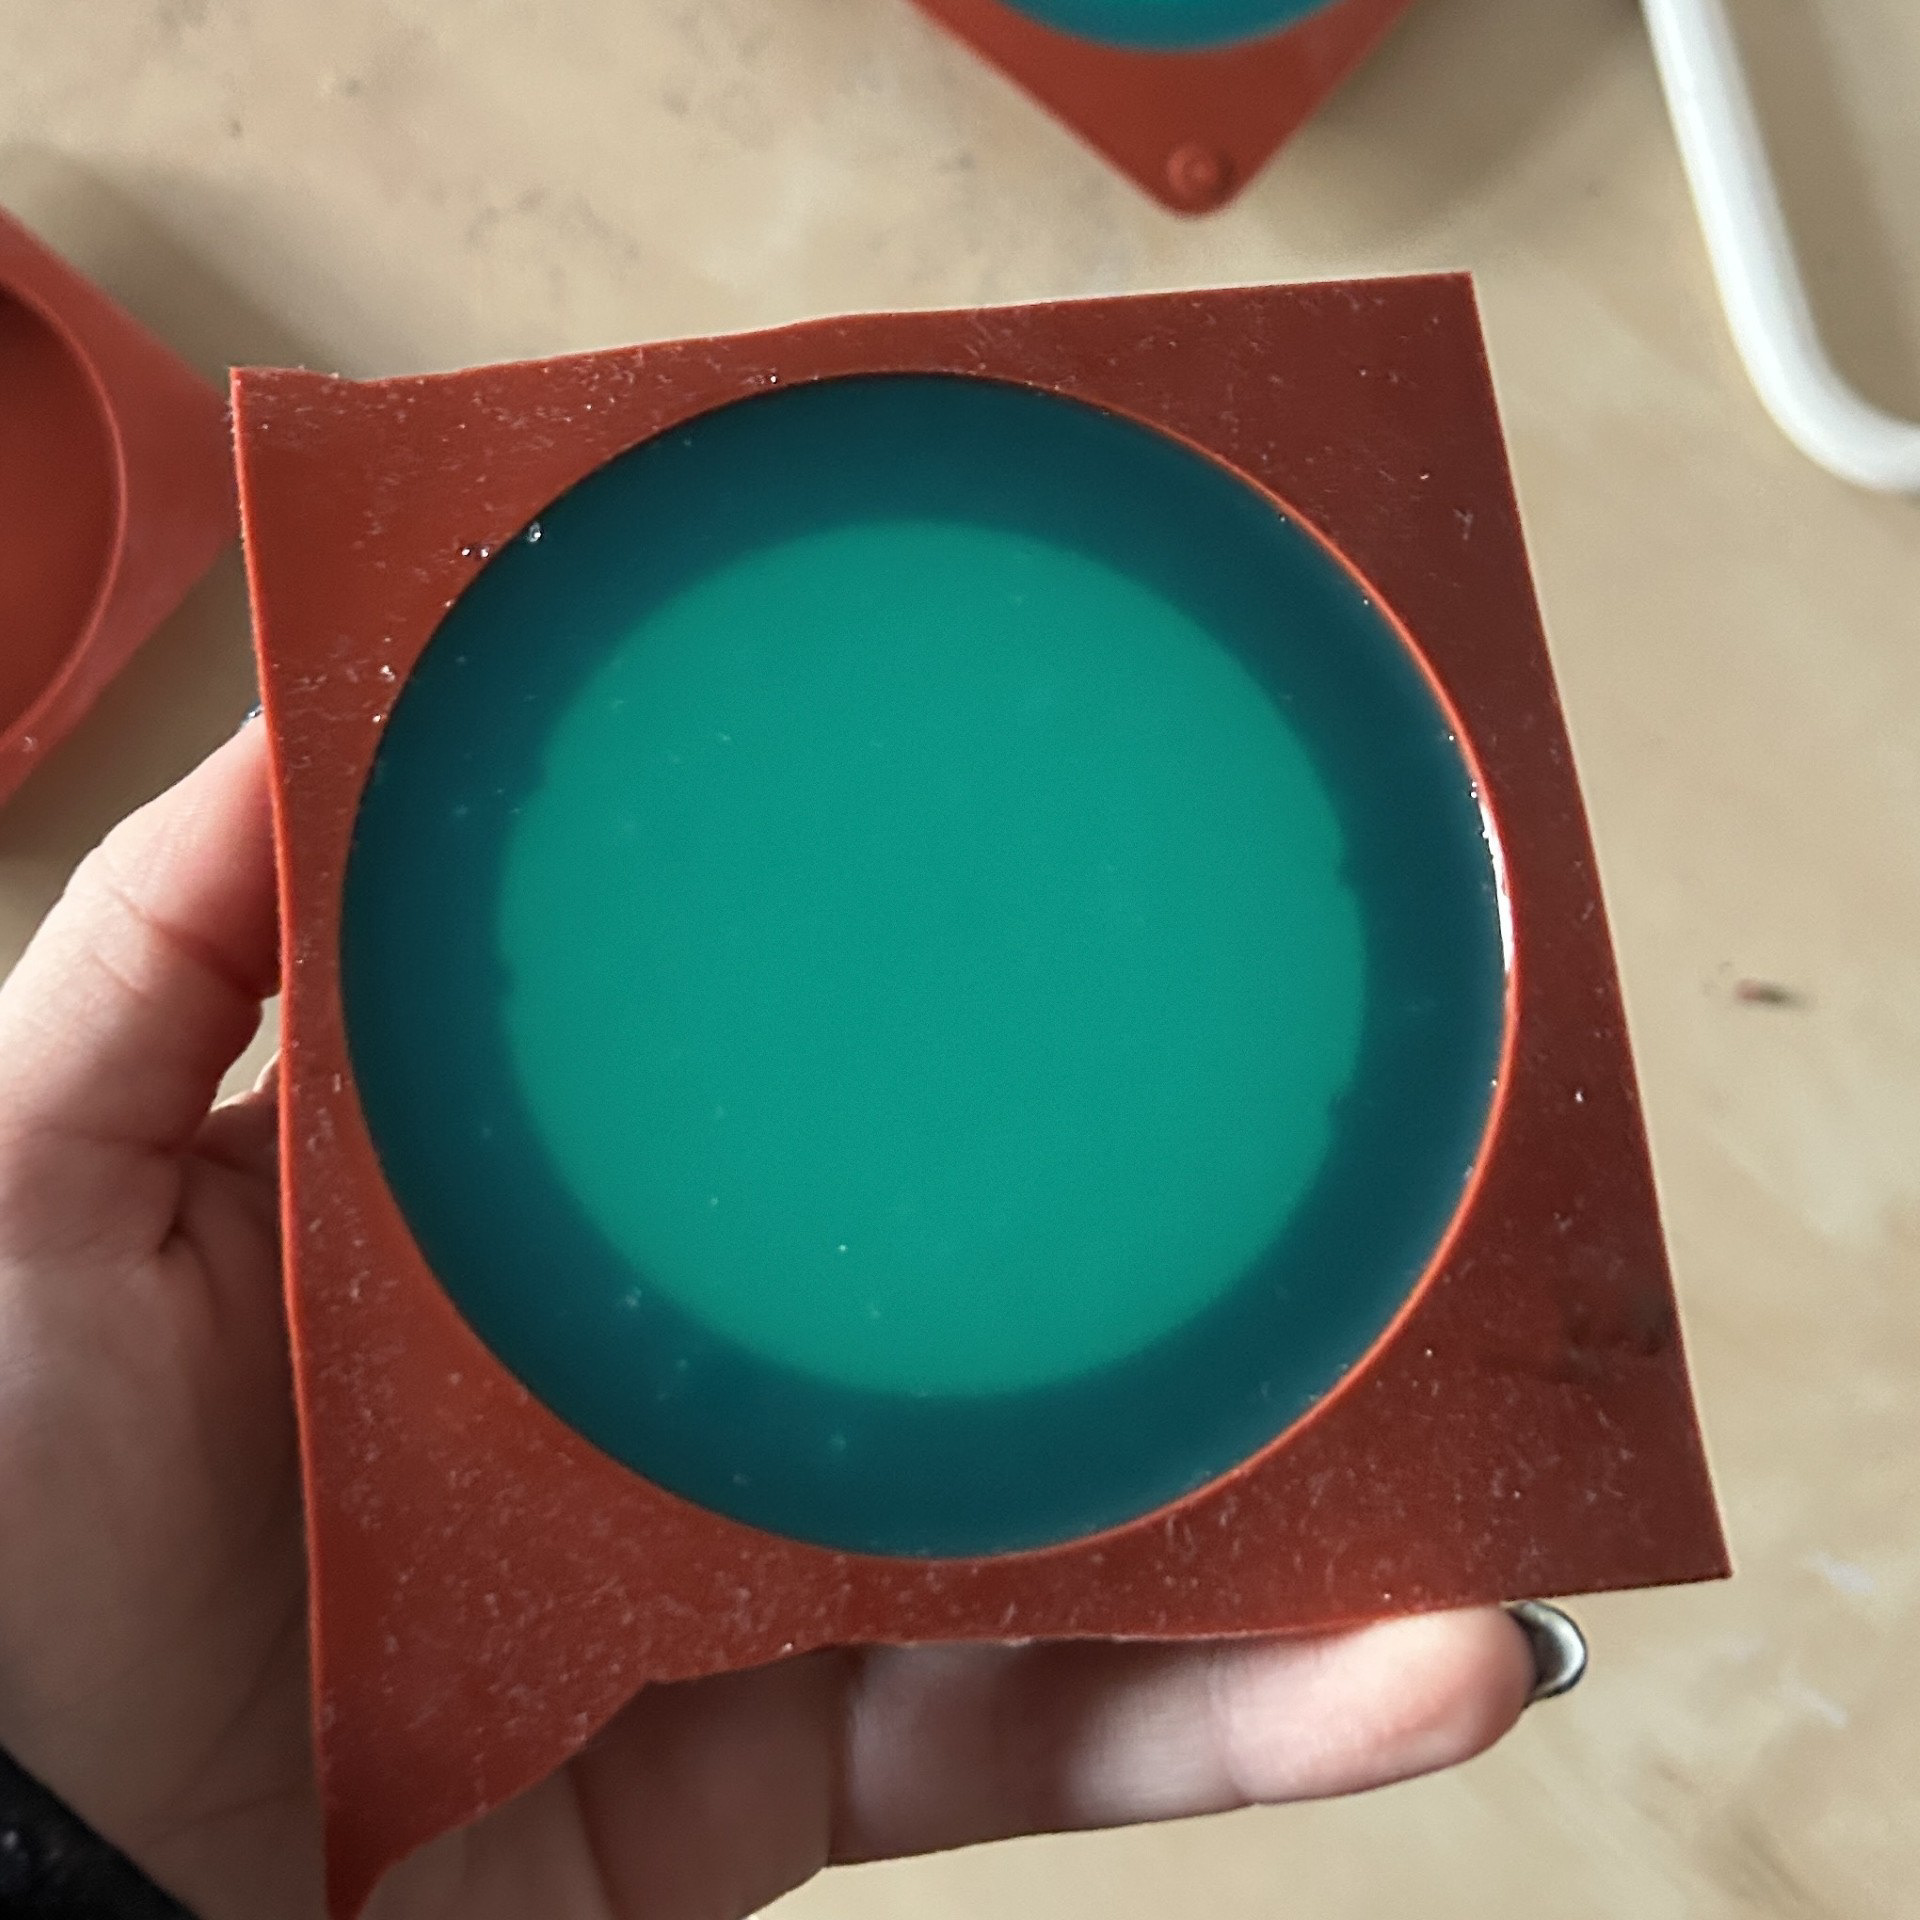
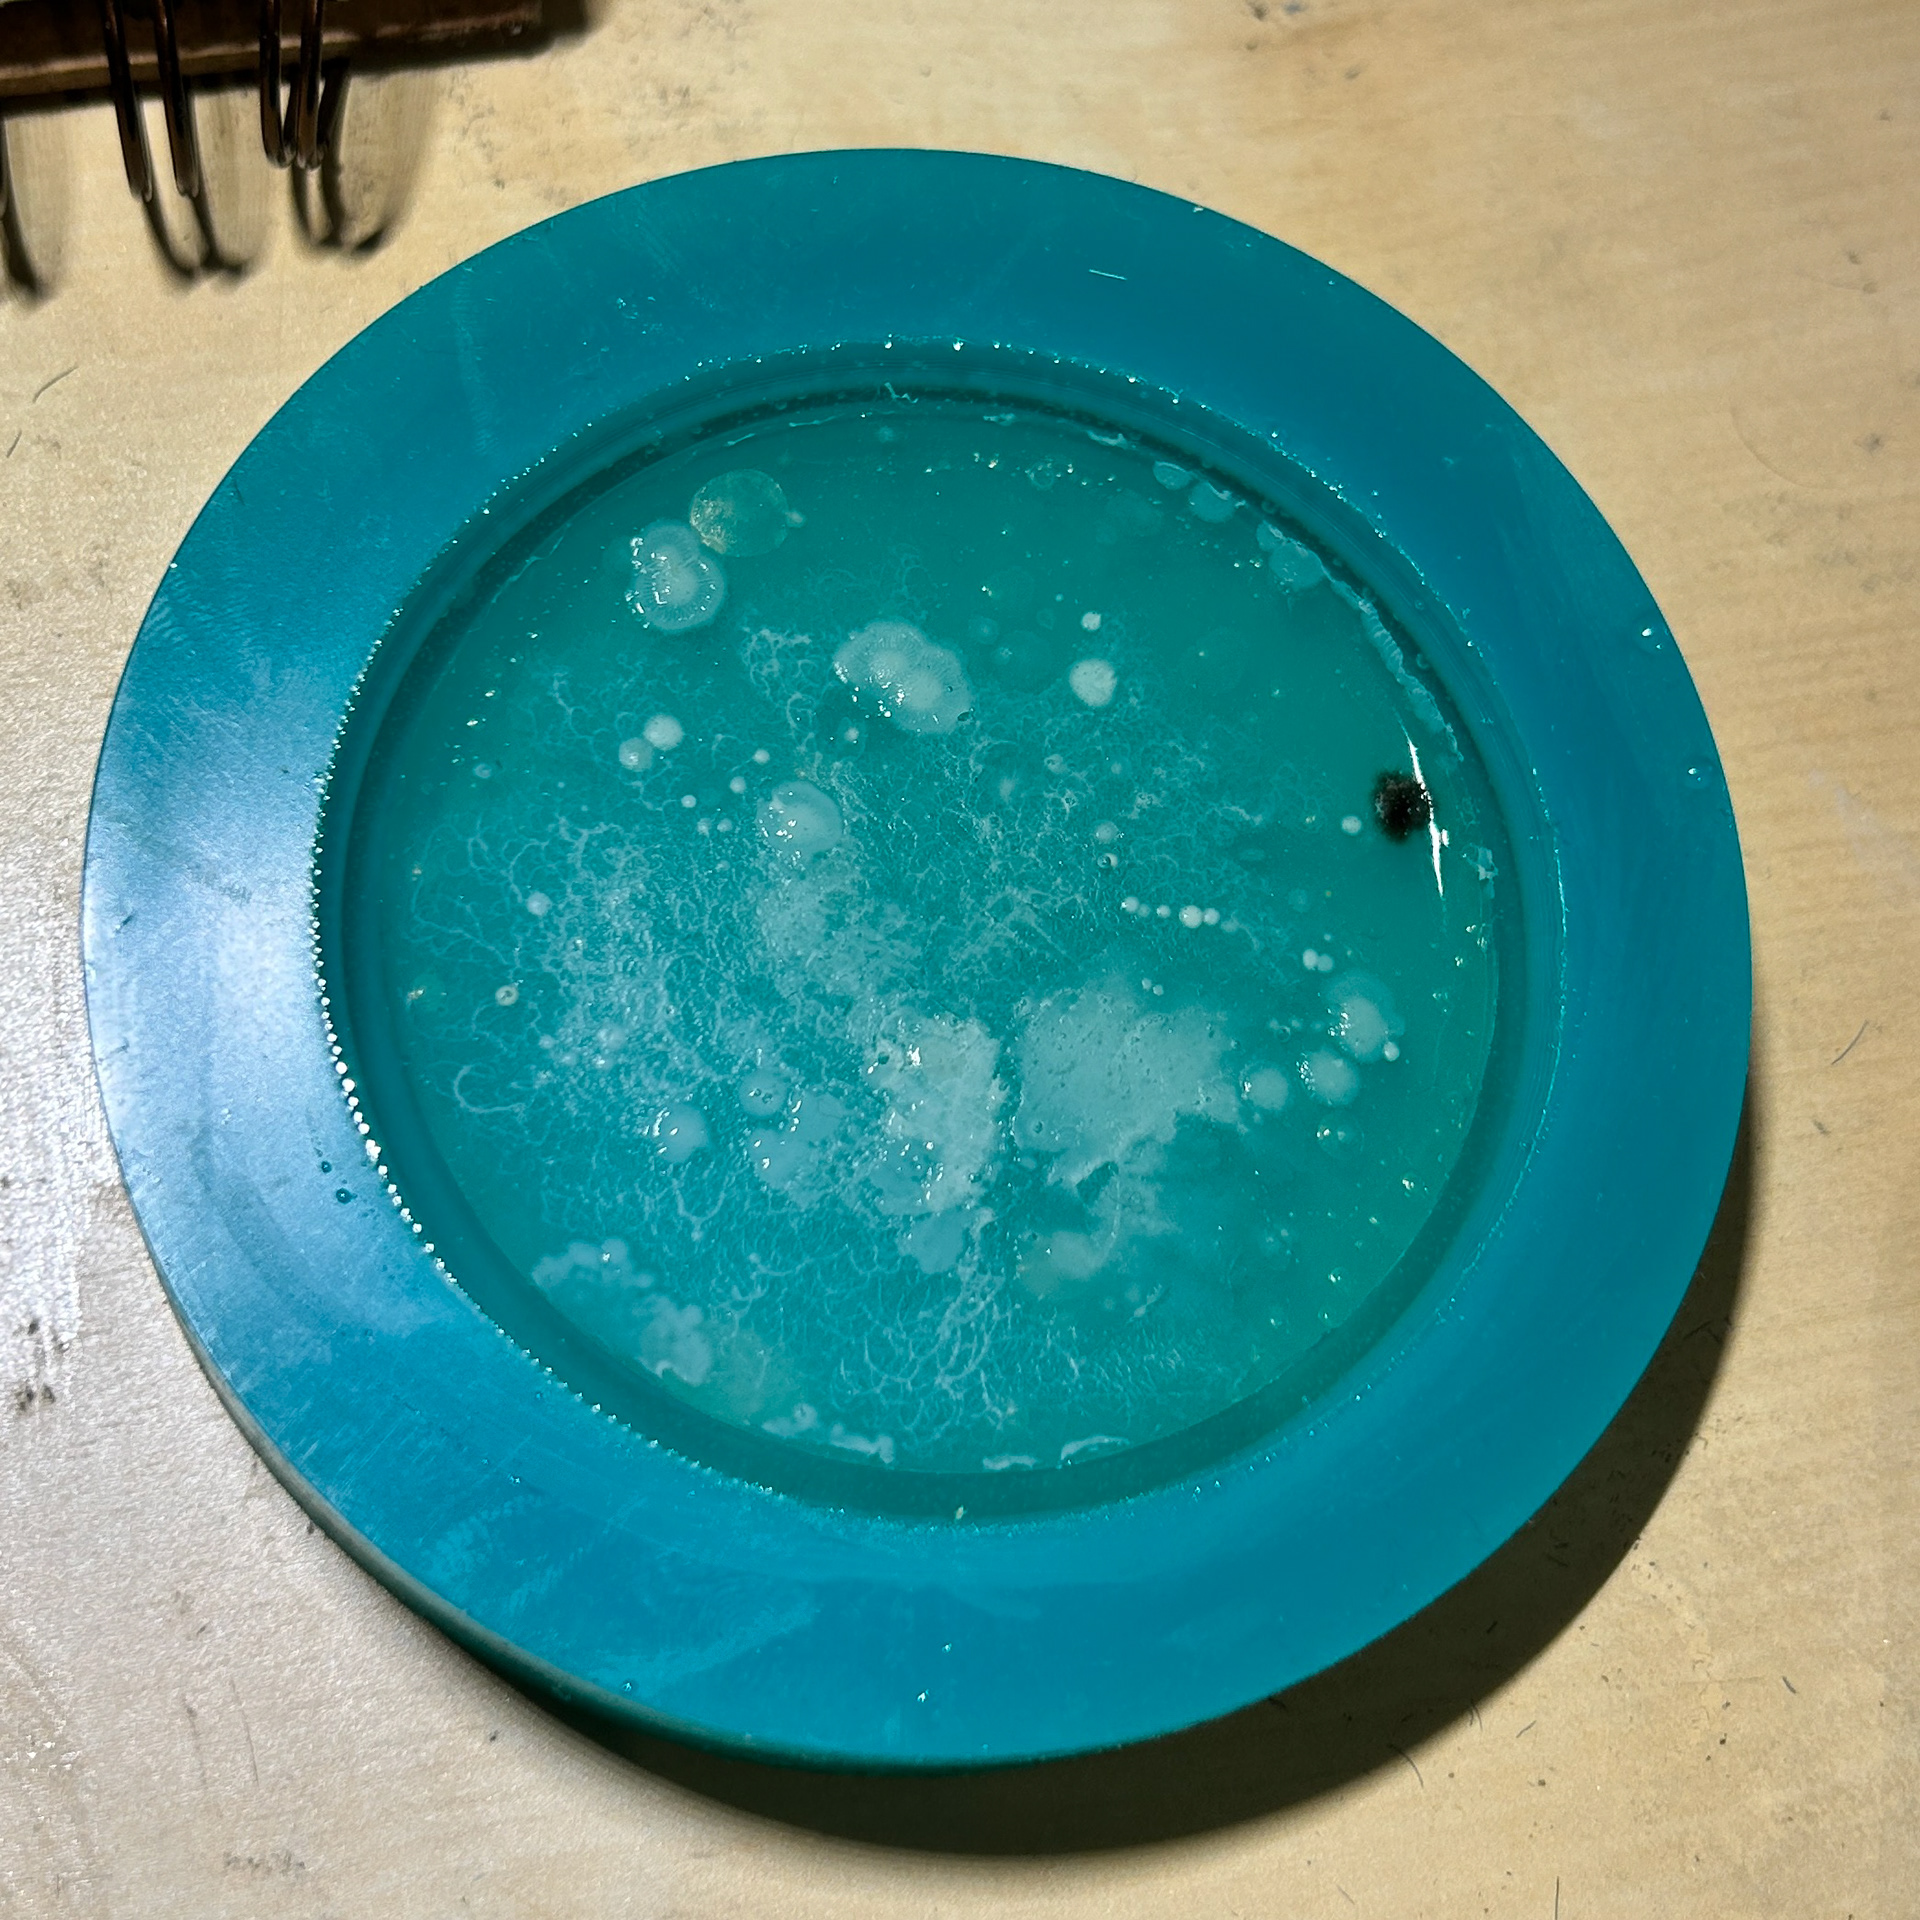
Cured resin in the silicone mould
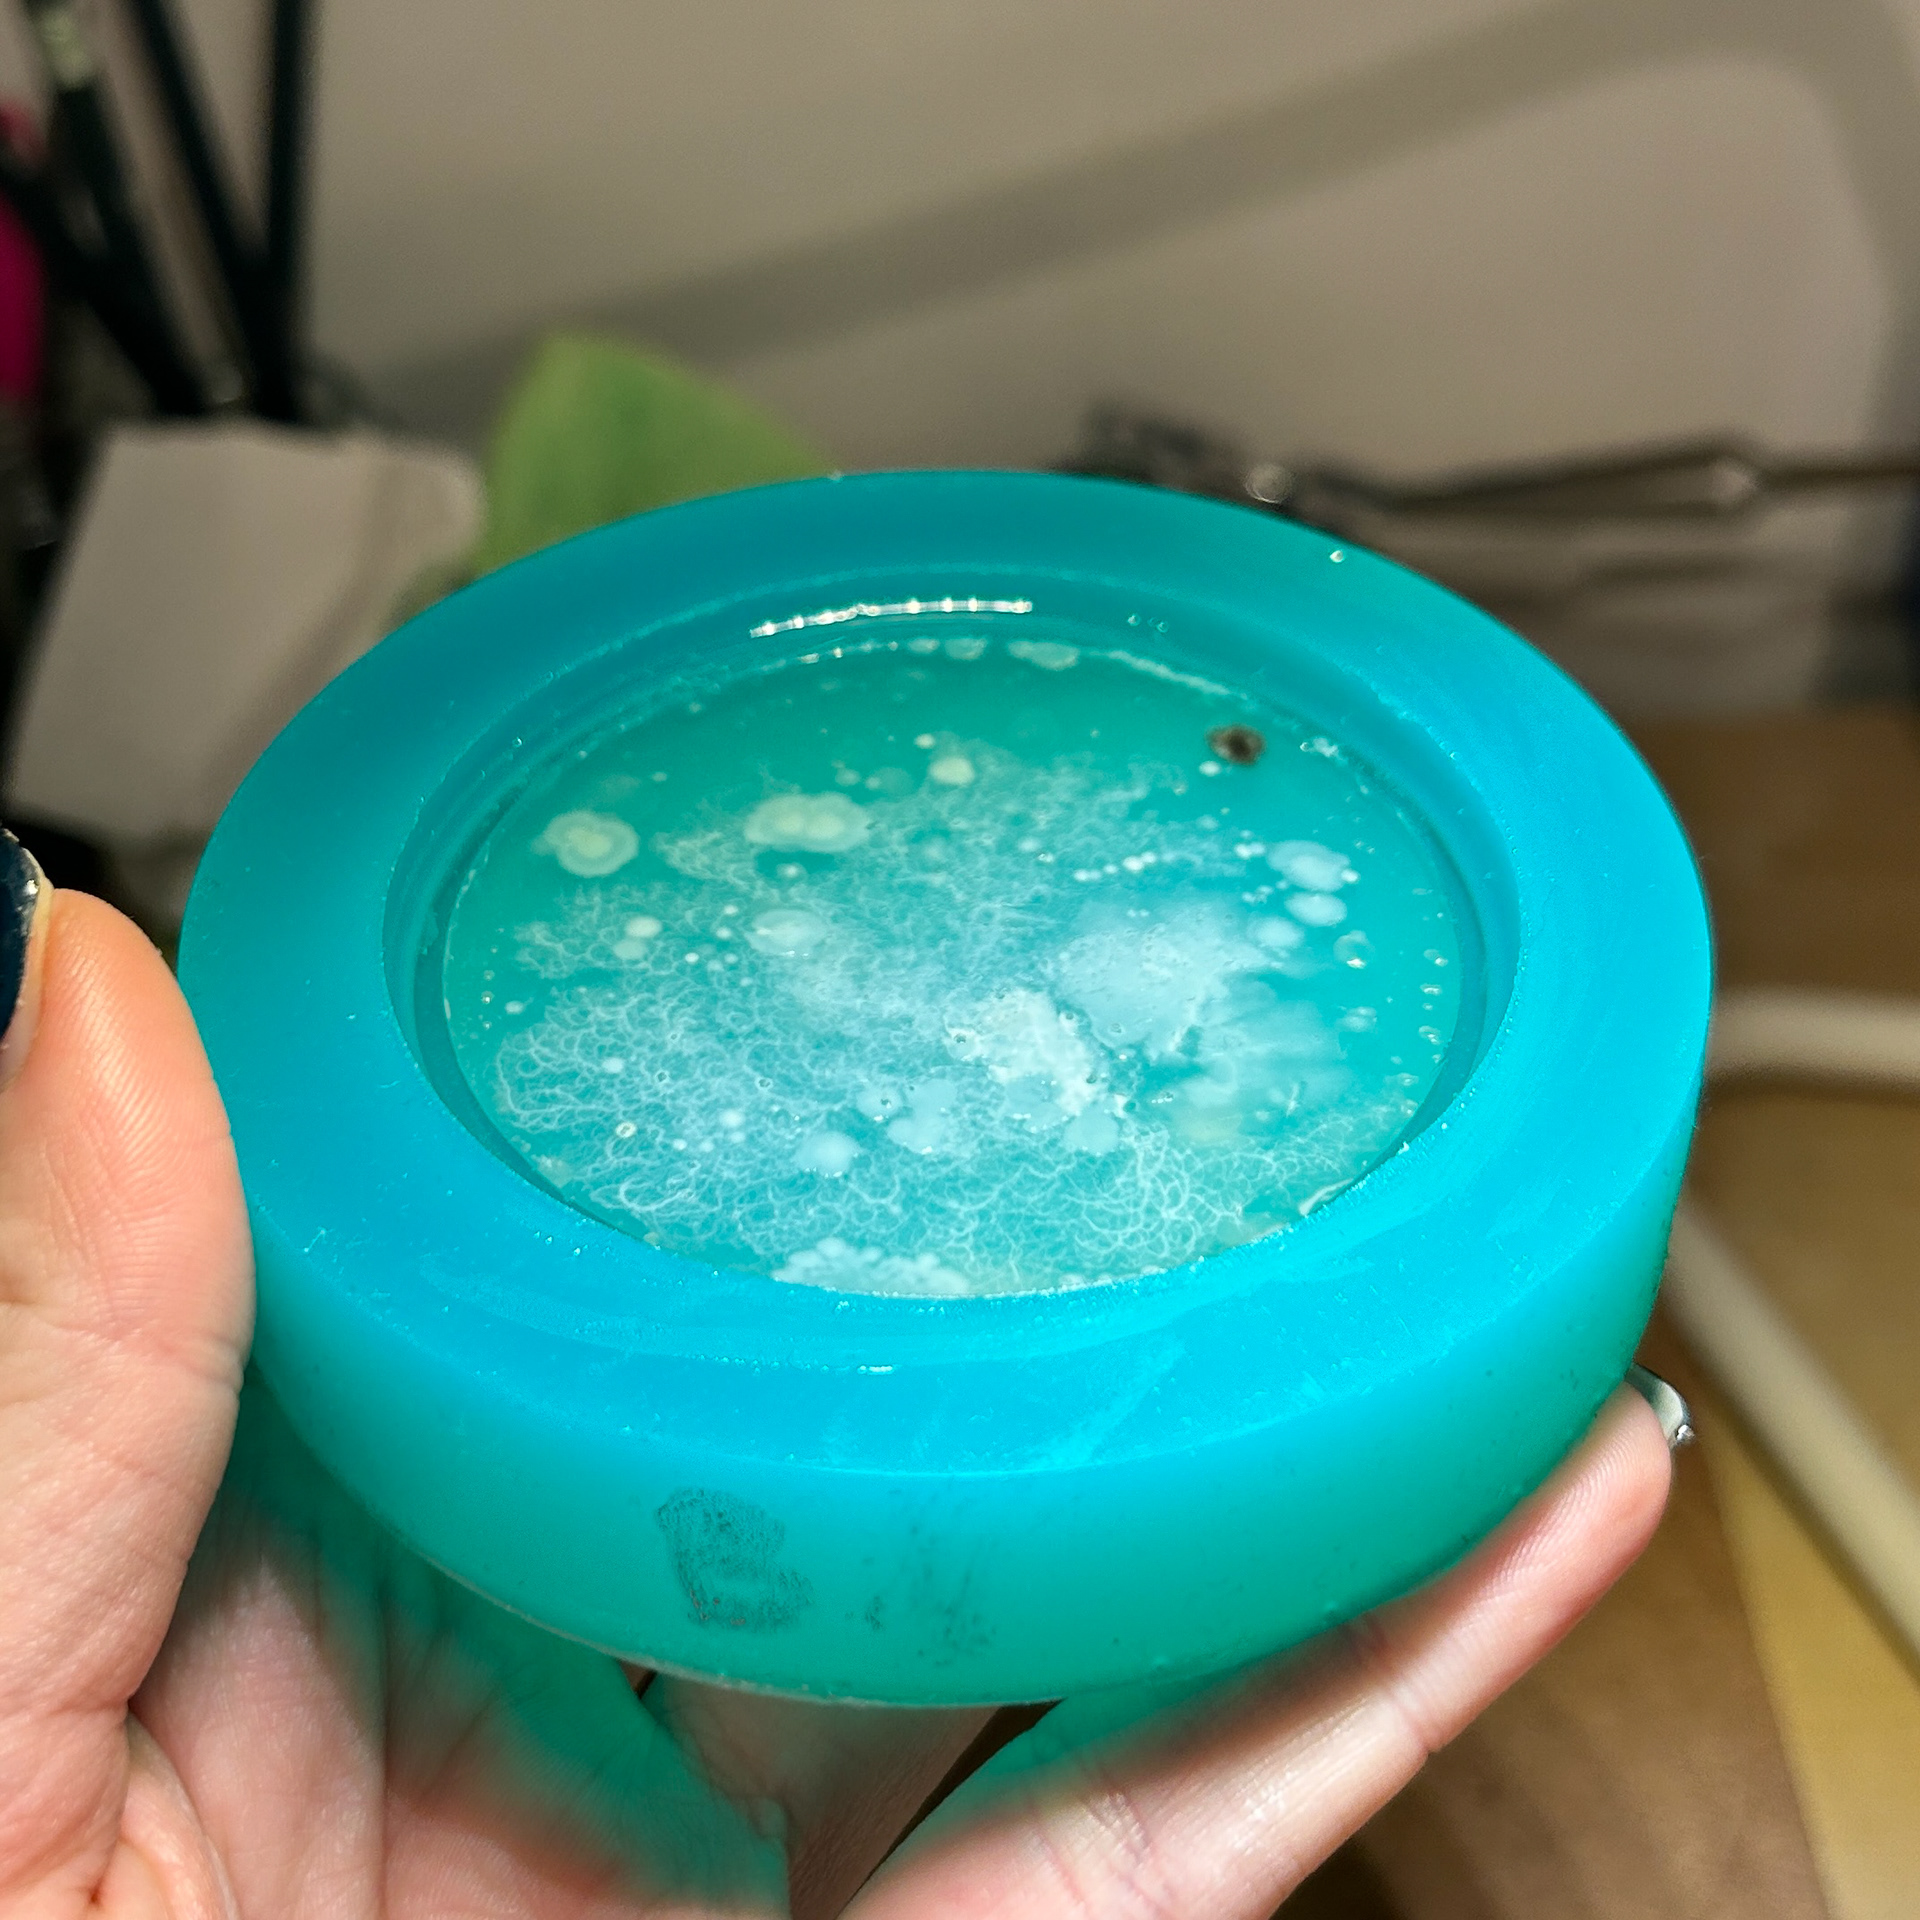
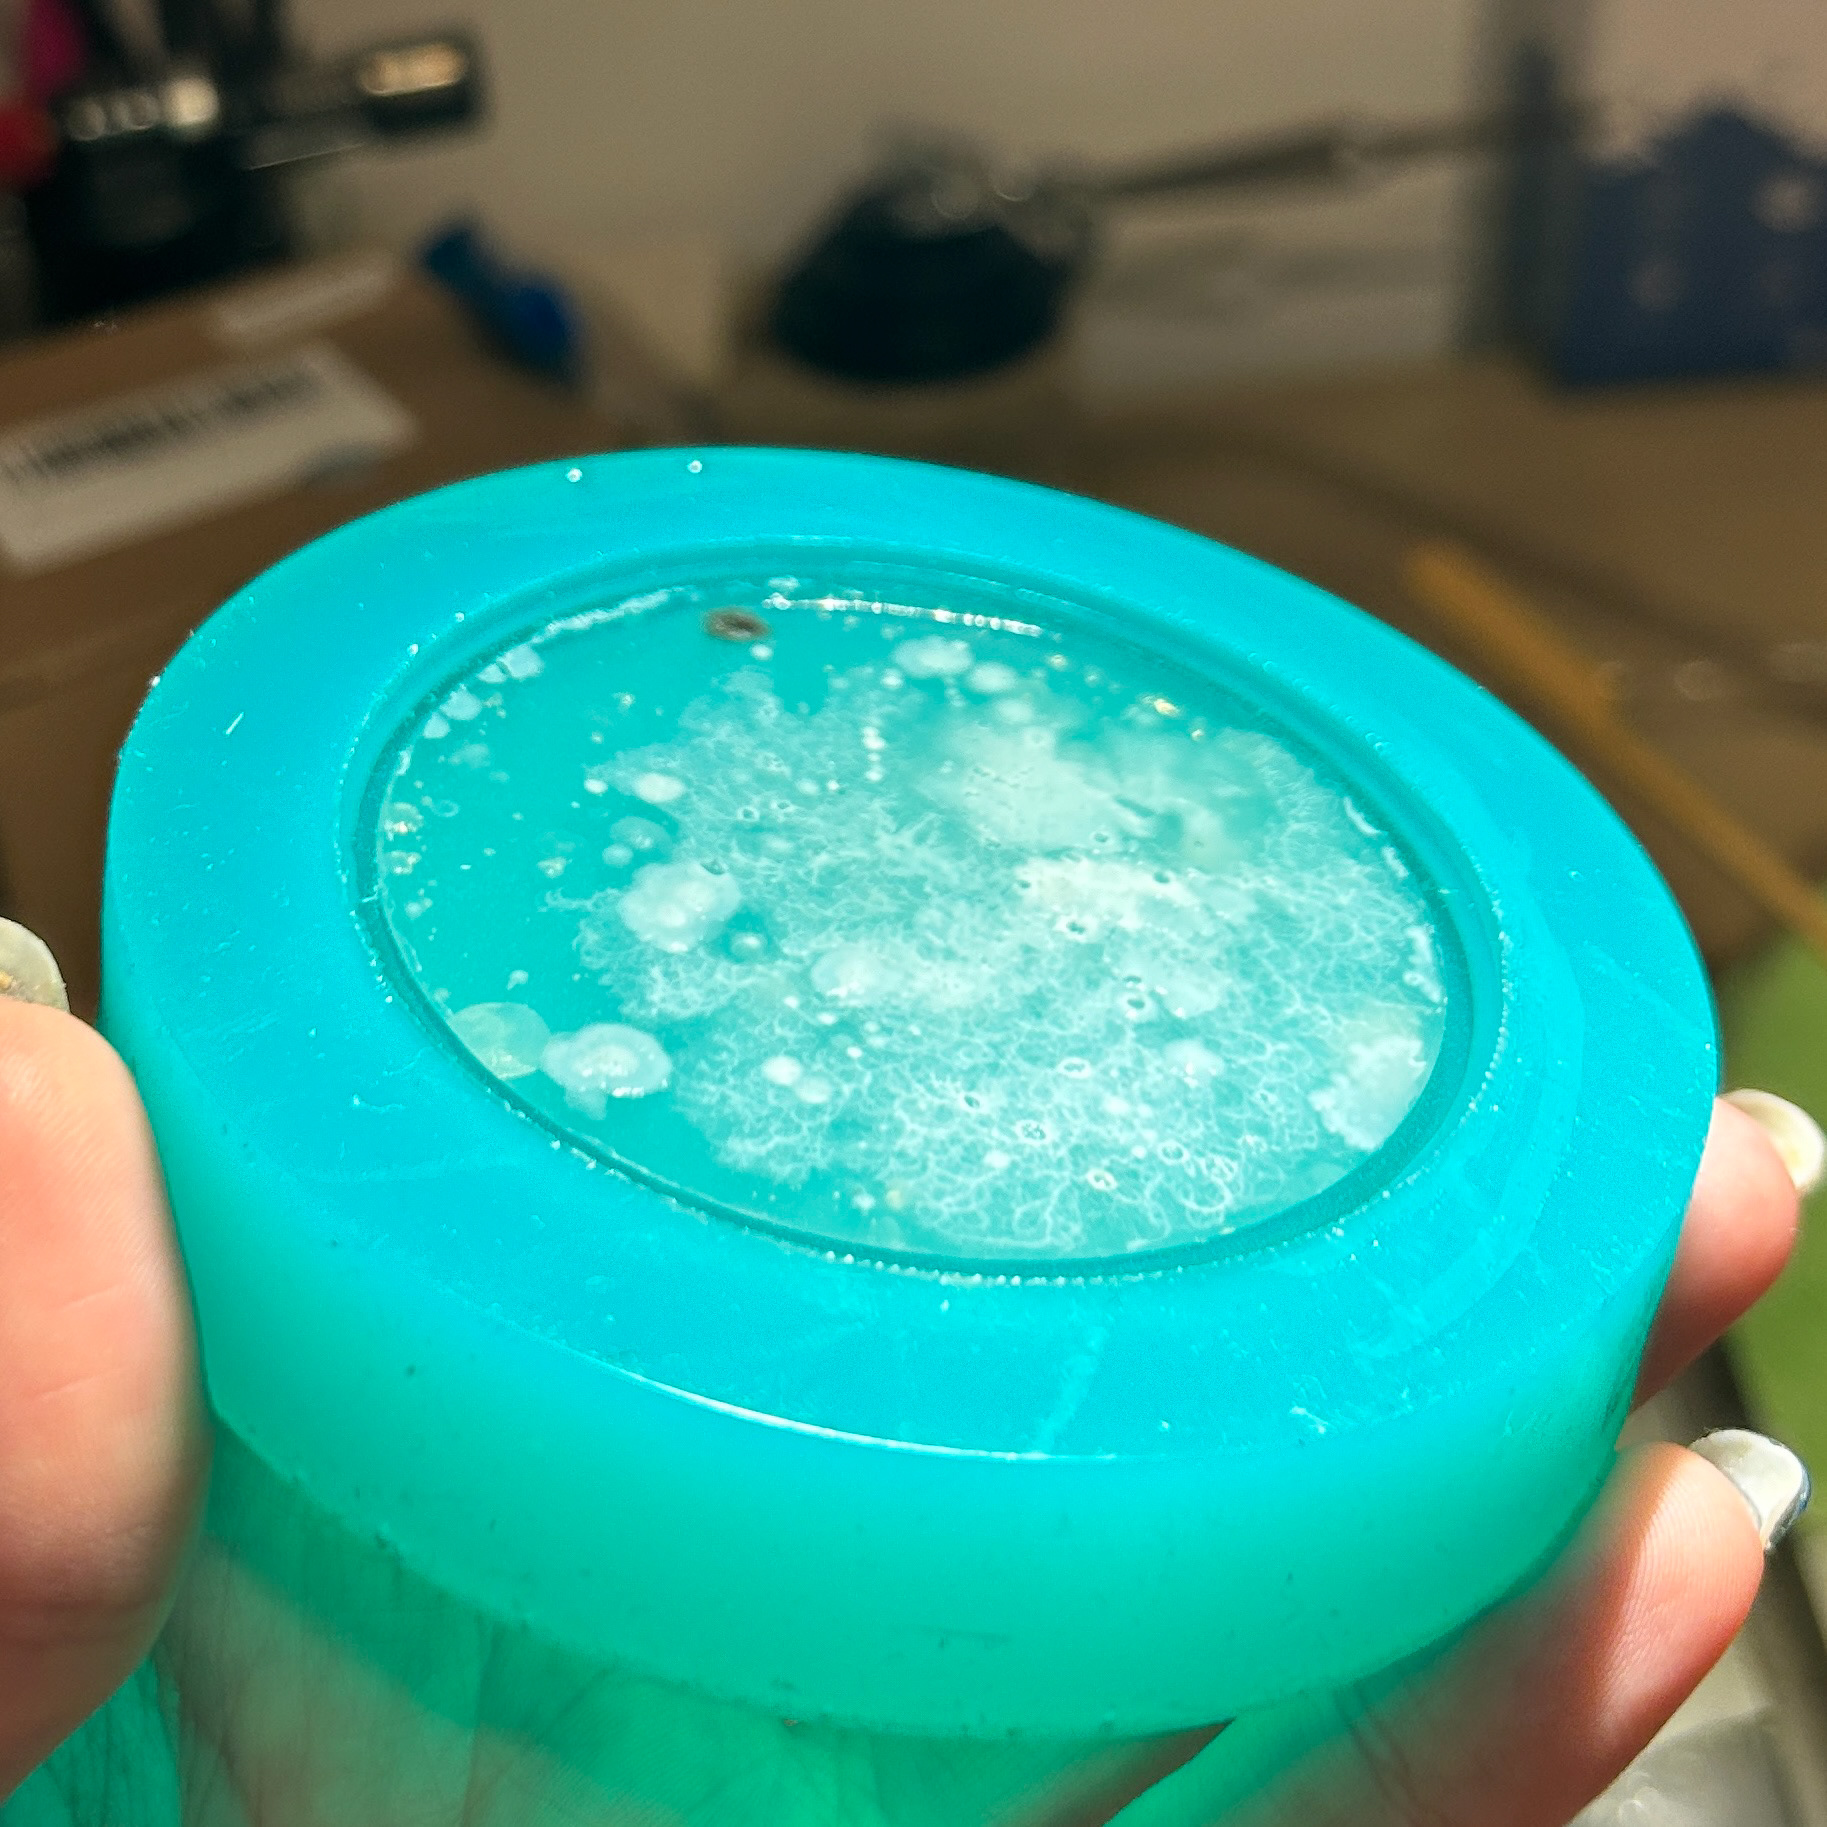
Checking the top of the resin dish
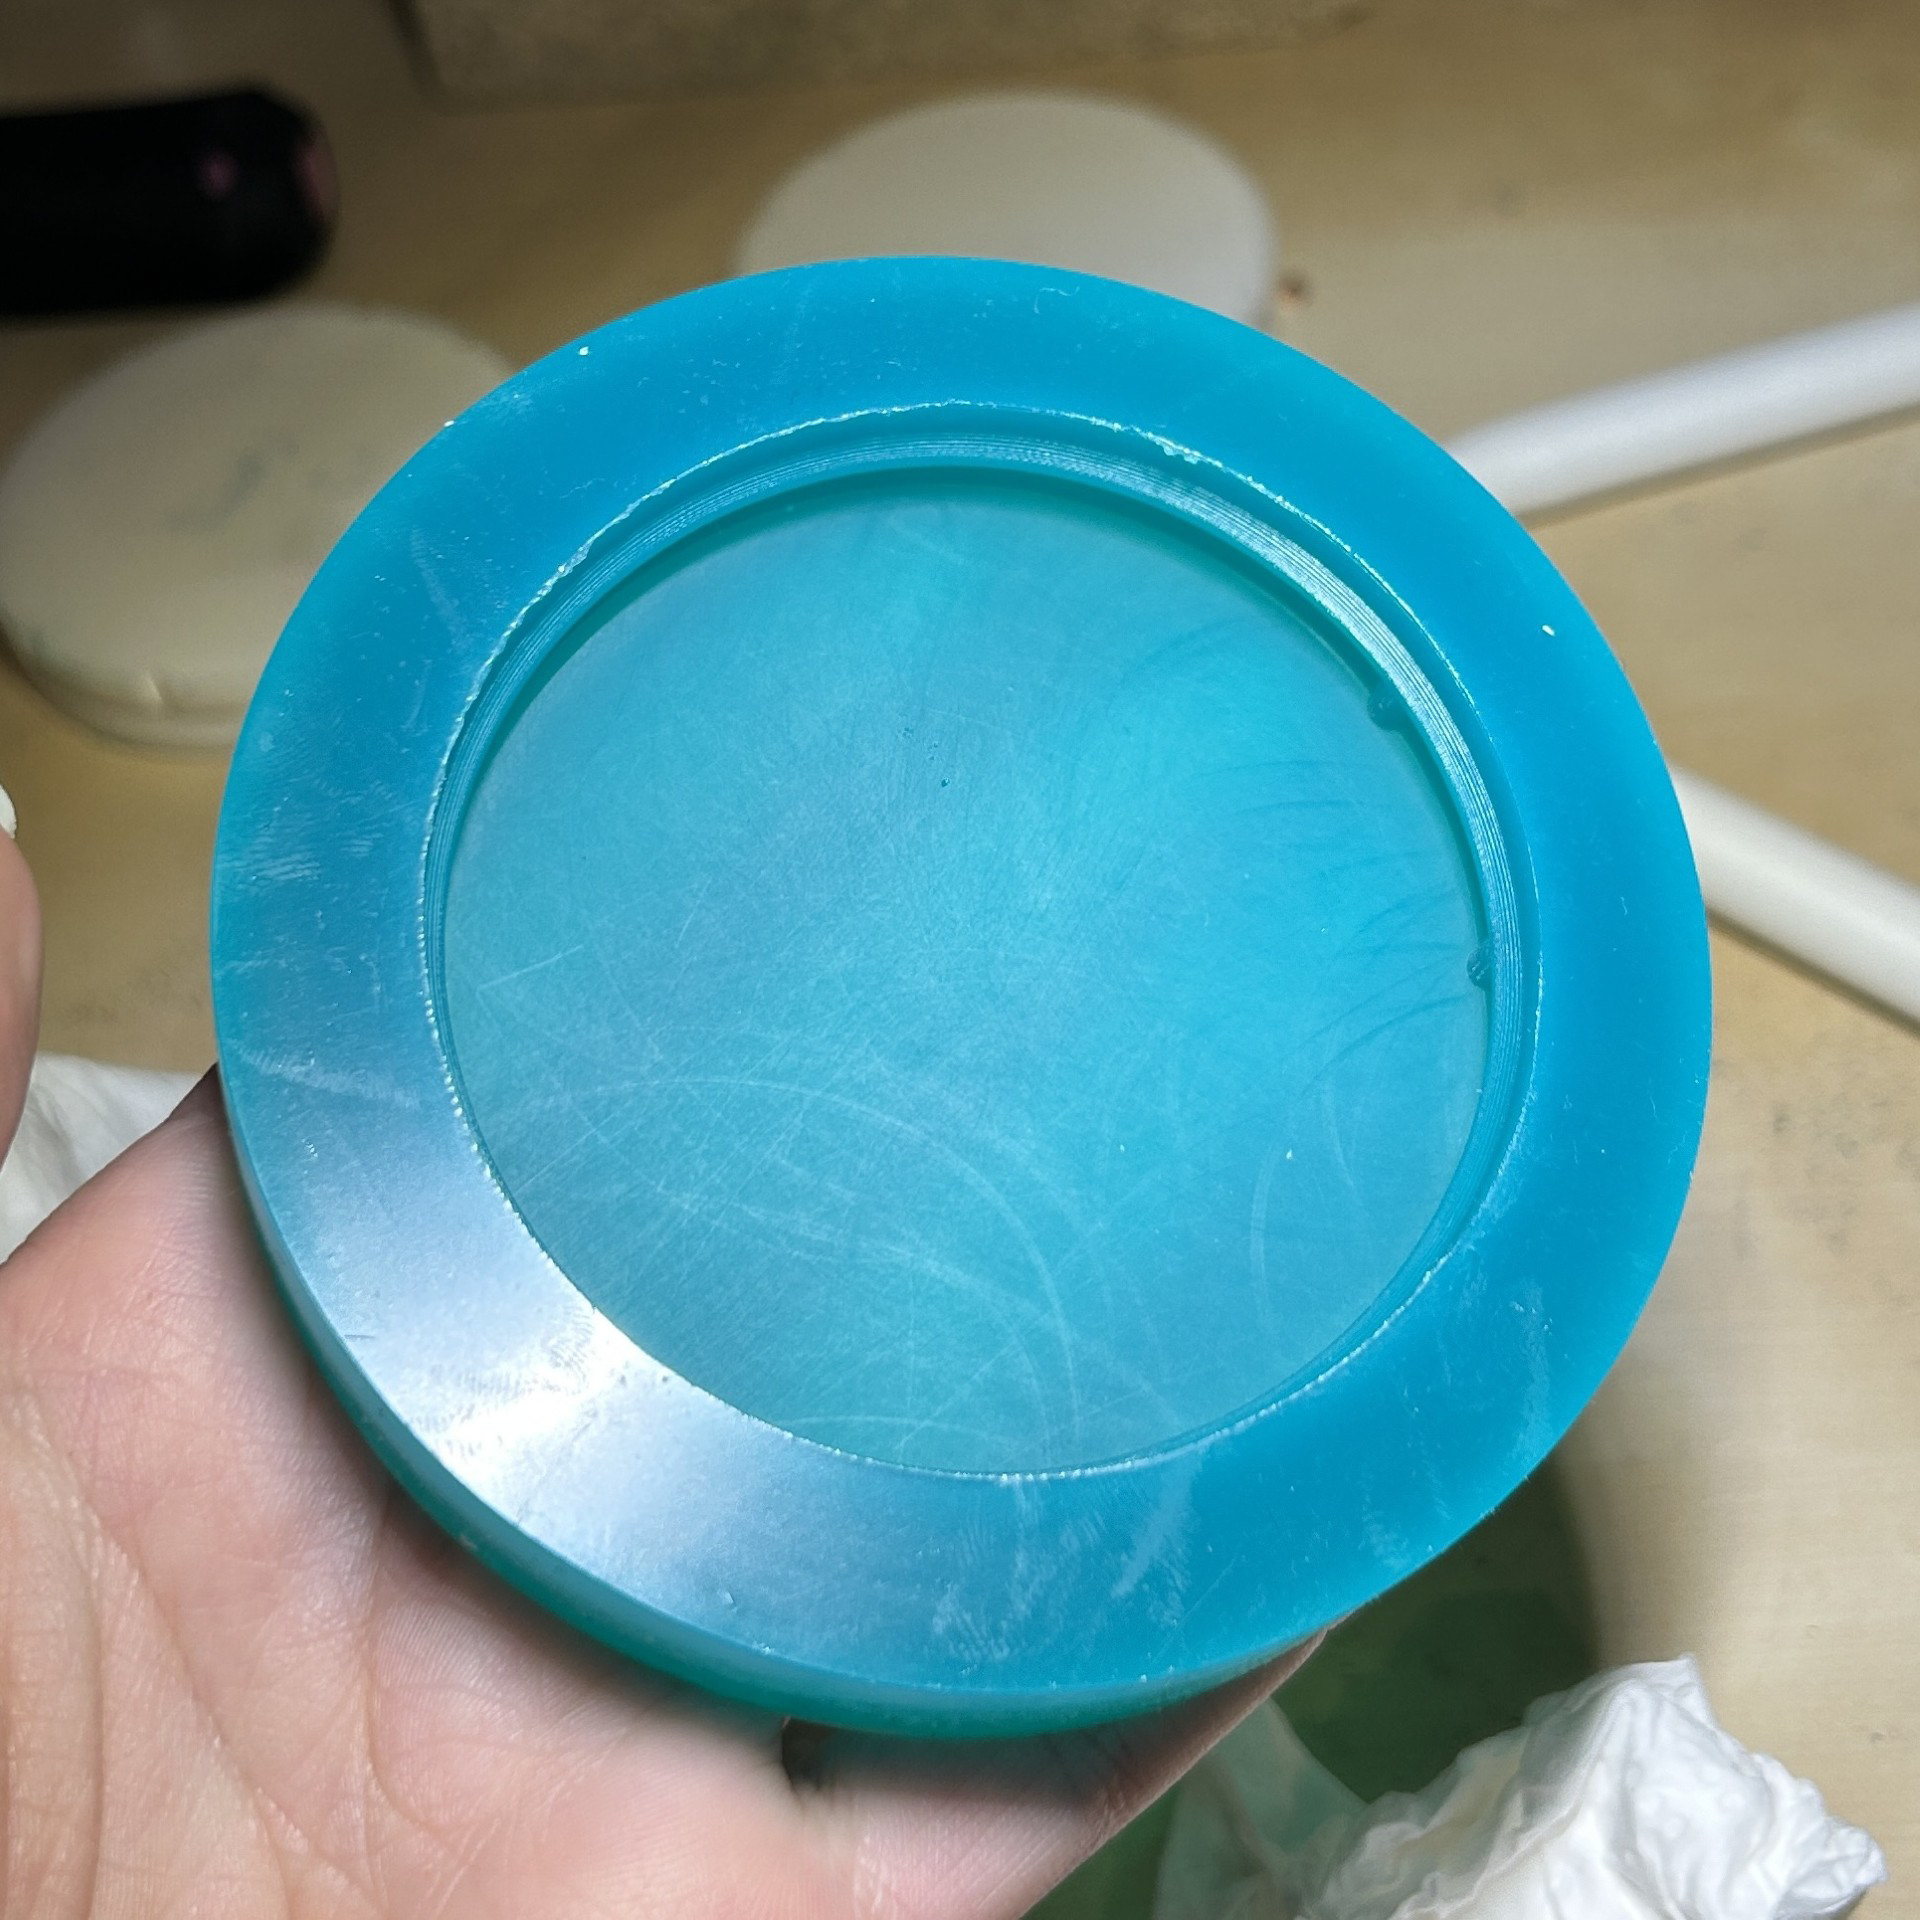
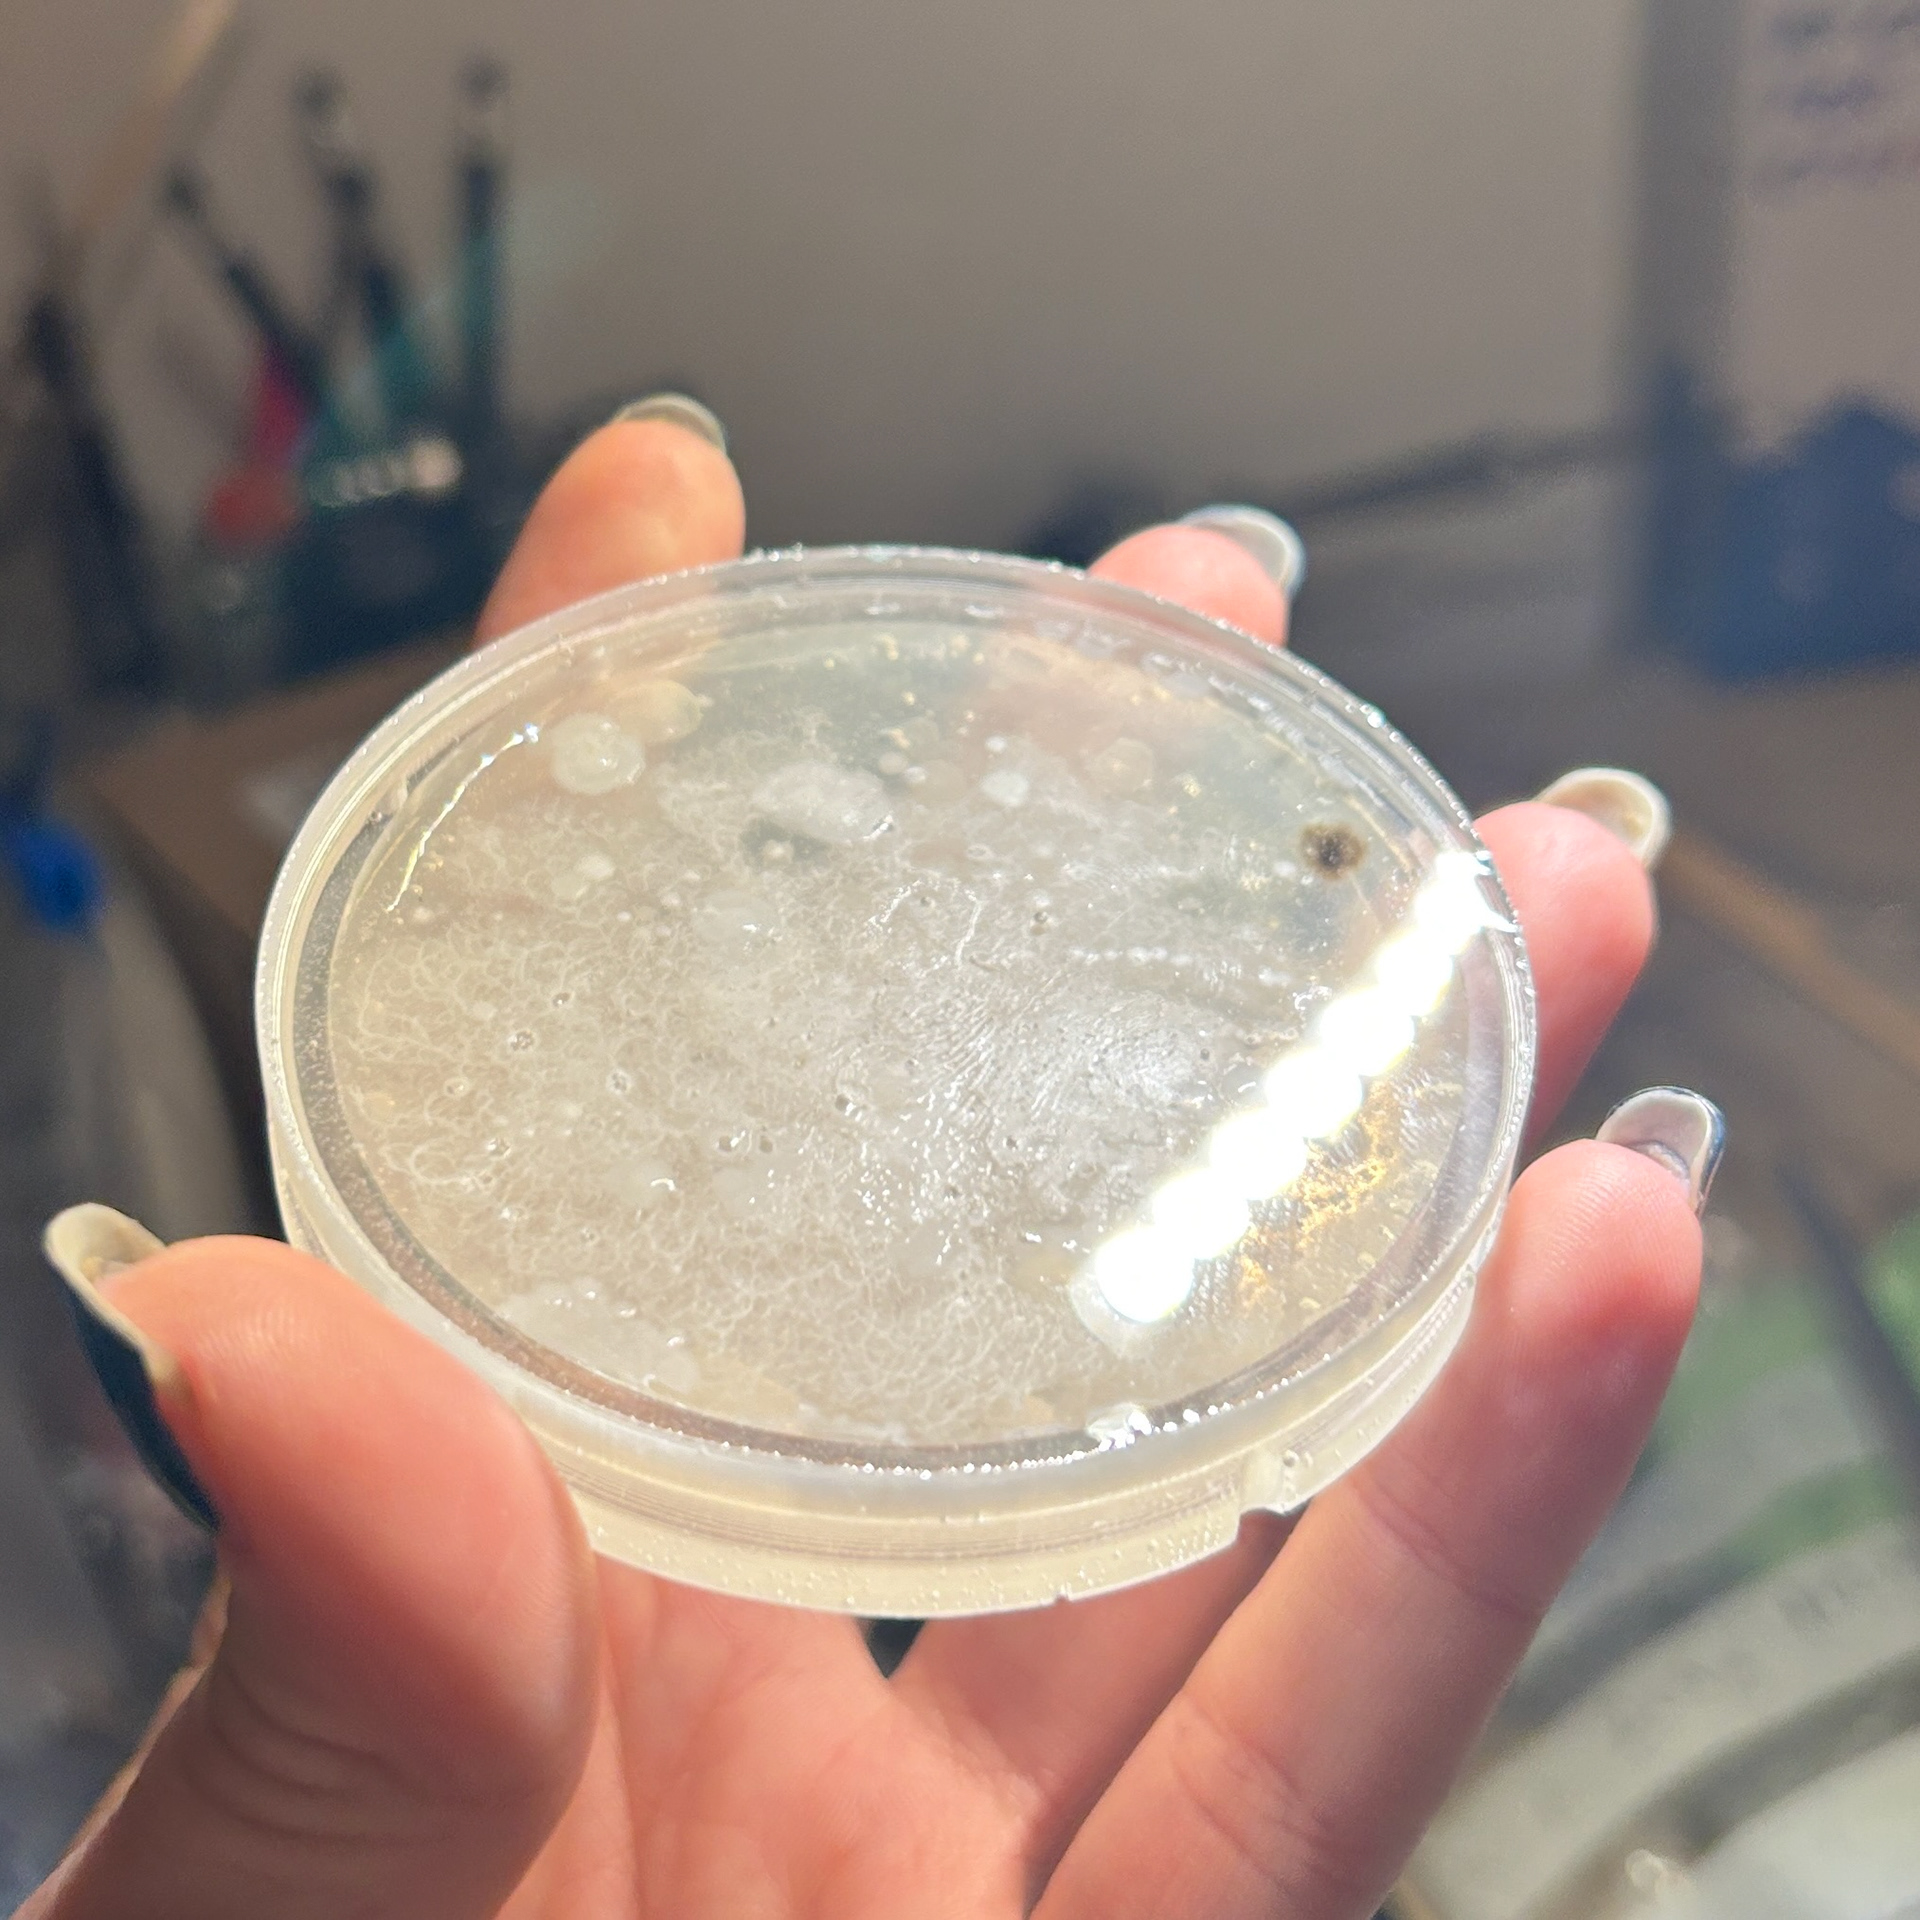
Checking the bottom of the resin dish
Showing the flash and filing that needed to be done
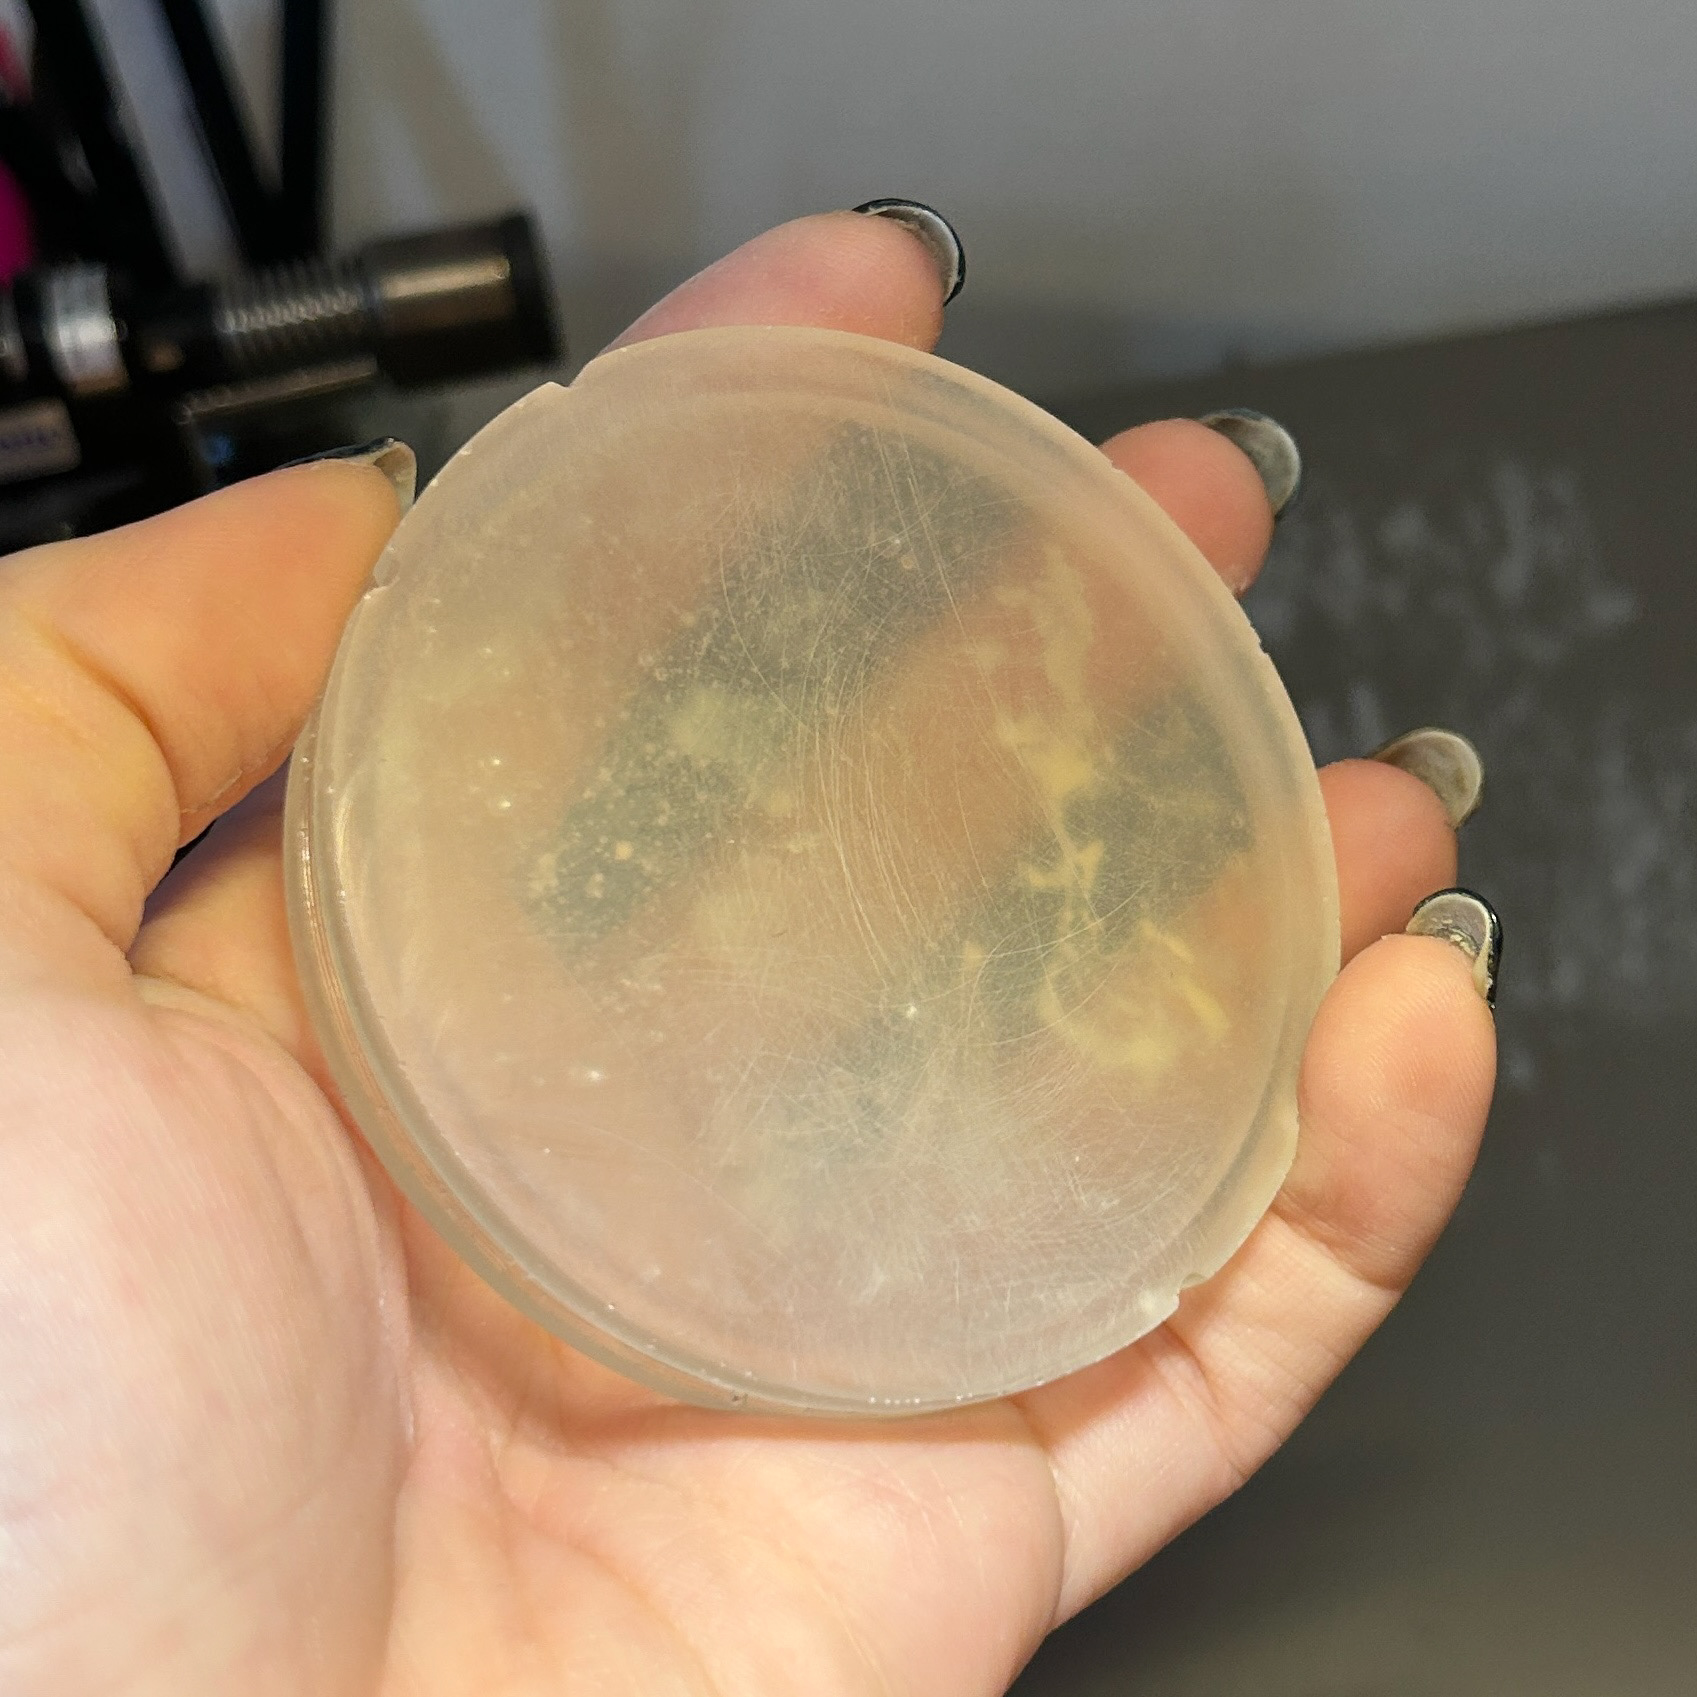
After the final layer of resin had cured, I removed it from the mould and checked for any gaps or inconsistencies. I noticed quite a few small surface bubbles, even though I had used heat and alcohol spray to try and remove them before curing. The only way to completely remove these bubbles would be to use a vacuum chamber on the resin before pouring. Since I don’t currently have a resin vacuum, I did the best I could with the tools I had.
I also checked the edges to see where filing was needed to create a smooth surface. Finally, I checked the base of the dish, where I had filed down the 3D print to make polishing easier. Overall, I was relatively happy with this result compared to my previous attempt, but there’s definitely still room for improvement.
When making these moulds, I decided to flip the orientation of the 3D print in the silicone. Previously, I had the prongs extending from the outer bezel positioned at the top of the mould, leaving the back of the dish formed by the final layer of resin. I realised this orientation wasn’t ideal for two reasons:
1. The prongs needed to be the most accurate part of the shape, and placing them at the top of the mould provided less support than positioning them at the bottom.
2. The final cured resin layer is the most polished, so it made more sense for the front of the dish to be formed by this layer.
After flipping the orientation of the 3D print for the silicone mould and curing the resin, I was much happier with the outcome.


I then checked the fit of the resin against the silver bezel, in case I had to make any adjustments while filing. Luckily the bezel fit well and so no adjustments were needed.
After sanding my surface
After polishing
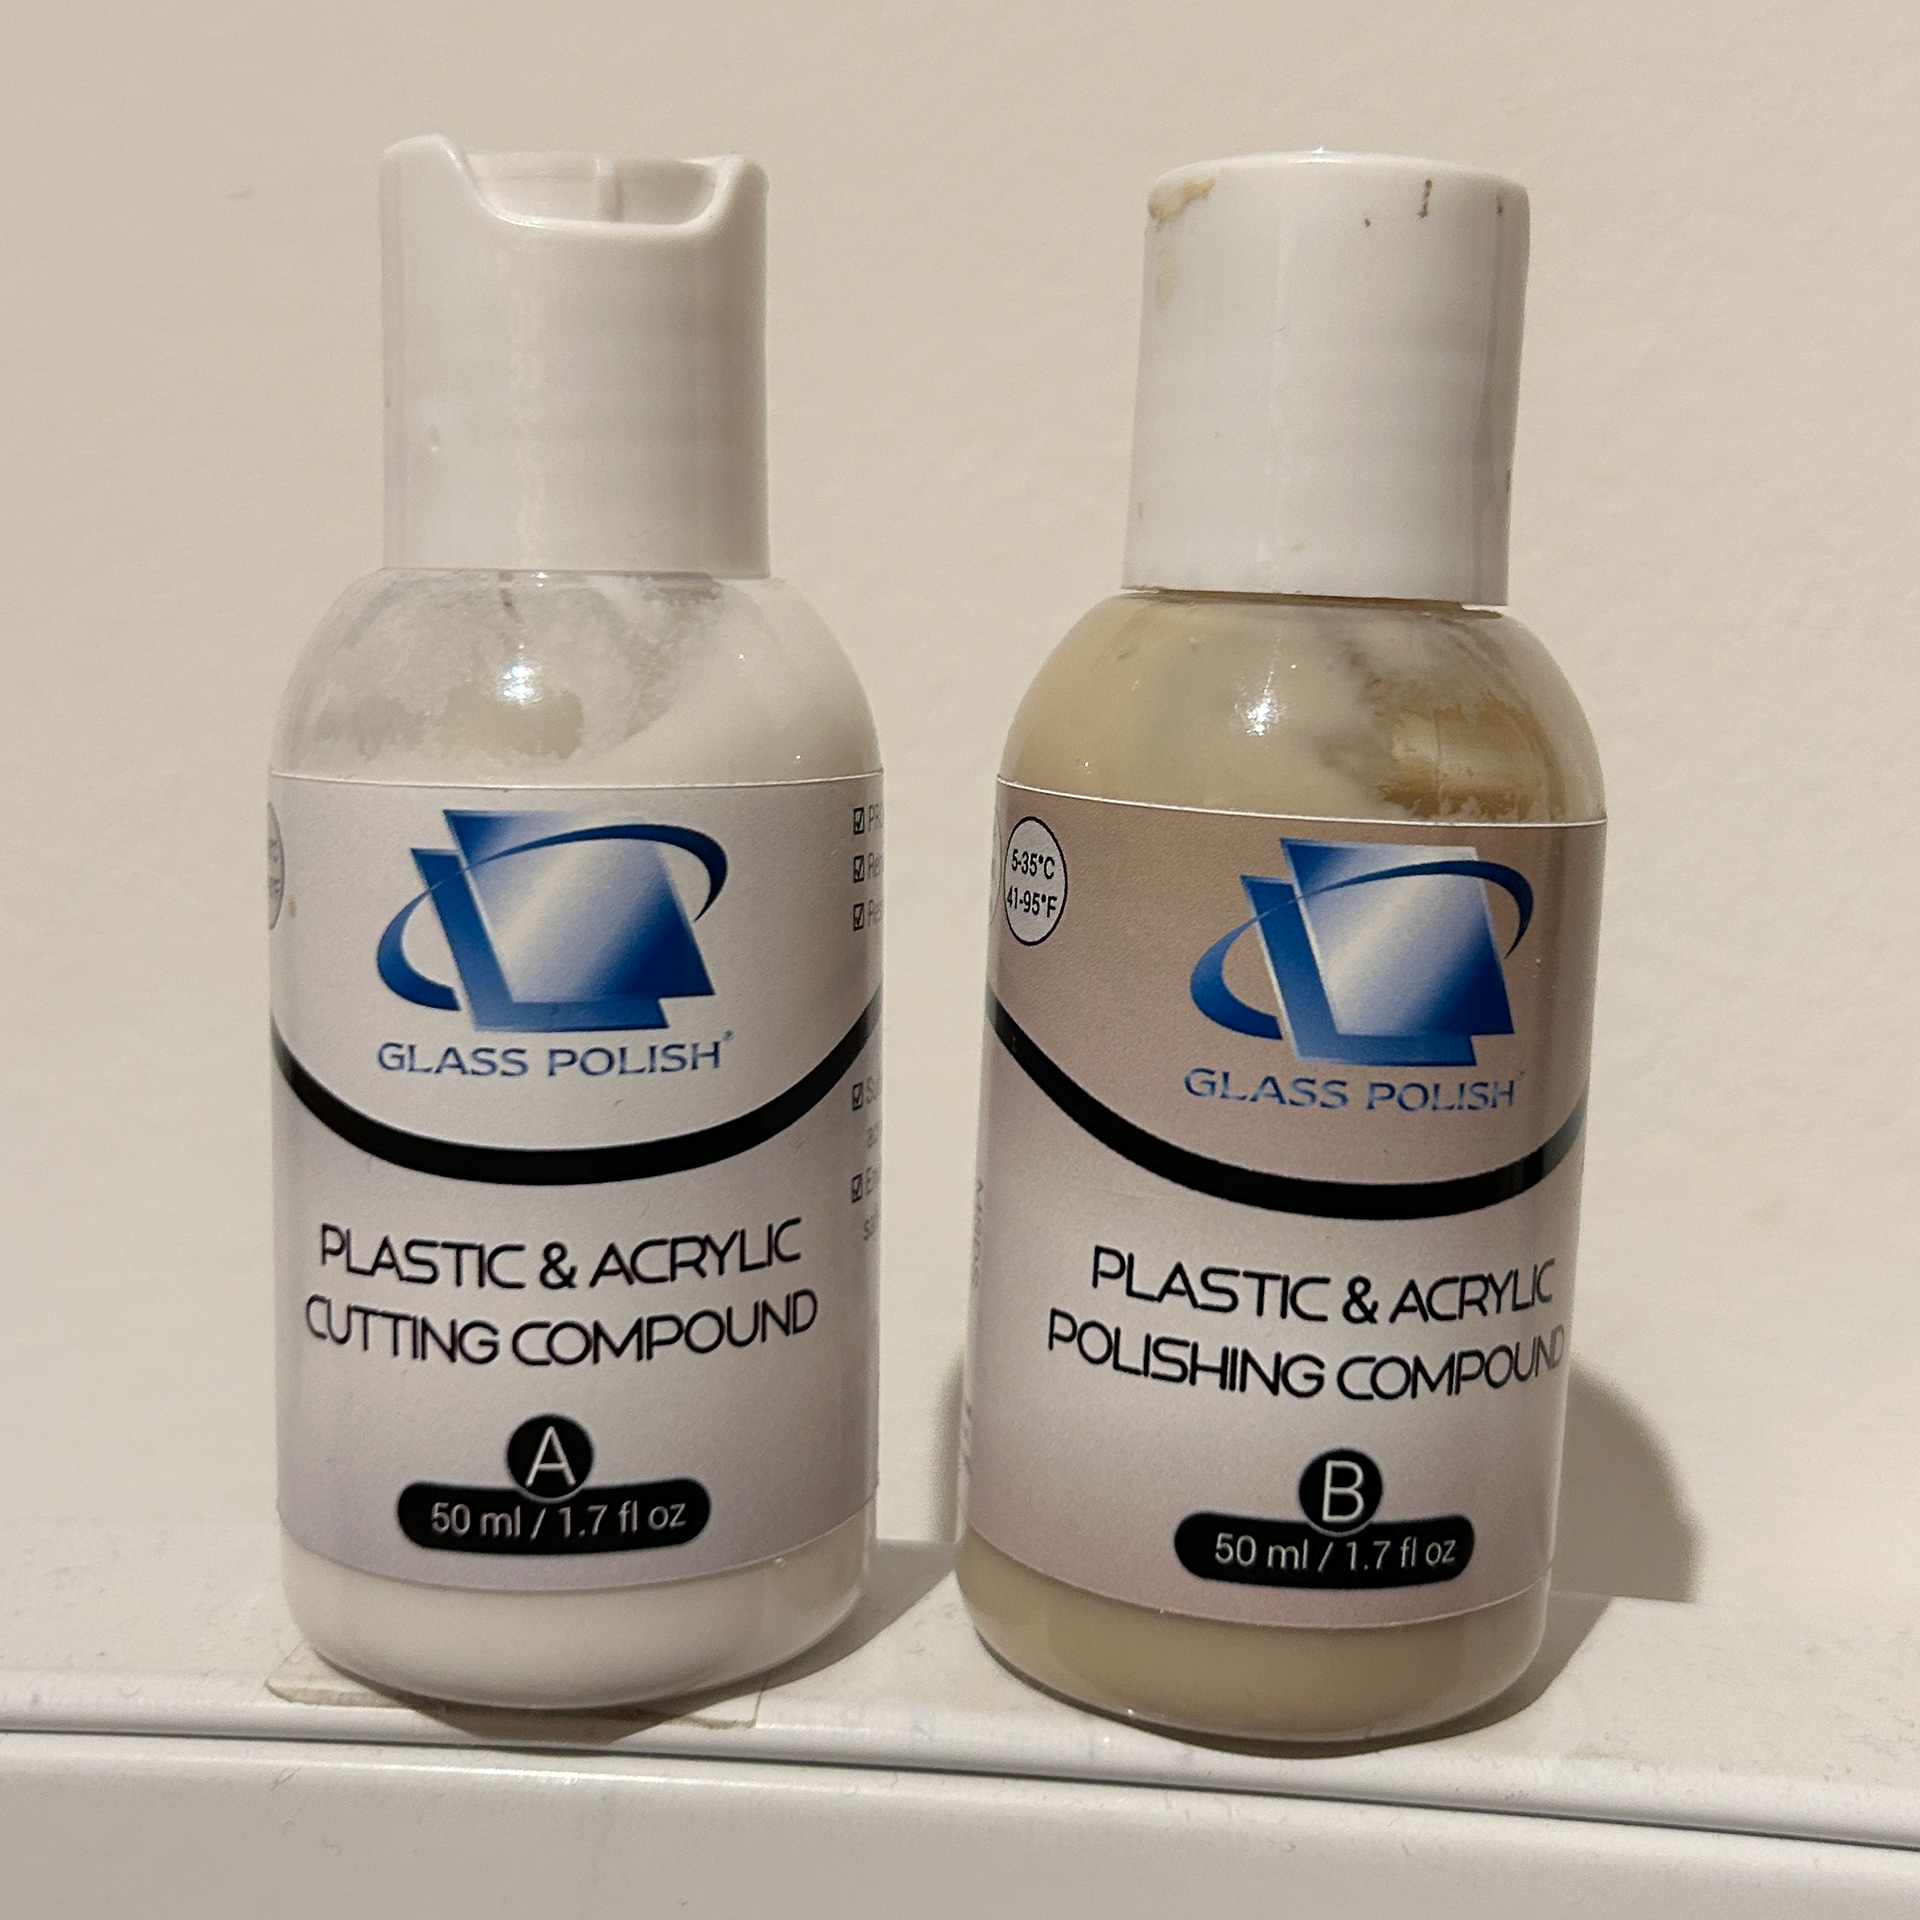
I then moved on to testing my sanding and polishing techniques. To do this, I used excess resin that I had poured into old silicone moulds. These moulds were my first set of silicone moulds which were less carefully filled than the ones I was currently using, which made them ideal for testing how to remove major lines and imperfections in case. I started sanding with 240-grit sandpaper and gradually worked my way up to 3000 grit, aiming to create the smoothest surface possible. After sanding, I applied the polishing compounds I had bought, which were essentially the equivalent of tripoli and rouge in the process.
Finding a suitable resin polish was challenging. Many options were either too expensive or wouldn’t arrive in time, especially since one of the most popular brands, Resin8, had recently closed its online shop. After some research, I came across a plastic and acrylic polish with positive reviews from people who had used it successfully on resin. Since it wasn’t specifically designed for resin, I decided to test it first to make sure it worked well.
The polish recommended using a microfiber cloth or a soft polishing tool to apply the polish. I tried both methods: applying the polish in small circular motions with a microfiber cloth and using soft polishing tools on my Dremel. The results were ok, it helped reduce cloudiness and improve clarity, but the final shine wasn’t as bright as I had hoped and there was still some scratches on my piece. Nevertheless, I moved onto my final piece as I had the daylight studio booked for a couple of days time.

After sanding
After using the cutting compound

After using the polishing compound
I then moved on to polishing the pieces for my final outcomes. I repeated the same process with the sanding and the polishing, with the results shown above.
One very annoying issue I found was the polish seeping into the small air bubble holes on the edges of the resin. I tried my best to remove this, scrubbing the edges with a soft toothbrush and soapy warm water to help release any of this leftover polish, however, it was not 100% successful. This was incredibly annoying as when the holes were not filled, they were not very noticeable, however now they had white and grey polish in them, and they became glaringly obvious. Once again, this goes back to investing in a resin vacuum if I continue to use resin next year.
There were still some scratches on the back of the resin, however, I did not want to go back and sand these again as 1. I was worried that I would make it worse and 2. I could be removing more of the height of the resin, therefore making the bezel not central to the height.
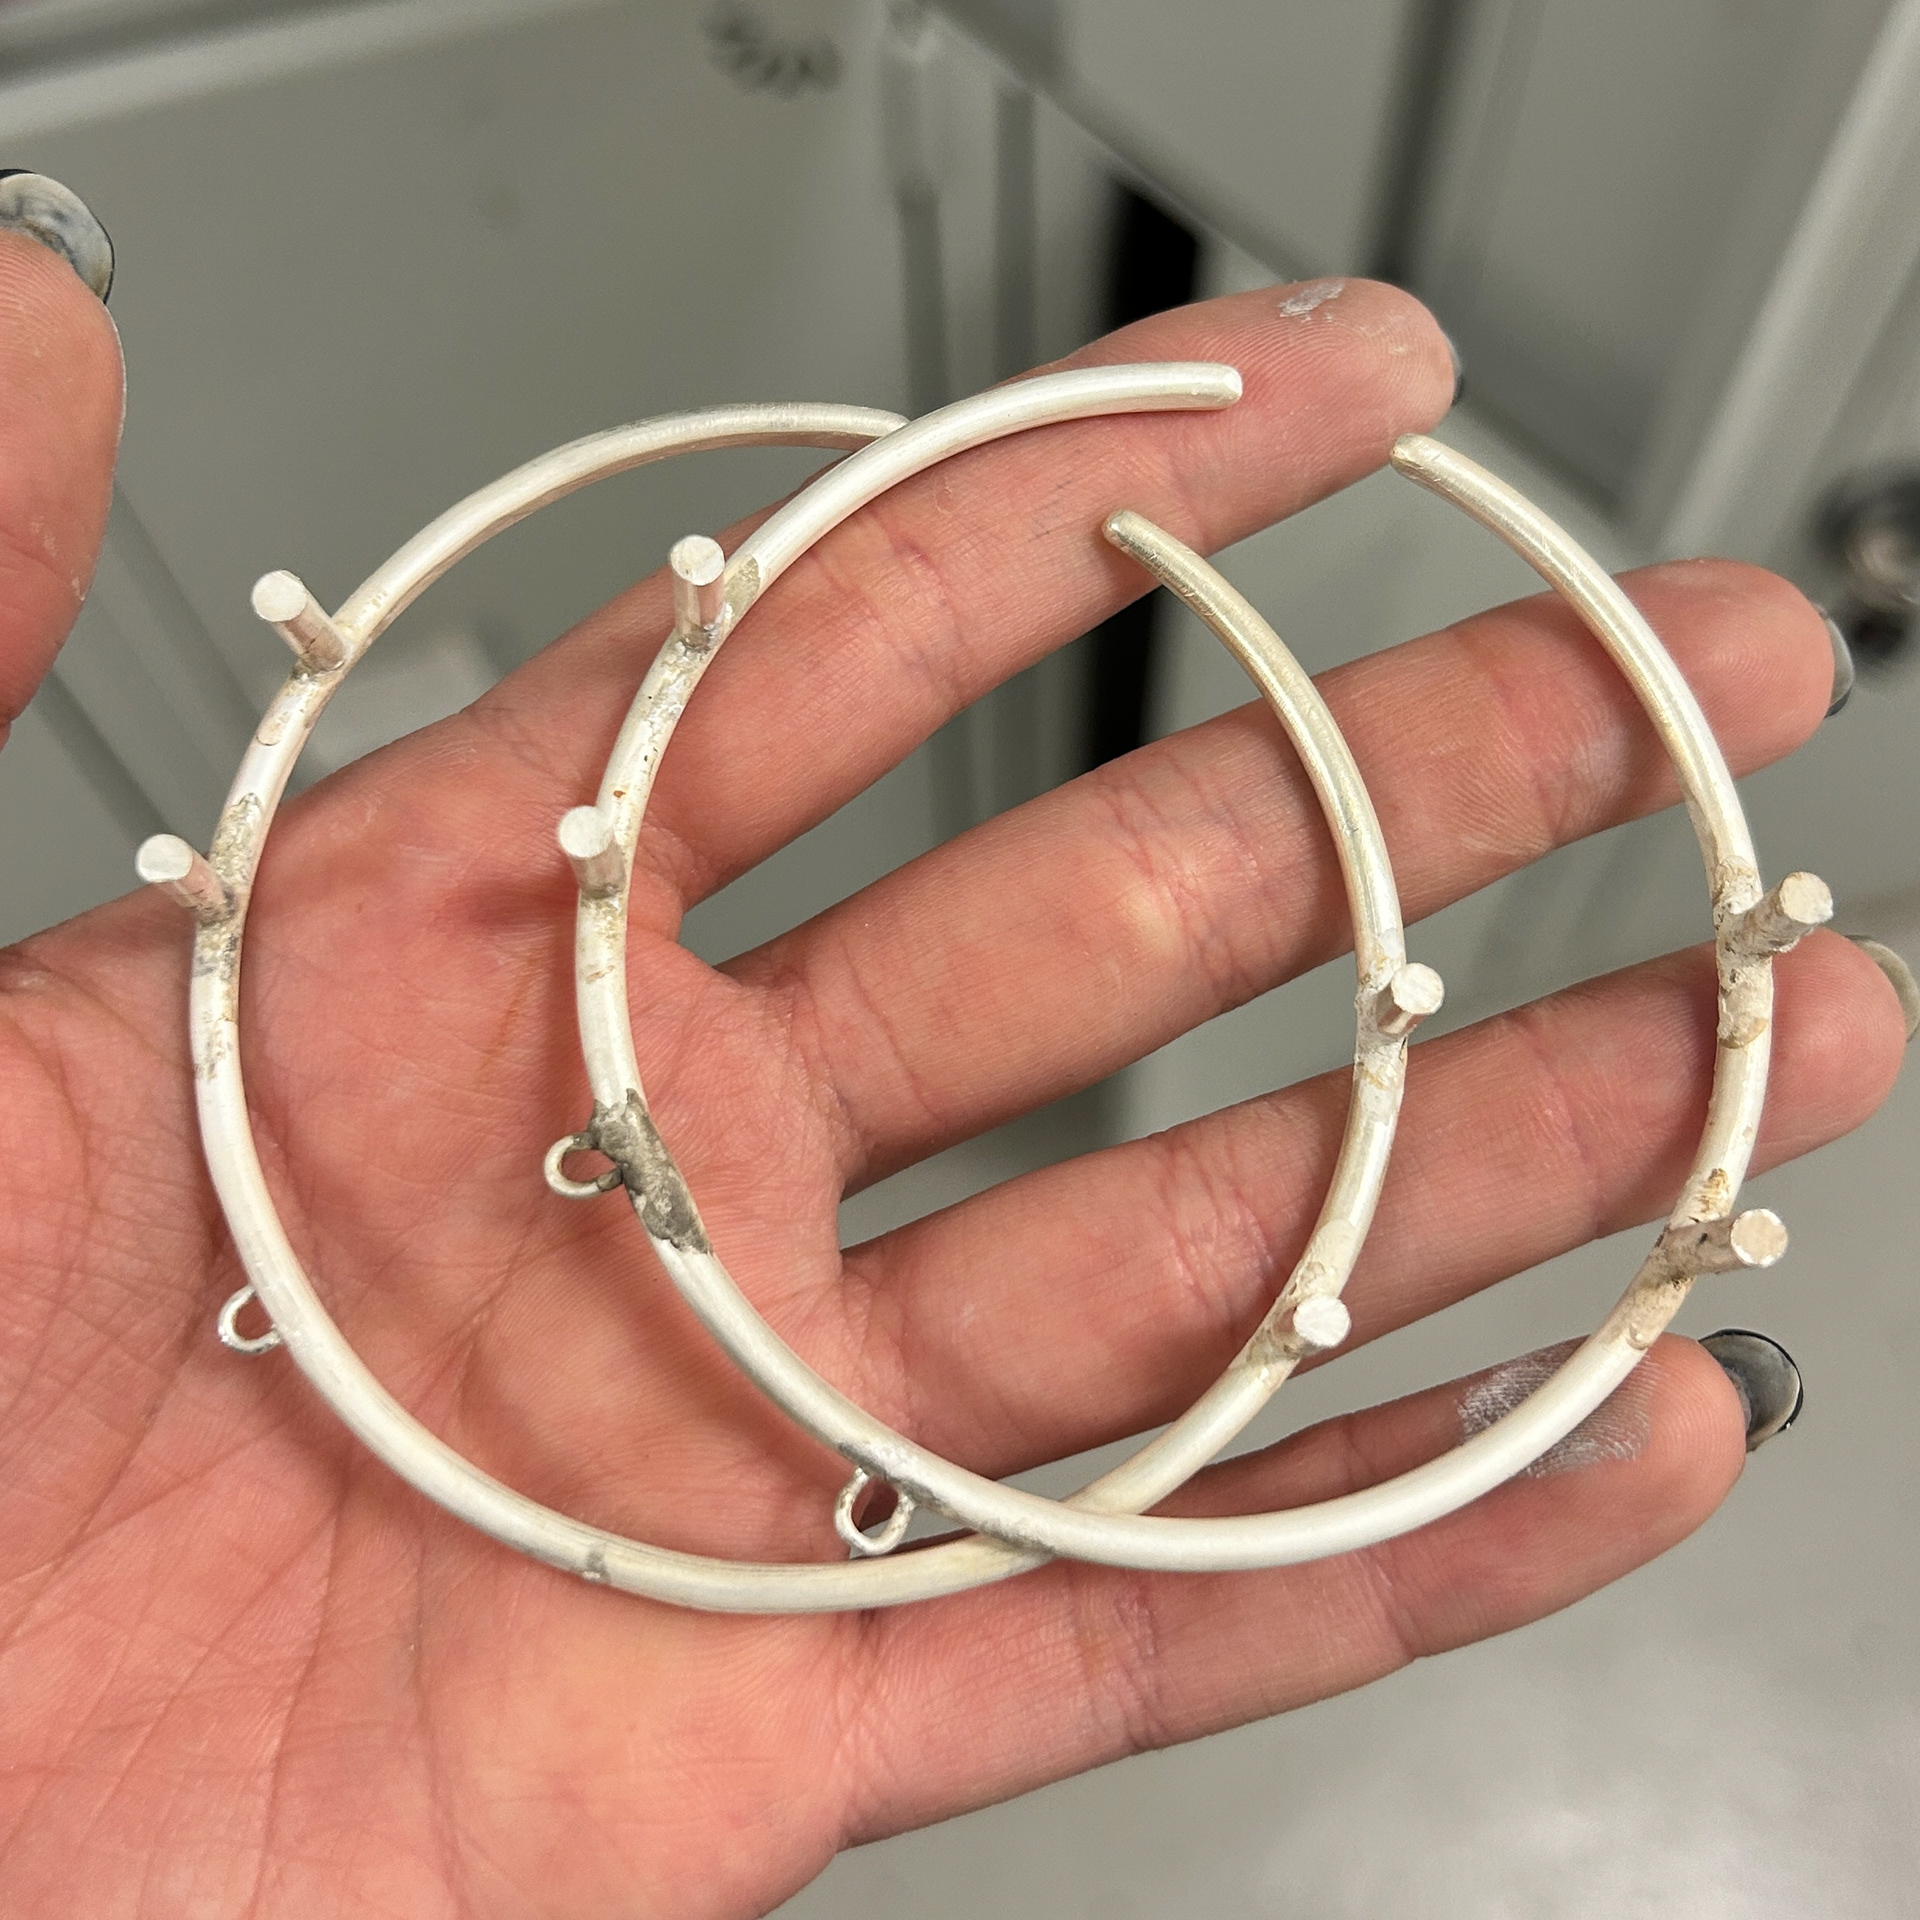
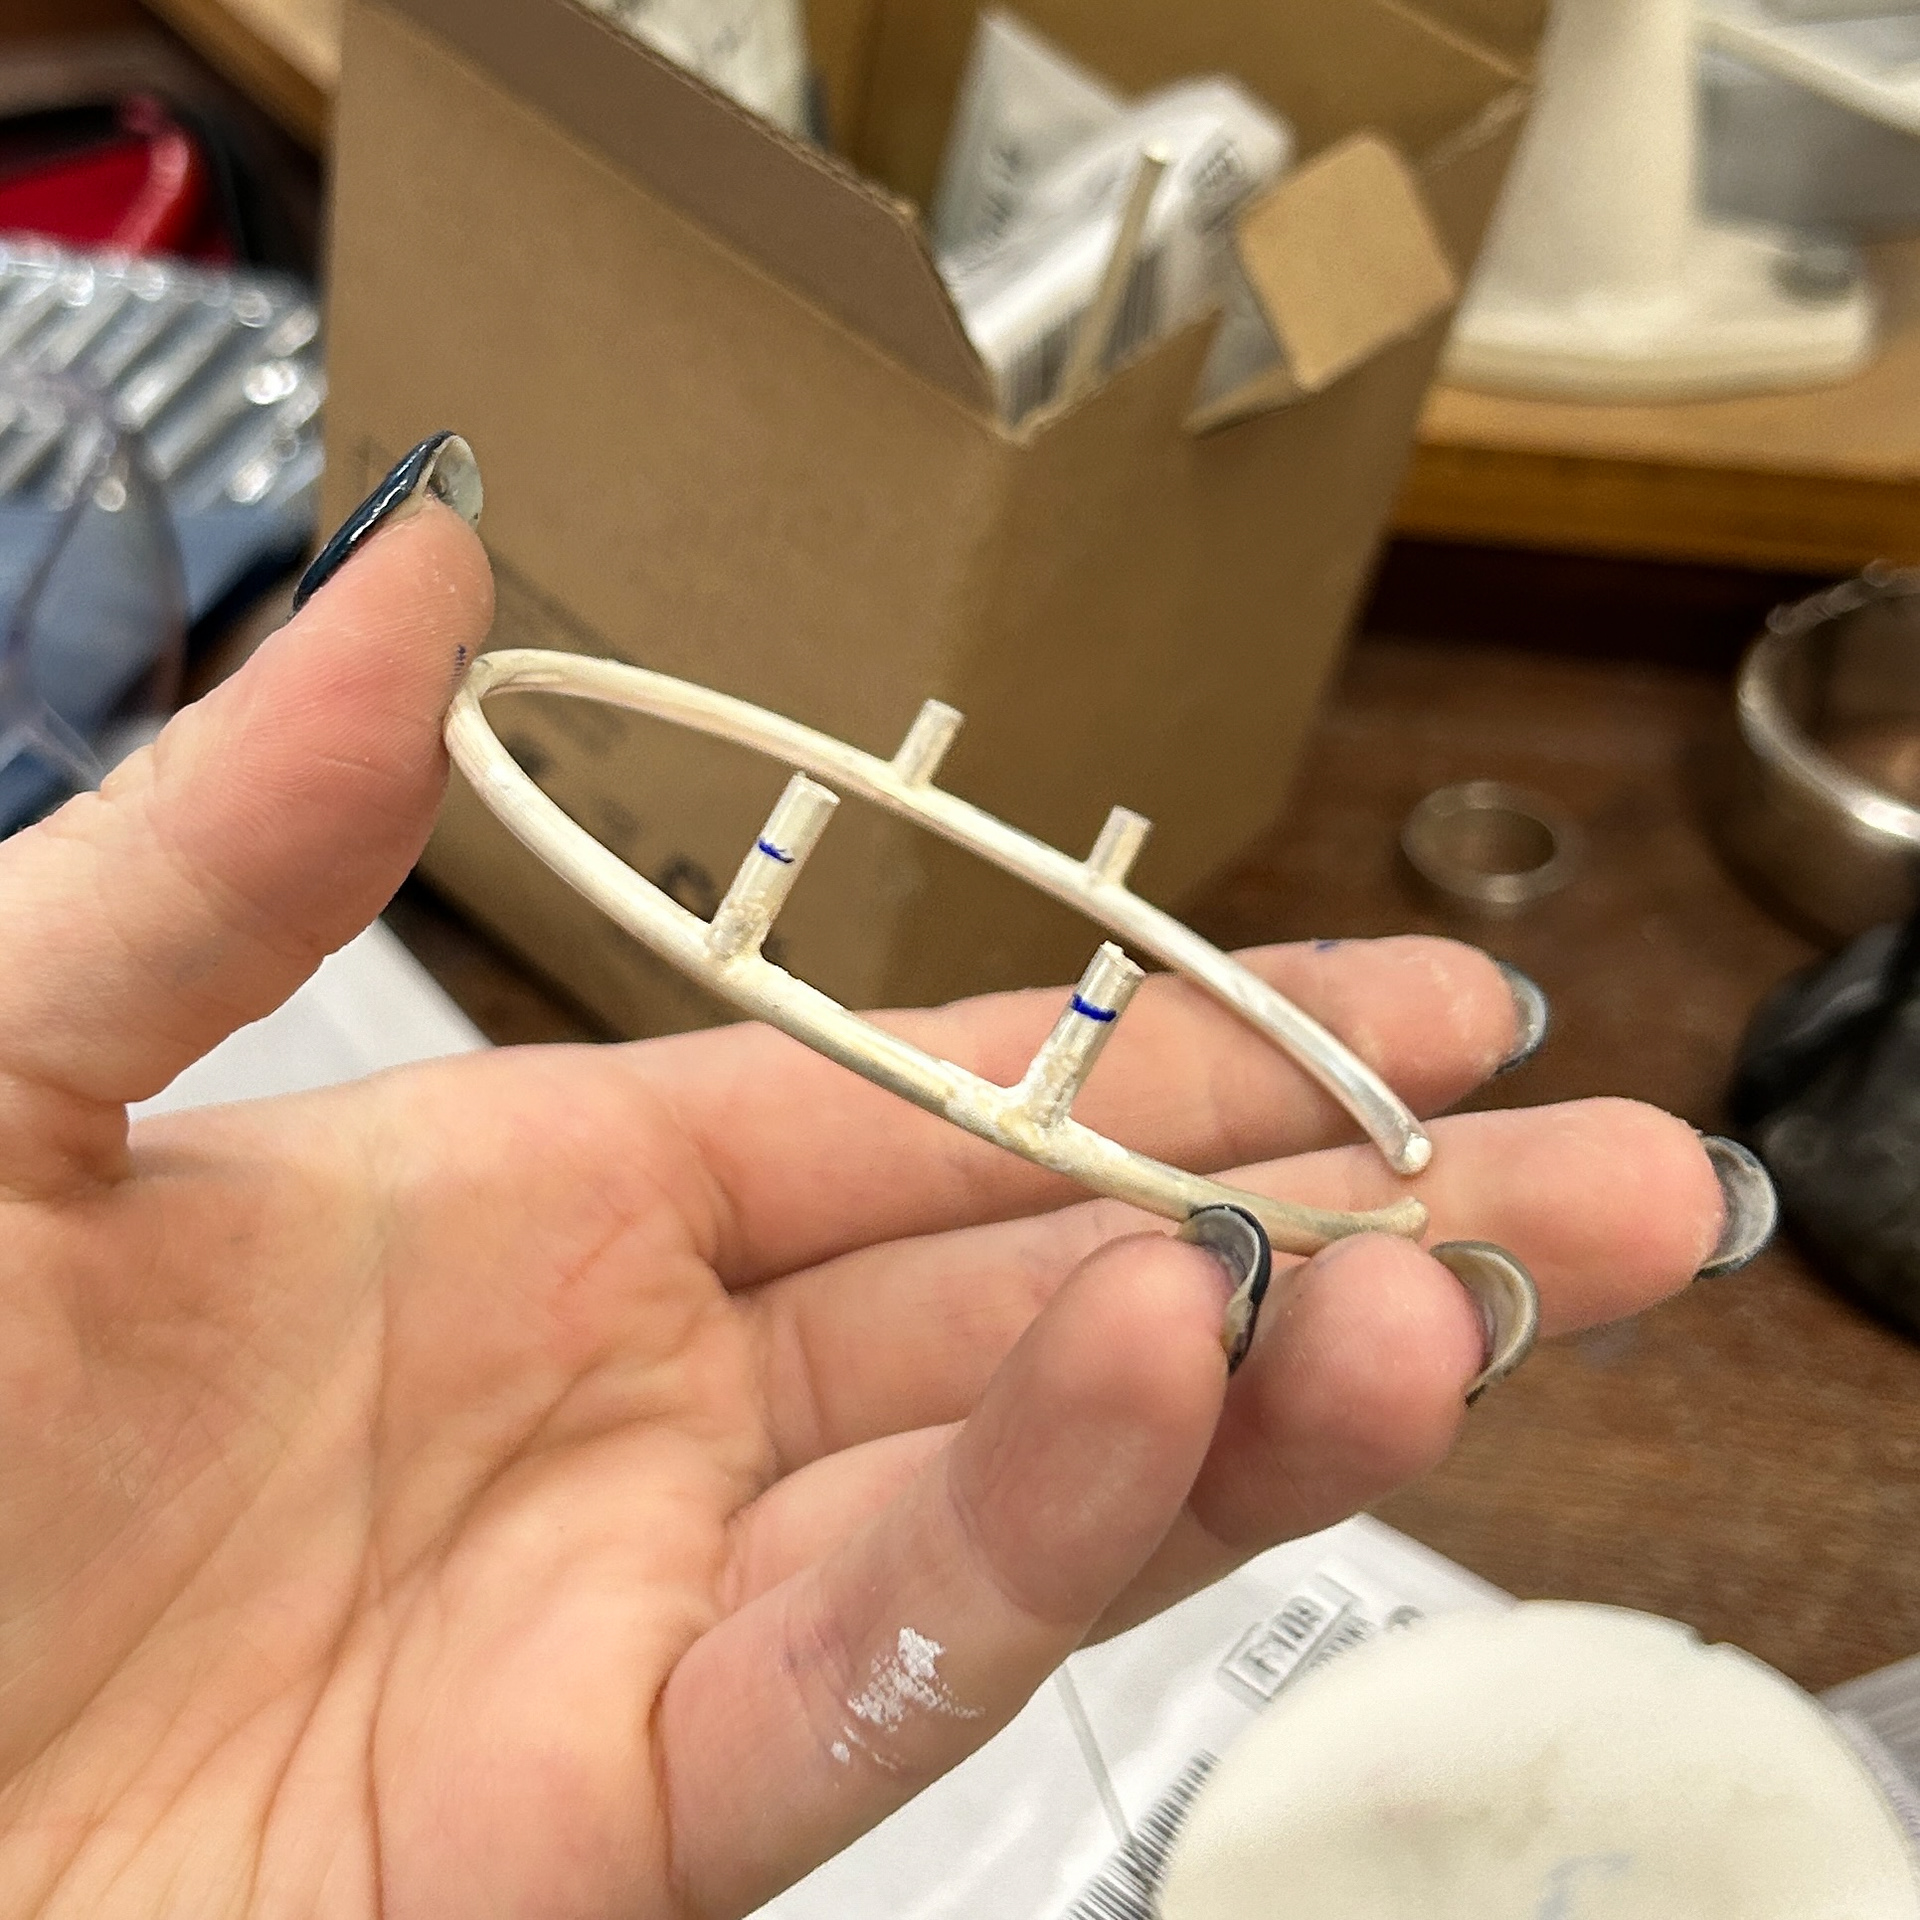
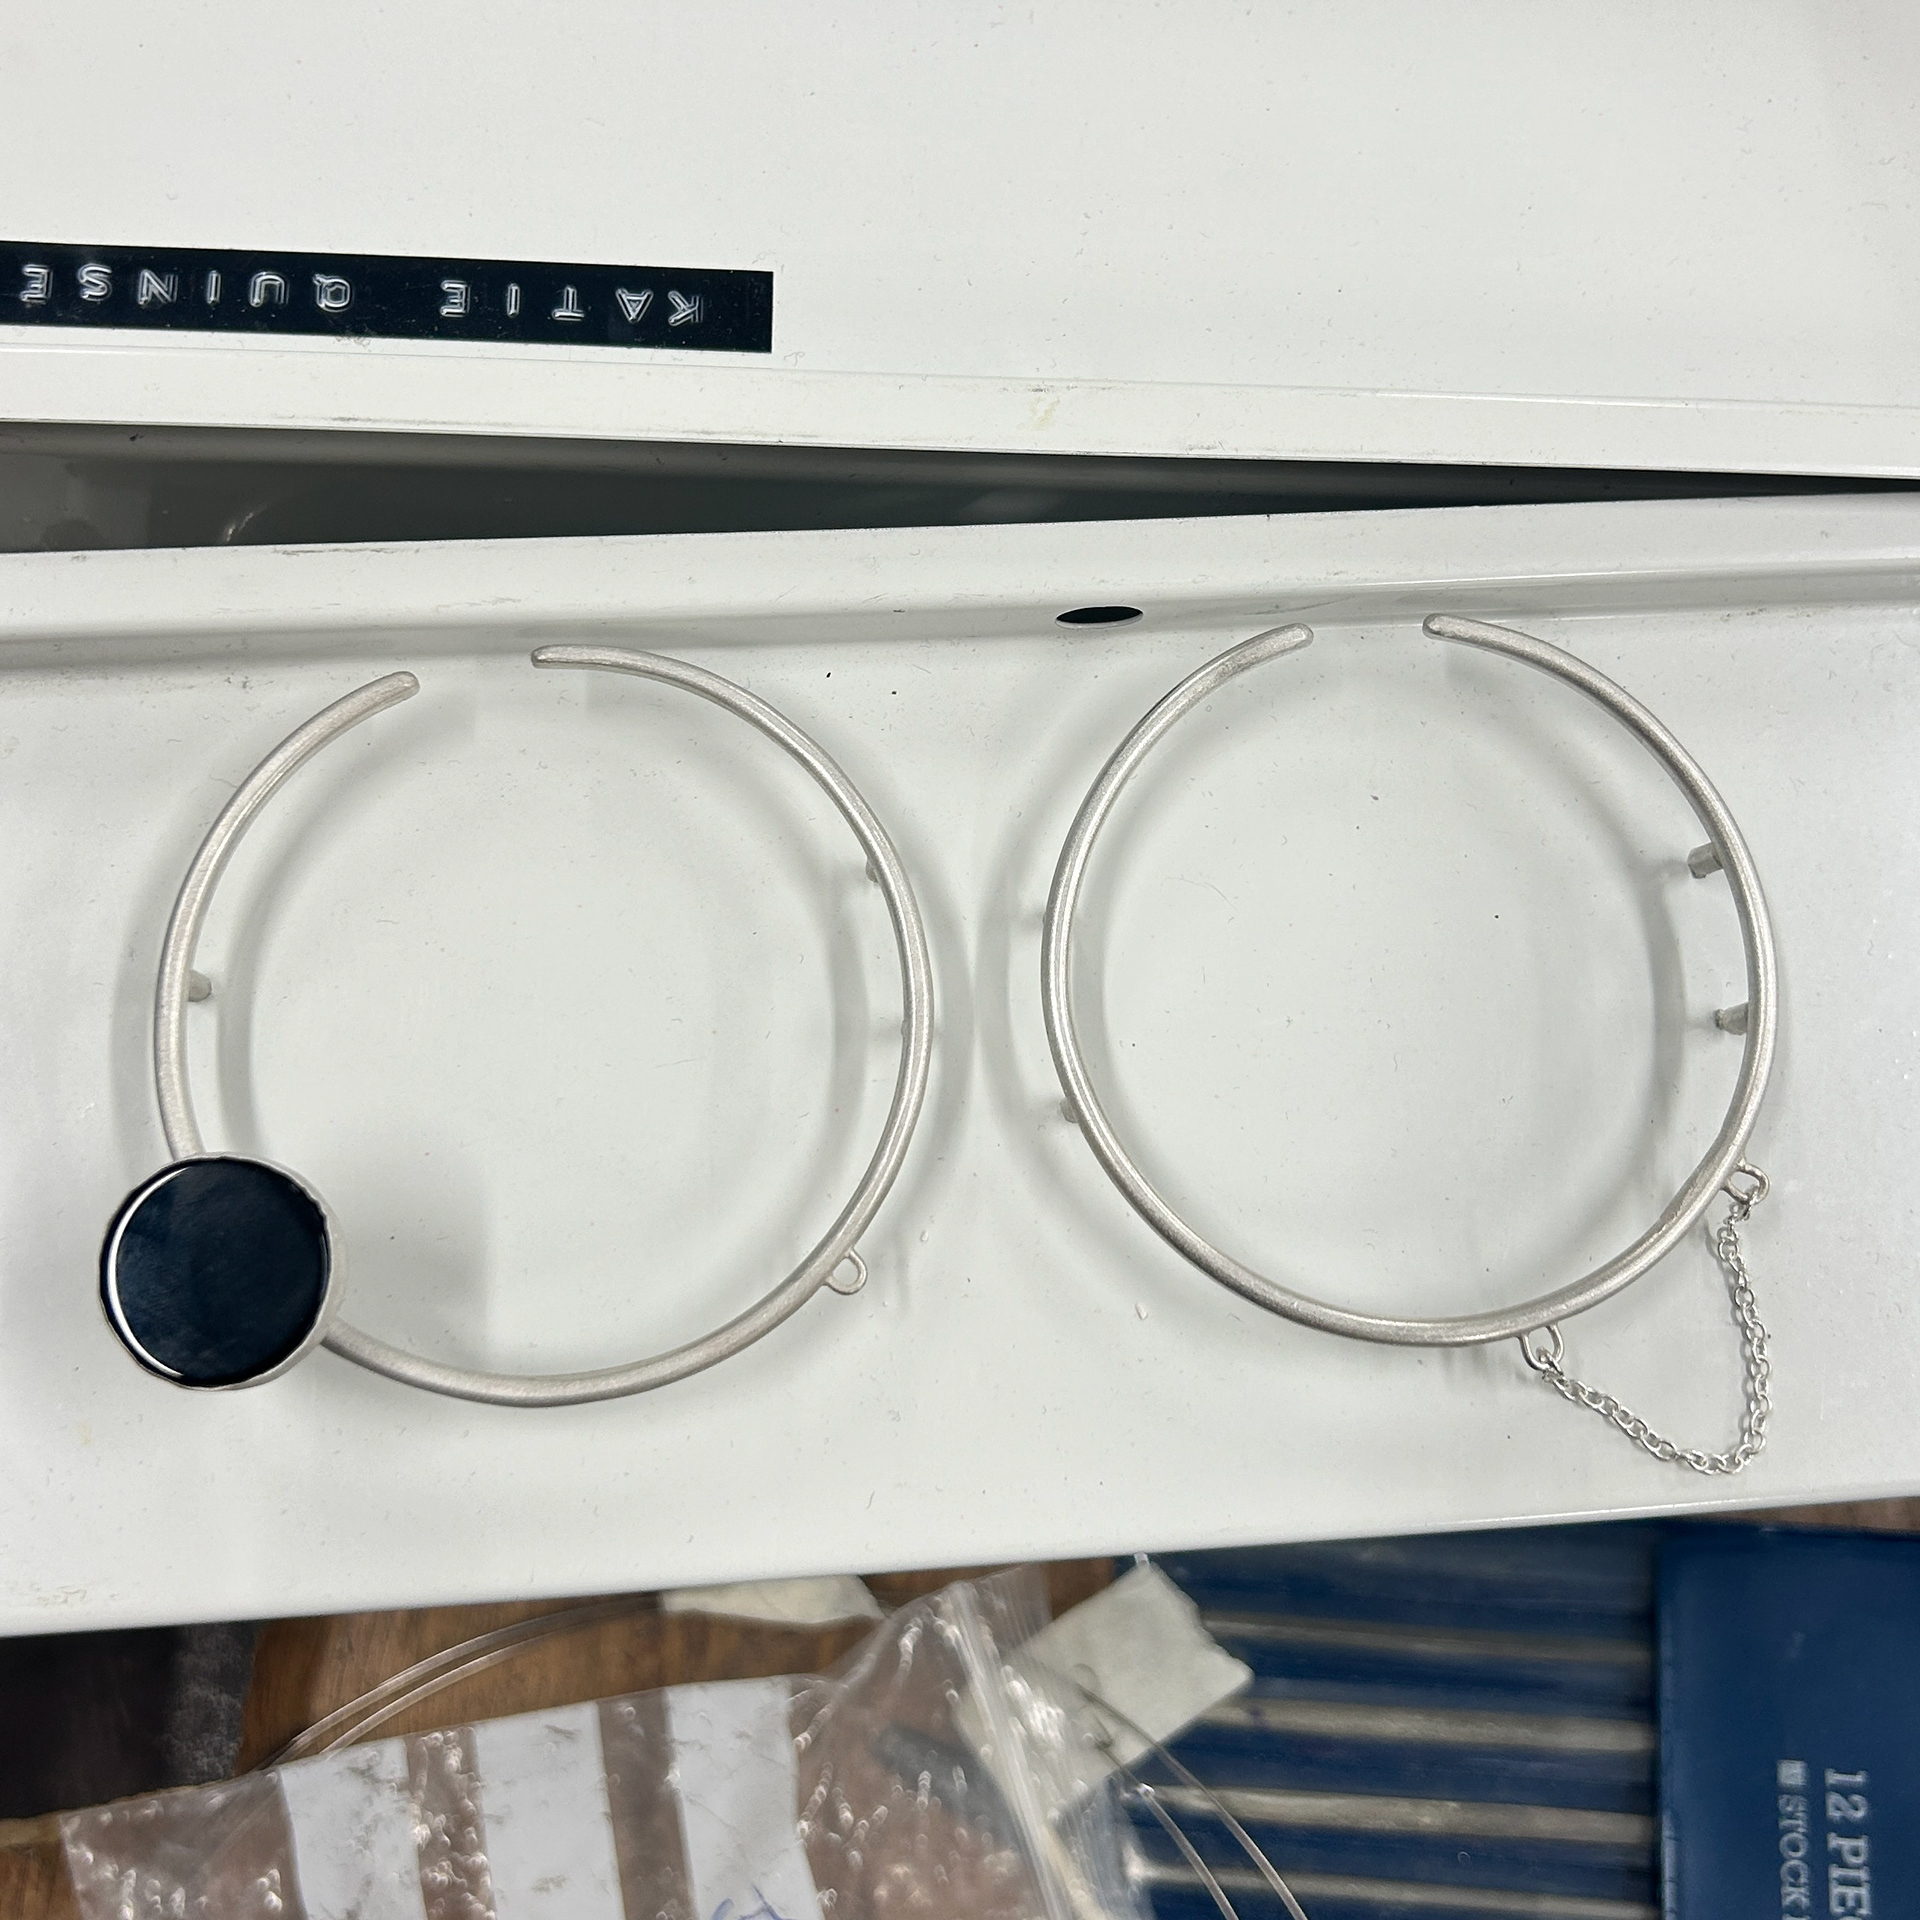
Making the Outer Bezel
29th November 2024
Rounded edge
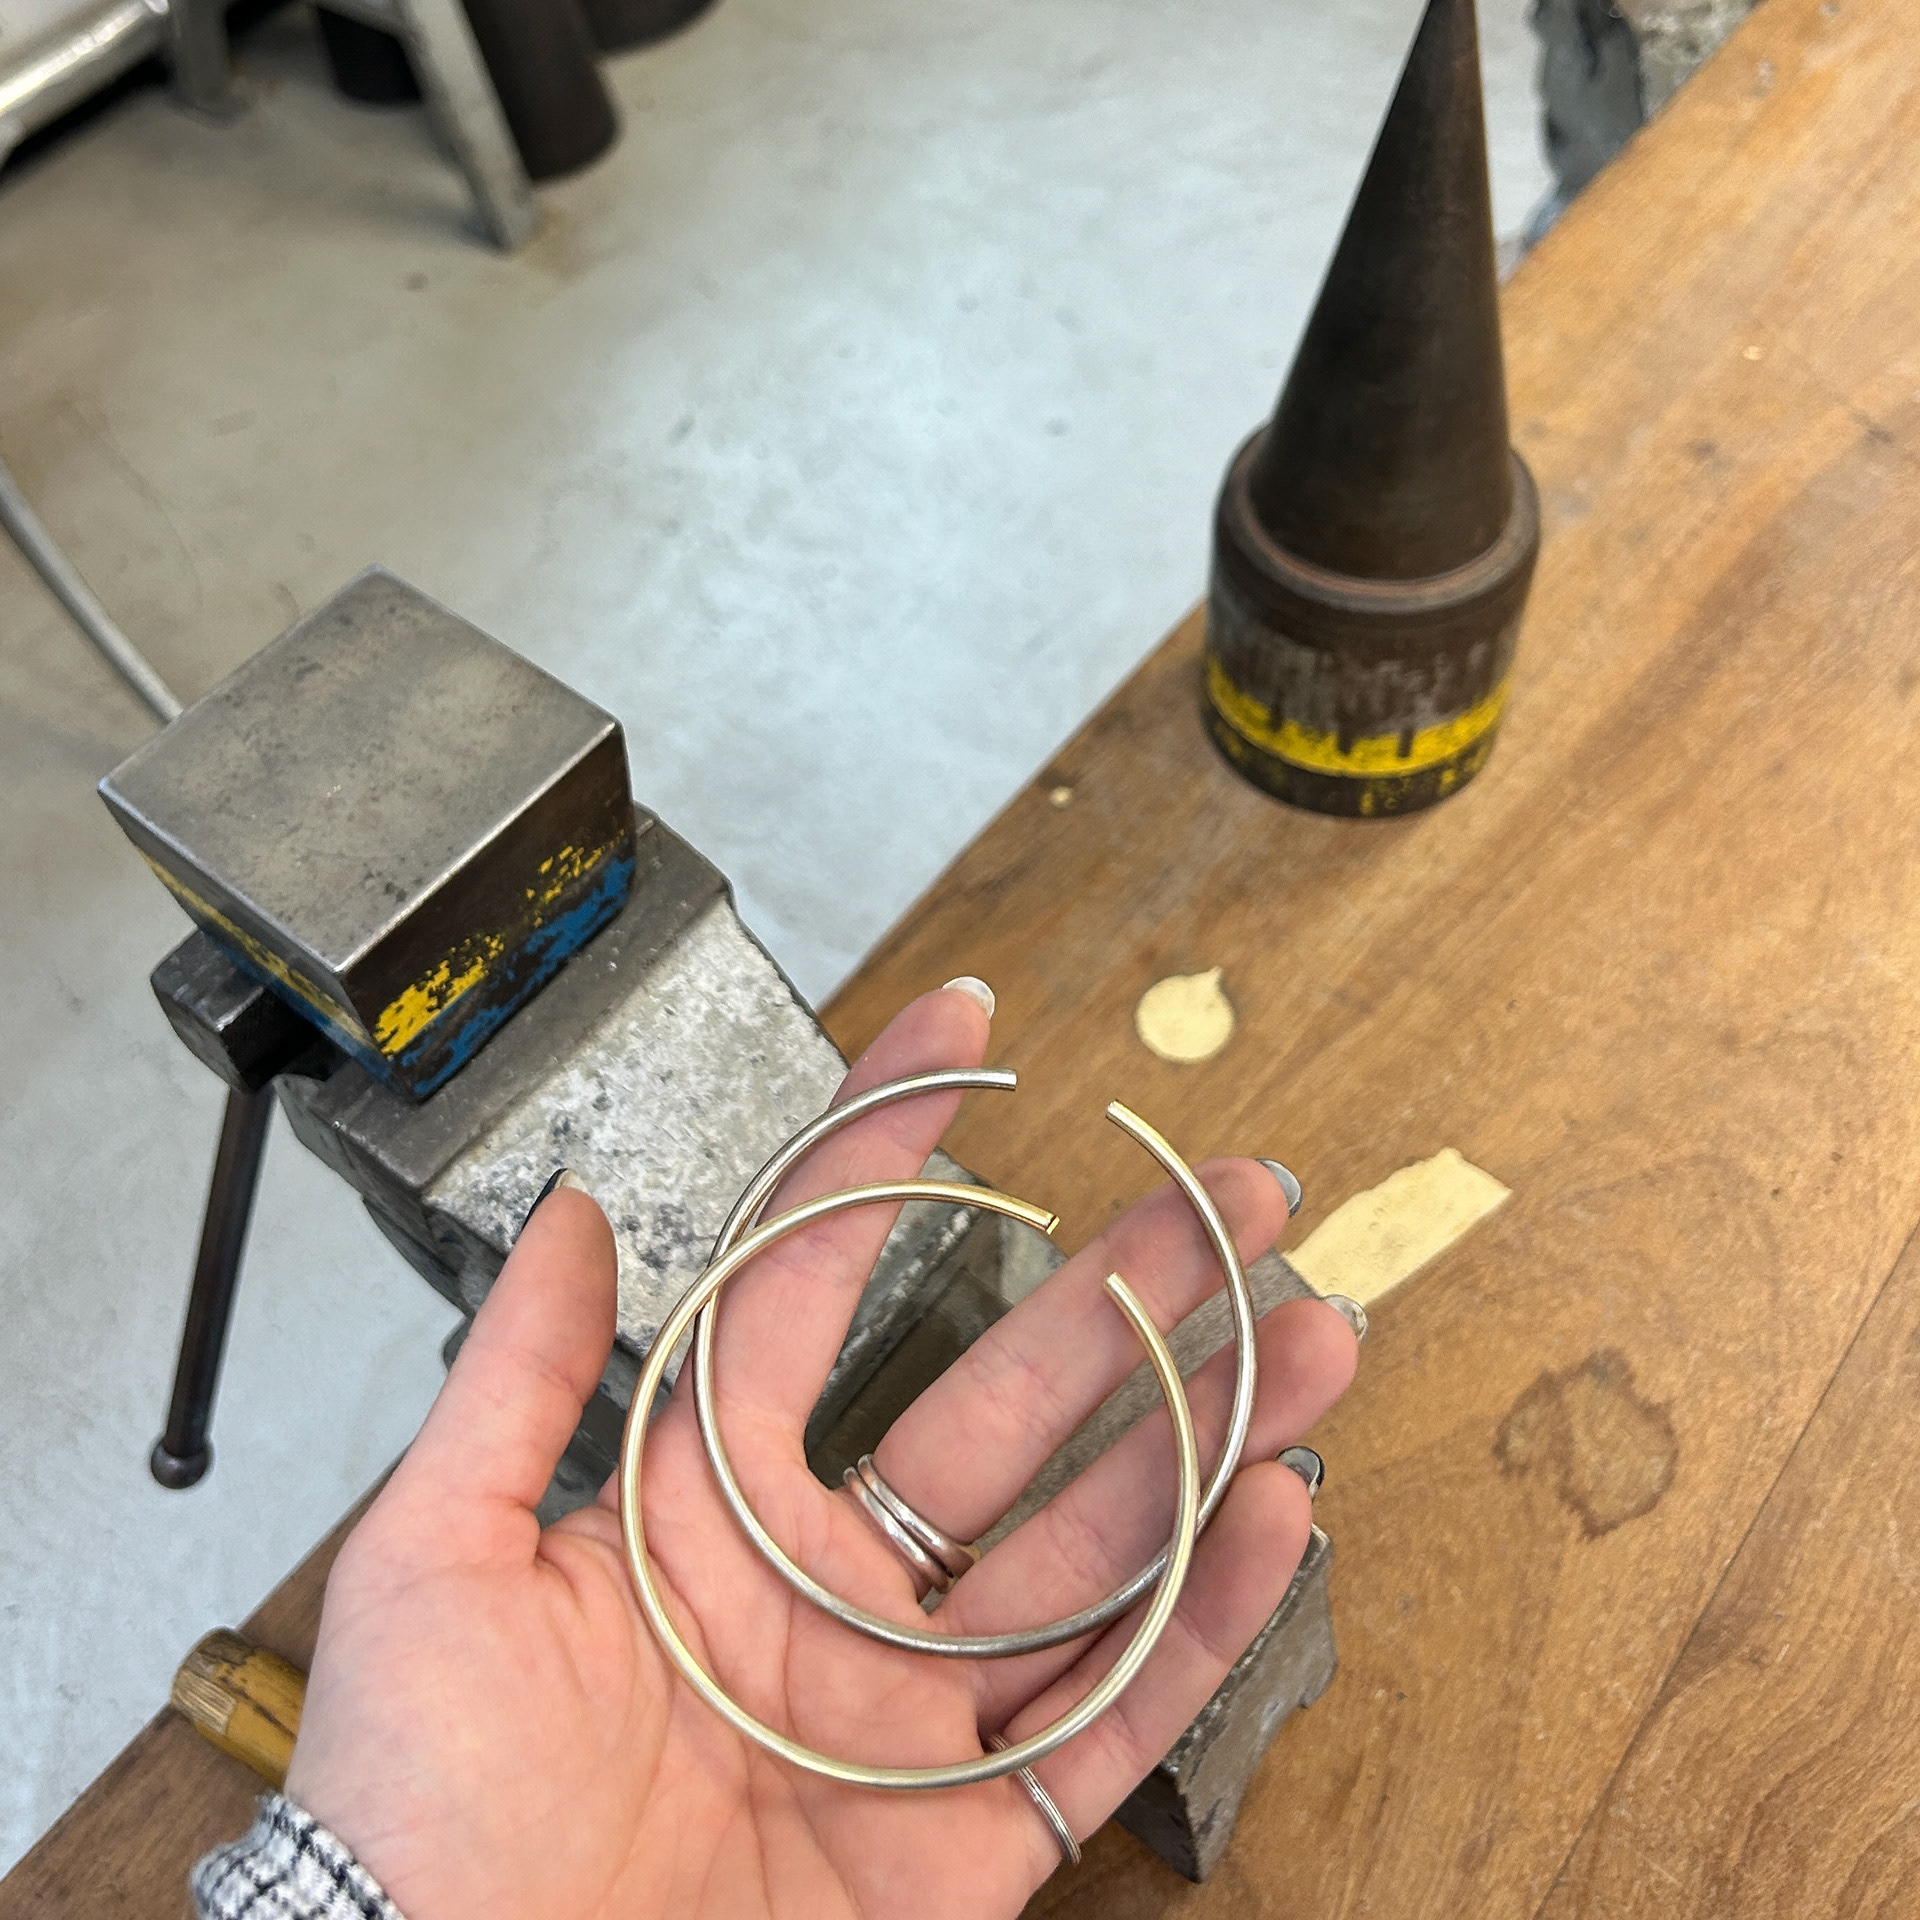
To make the bezel, I first started by measuring out the length needed and shaping it using a stake and a wooden mallet. After achieving the correct shape, I cut off the excess and filed to a rounded edge, as seen above. I feel as if small details like this are going to help make my piece look more refined and well-thought-out.
With the remaining 3mm wire, I straightened this out using a flat stake and a wooden mallet. I then began to file an indent into the pieces that was the same profile as the wire, to create a flush connection for soldering the on the prongs.
I used the microflame to do all of my soldering as I knew that I would be able to direct the heat to a specific joint and reduce the risk of melting any of my previous solders.
As I was going with a relatively simple design, I had to make sure that my technique was perfect as there would be no hiding any bad solders. I took my time with this and often spent 5-10 minutes making sure that the placement of the prongs was as perfect as I could get it. This also meant that I went back and filed a couple of the prongs, to make sure that they were 100% even.

After completing the soldering, I checked the fit of the prongs using one of the 3D prints. I was happy with the fit and did not feel as if I needed to make any adjustments, and so I could move on to filing and cleaning up the joints.
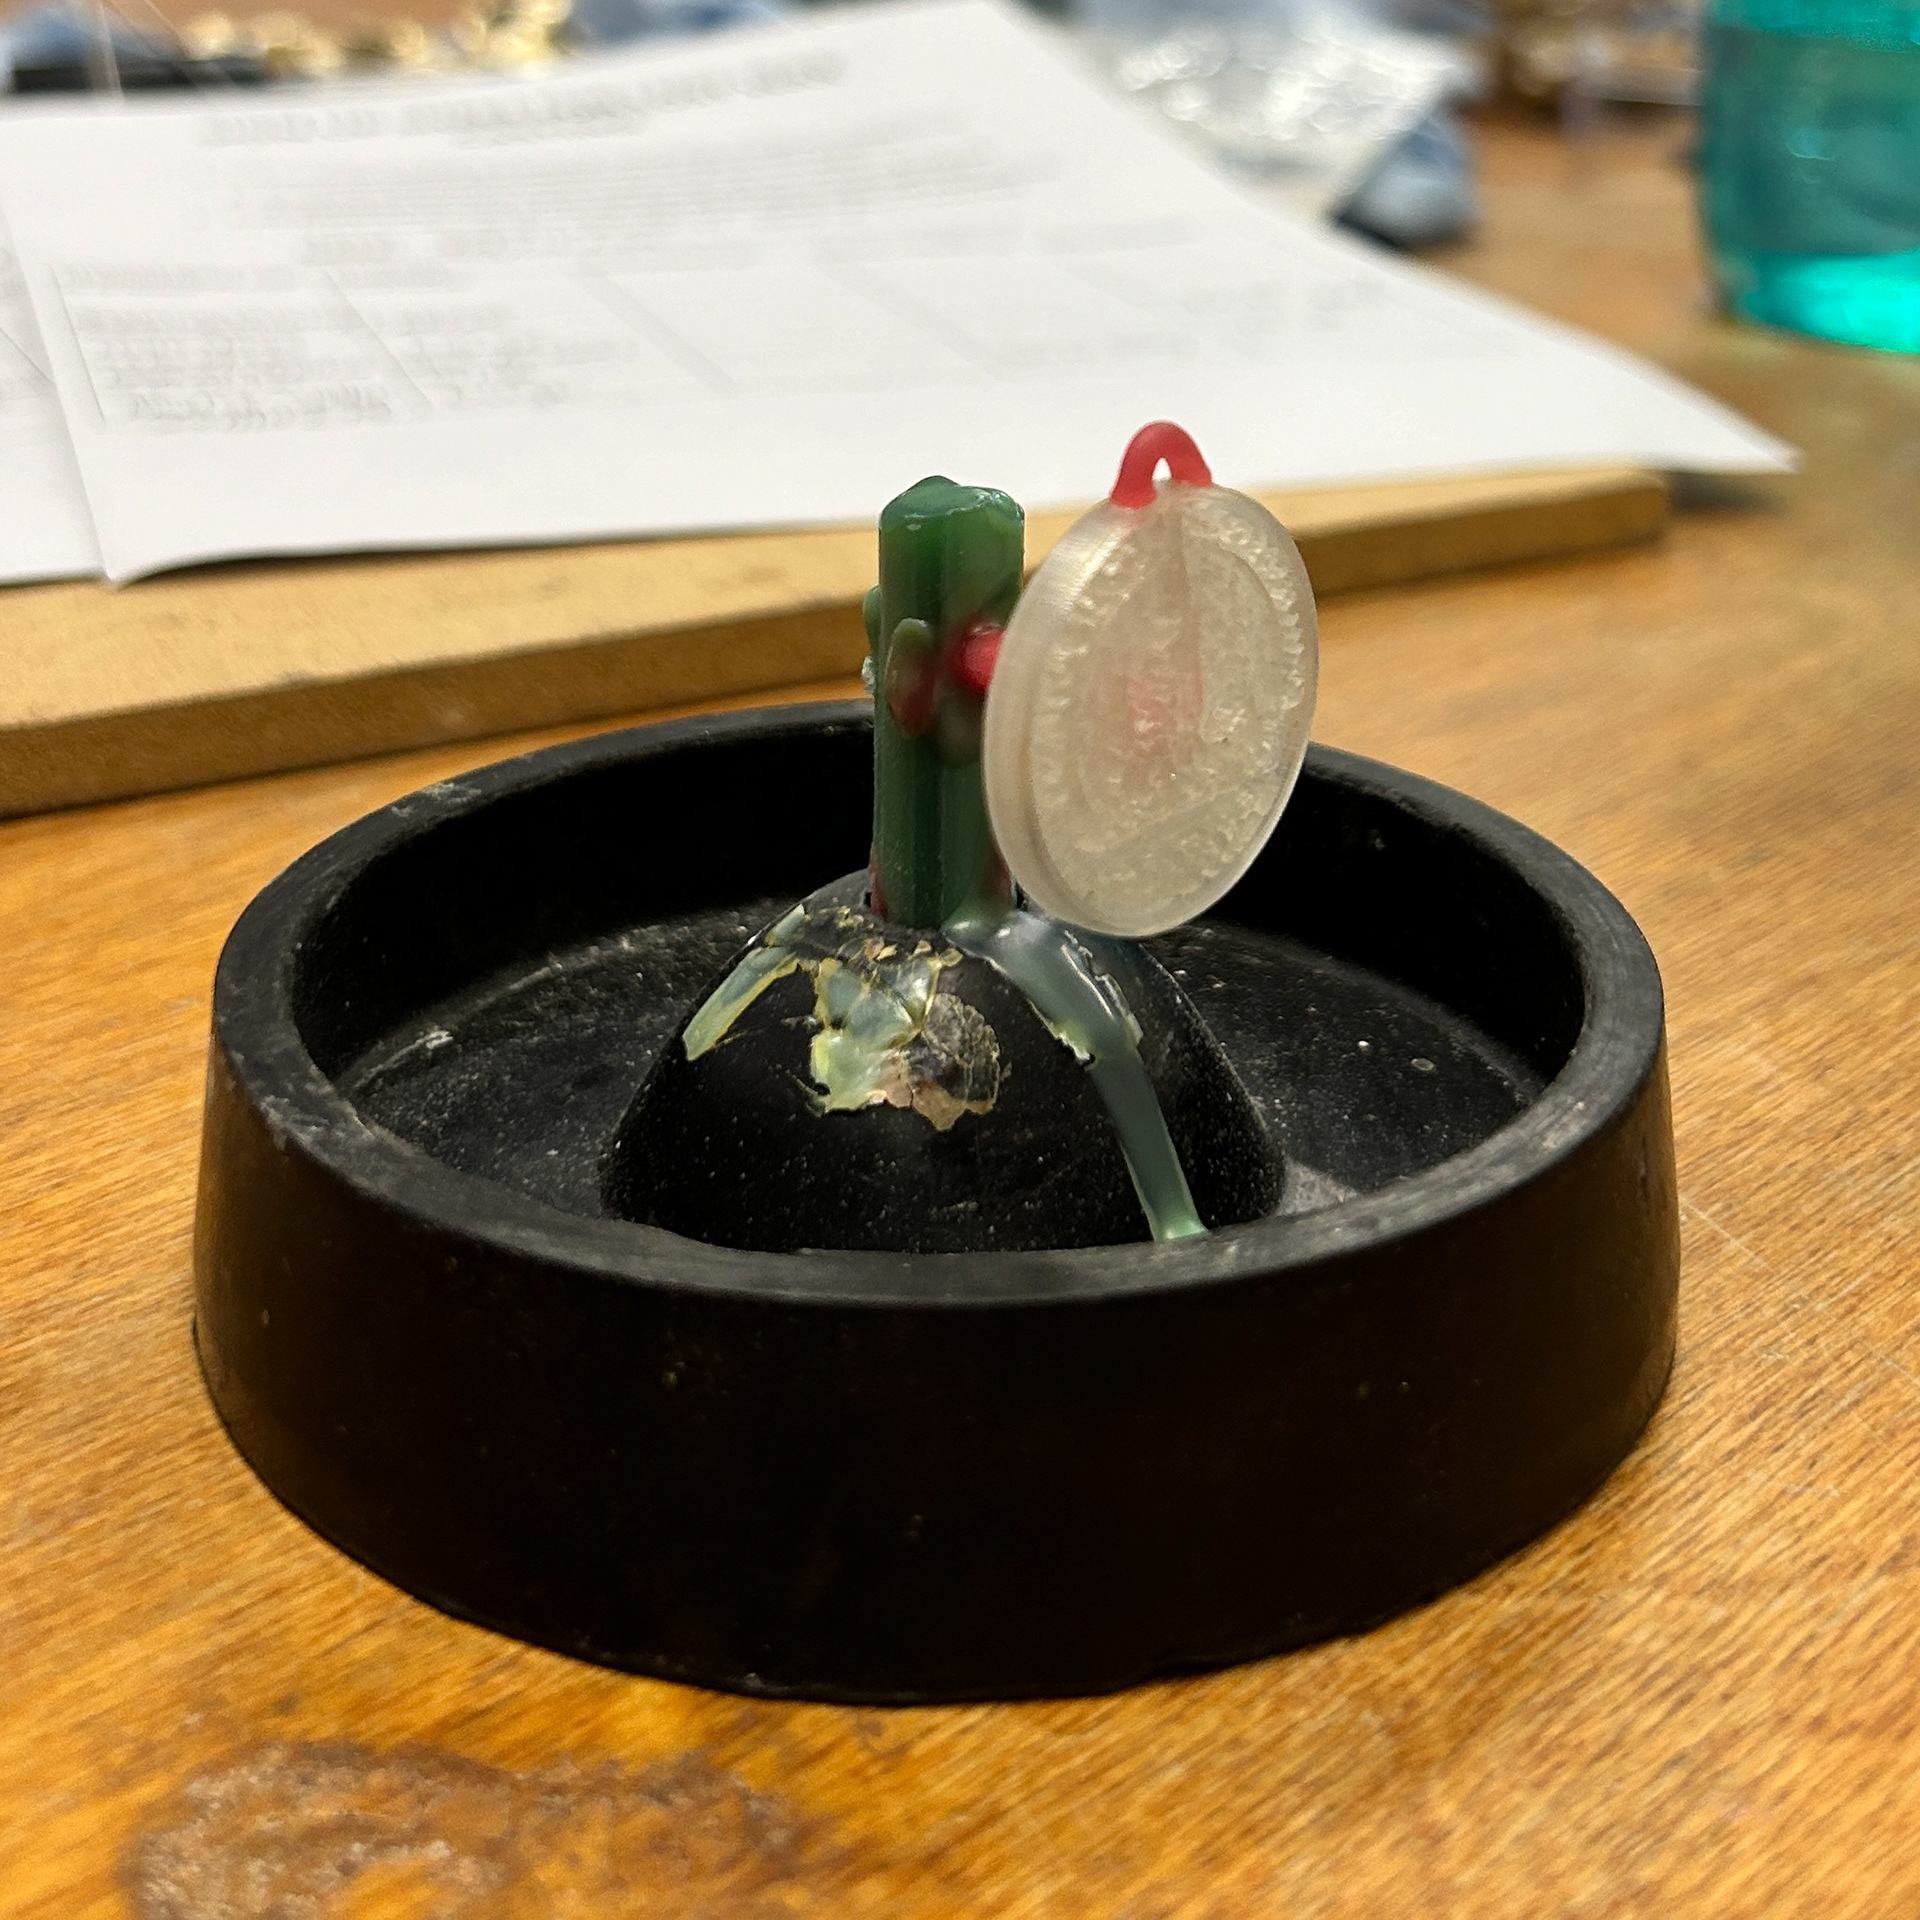
Black Onyx Setting

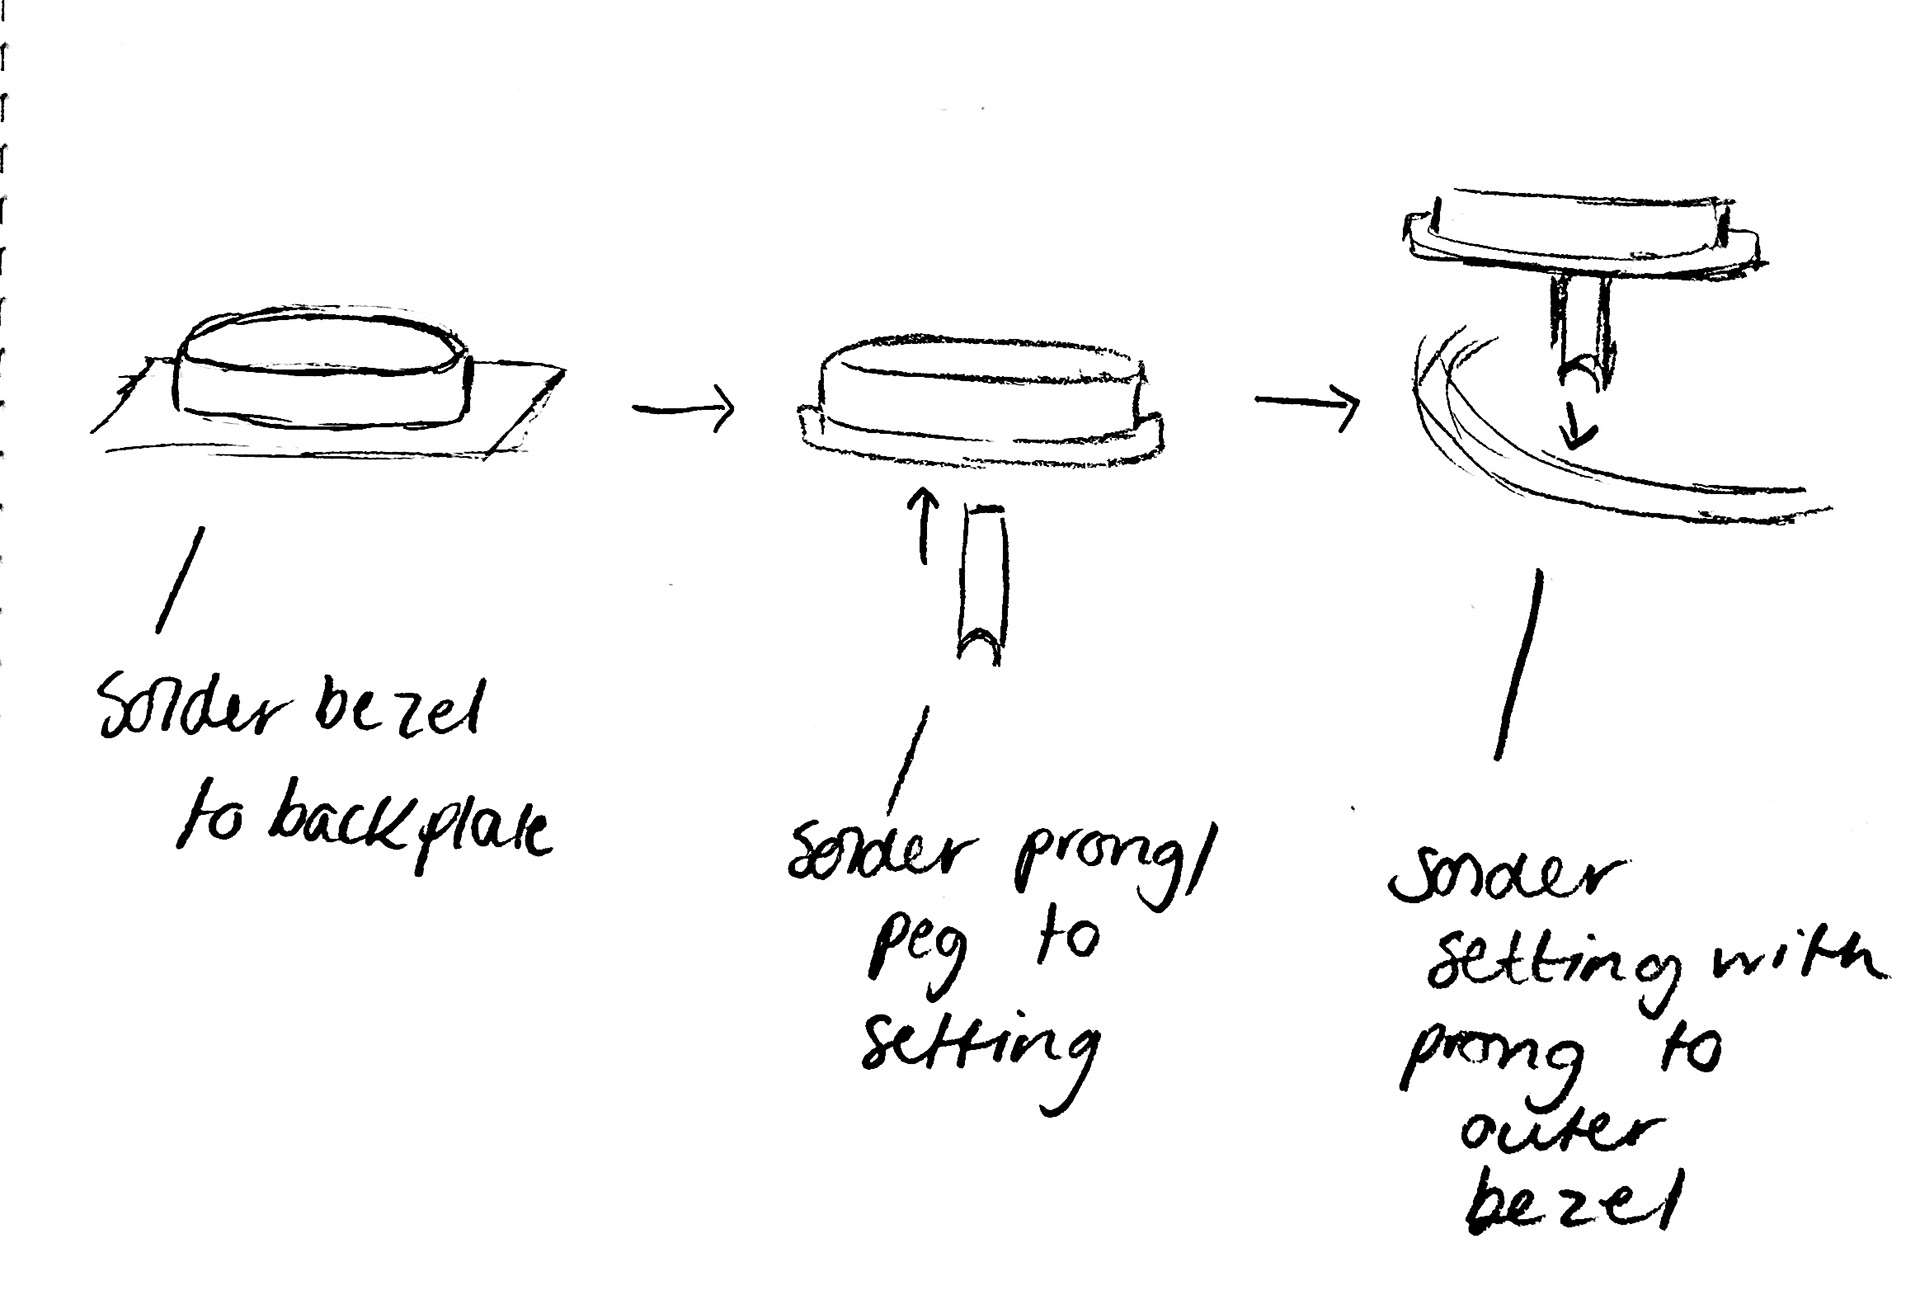
Part of my final design was going to include a black onyx.
I started by soldering a bezel using 0.3mm bezel wire, something I had never used before.
I then soldered this to the 0.5mm backplate and soldered on the prong on the back. I decided to solder it in this order as I would be able to line up the centre of the setting with the prong easier, rather than soldering the prong to the outer bezel, and then soldering the setting to the prong.
I made sure to leave a slighter border around the bezel, as I still had a few more solders to do. This meant that if this bezel were to get heated and the solder were to melt, it would not be completely ruined and misaligned.
This border was then cleaned up during the final clean-up process.
Re-casting the Stamp
6th December 2024
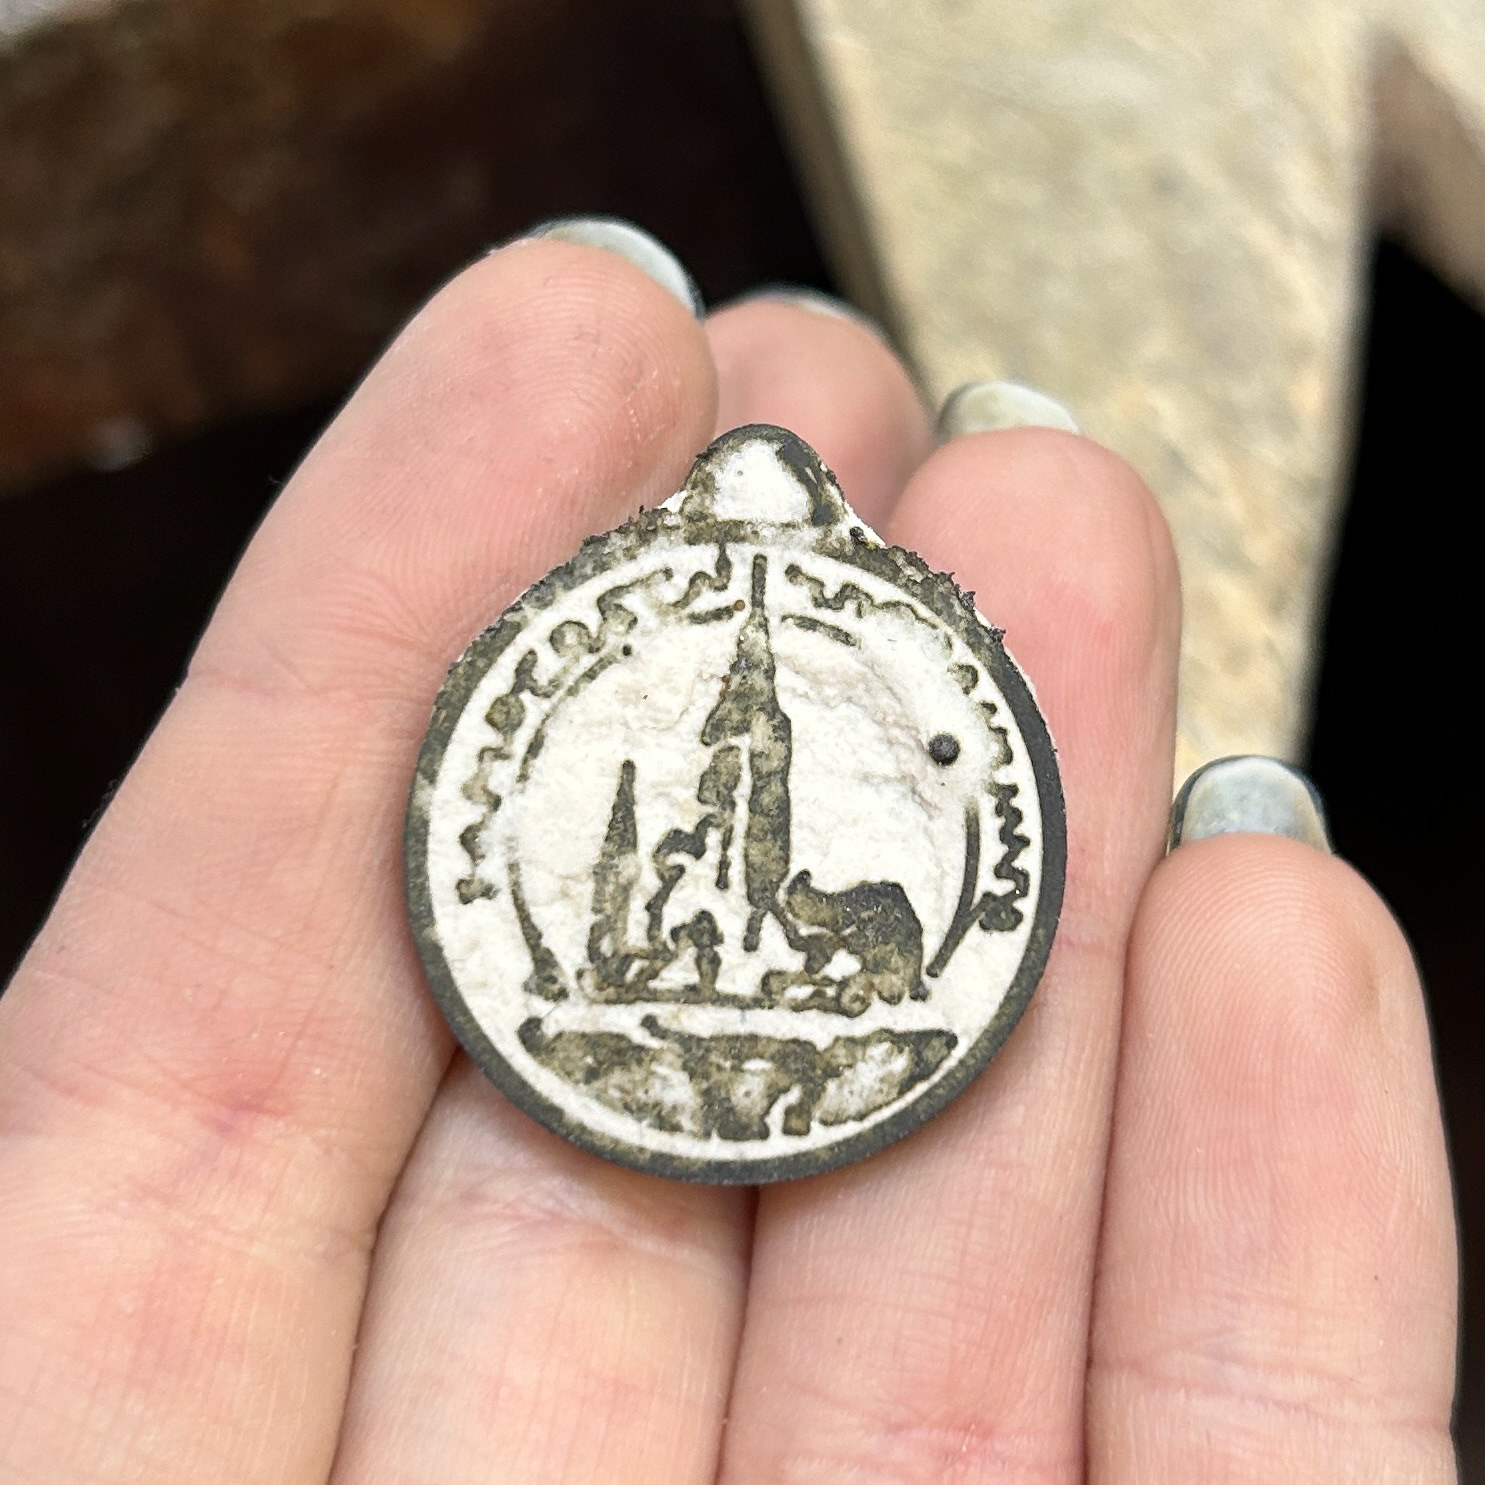
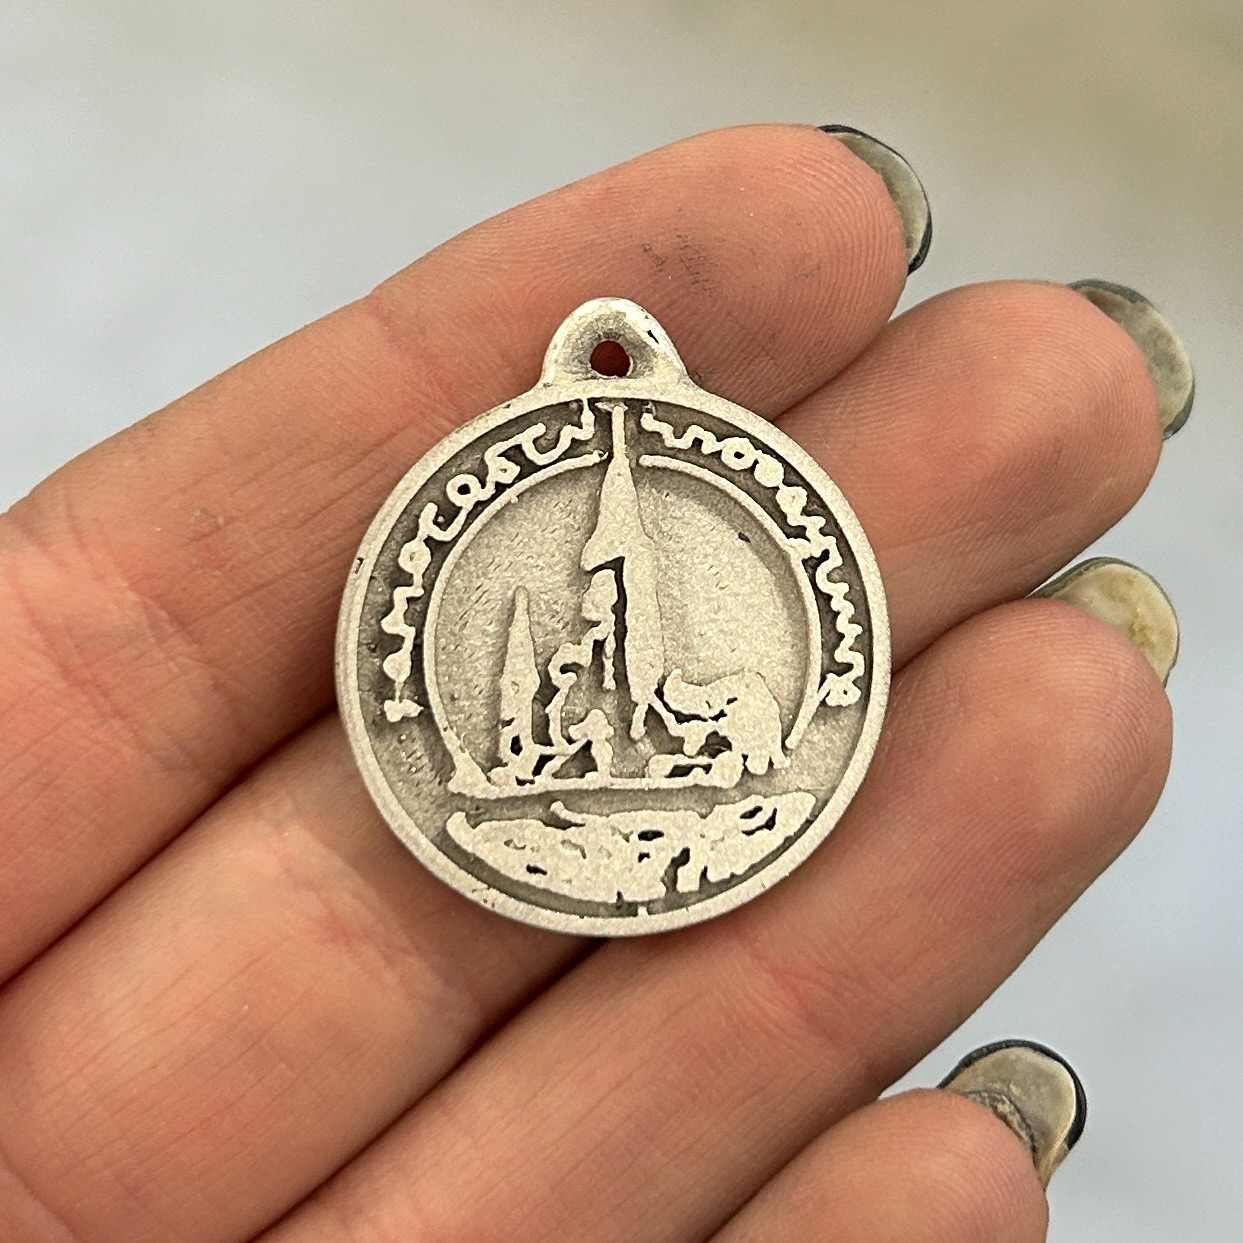
As the cast using the 3D printed wax resin did not turn out as defined as I had liked, I decided to recast this using the stamp using the 3D printed Polycast. I used recycled silver from the previous cast, as well as some old silver jewellery. This time, I made sure to place my cast at a 90-degree angle for the best casting results. I also decided to add a wax bail instead of soldering, as when I had previously tried this, I found it hard to solder without losing detail on the cast.
I was much happier with this cast and sandblasted it to create a satin sheen that would match the rest of my piece.
Adding the Jump Rings
4th December 2024
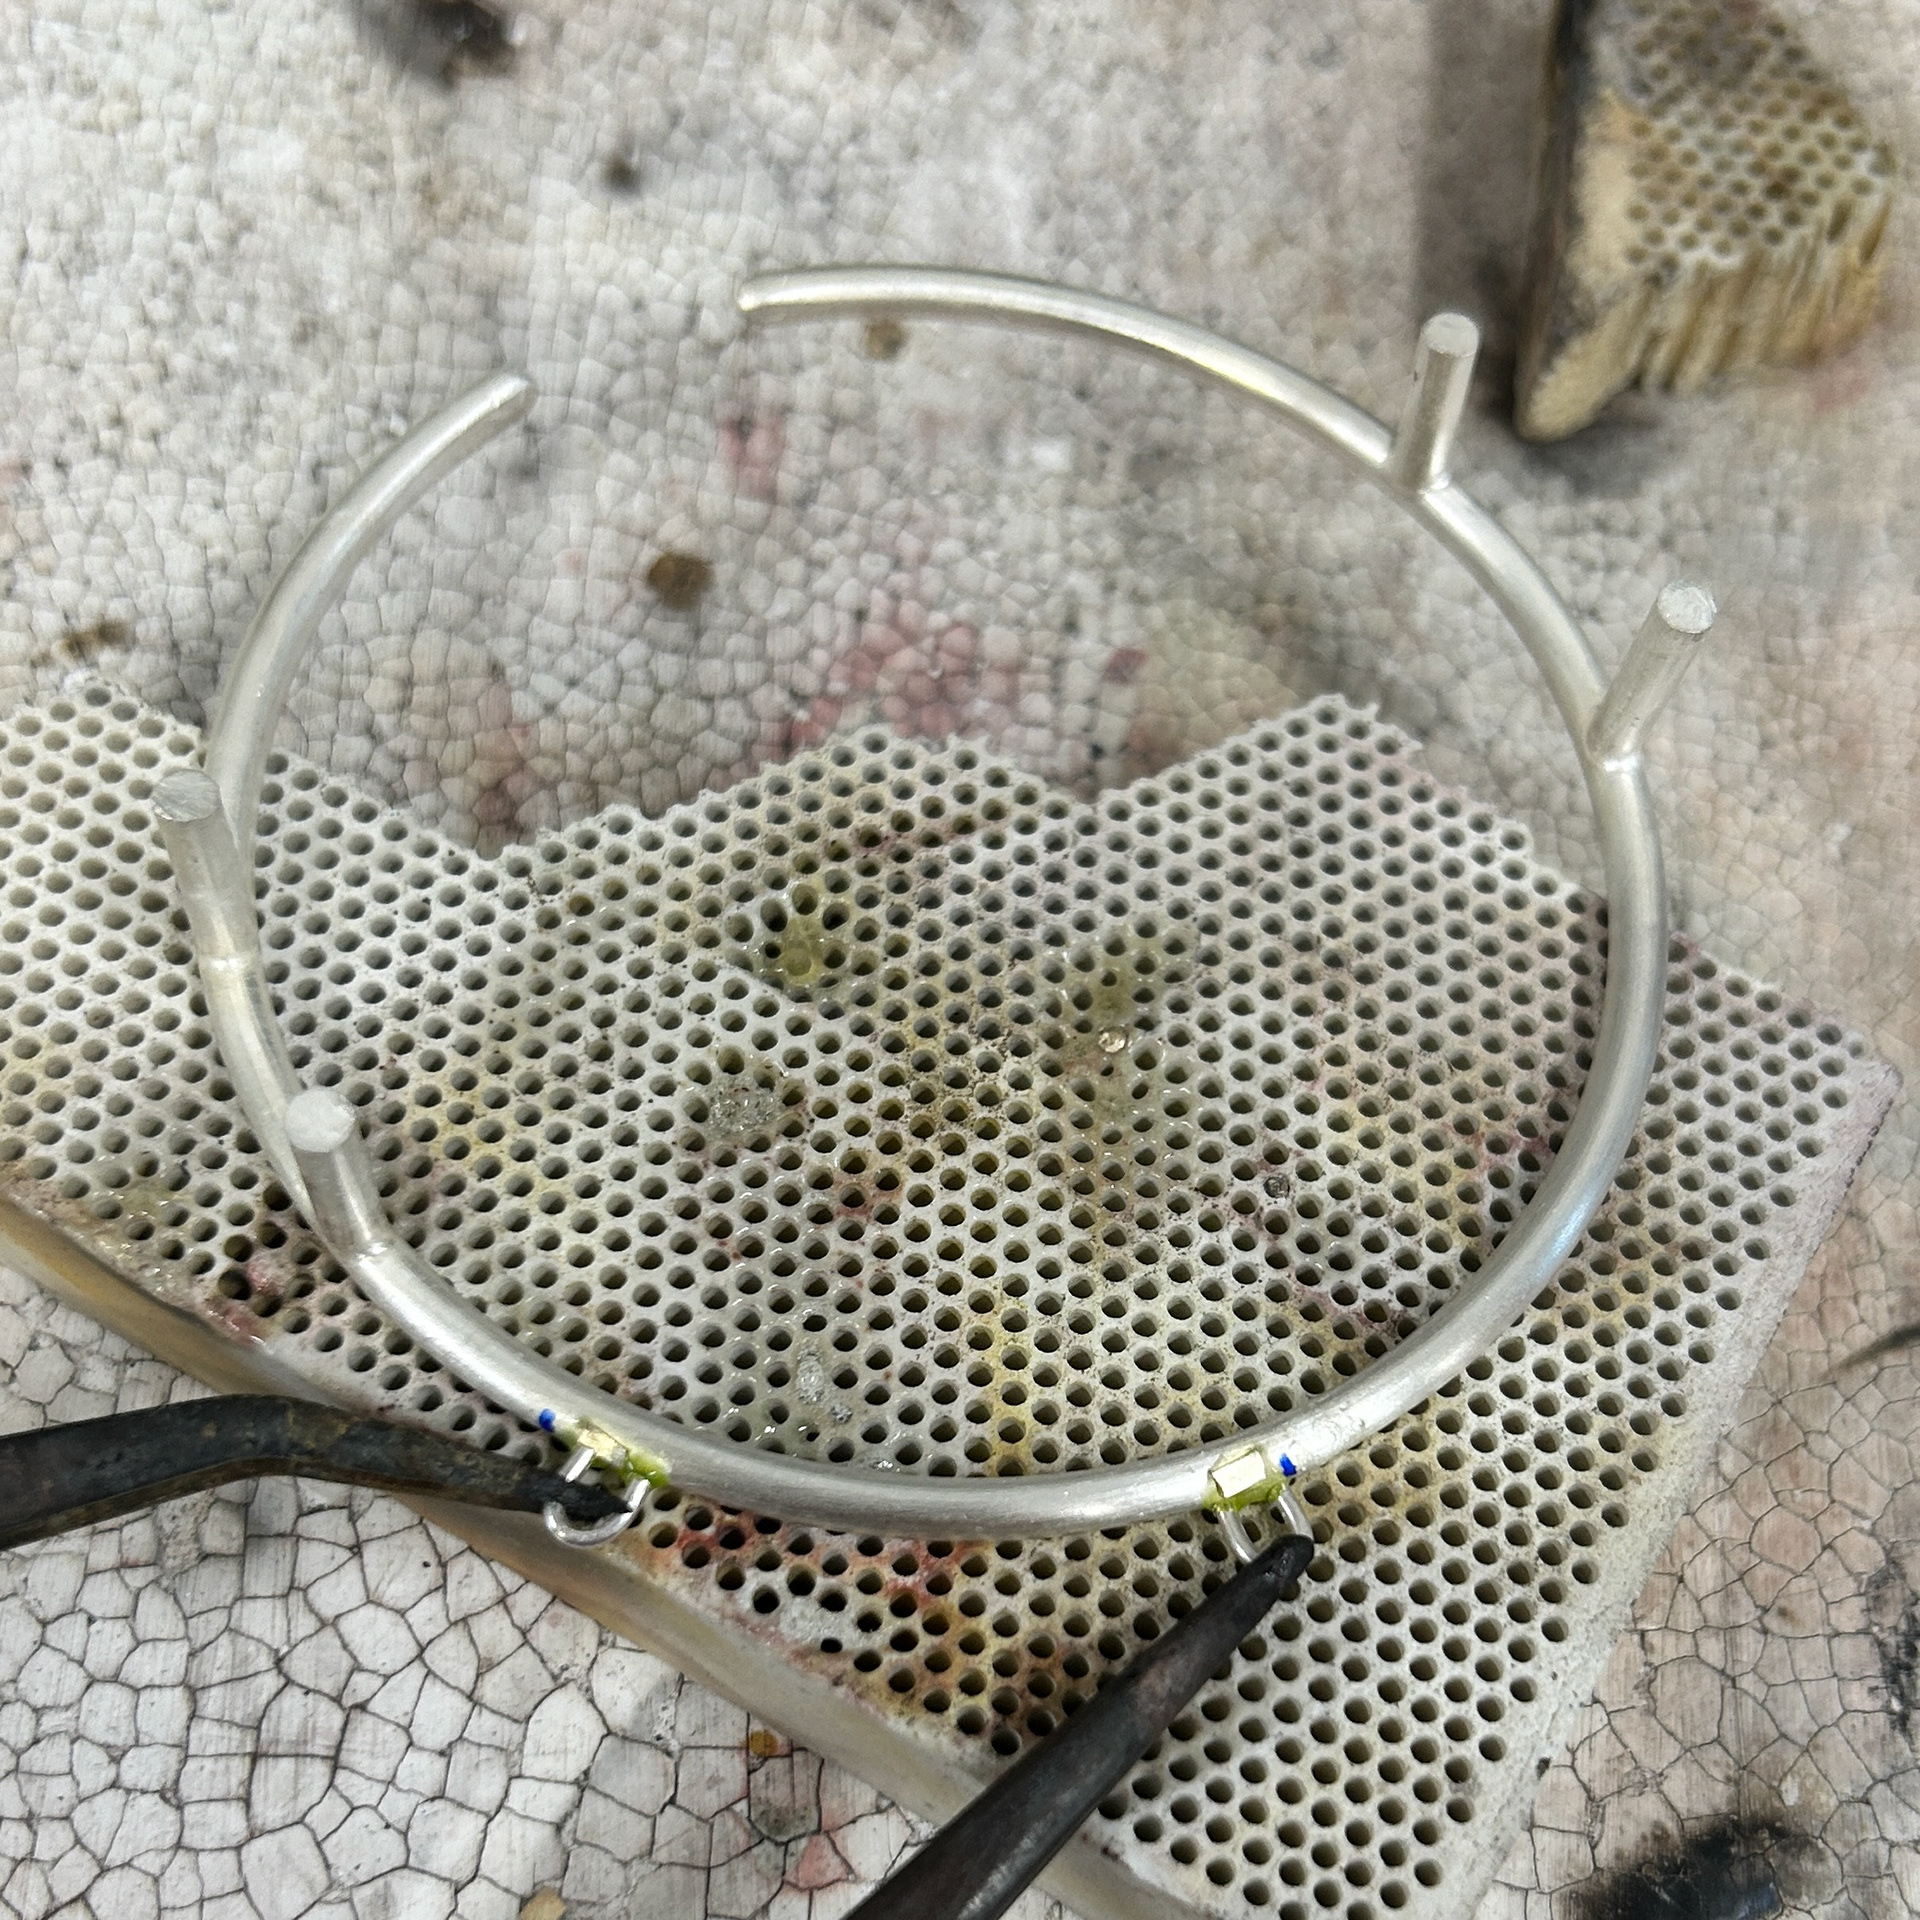
Original Set Up

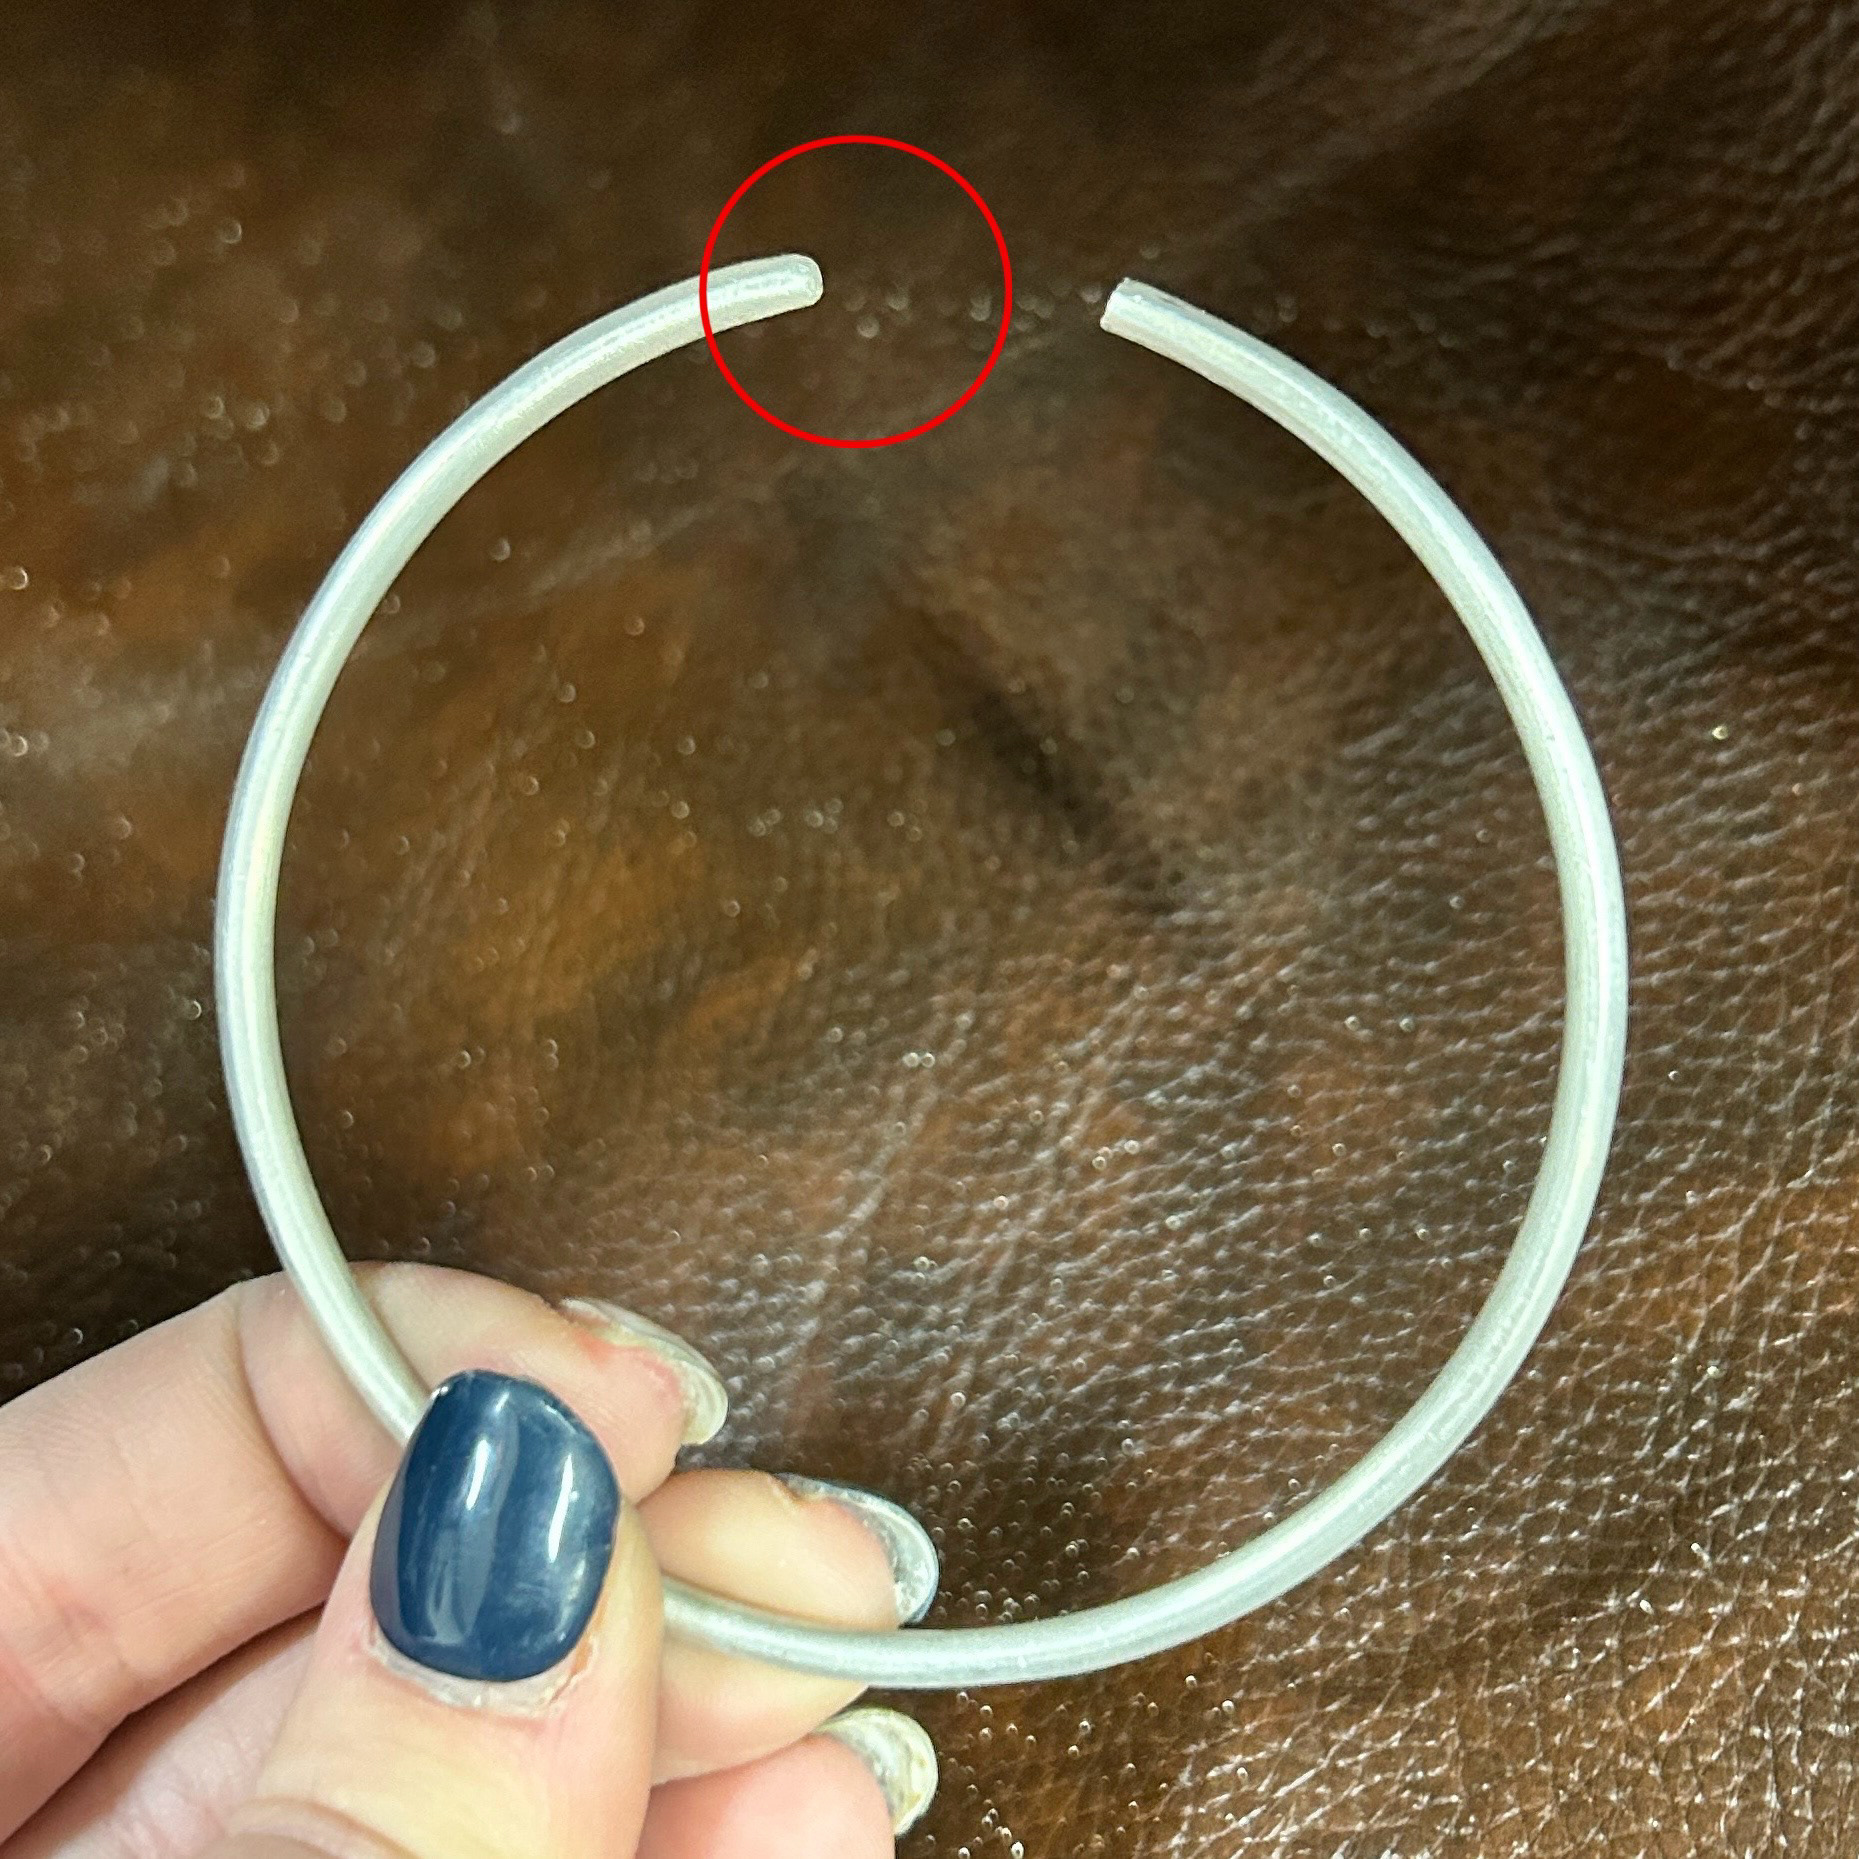
The join that did not solder
To add the chain and the hanging stamp, I first had to add jump rings to my silver bezel, to hold the chain. While this sounded simple enough, it was in fact the complete opposite. I had to try and get the thick 3mm wire to the same temperature as 1mm wire at the exact same time, all while making sure the solder was running in-between the joins.
I first attempted this with the micro flame, directing all of the heat to the 3mm wire, however, I still managed to melt the 1mm wire and not the solder. After 7 attempts at soldering these joins, changing from the micro flame to the blowtorch, this joint was still not soldering correctly. I had only managed to only solder 1 of the 6 joins that had to be soldered.
After Geoff, Patrícia, Paul, and Oonah all giving me lots of advice on how I should solder this joint, I gave it another go. This time I had all my other solder joins covered in Tipp-ex and Technoflux to help prevent any unwanted solder runs, and I used lots of Technoflux on the edge of the jump ring to help prevent it from melting. I also tested the solder before soldering as there was some confusion about whether the solder I was using was in fact extra-easy solder.
5th December 2024

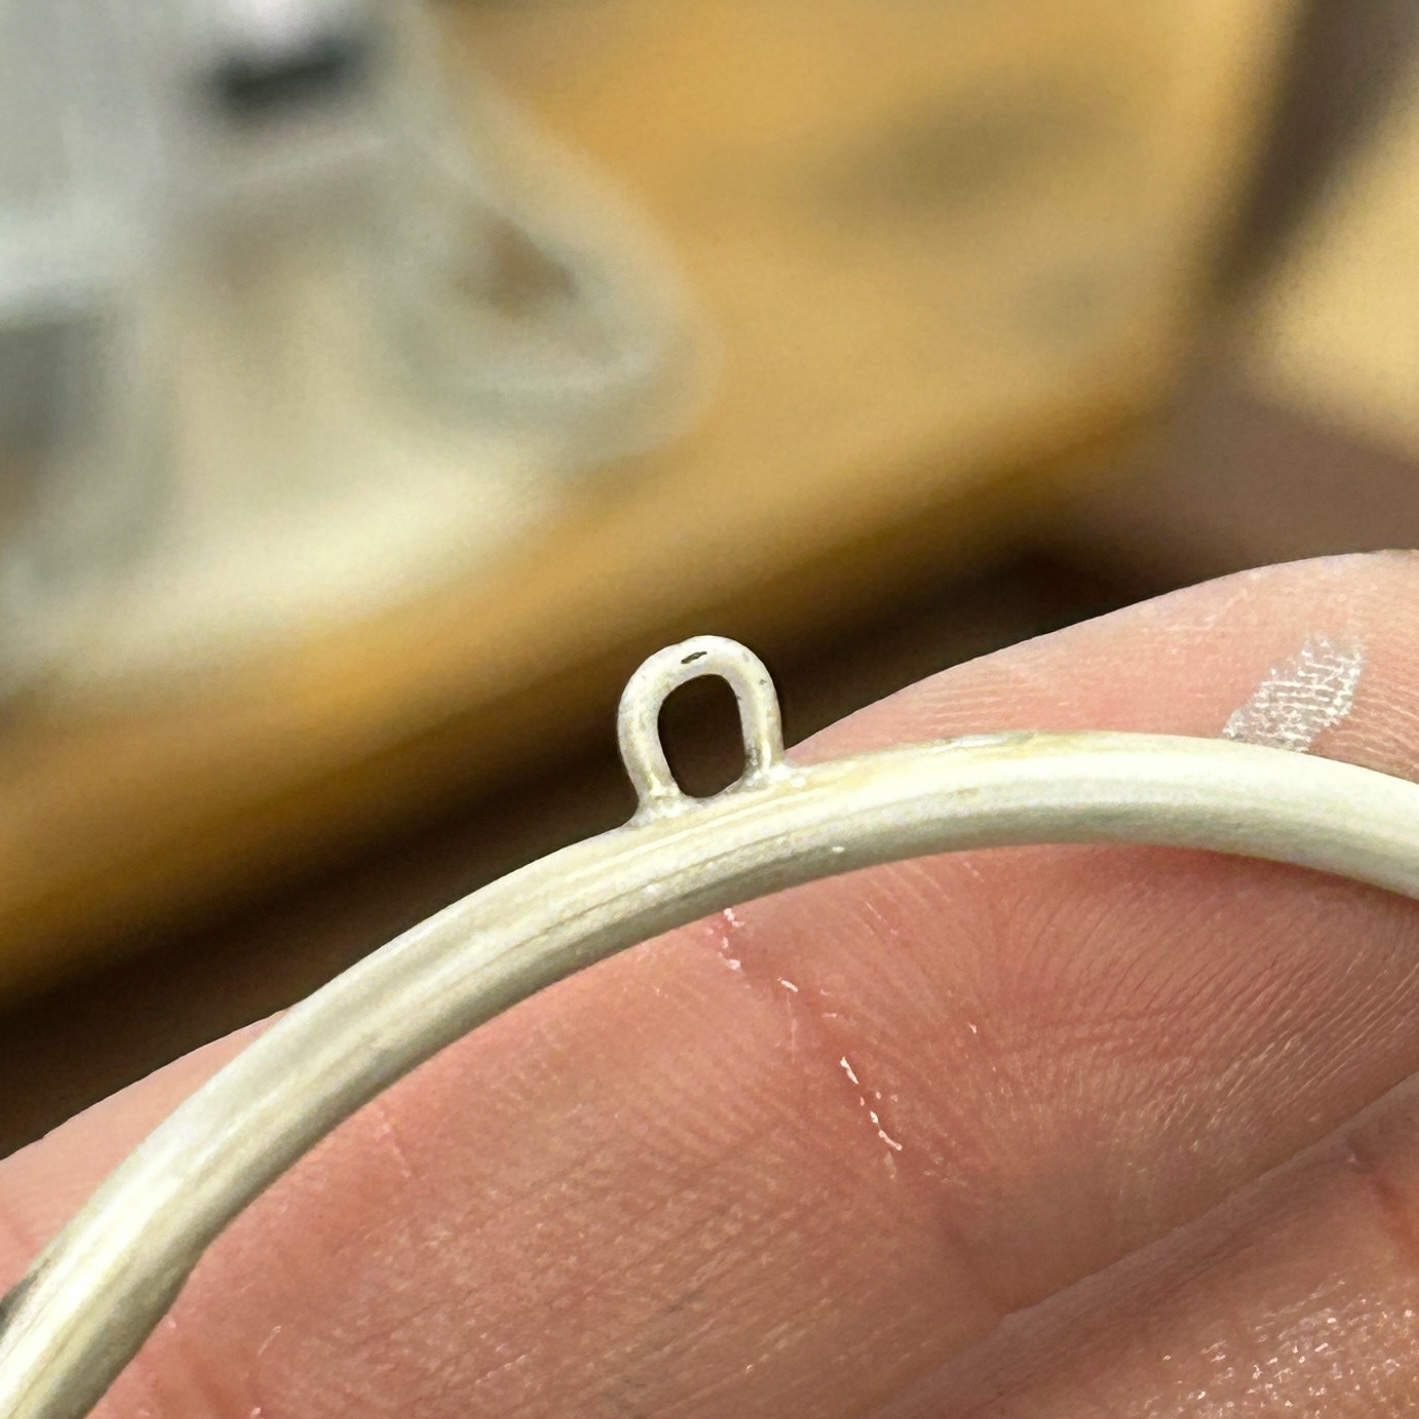
Finally, I managed to solder the pieces together. Using Technoflux helped reduce heat transfer to the tweezers, which helped prevent the 1mm wire from melting. I also filed the 3mm wire more to create a flatter surface, creating a tighter seal between the two pieces—which made a significant difference. I also went back and soldered the join that had not previously soldered, even though I was very hesitant to fix this, I felt as if I could not just leave it.
While there was still plenty of filing and cleanup to do, I was just relieved that the soldering finally worked.
Soldering the Brooch Mechanism
5th December 2024
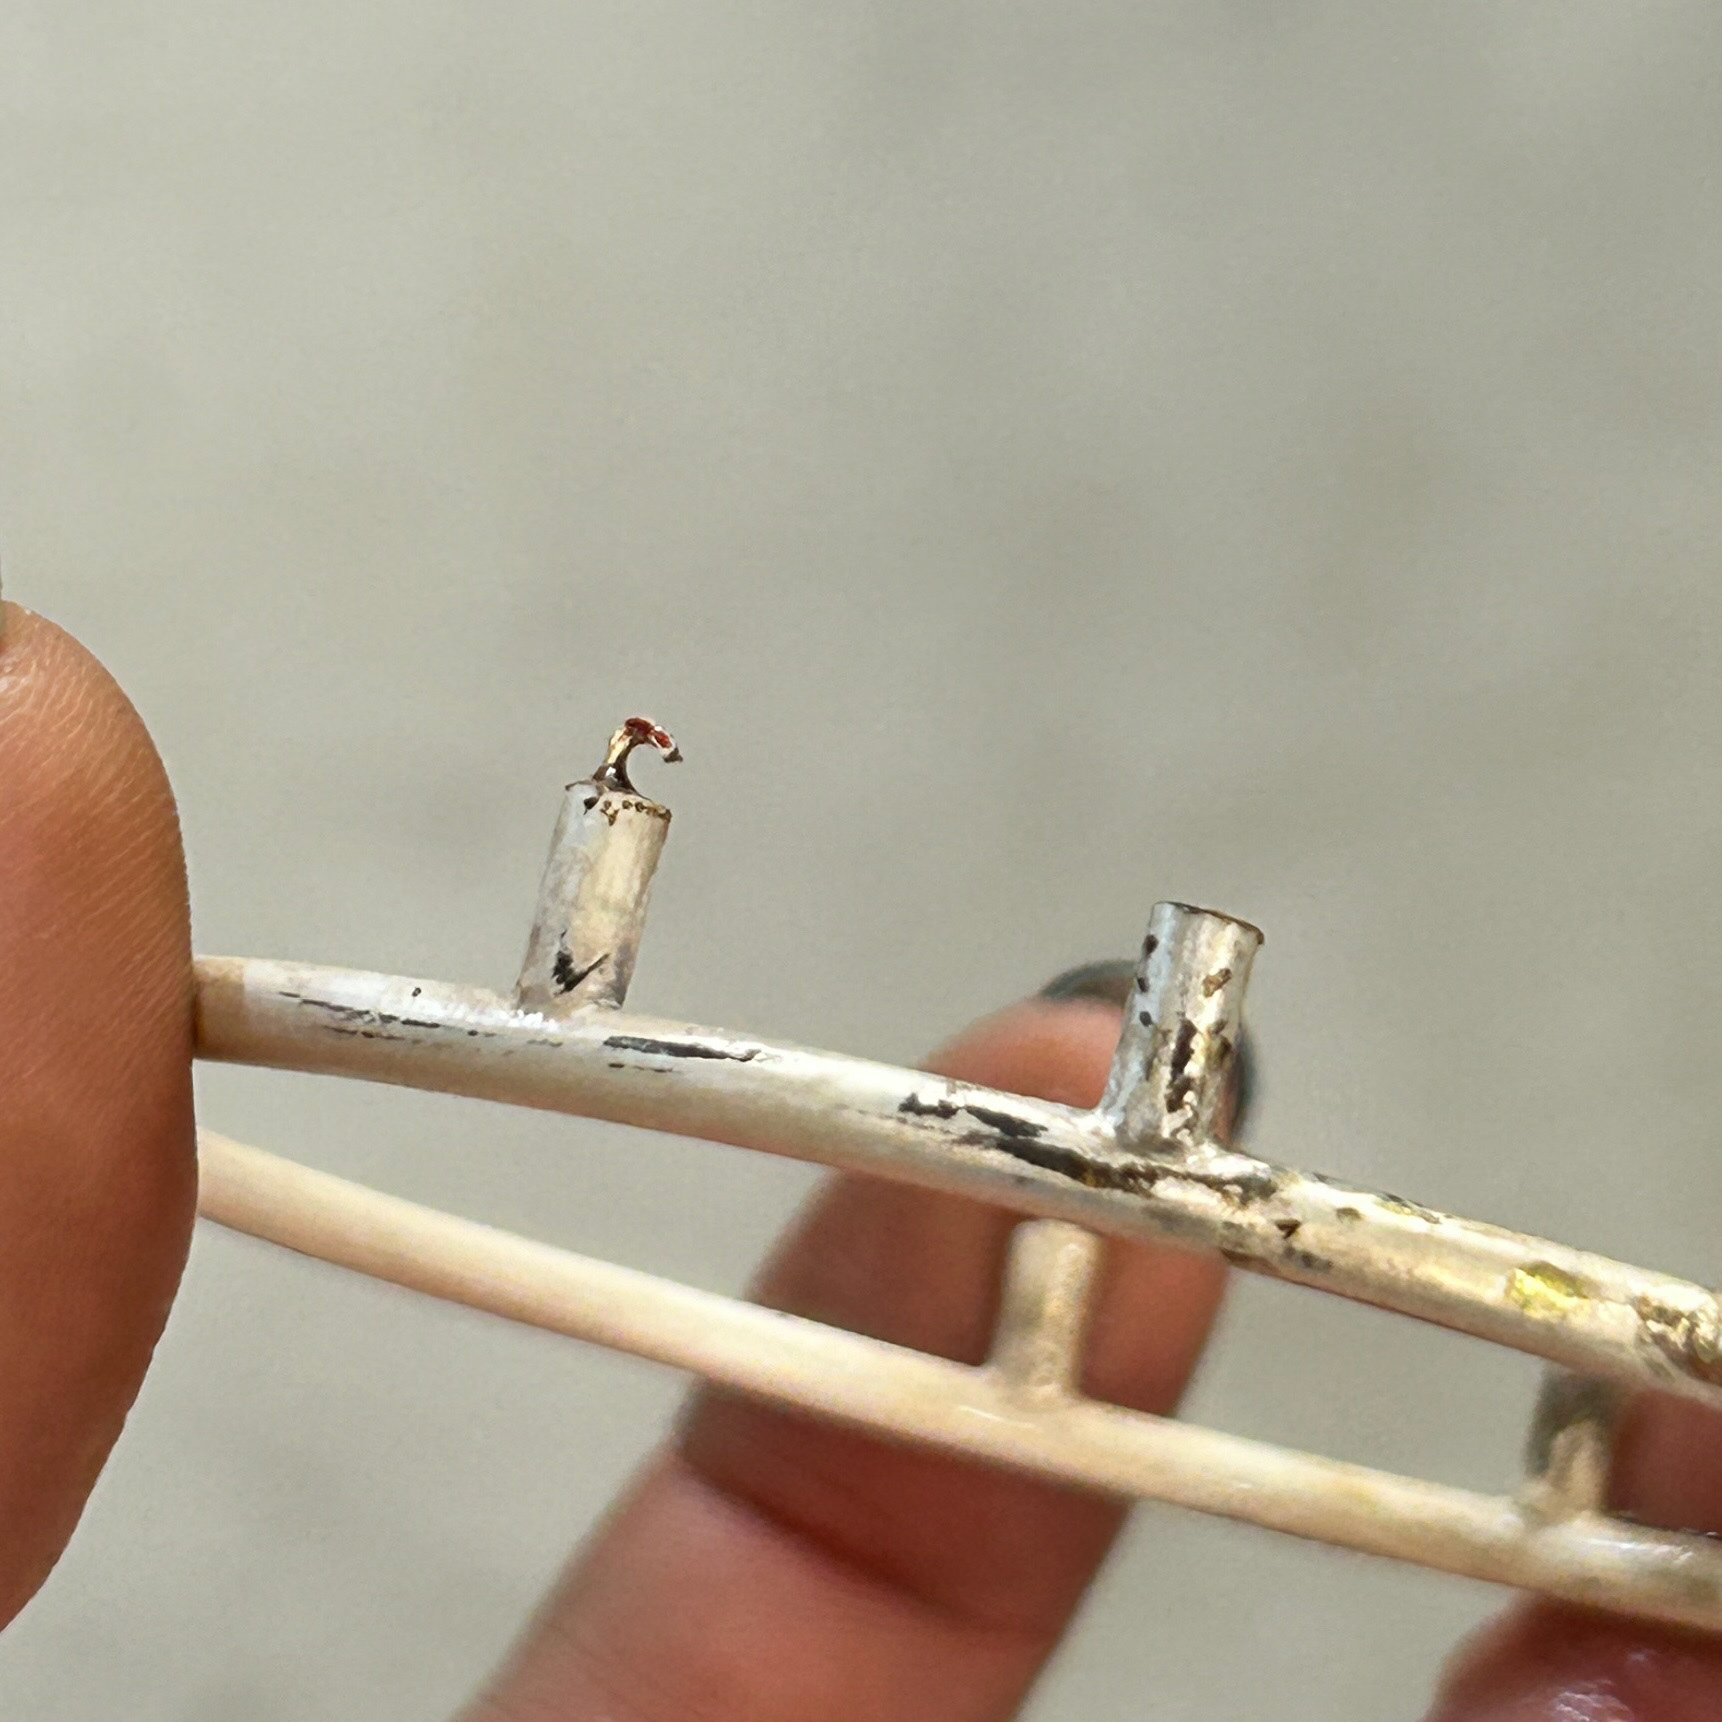
Cutting down the prongs
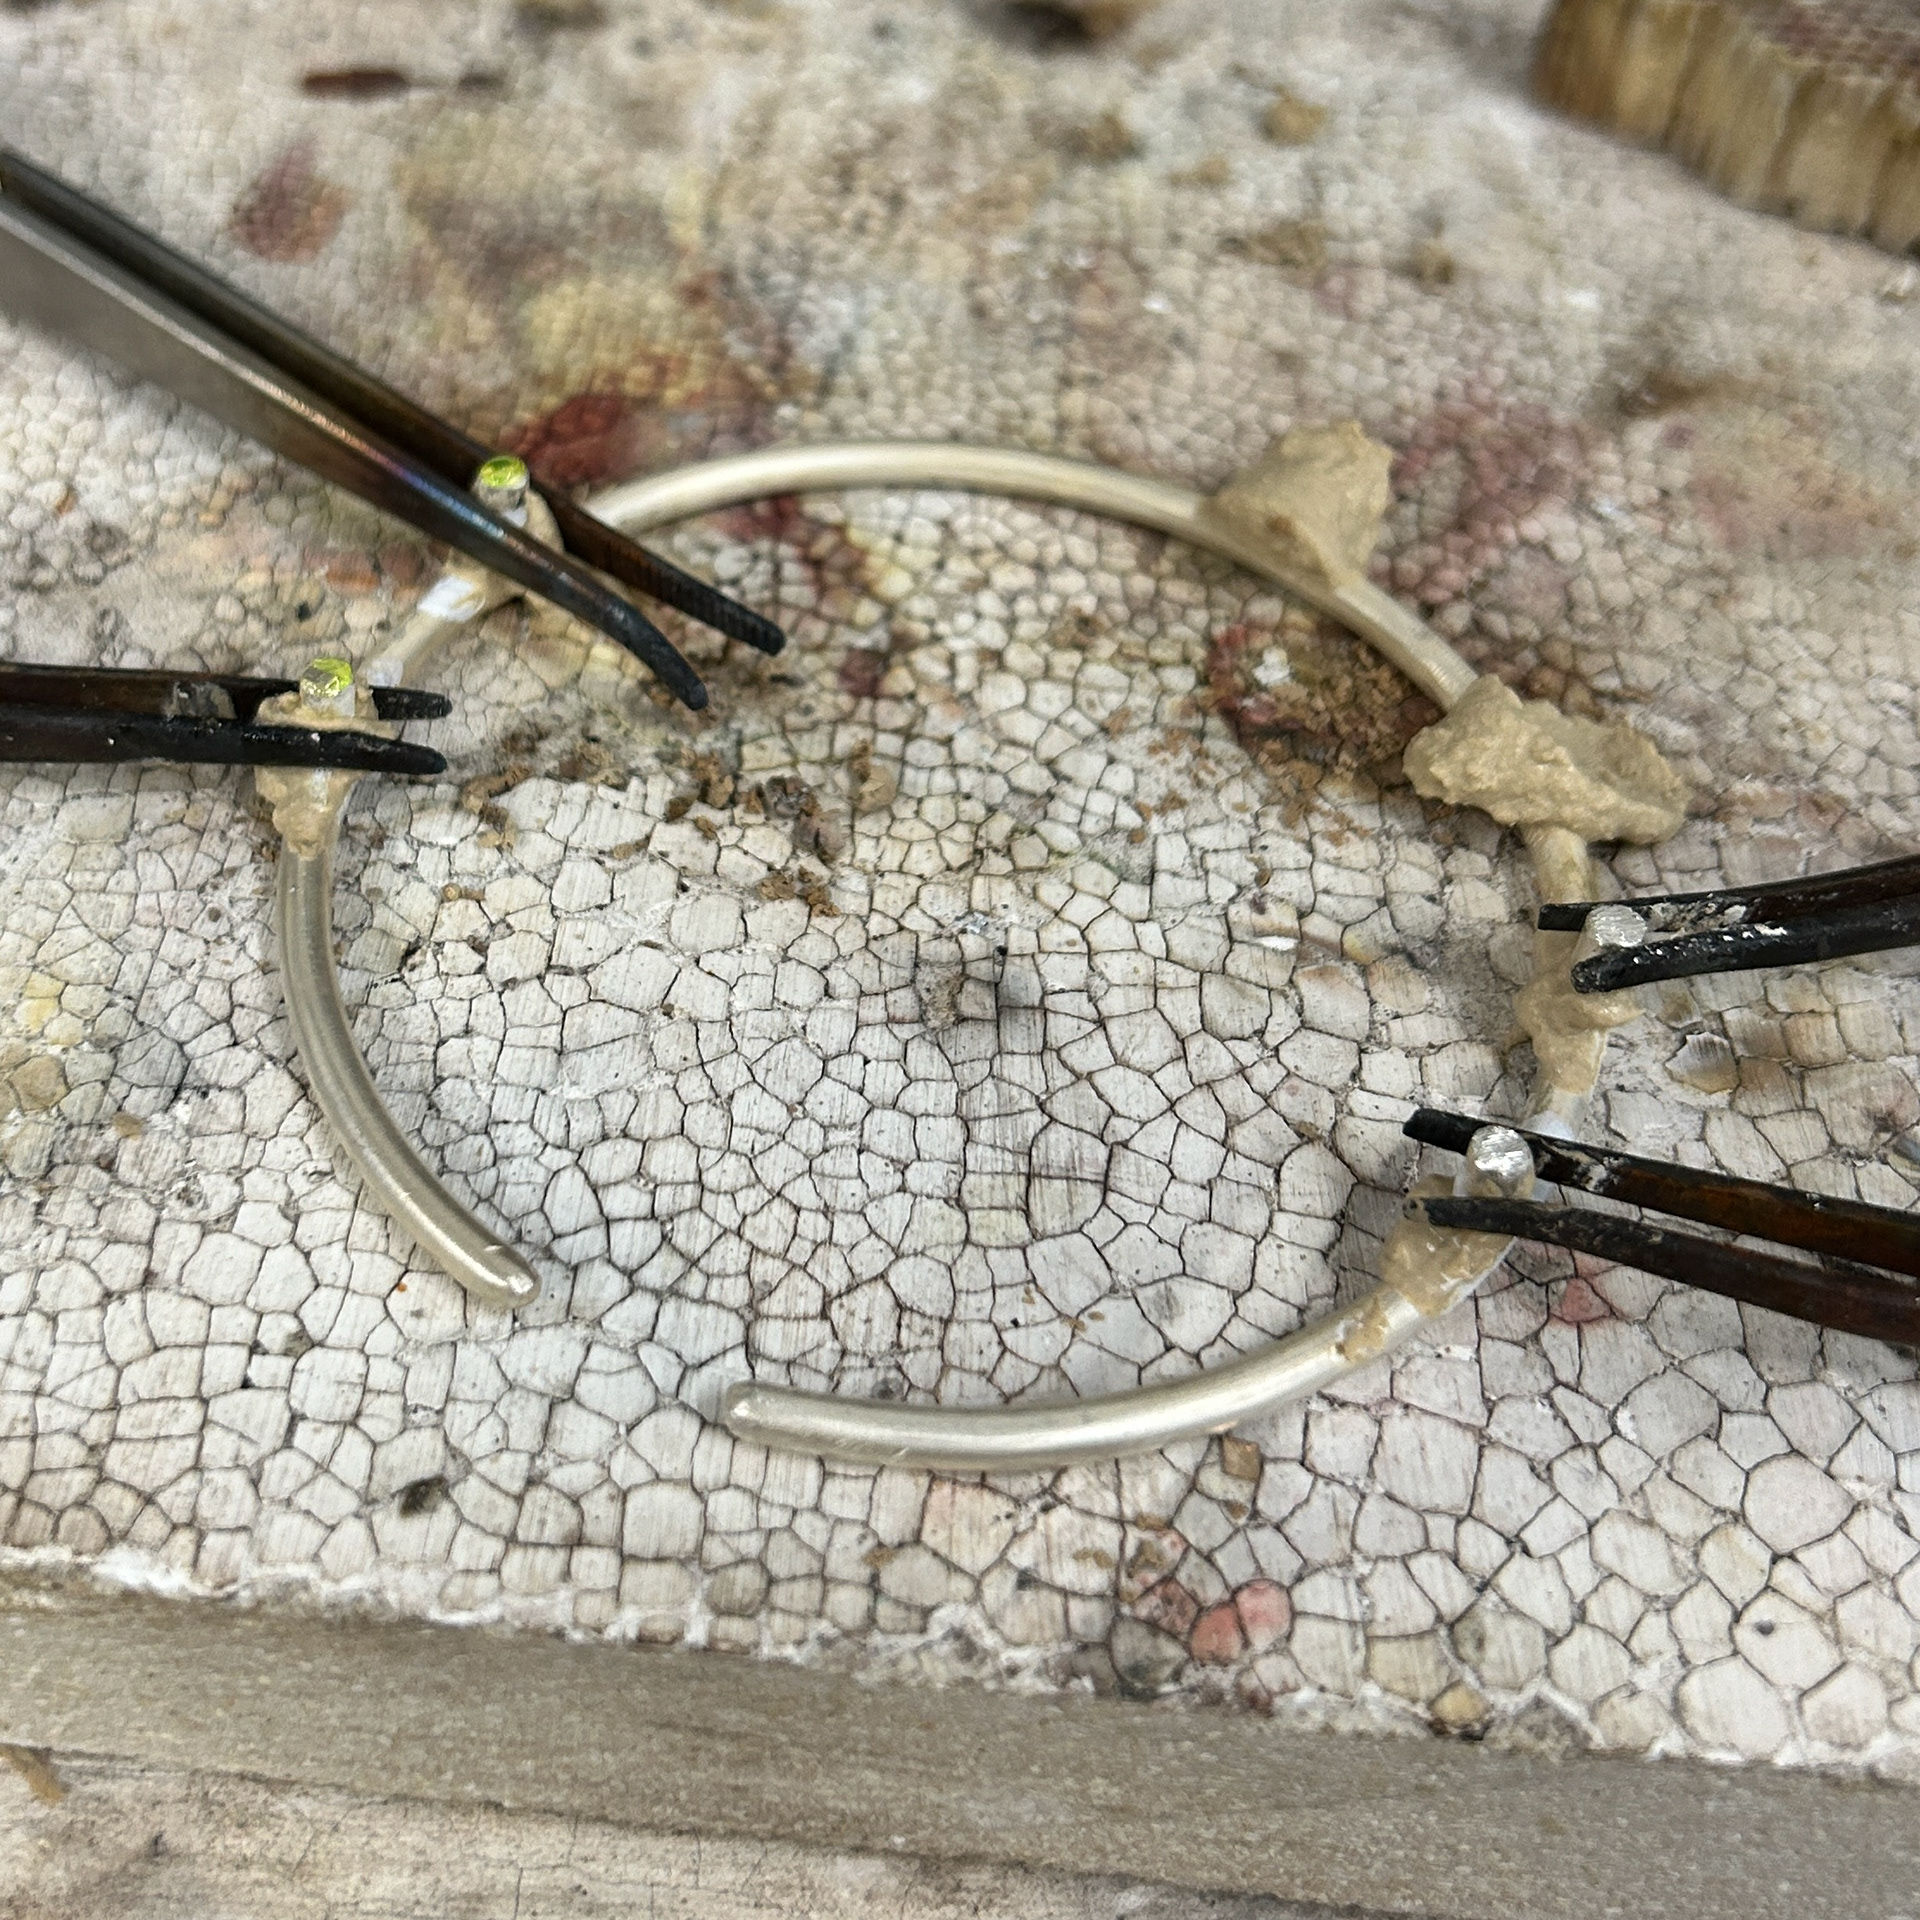
First attempt using flux
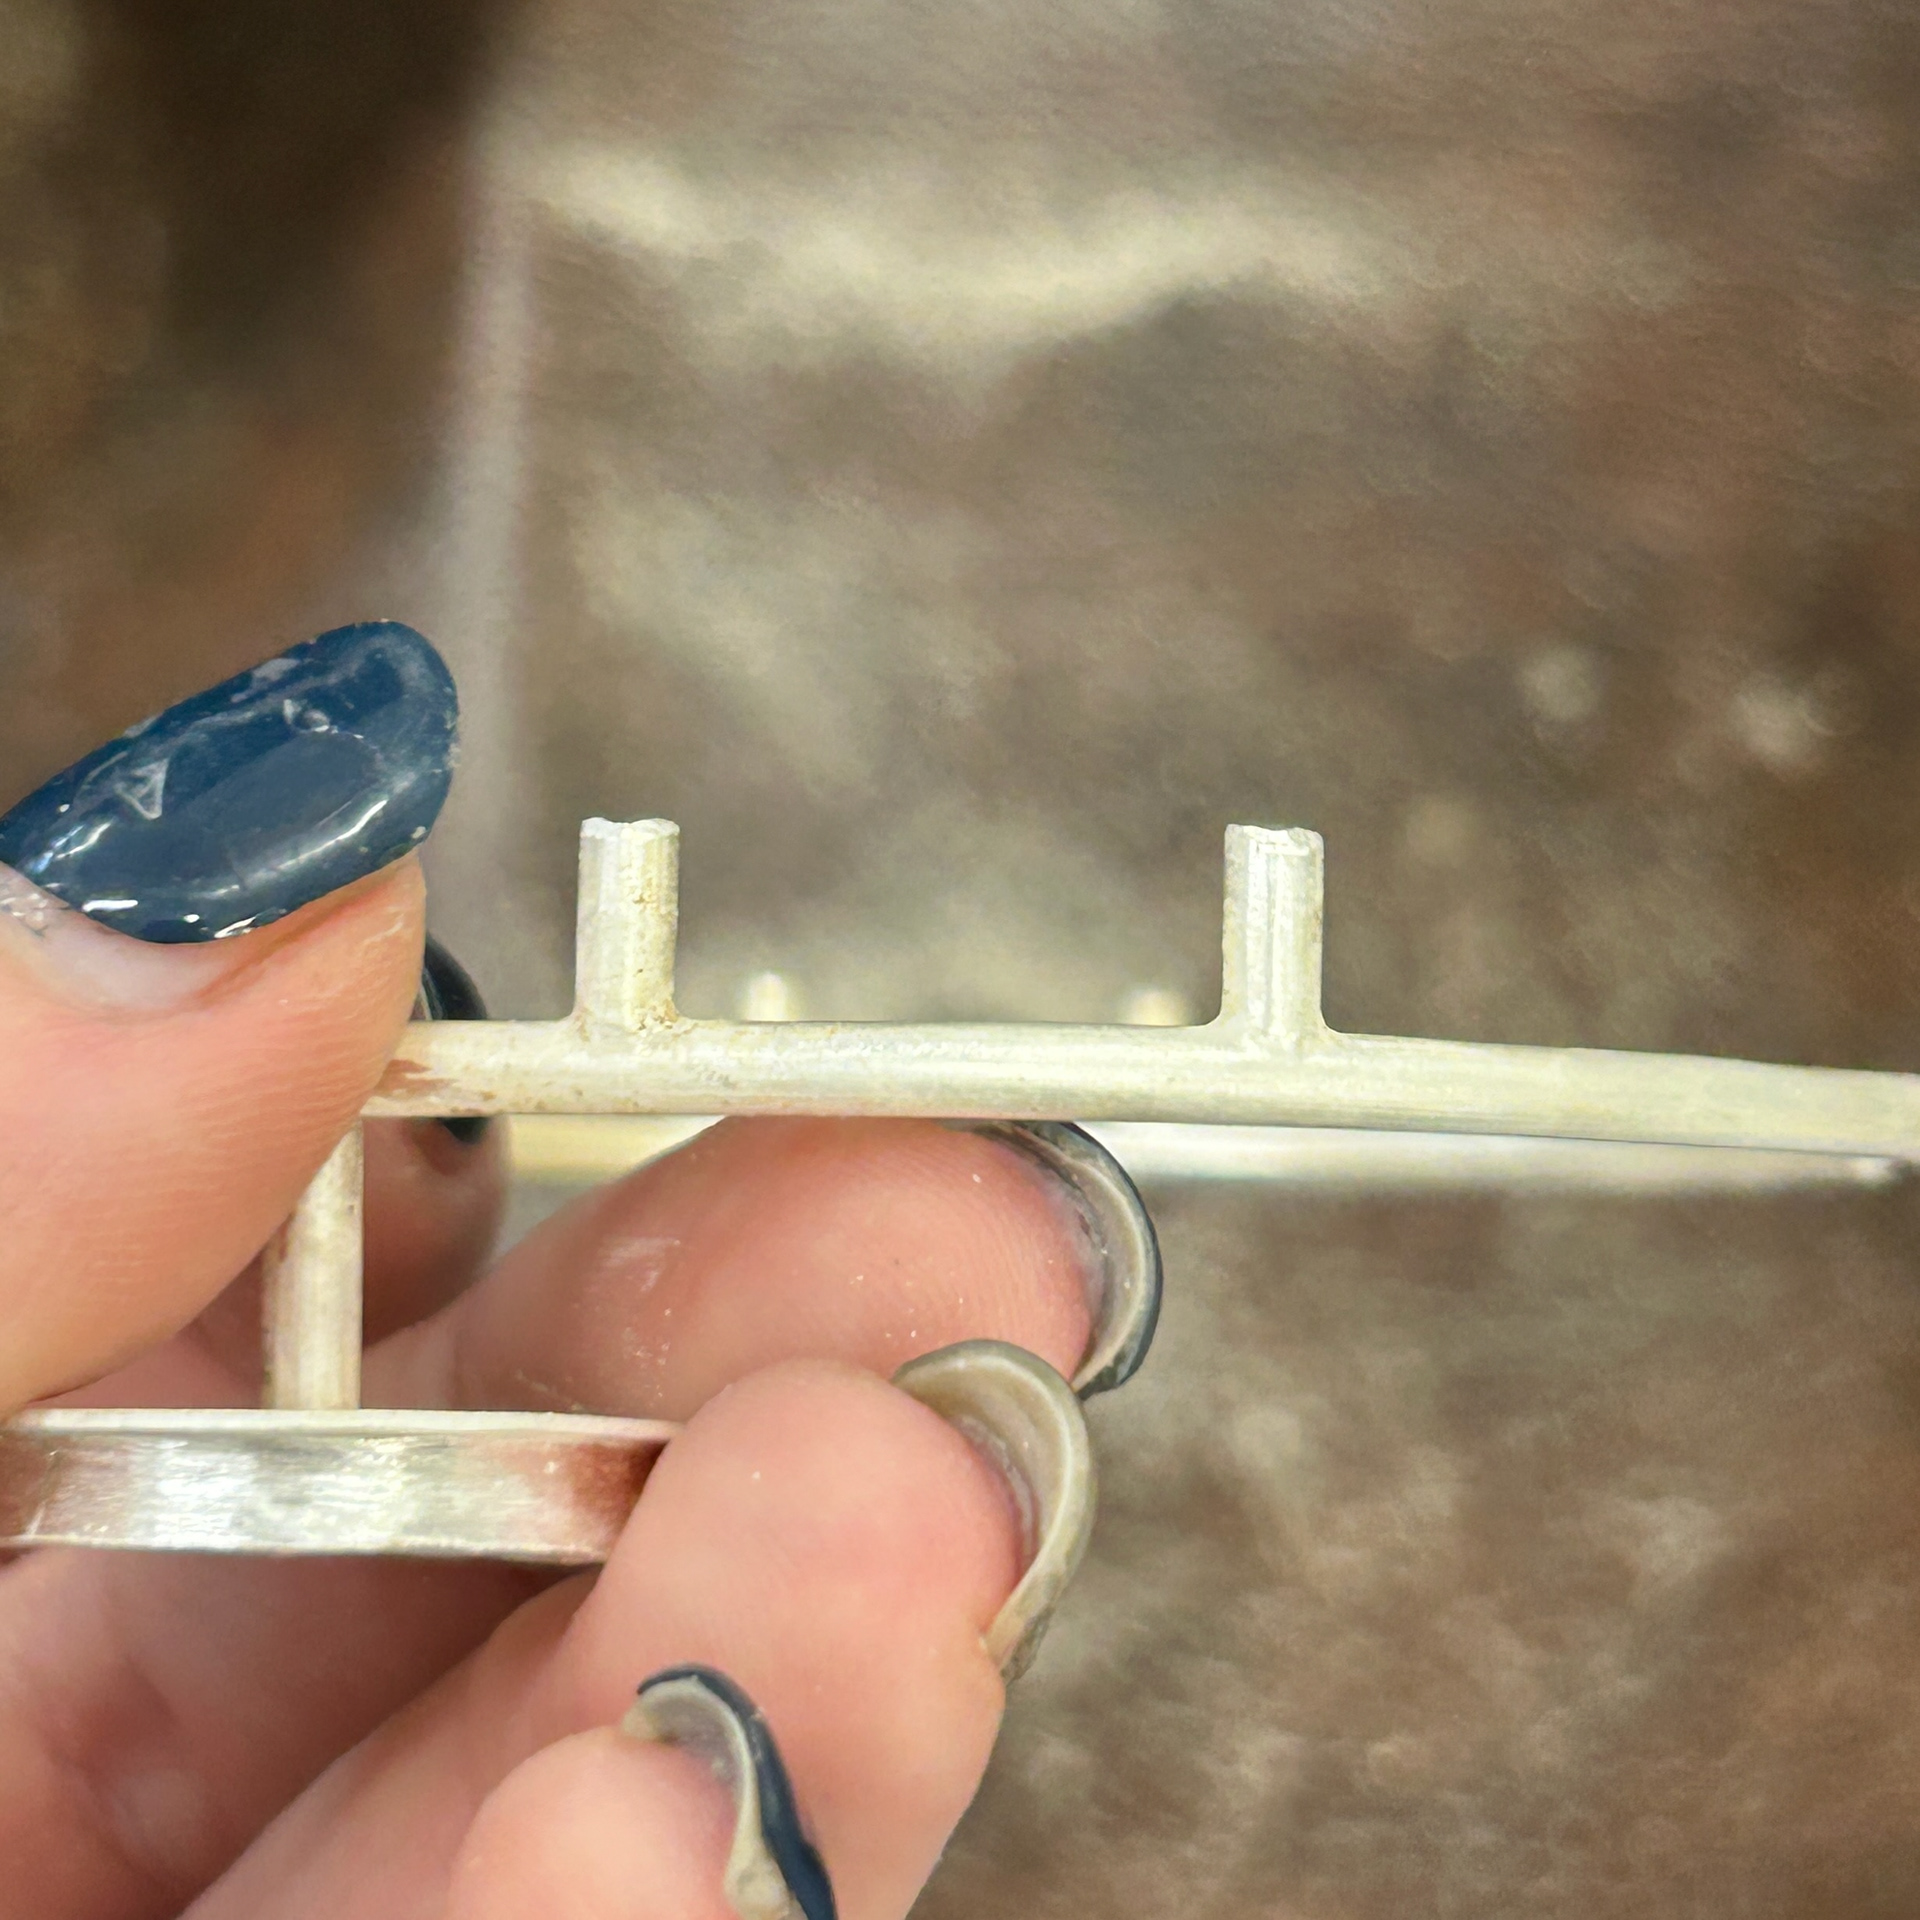
Filing the indent
Using borax
To make this design into a functional brooch, I had to add silver tubing and hooks to hold the wire. This meant it had to do more soldering. I initially attempted this using flux instead of borax, as this is my preferred method for soldering. However, I found that the heat from the flame was just pushing the wire off the prong. I knew that I would not be able to hold the tubing using tweezers, as the heat would squash the tubing, so I then tried melting the solder, and then separately heating the tubing separately, and then joining the two using handheld tweezers, however, this also did not work.
Knowing this, I decided to try borax instead of flux, as this can often hold the pieces in place after the borax had dried. I also made sure to file a small indent into the prongs to help hold the tubing in place.
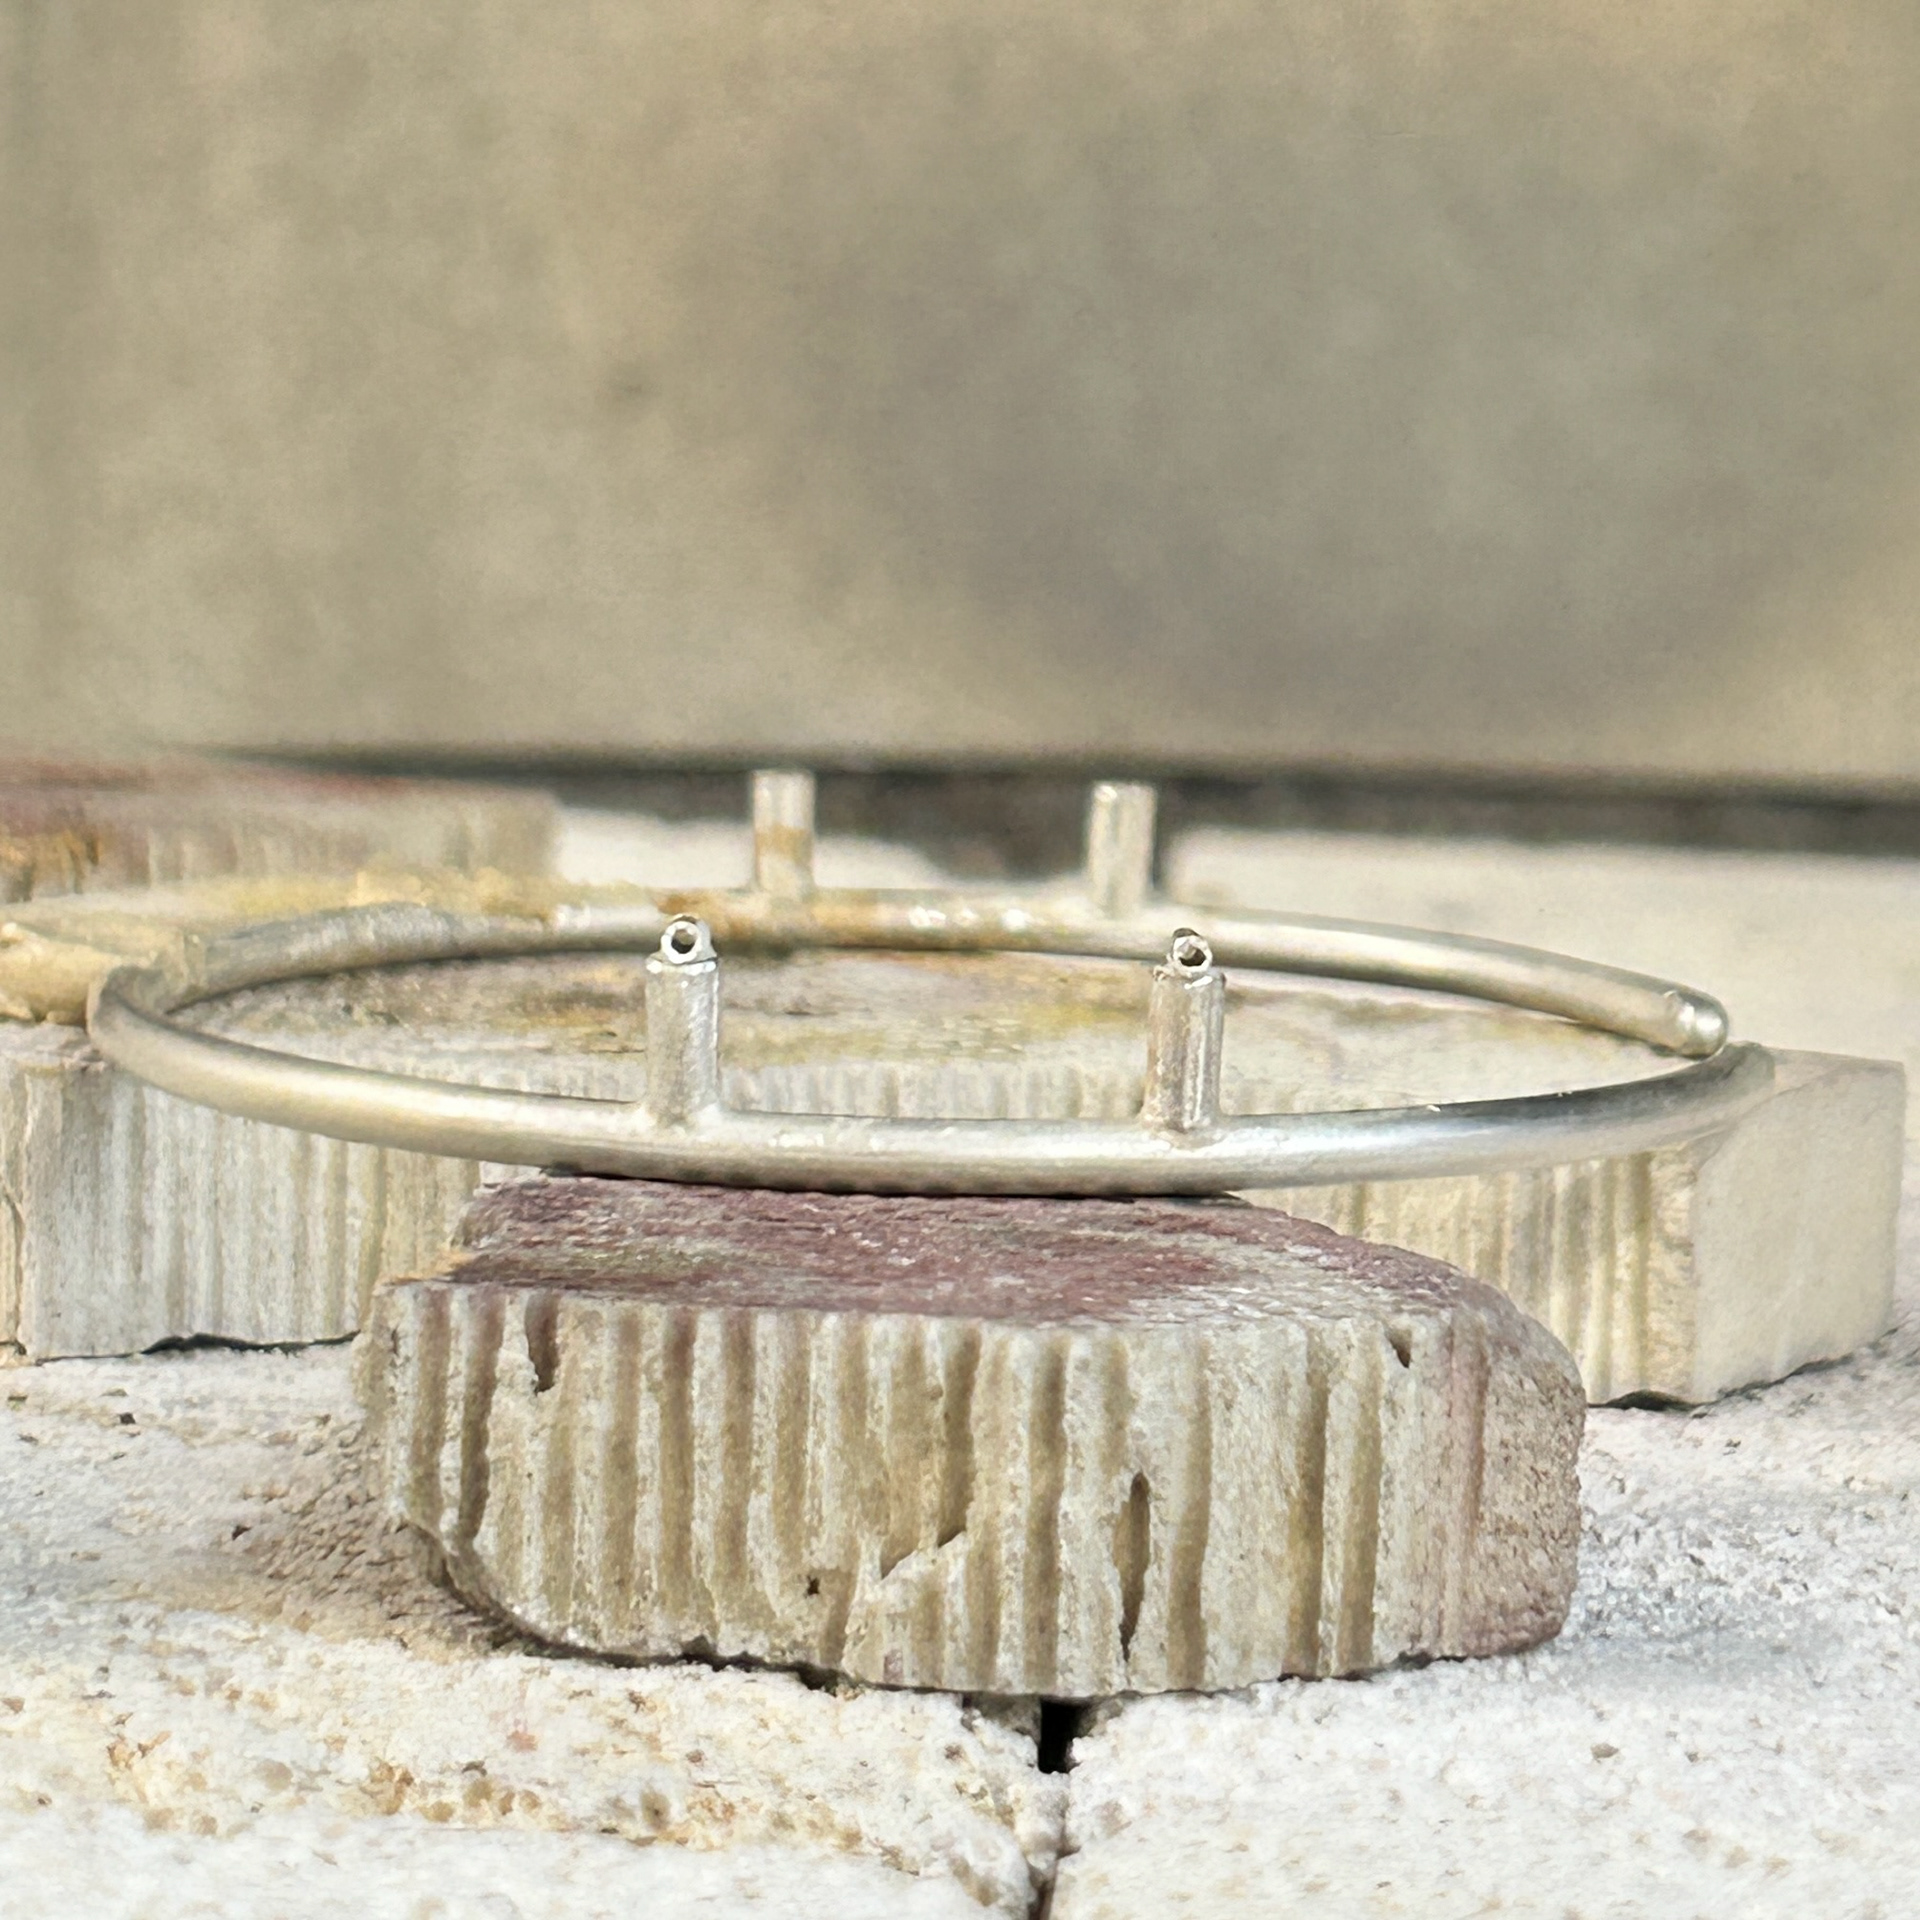
I used the handheld blowtorch to do all of this soldering, as the heat is more gentle and less likely to melt the tubing. After a couple of attempts, the soldering worked, and so I repeated this three more times.

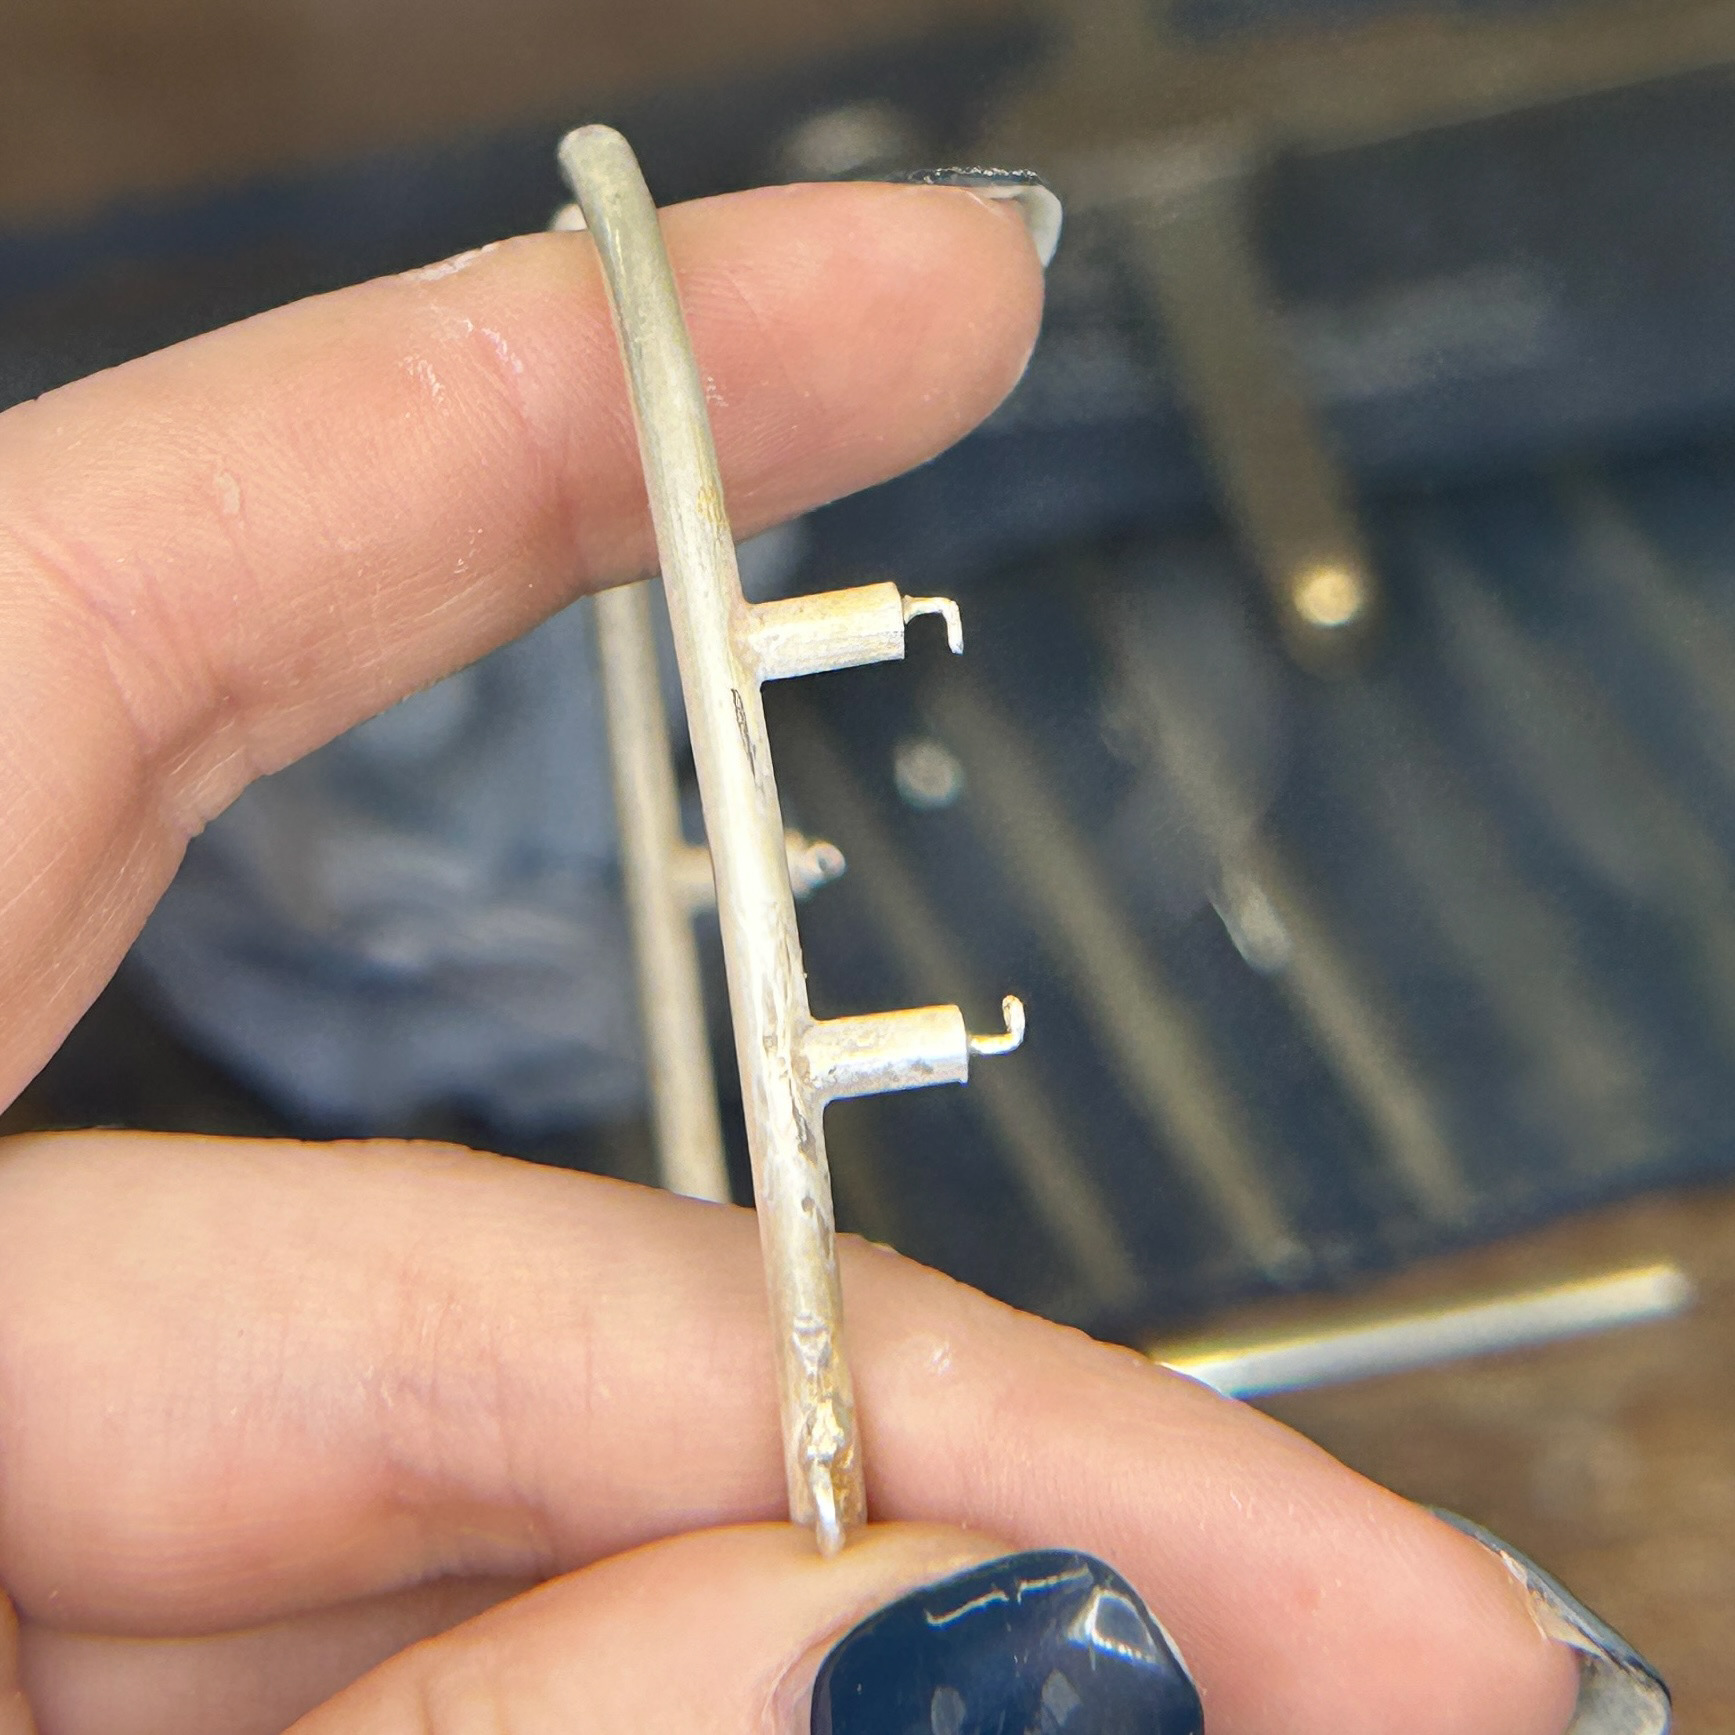
I then had to create the hooks that the wire would catch on. I repeated the same steps as before using borax. As the hooks were not hollow like the tubing, it meant that I would be able to use the tweezers to hold the pieces in place. As the hooks were so small and the tweezers covered all of the metal, the soldering took a couple of attempts, but I did manage to solder these. After soldering, I then corrected the shape of the hooks using pliers. While the placement of the hooks was unfortunately not as consistent as I would have liked due to the size of the tweezers blocking a lot of my view, I am glad that I managed to get them to solder.
Sandblasting
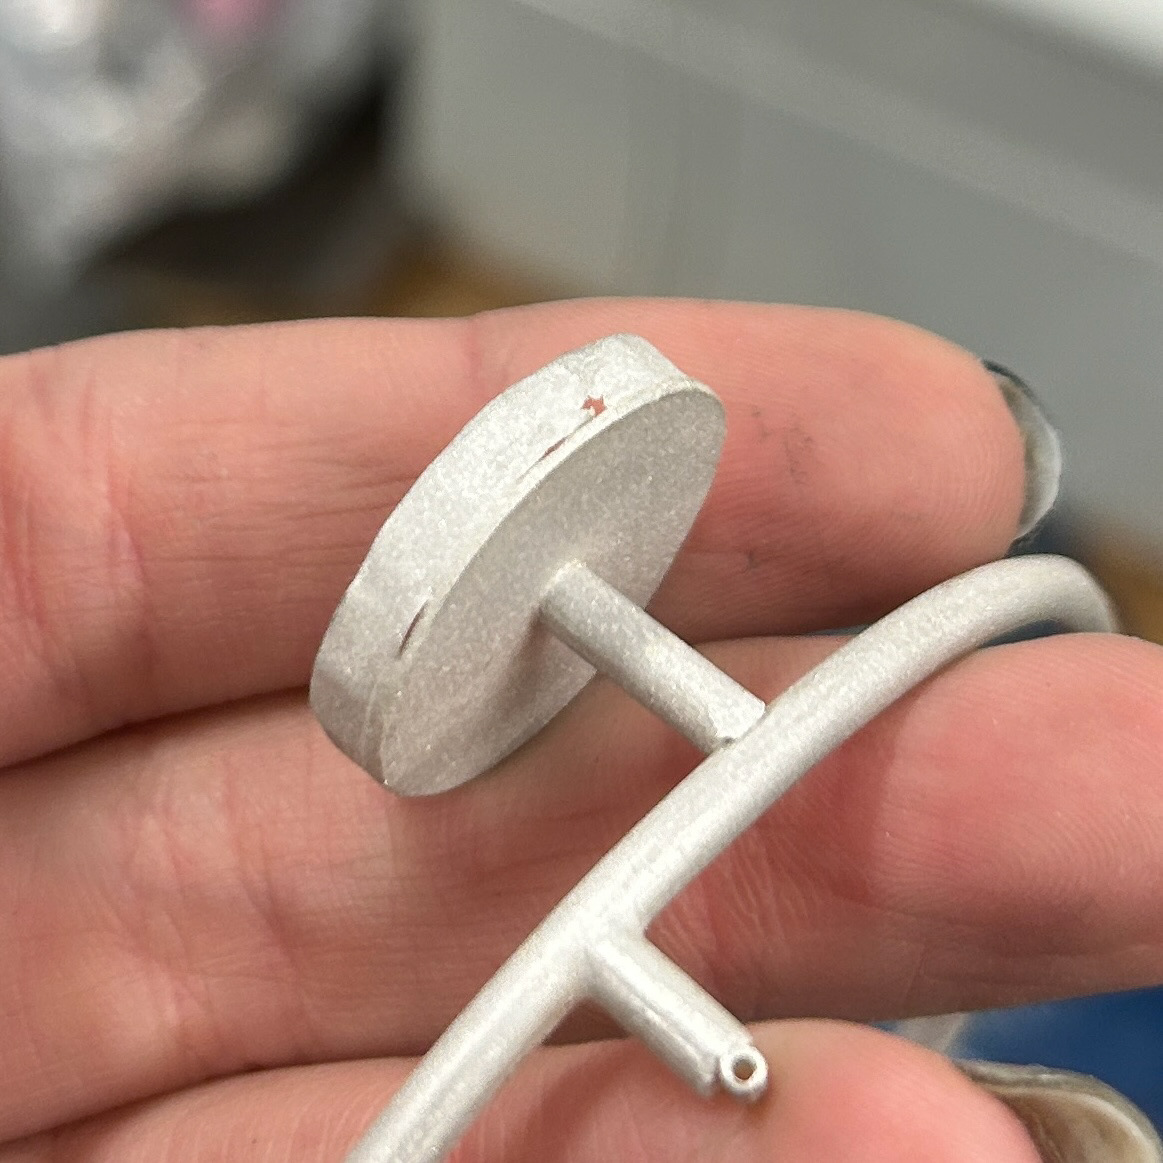
Showing the damage caused to my bezel
Testing how the components look together
The sandblasted finish underneath lights
After I had completed all of the soldering, I then had to satinize the surface finish. I knew that I did not want to have a polished finish for a couple of reasons:
1. The resin was going to be shiny, so having shiny components may have been too much shine
2. I wanted to create a similar finish to stainless steel, a material commonly used in the medical field, making my piece read more medical.
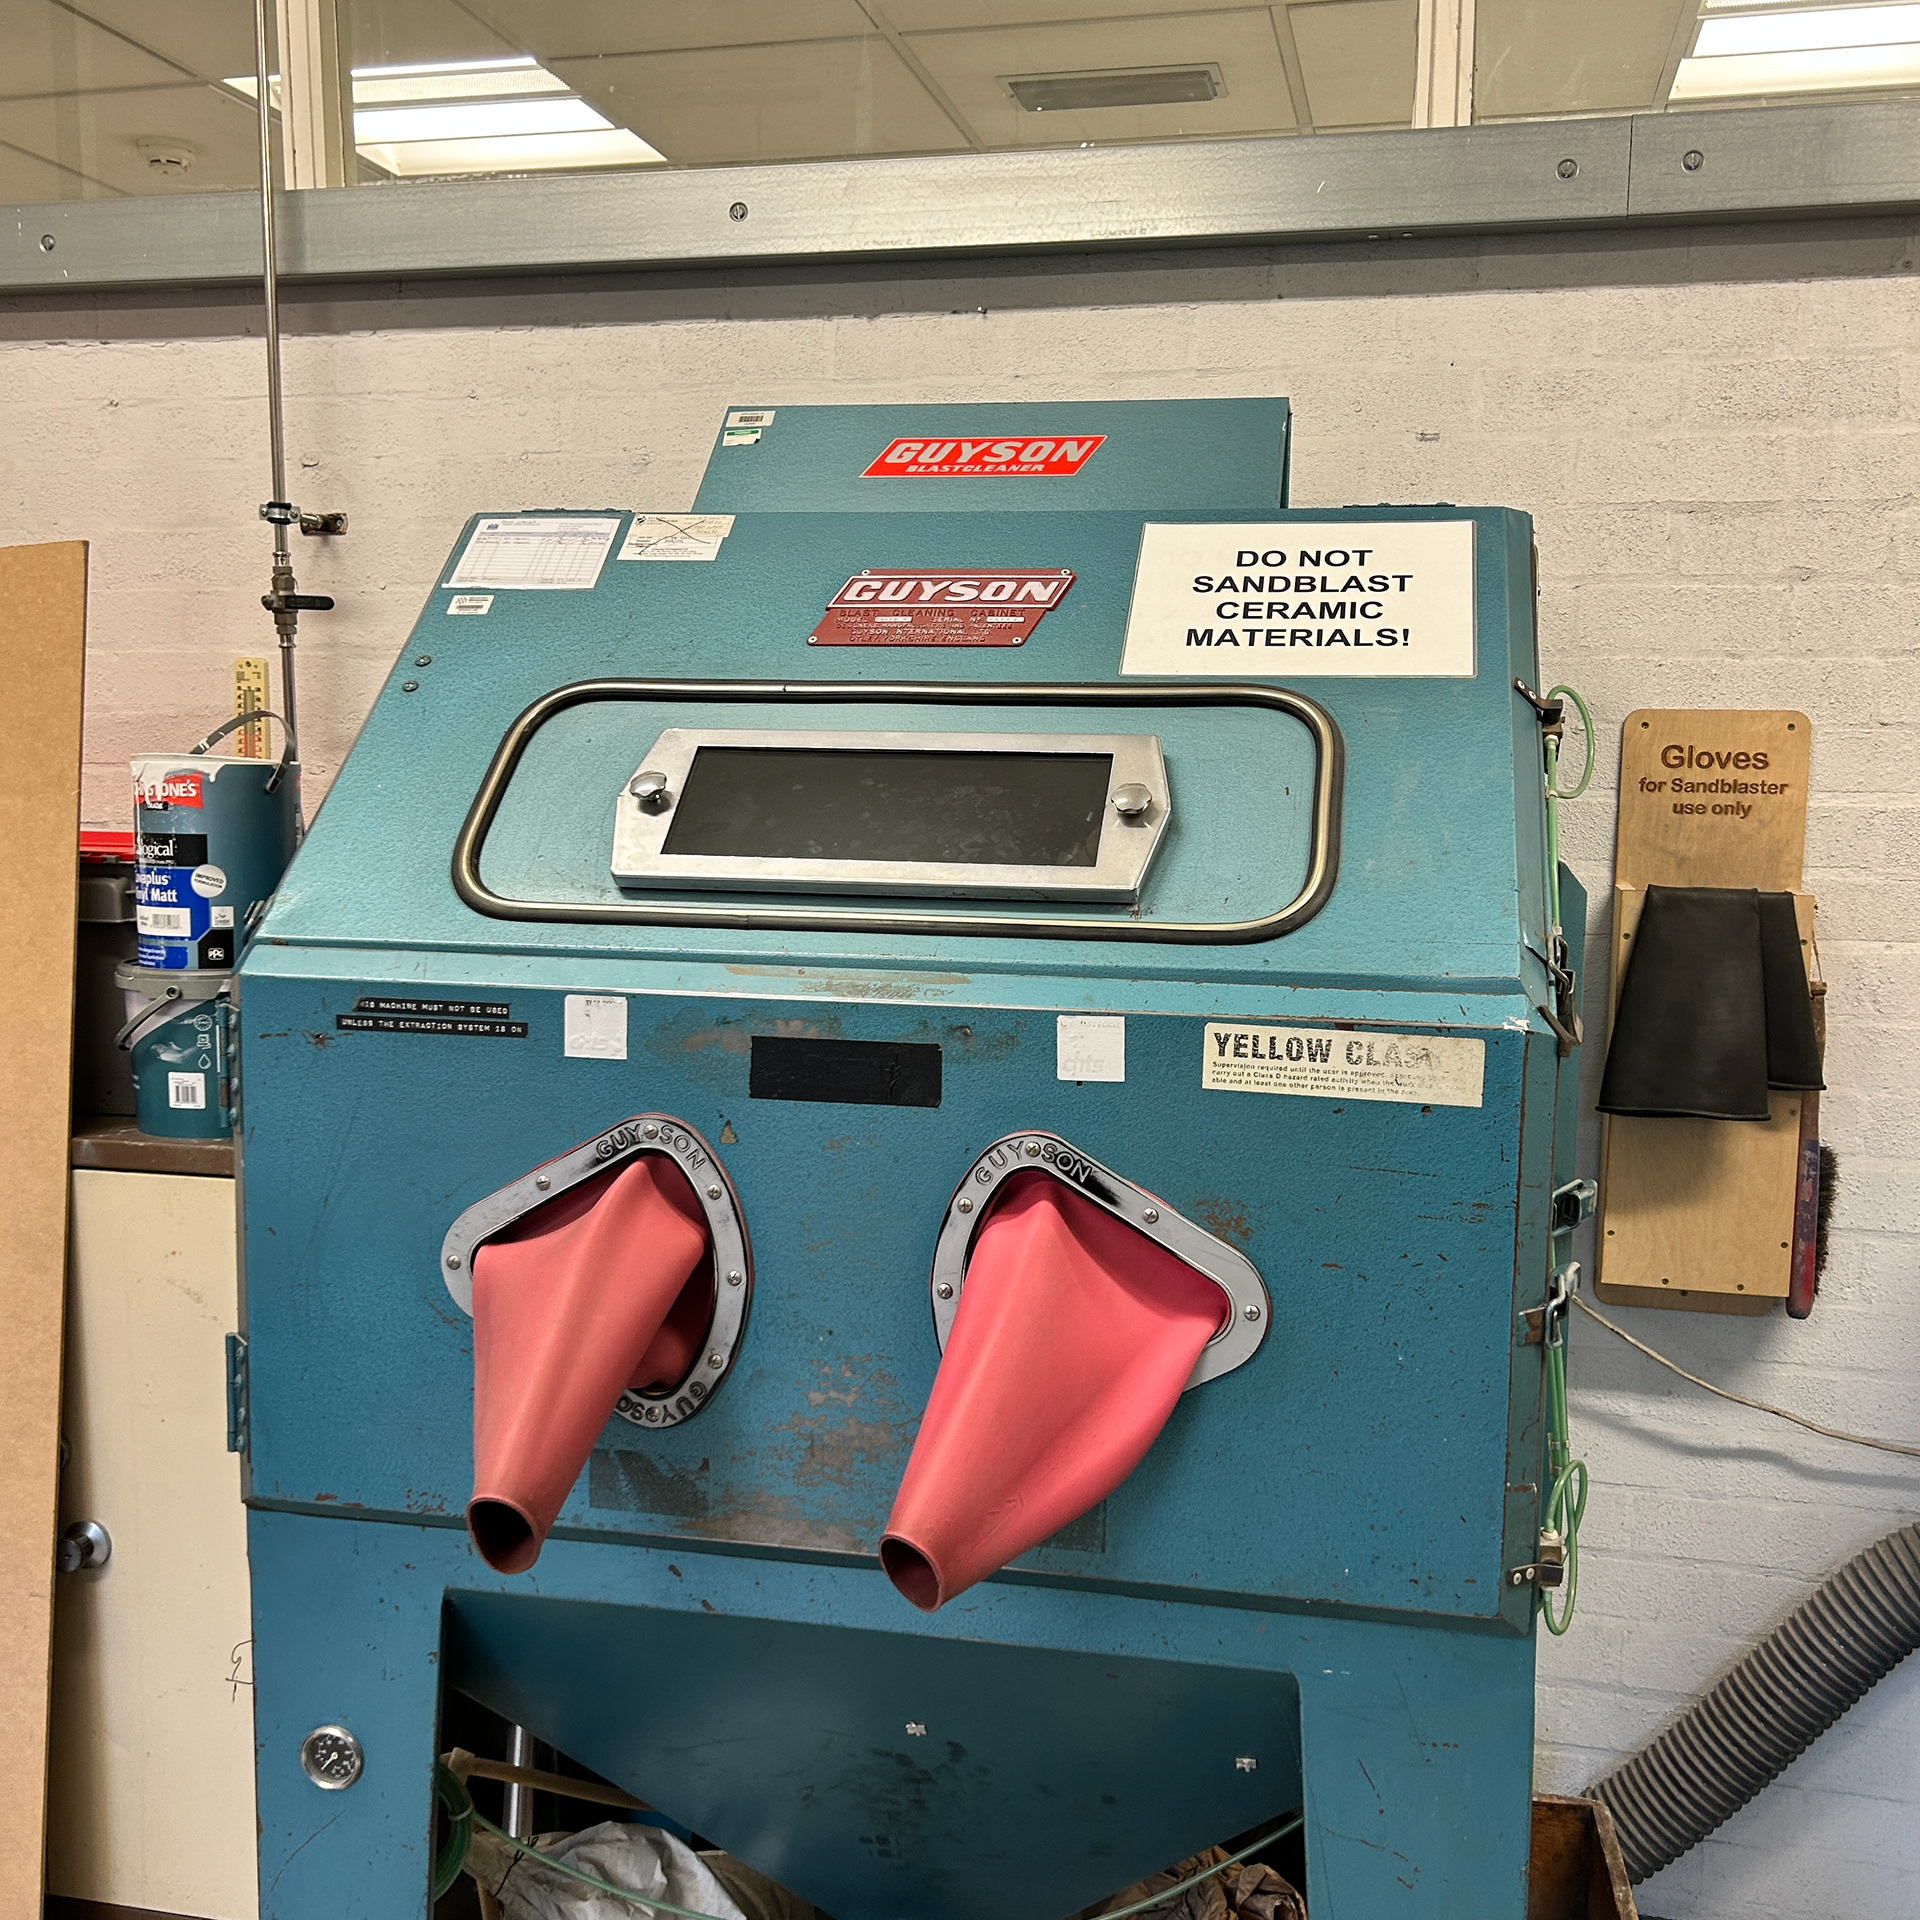
There were a couple of ways I had tested how to get this satin finish that I wanted, using pumice powder, using the satinizing polishing wheel, and sandblasting. I decided to settle on sandblasting as this would create the most consistent finish over the whole piece, especially since the polishing wheel with the satinizing wheel may not be able to reach underneath the setting for the onyx and the brooch mechanisms.
While I was very happy with the finish the sandblasting gave my silver and I feel as if it worked particularly well on the 3D-printed wax cast. After sandblasting I went back and used a very fine grit sandpaper on the detailing, to help those extruded parts stand out, which I think worked well.
However, the sandblasting did cause one problem. While filling excess around the bezel for the onyx, I had clearly filled too much of the bezel wire (which was already 0.3mm). The pressure of the sandblasting had pushed my bezel and caused it to tear in two different places. I was going to go back and solder it, however I realised how thin this piece was, and knew that soldering would only make it worse and melt the rest of the bezel. I contemplated melting off the solder and redoing the whole bezel, however I did not have enough bezel wire left with the correct height to do this. I also thought about removing the whole setting and redoing this, however, this could have resulted in the setting not being central to the peg, or melting the previous solders. I could have also taken off the whole setting including the prong, however, I knew that this would ruin the surface where I would have to resolder, resulting in an uneven finish.
I weighed up my options and unfortunately found that it was not worth risking the whole design because of this mistake. I know now that I need to be incredibly careful when using bezel wire, as it is incredibly hard to fix these mistakes when you are in the final stages of completing a design.
I had also attempted to sandblast the silver chain, however, I found this incredibly hard as the sandblaster was too powerful and knocked the chain out of my hand a couple of times. Instead, I decided to use pumice powder on the chain instead, which helped the chain blend into the sandblasted silver. I did contemplate making the silver chain from scratch, however, I felt as if it was important to have a similar thin chain to the one on my grandmother's bangle, and so I knew that making this sort of thin chain and soldering the pieces together would have been too difficult. I have seen tutorials on how to make chains this thin before, however, most of them use a laser welder to ensure that the chain does not break. As I did not want the chain to break, I instead went with 100% recycled 925 chain from Cookson Gold.
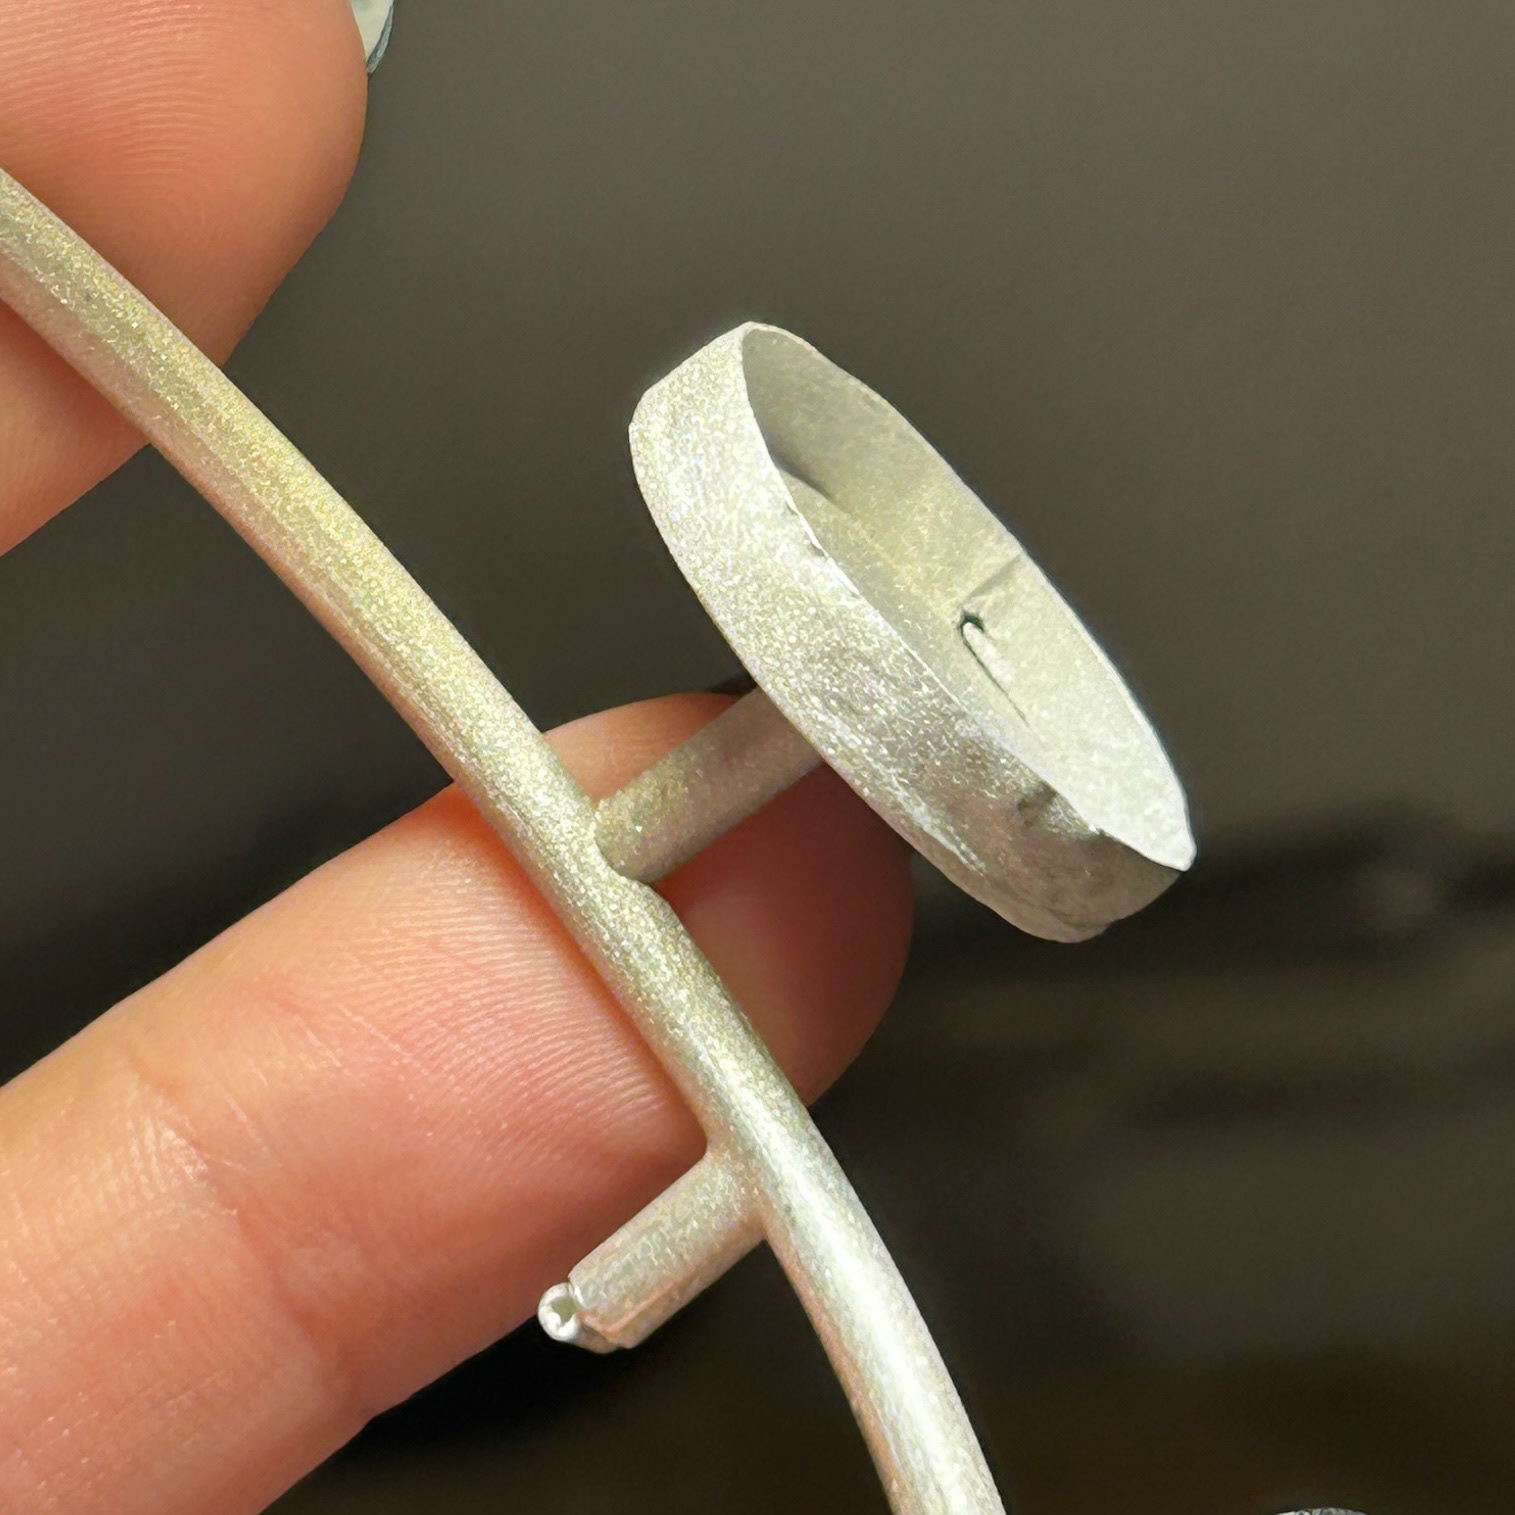
Adding the Brooch Wire
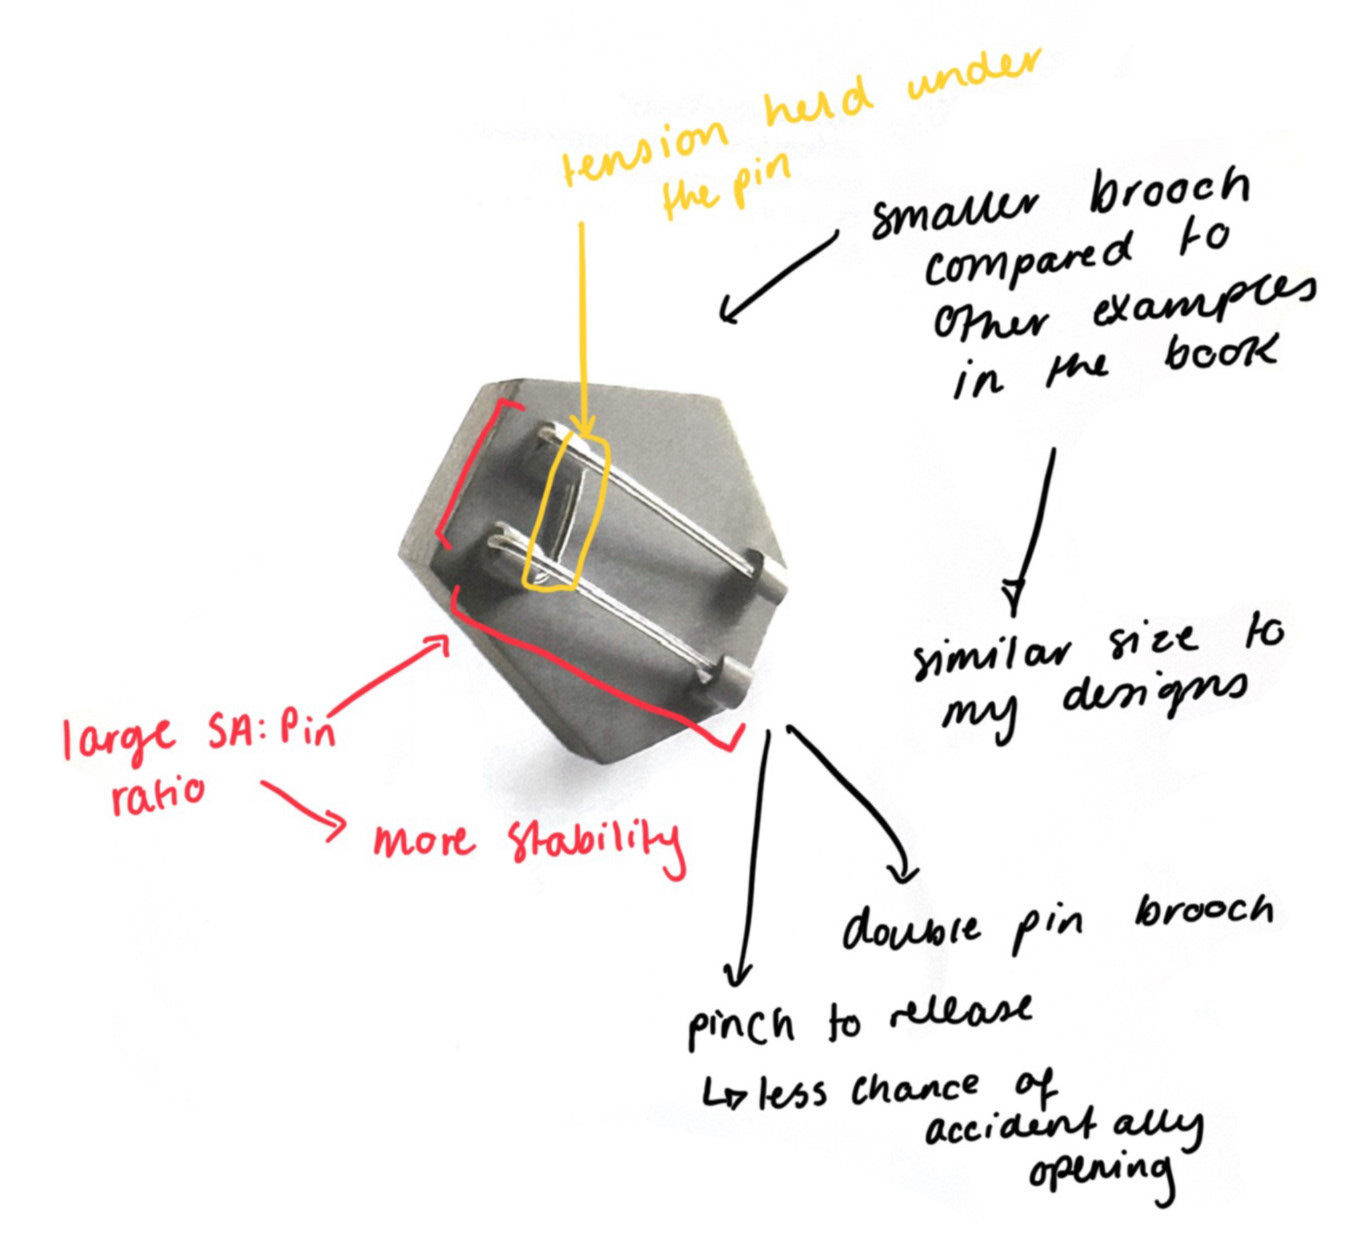
FROM UC2
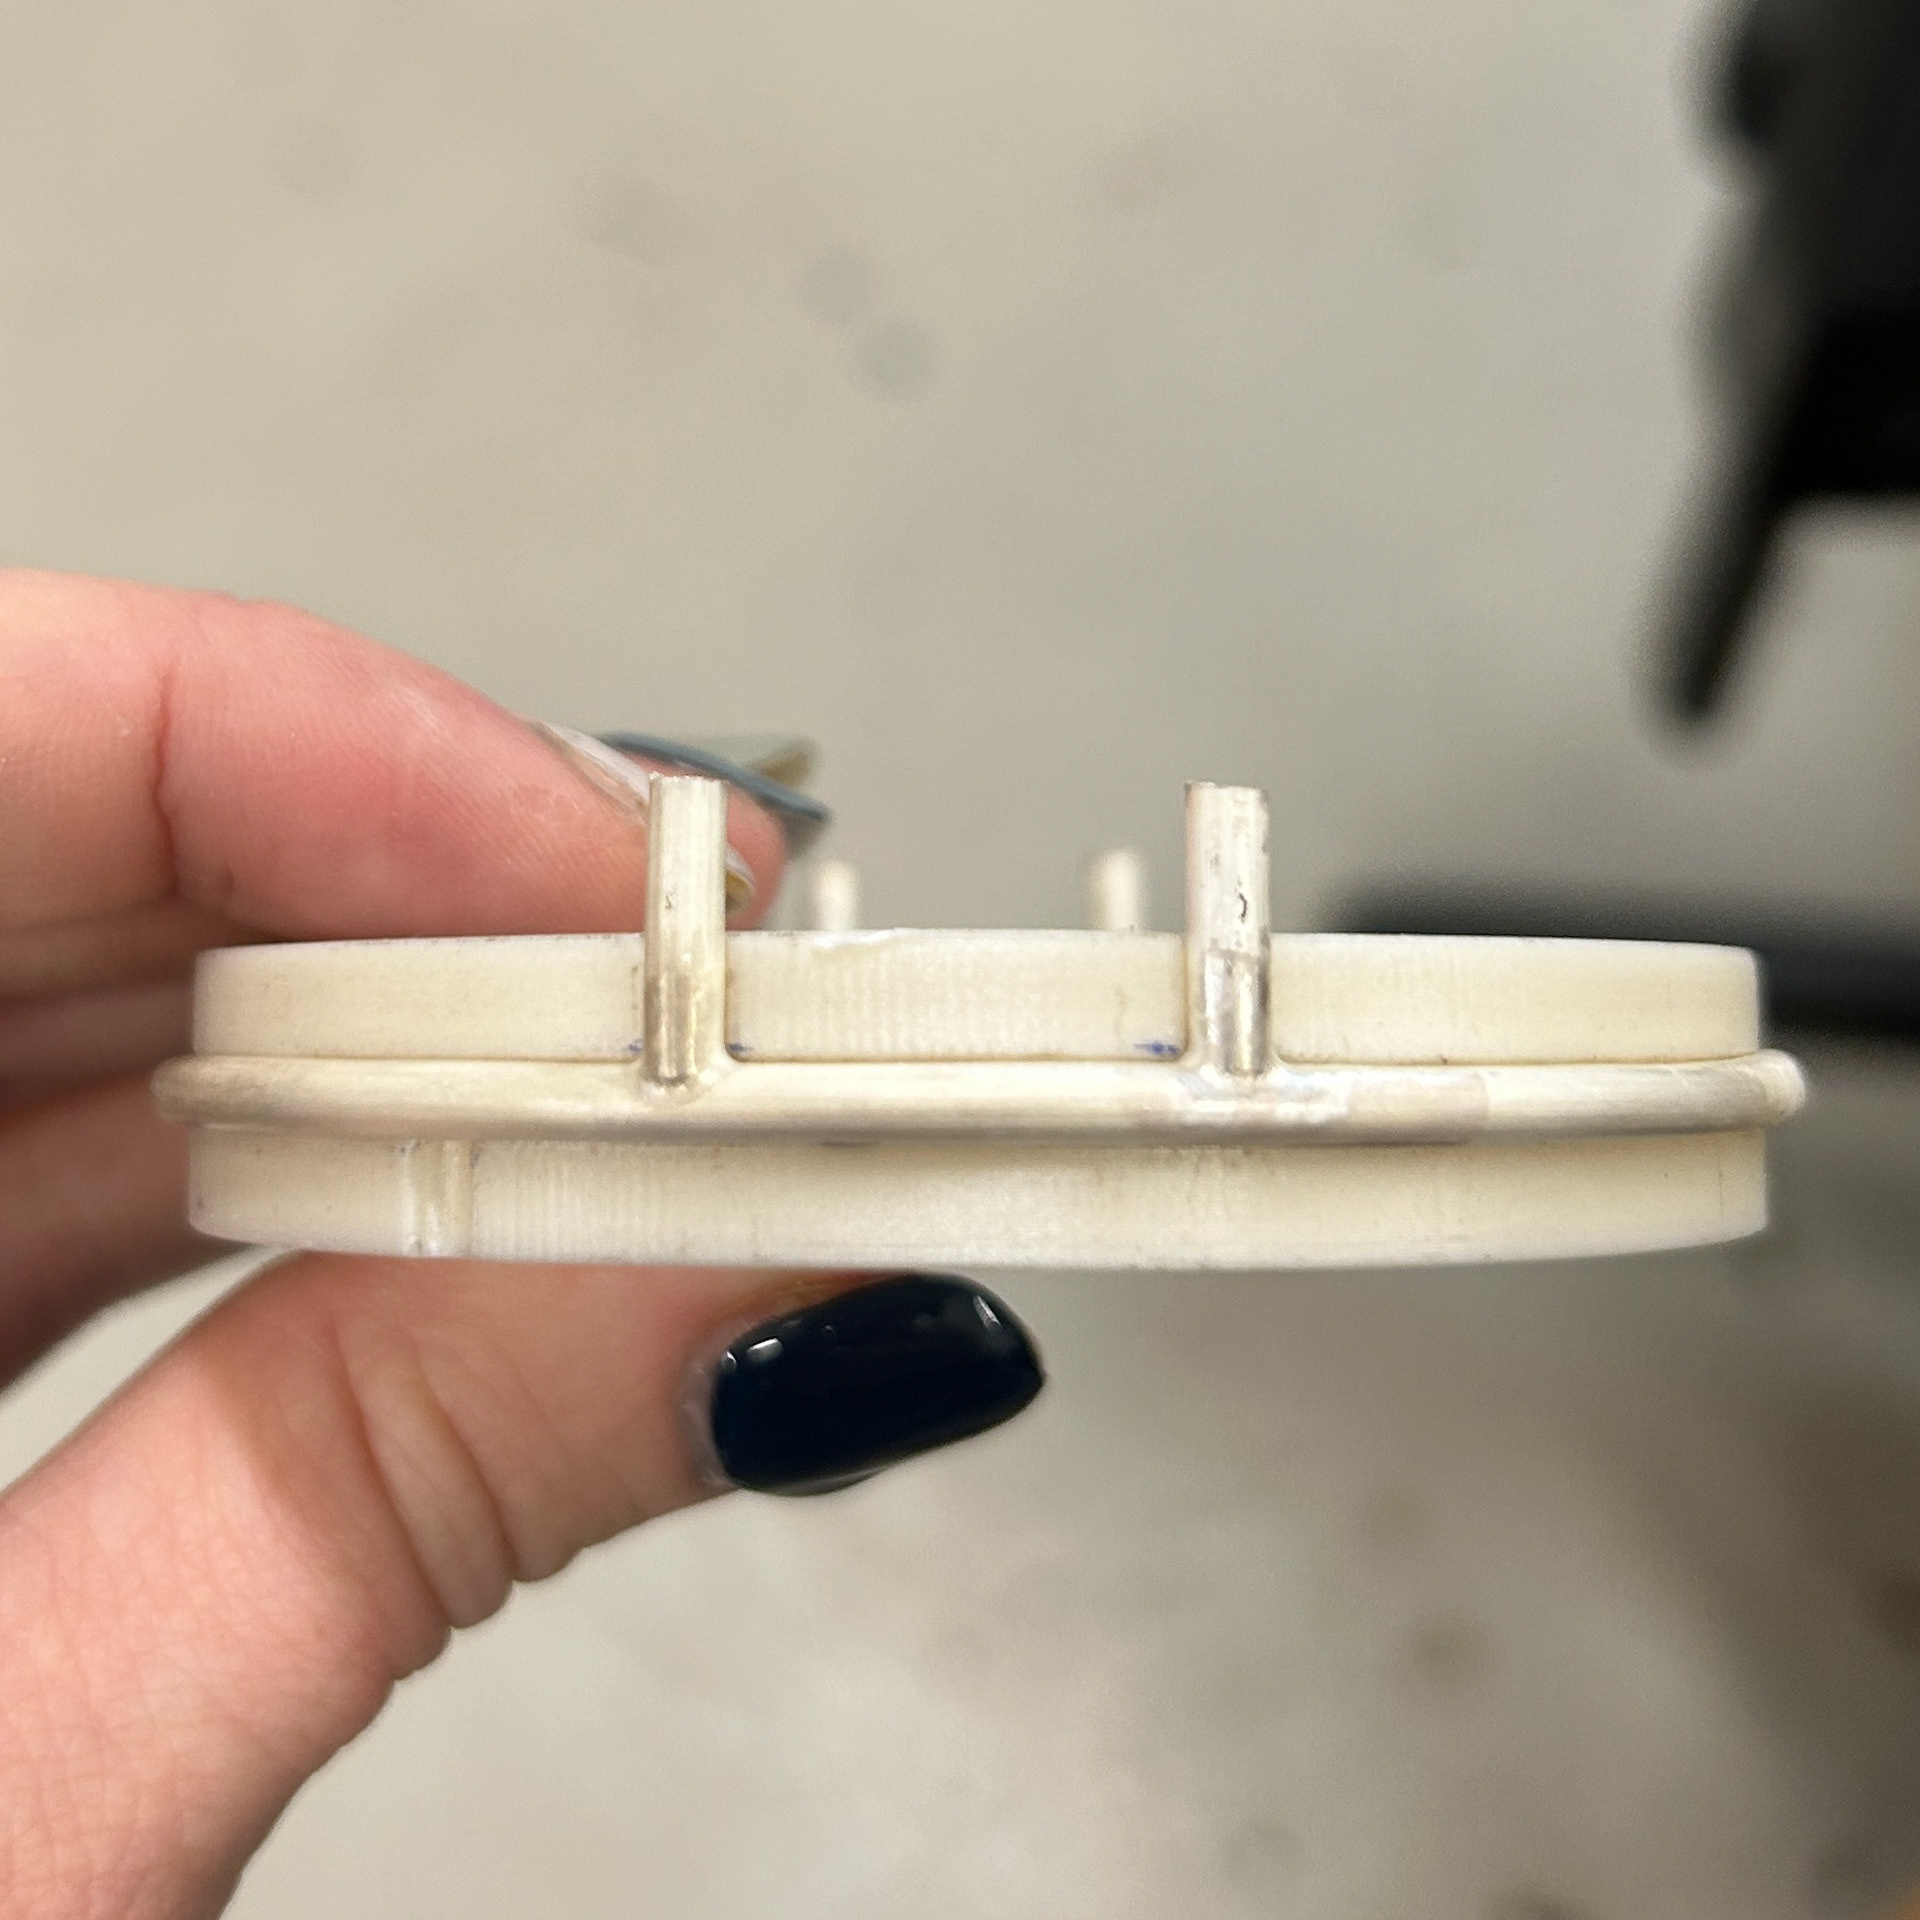
For the brooch pin design, I decided to use a mechanism that I had lots of success with UC2. The double pin mechanism allows the maximum surface area to be covered, while still allowing for tension from the wire being held underneath the tubing.
I have previously wax cast these mechanisms, however, I wanted to challenge myself this term with soldering the small mechanisms, which is seen above.
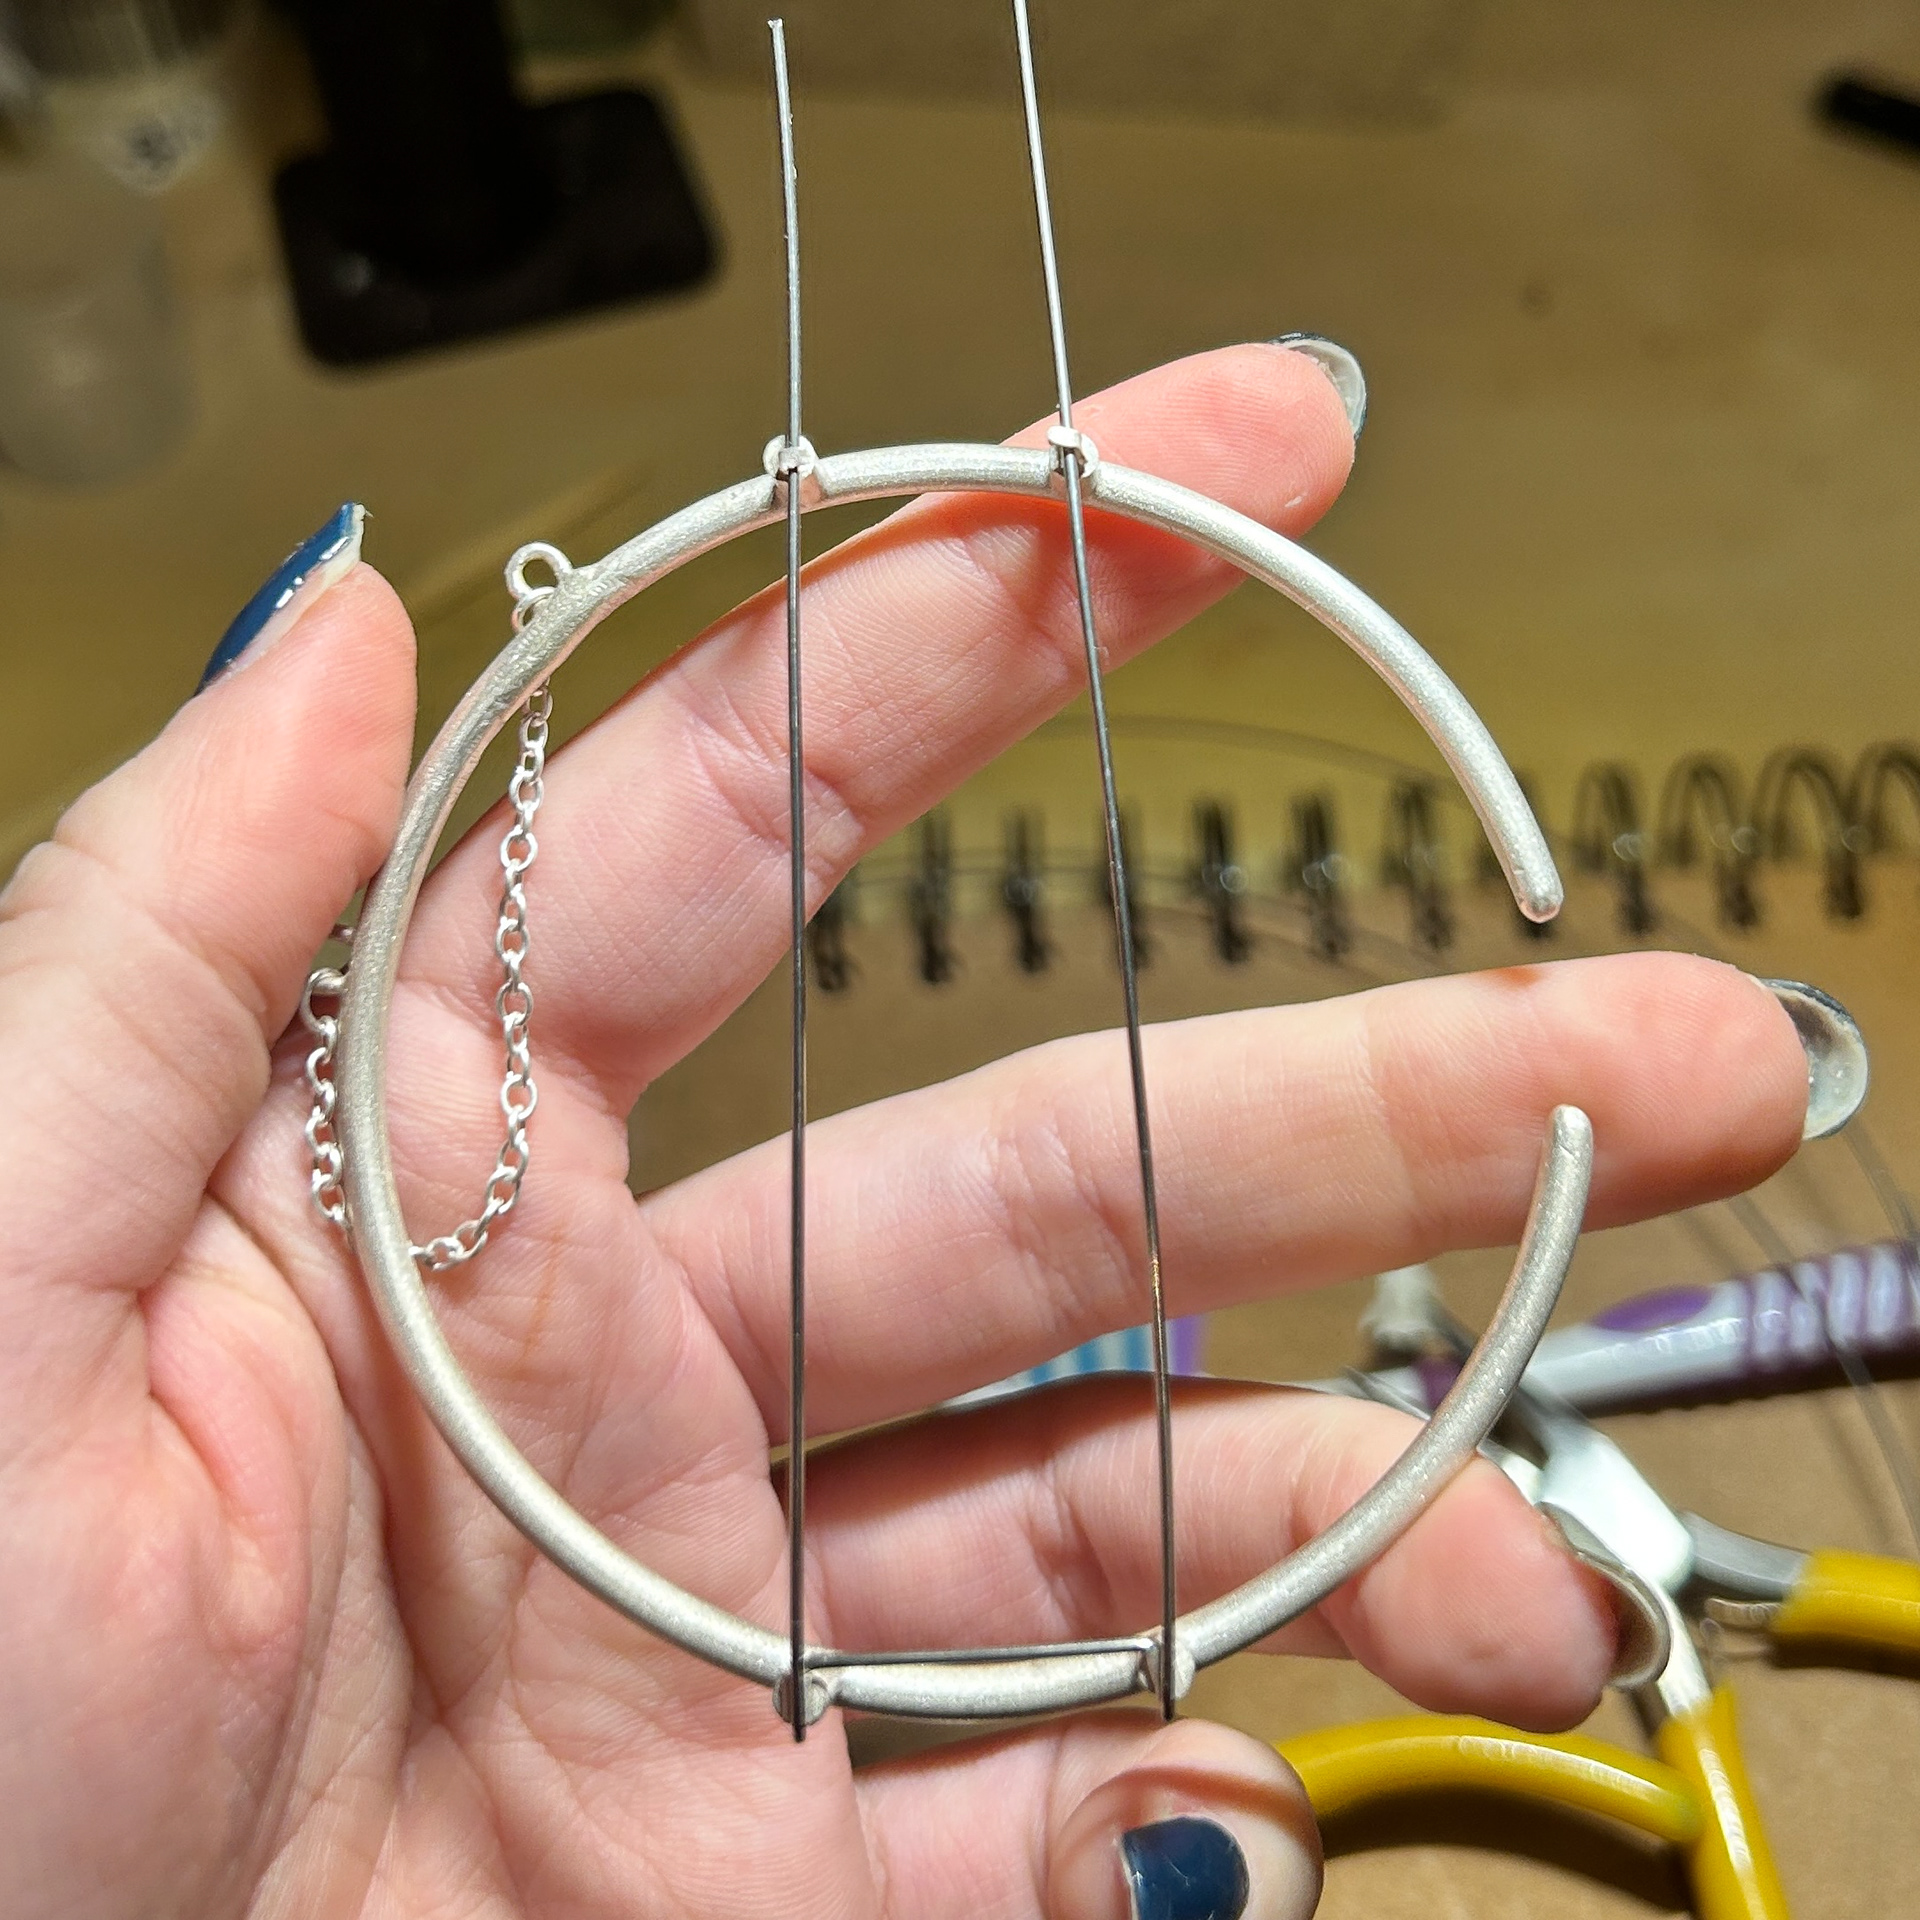
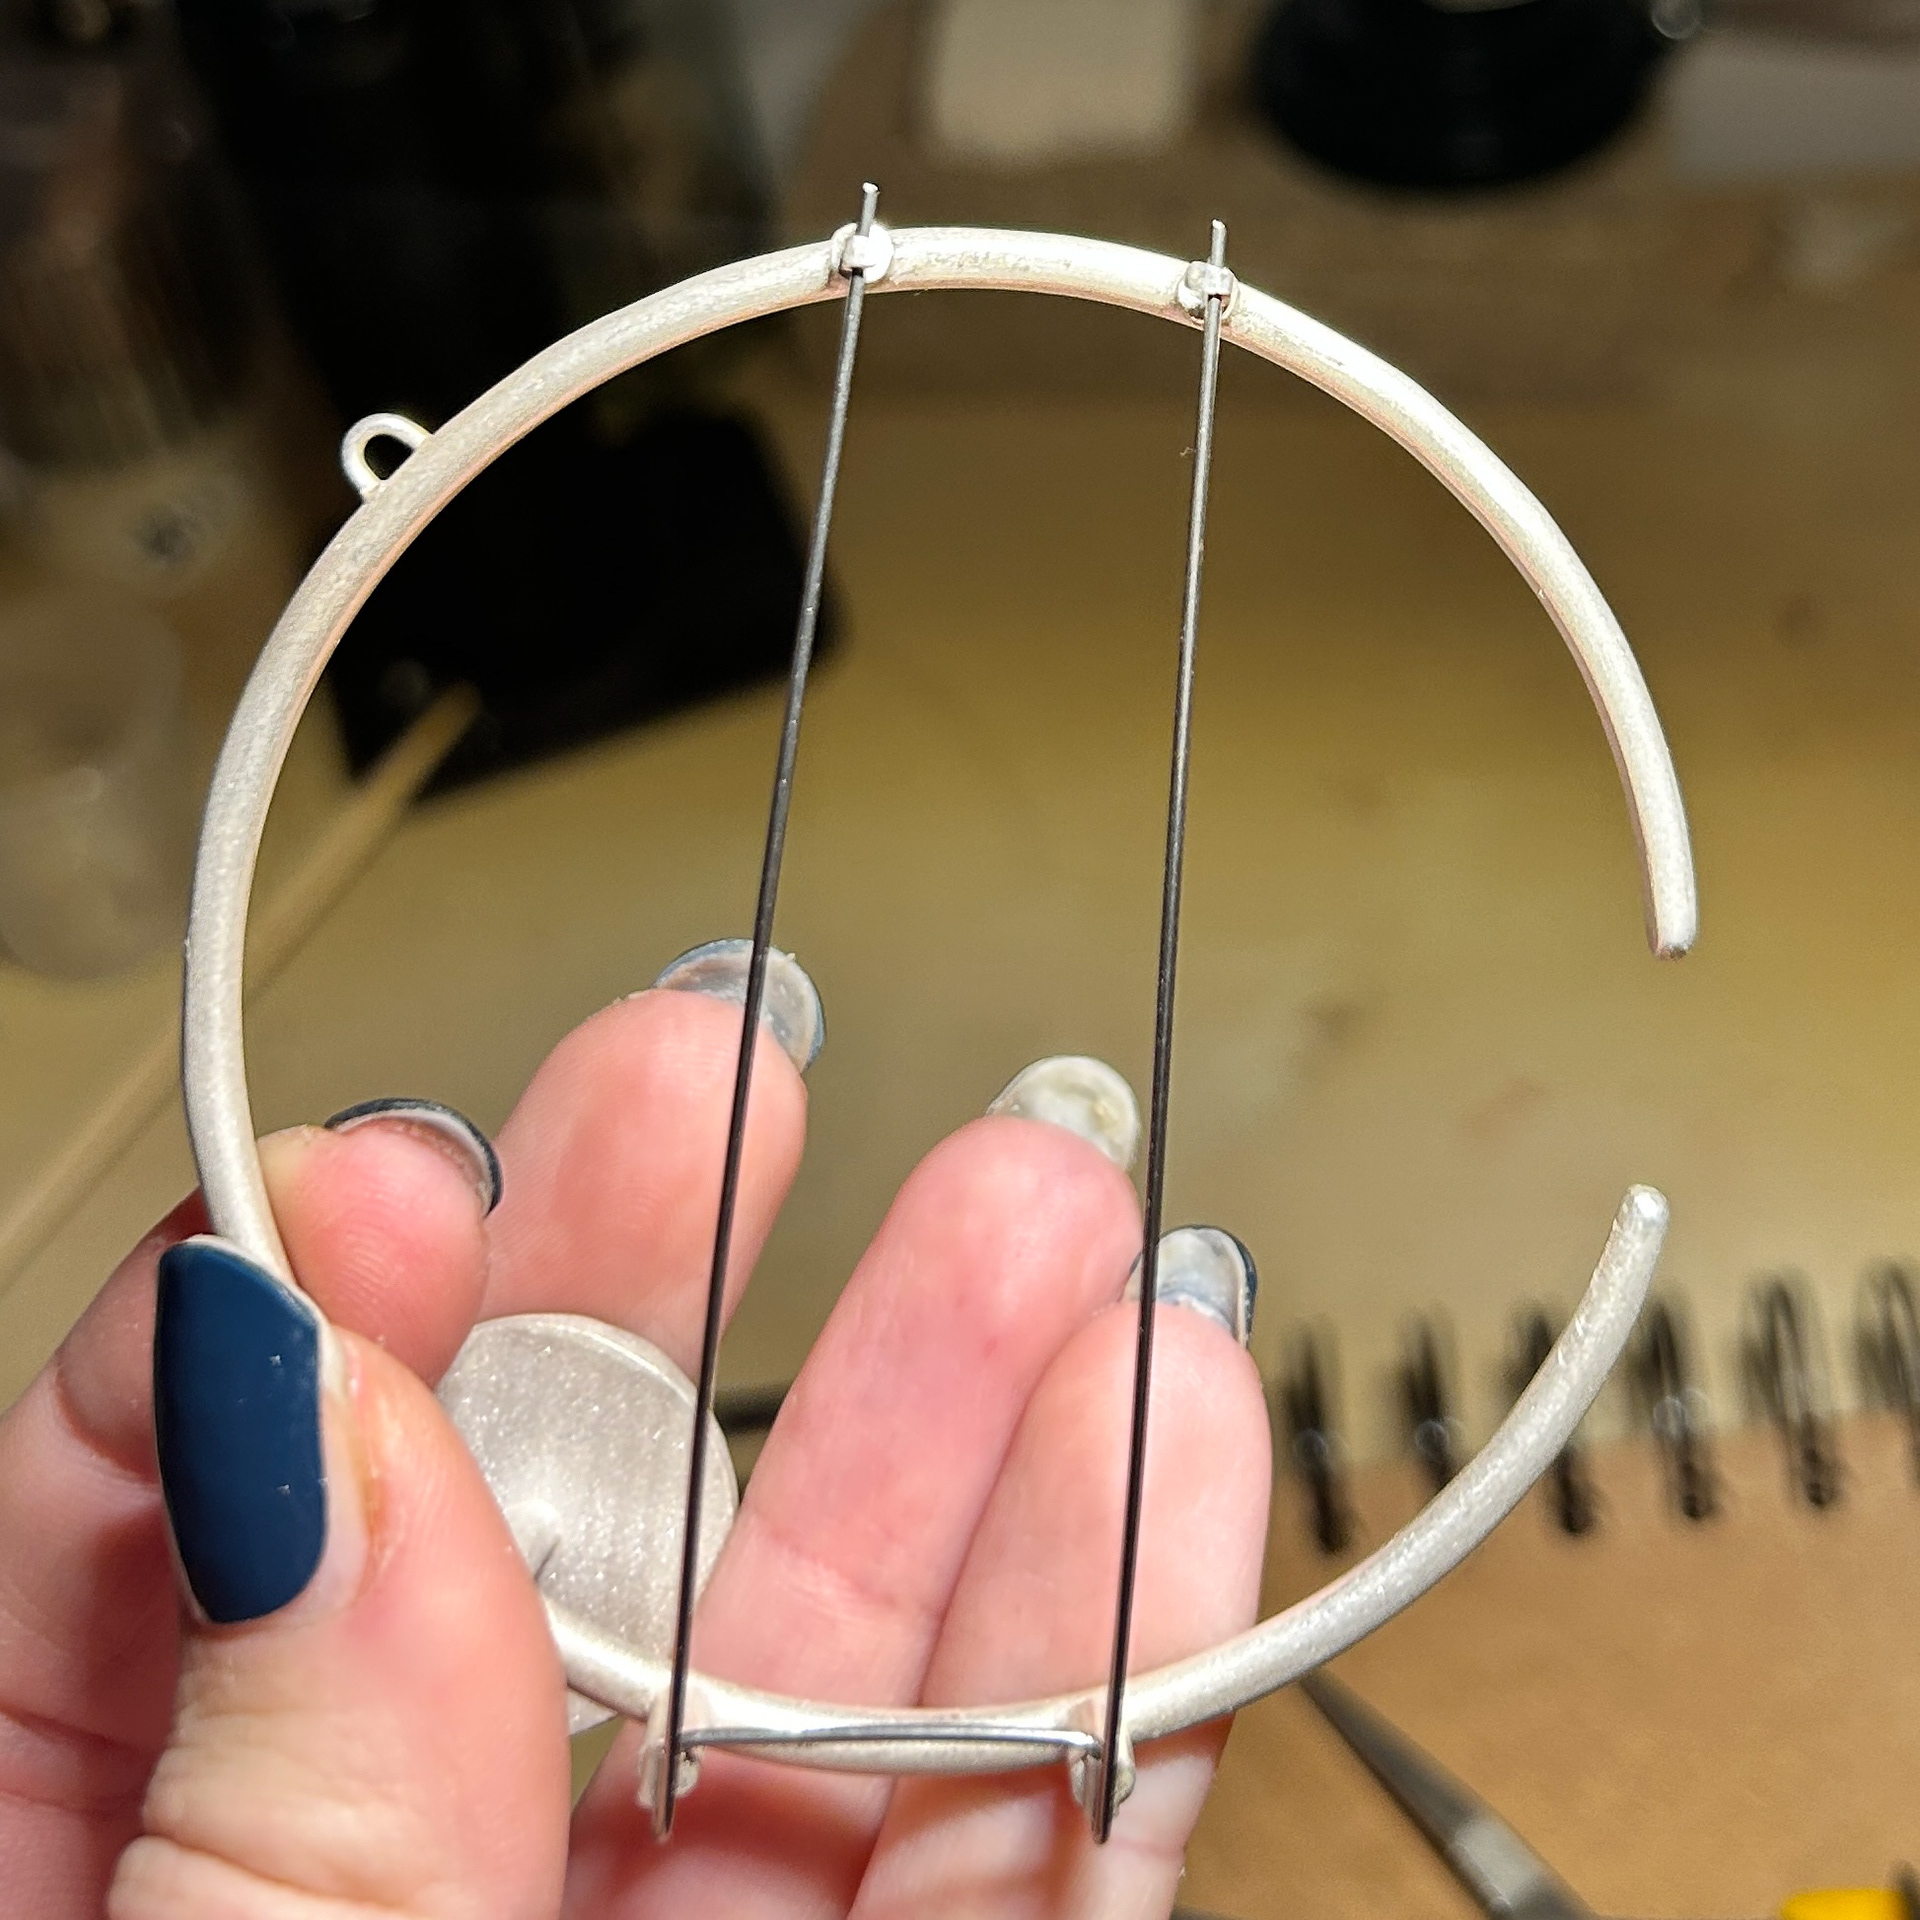
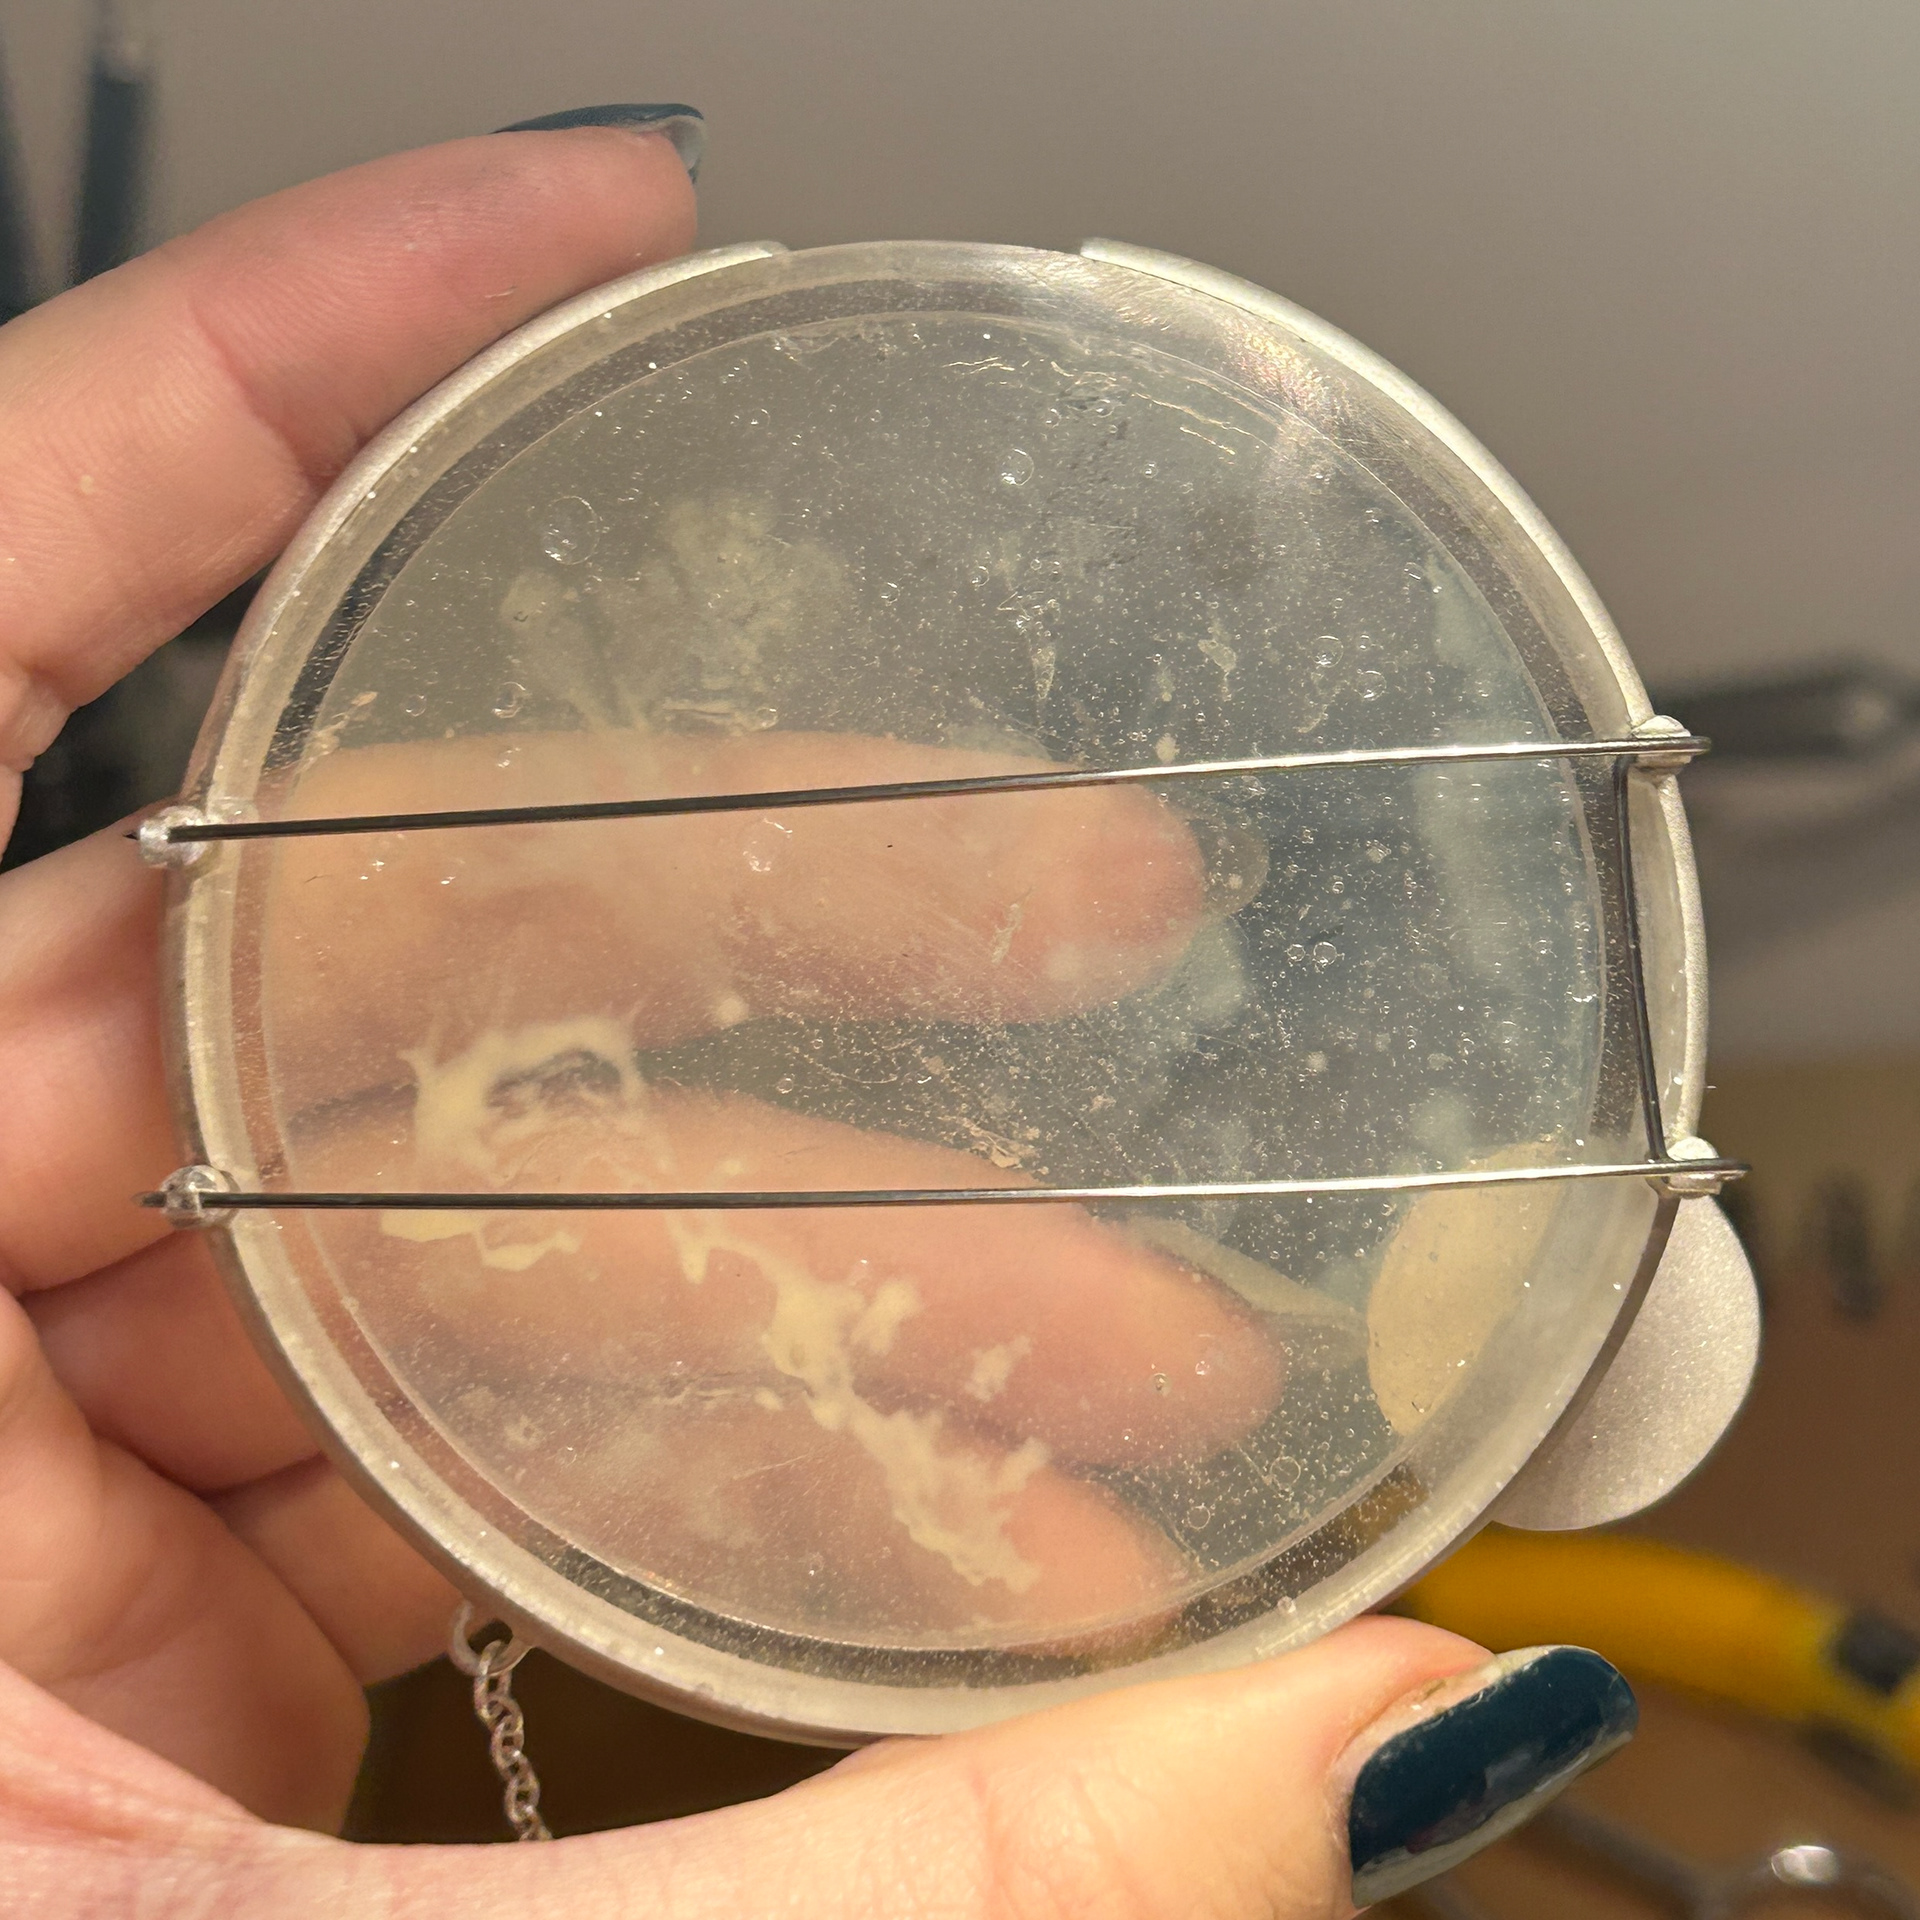
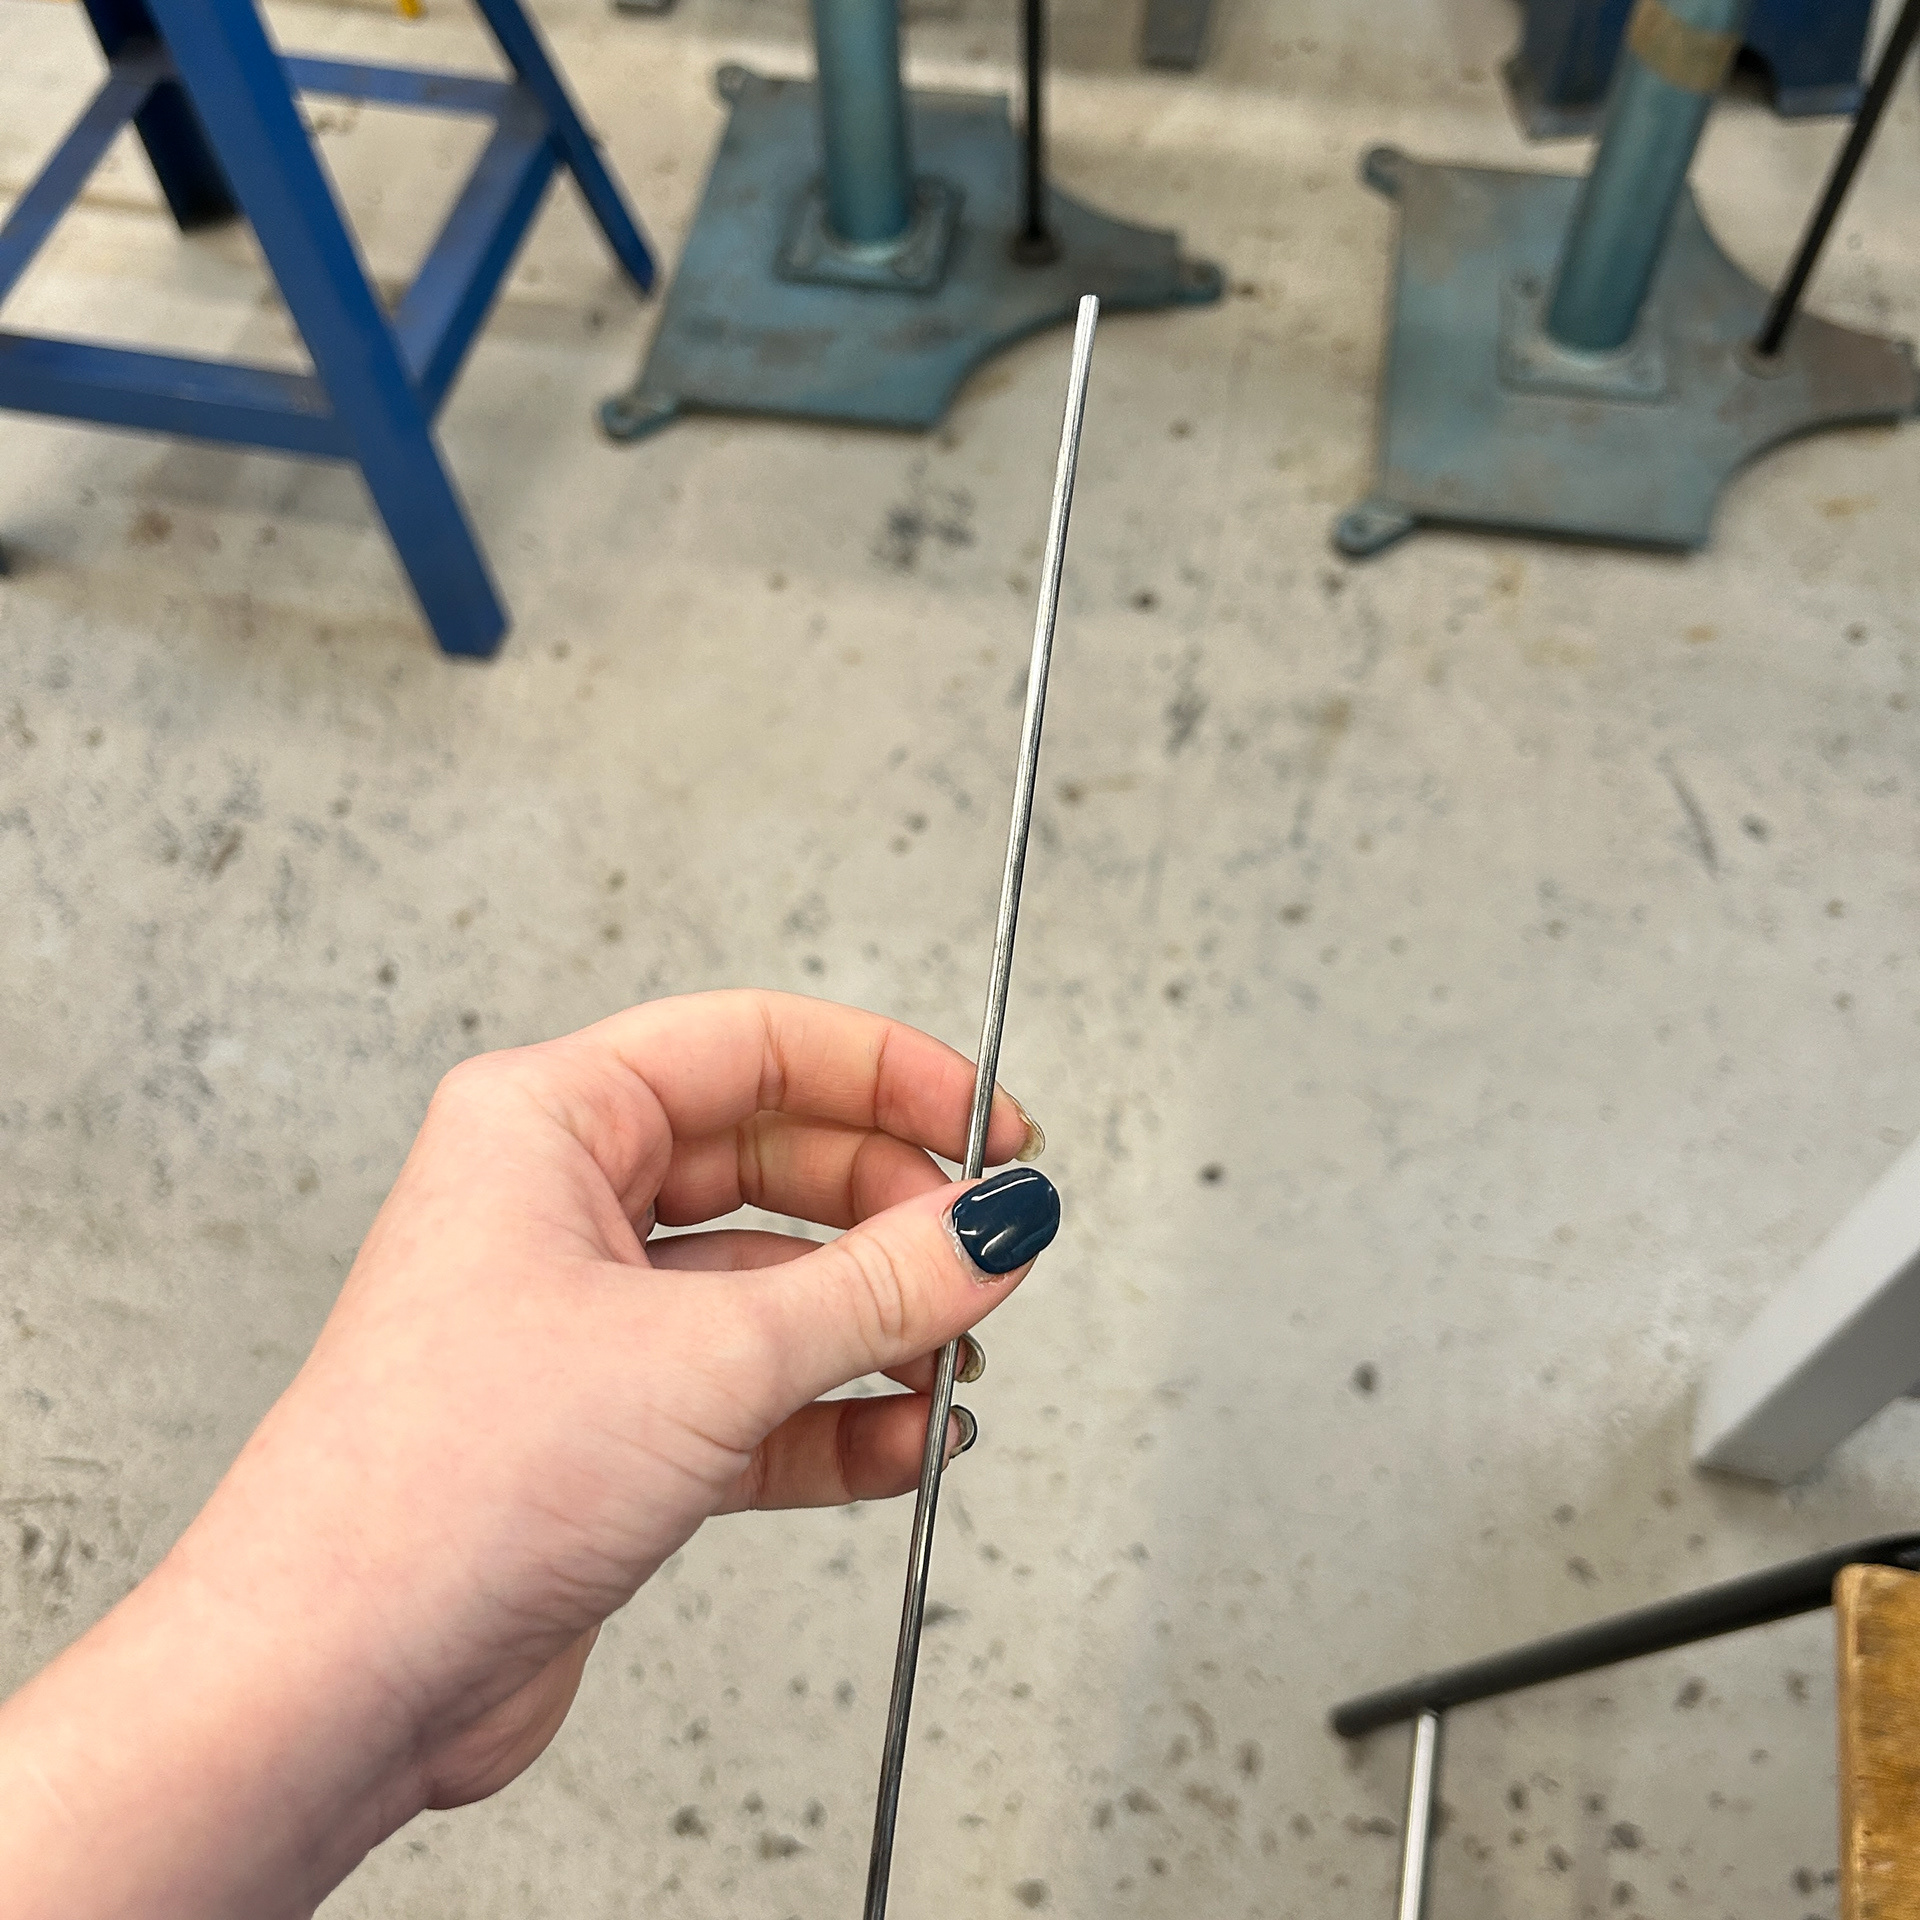
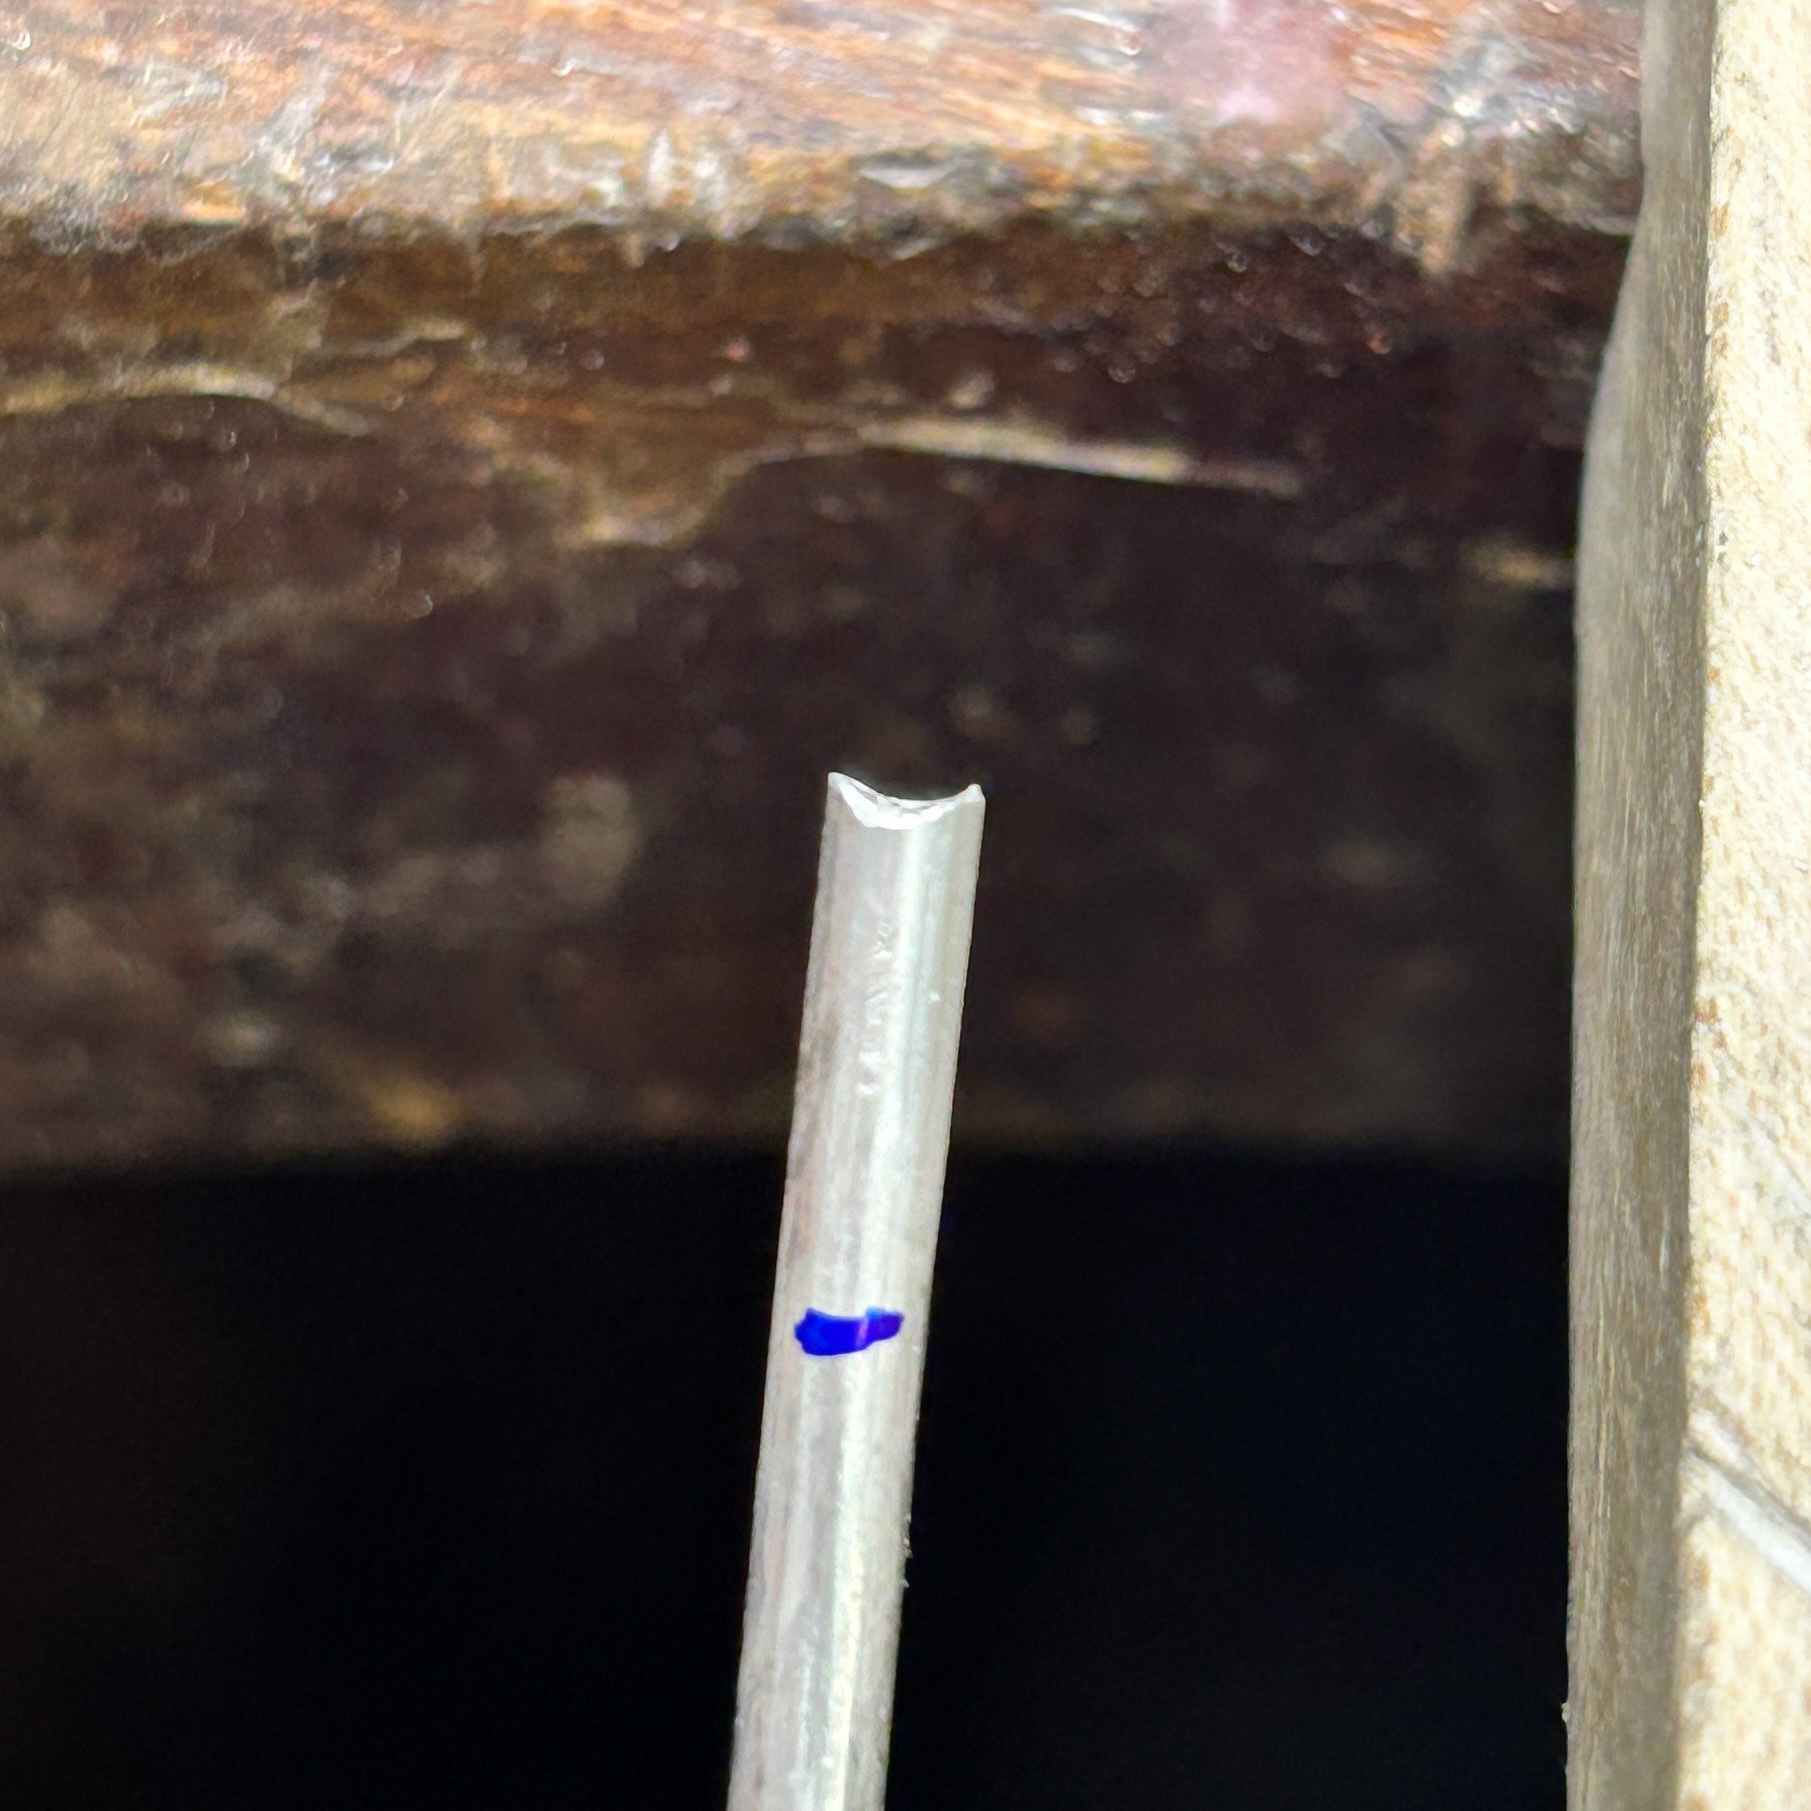
I used 0.8mm steel wire that fit through the 1mm internal diameter of my tubing and then bent it around the tubing to create the tension. I first work hardened the steel to make sure it was stable enough to hold the brooch in place. I then hooked the wire into place, cut at the correct length, and then filed the wire to a point.
Final Result
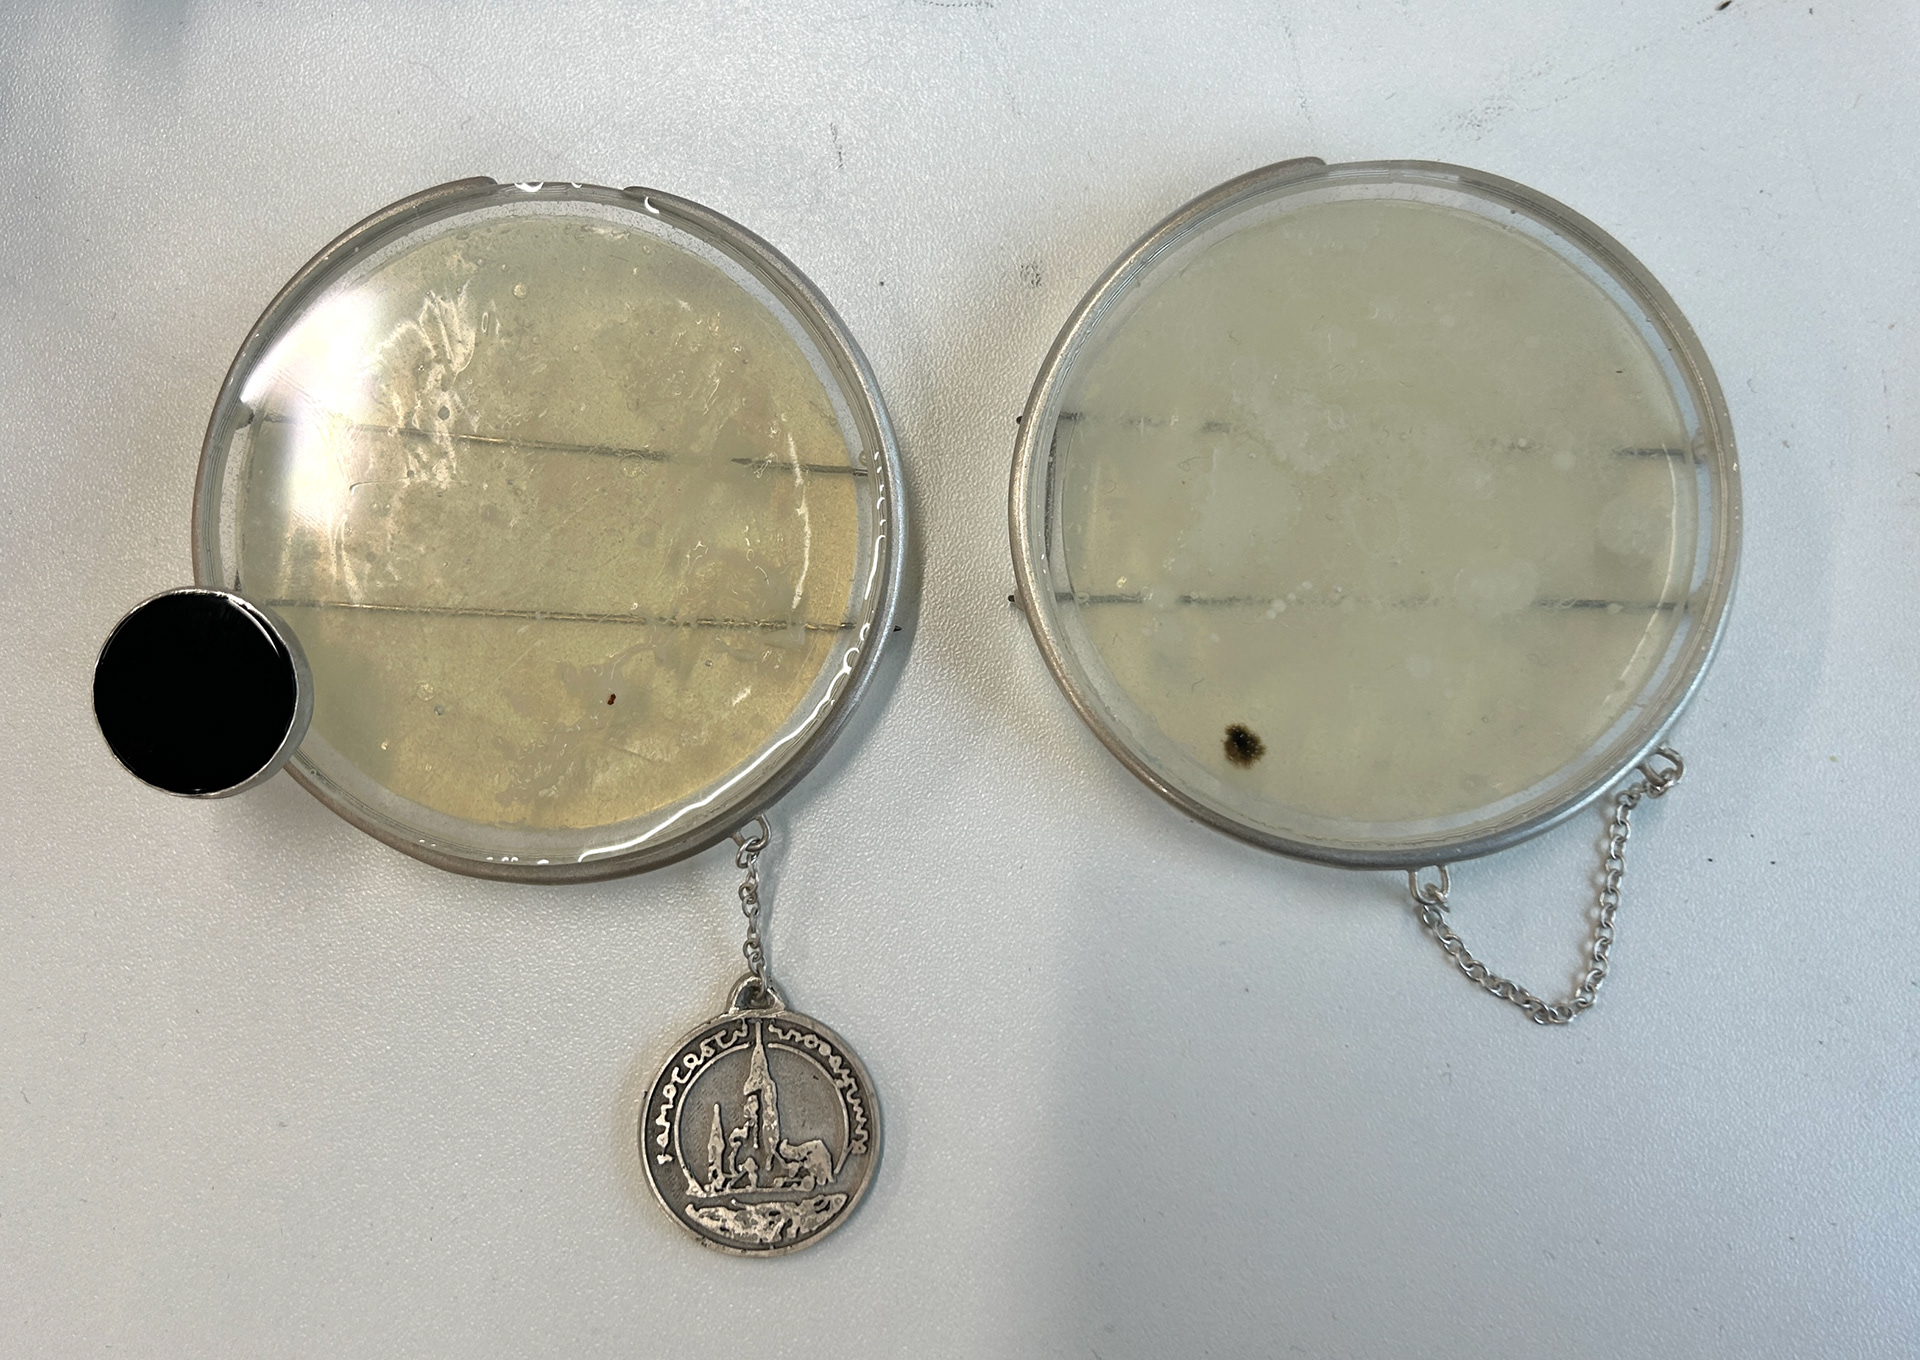
Testing Polishing Techniques
After completing my final piece, I was not happy with the outcome of polishing the resin. There were still scratches on the back of the resin so I was reluctant to sand the front of the pieces as well, as this may have made them look worse.
Geoff suggested that instead of re-sanding my final outcome and risk ruining it even more, instead, I should try the polishing process again using some scrap epoxy I had.
This time I made a slight adjustment to my working space, and taped down a pane of glass, as this would ensure that I was sanding against a completely flat surface.
This was the piece of resin I started with, a cast from the first silicone mould I made. I then added water and began sanding working my way through the different grits available from the workshop, from 240 up to 3000. I would spend about 30 minutes to an hour on each side, moving in a figure-of-8 shape to make sure I was giving even pressure to each side.

I found that a good way to check if the scratches had been removed was by using a trick I have used before in glass coldworking. By adding sharpie to the scratches, I was able to see if they had been buffed out yet, which I do think helped.
I also found that as I was working my way up the finer grits, these small flakes were appearing on the sandpaper. I was not sure what these were but they kept coming from underneath the piece I was sanding. I questioned if this was pieces of epoxy coming off, and what had been causing the scratches, and the sharpie-stained water made them visible, however, I could not be certain about this.
After sanding with 1000 grit
After using the cutting compound

After using the polishing compound
After sanding my pieces flat, I then moved on to the polishing stage. I first polished with 2000 and 3000 grit sandpaper and then used the cutting compound and the polishing compound that I had previously used. Geoff suggested that I could try using polish used for headlights, however after researching this, the compound often used for this was actually coarser than the one I had, so I decided not to use this. What these headlight kits did have was a large mop brush dremel attachment. I decided to use both the polishing heads that I had previously, as well as a soft mop brush head to help create a smooth finish.
I think the results of this were better than the ones I had done on my final piece, however, there was still a few minor scratches, but none as bad as the other pieces. That being said, I was still very reluctant to try and fix the ones containing the bacteria on my final piece in case I made it worse.
Repeating the process has helped me understand the time and patience it takes to polish resin, and while I may not be 100% confident with this, I am more confident than I was after I had polished the resin from my final outcome.