


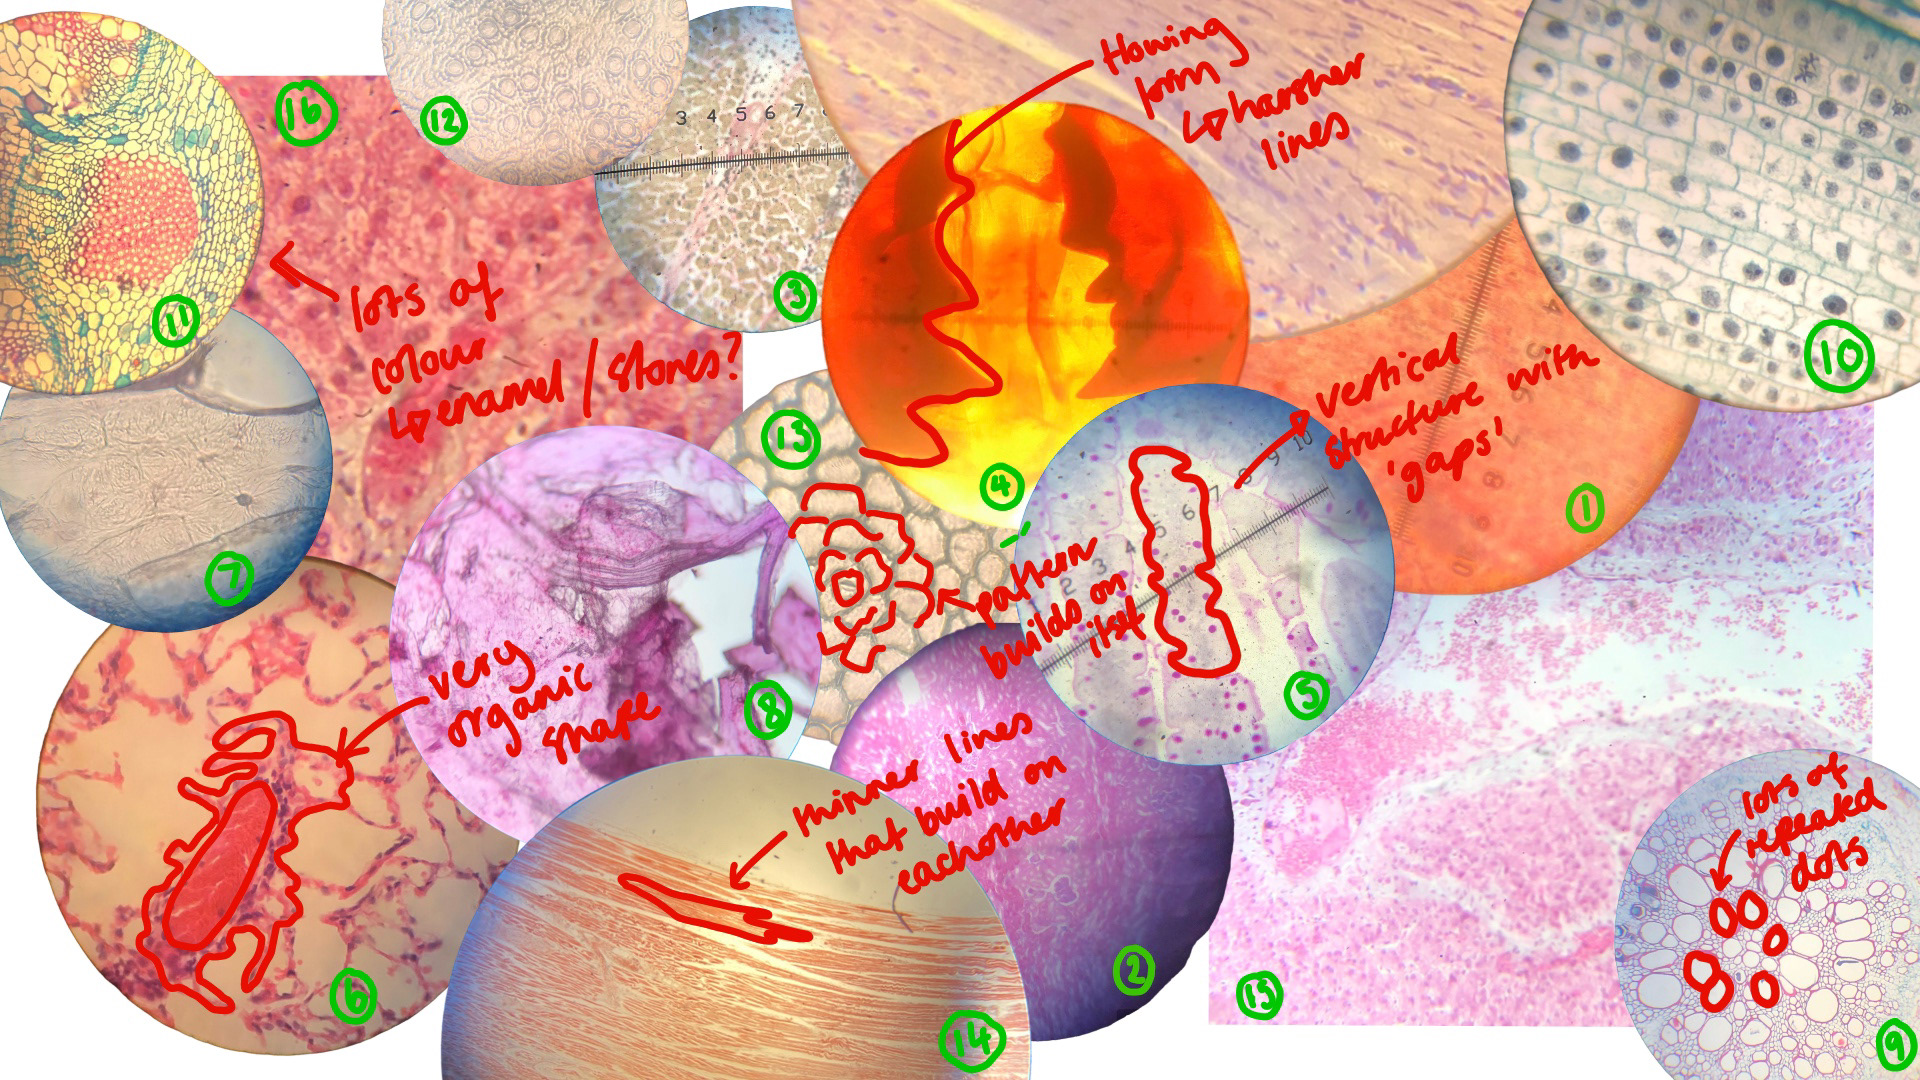
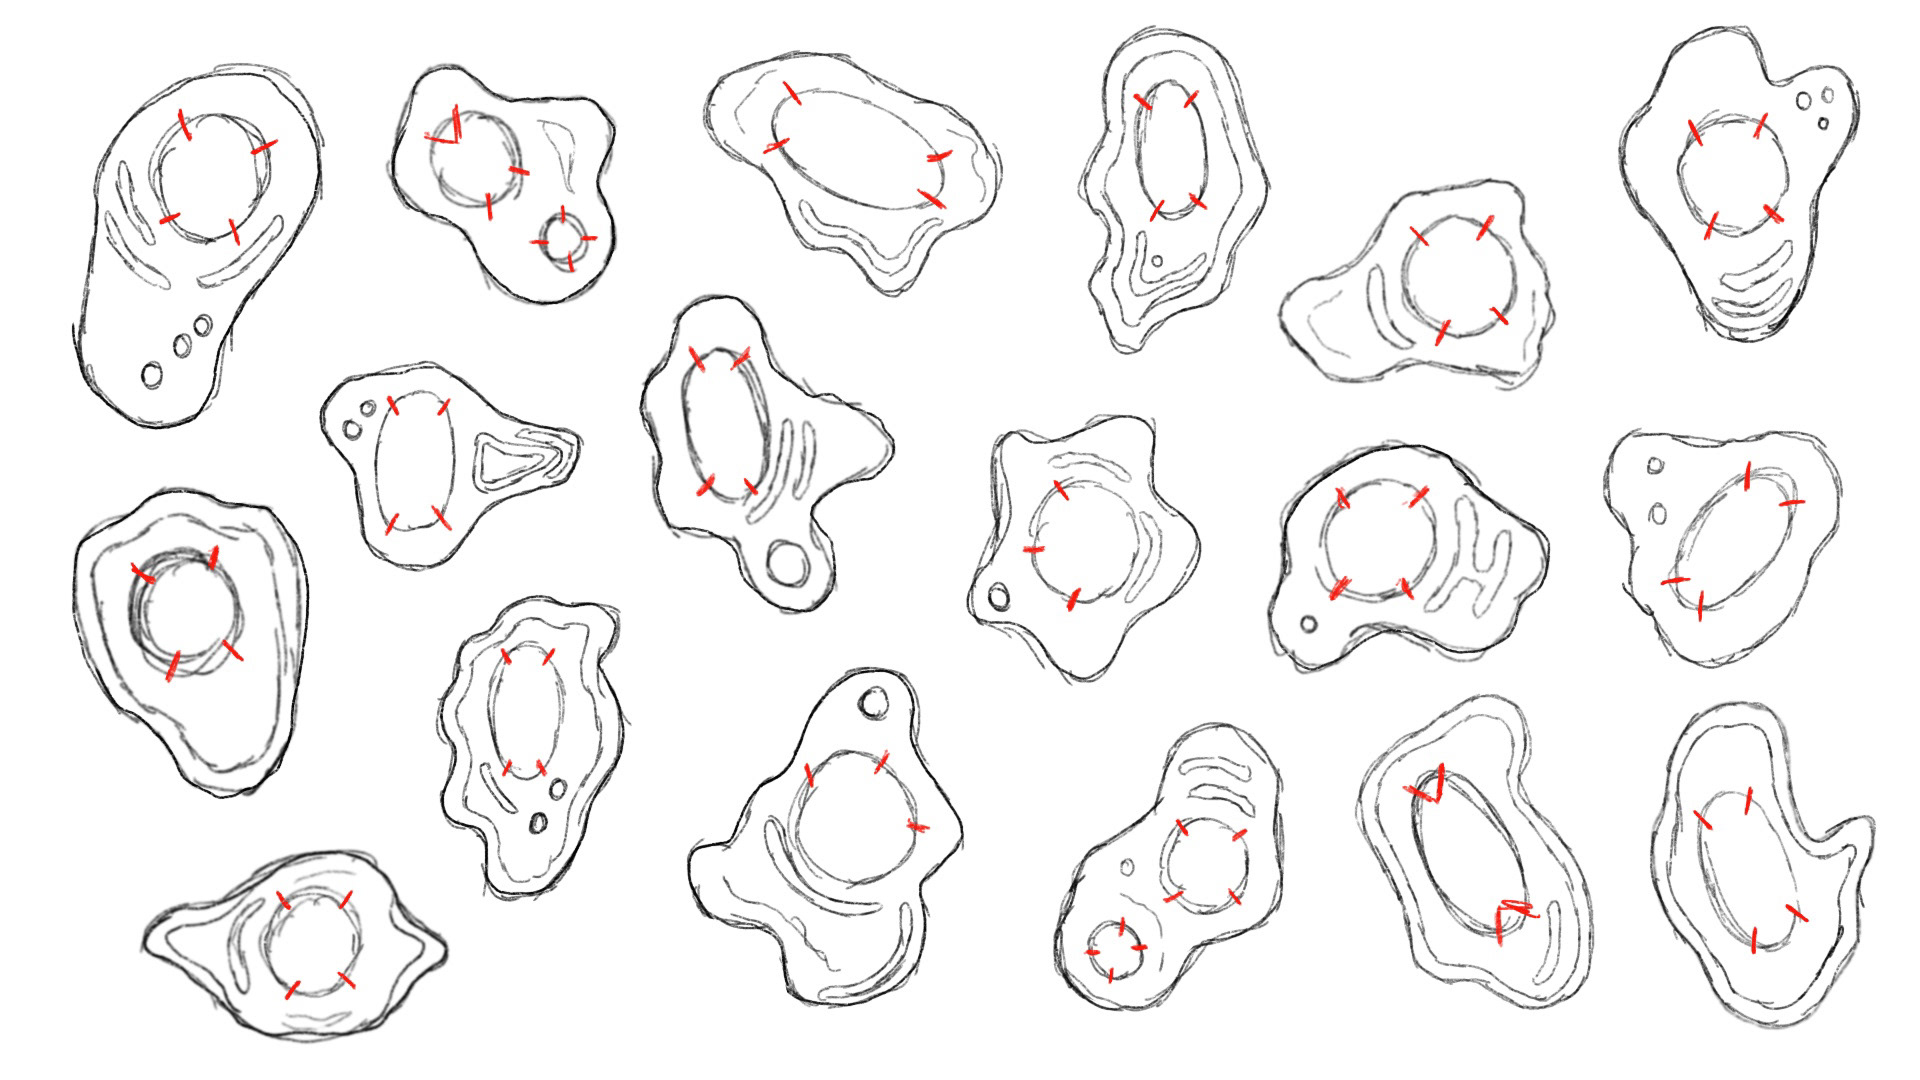
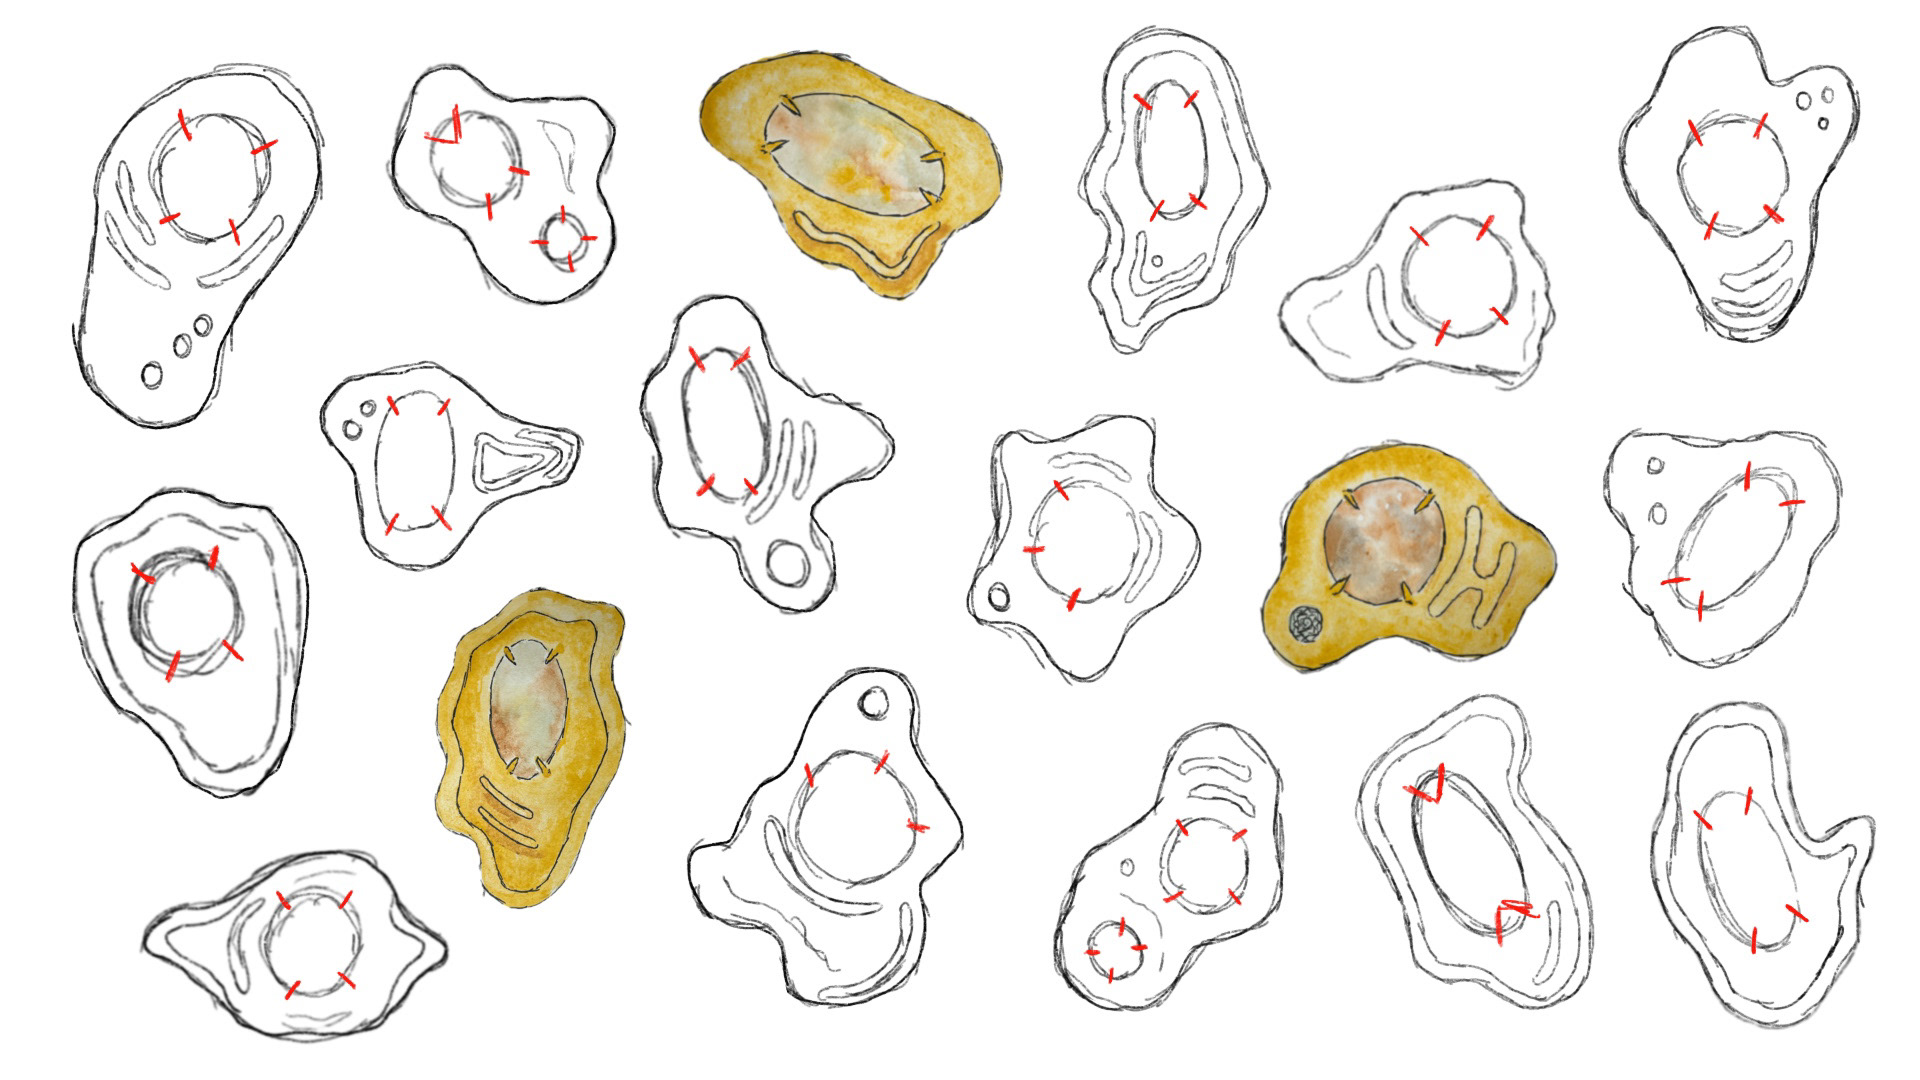
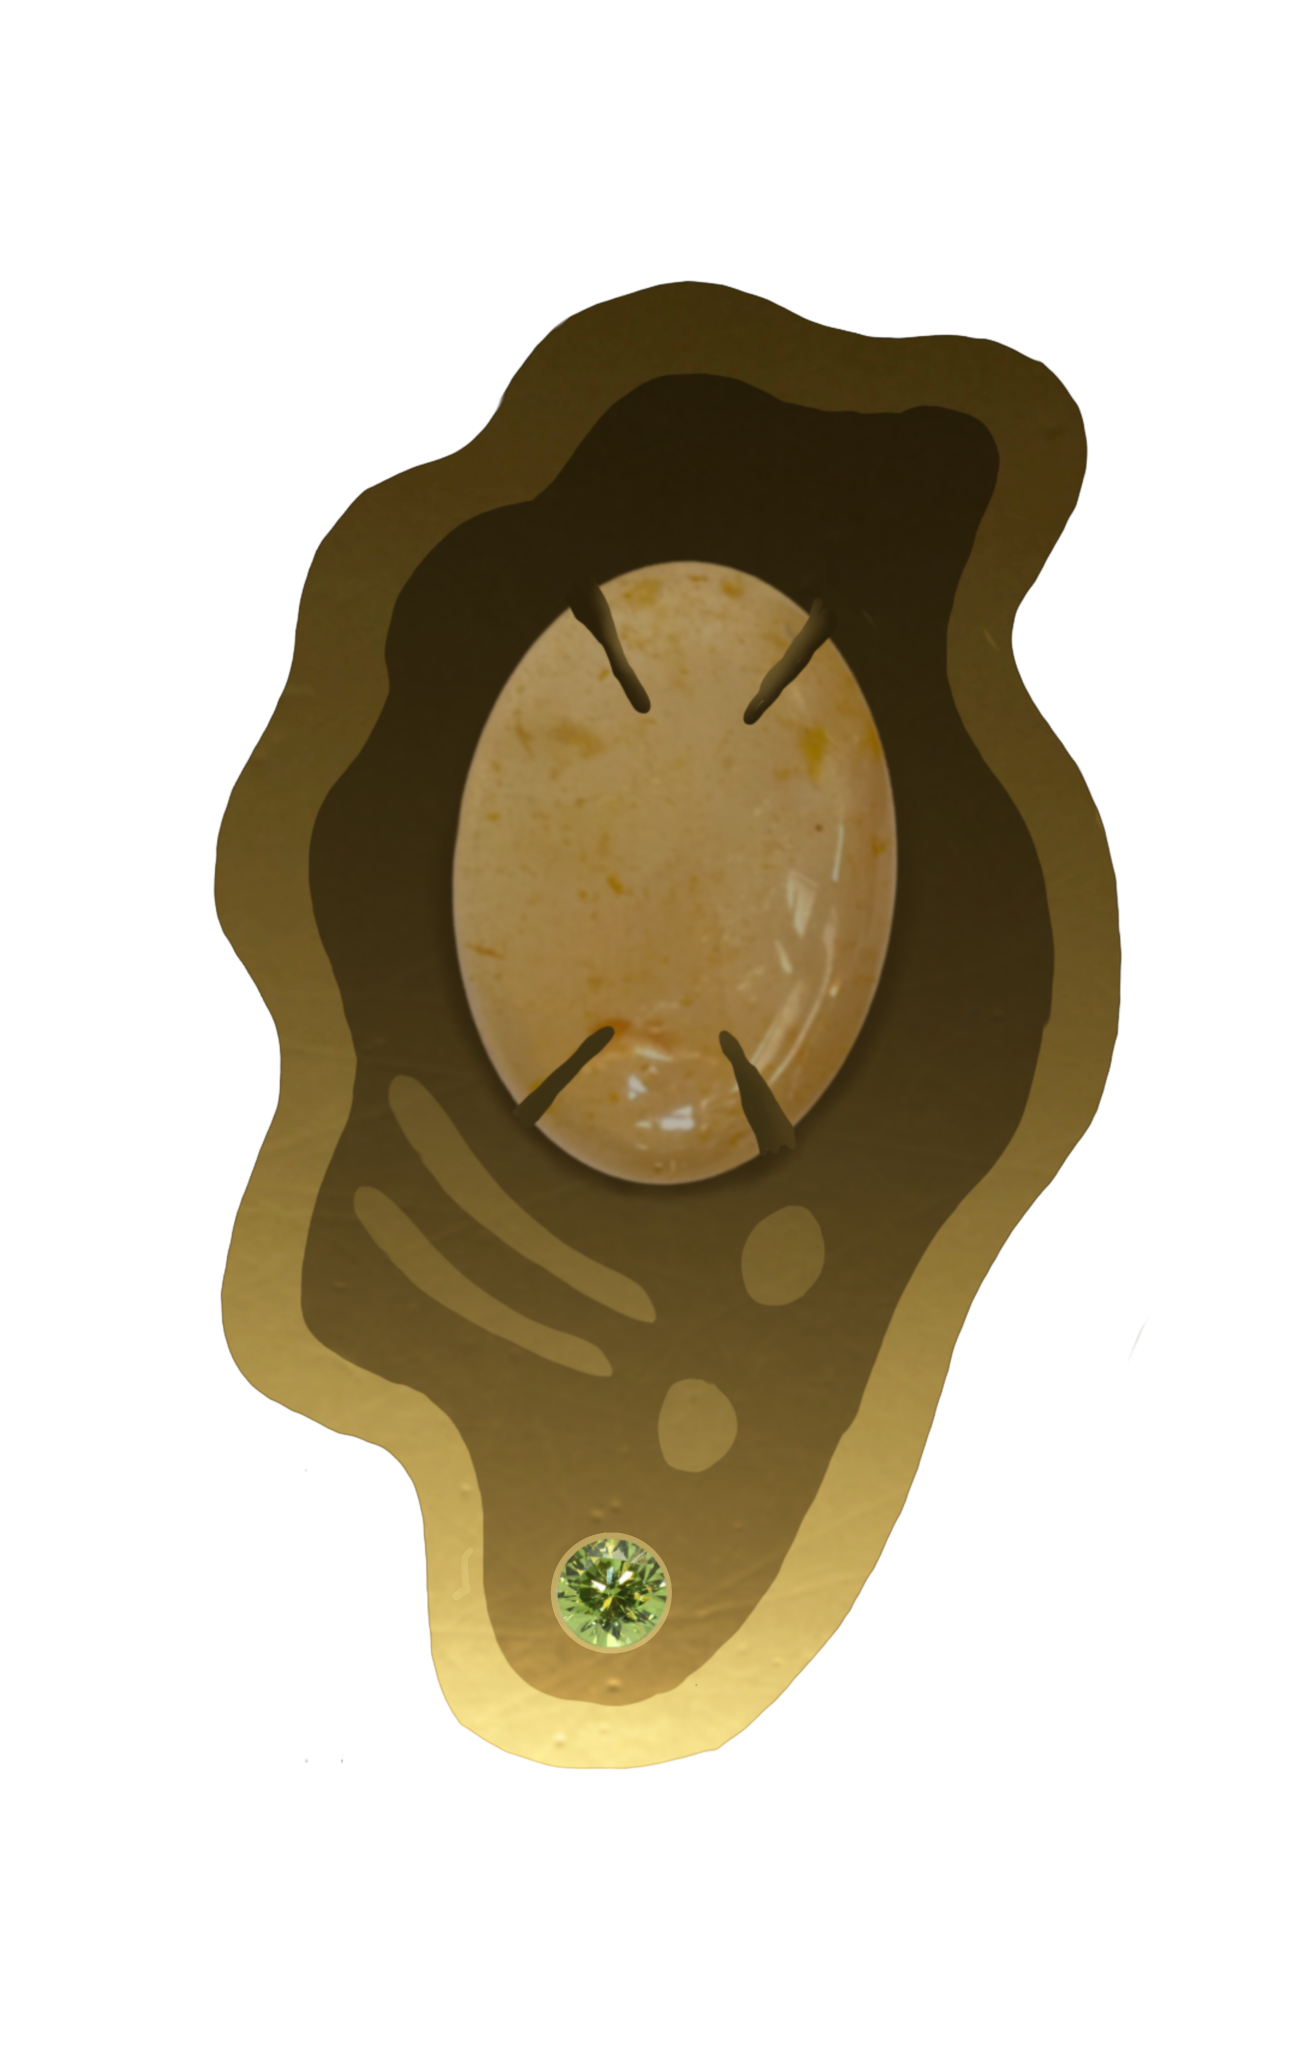
1. Skin Cells, 2. Liver Cells, 3. Plant Root Cells, 4. Unknown Slide, 5. Onion Peel 6. Lung Tissue, 7. Belladonna (Plant) Cells, 8. Cardiac Cells, 9. Xylem (Plant Stem), 10. Mitosis of Onion Cells, 11. Leaf Cross Section, 12. Succulent Leaf Cross Section, 13. Succulent Leaf Cross Section (Higher Resolution), 14.Muscle and Nervous Tissue, 15. Liver Cells (Higher Resolution), 16. Cardiac Cells (Higher Resolution)


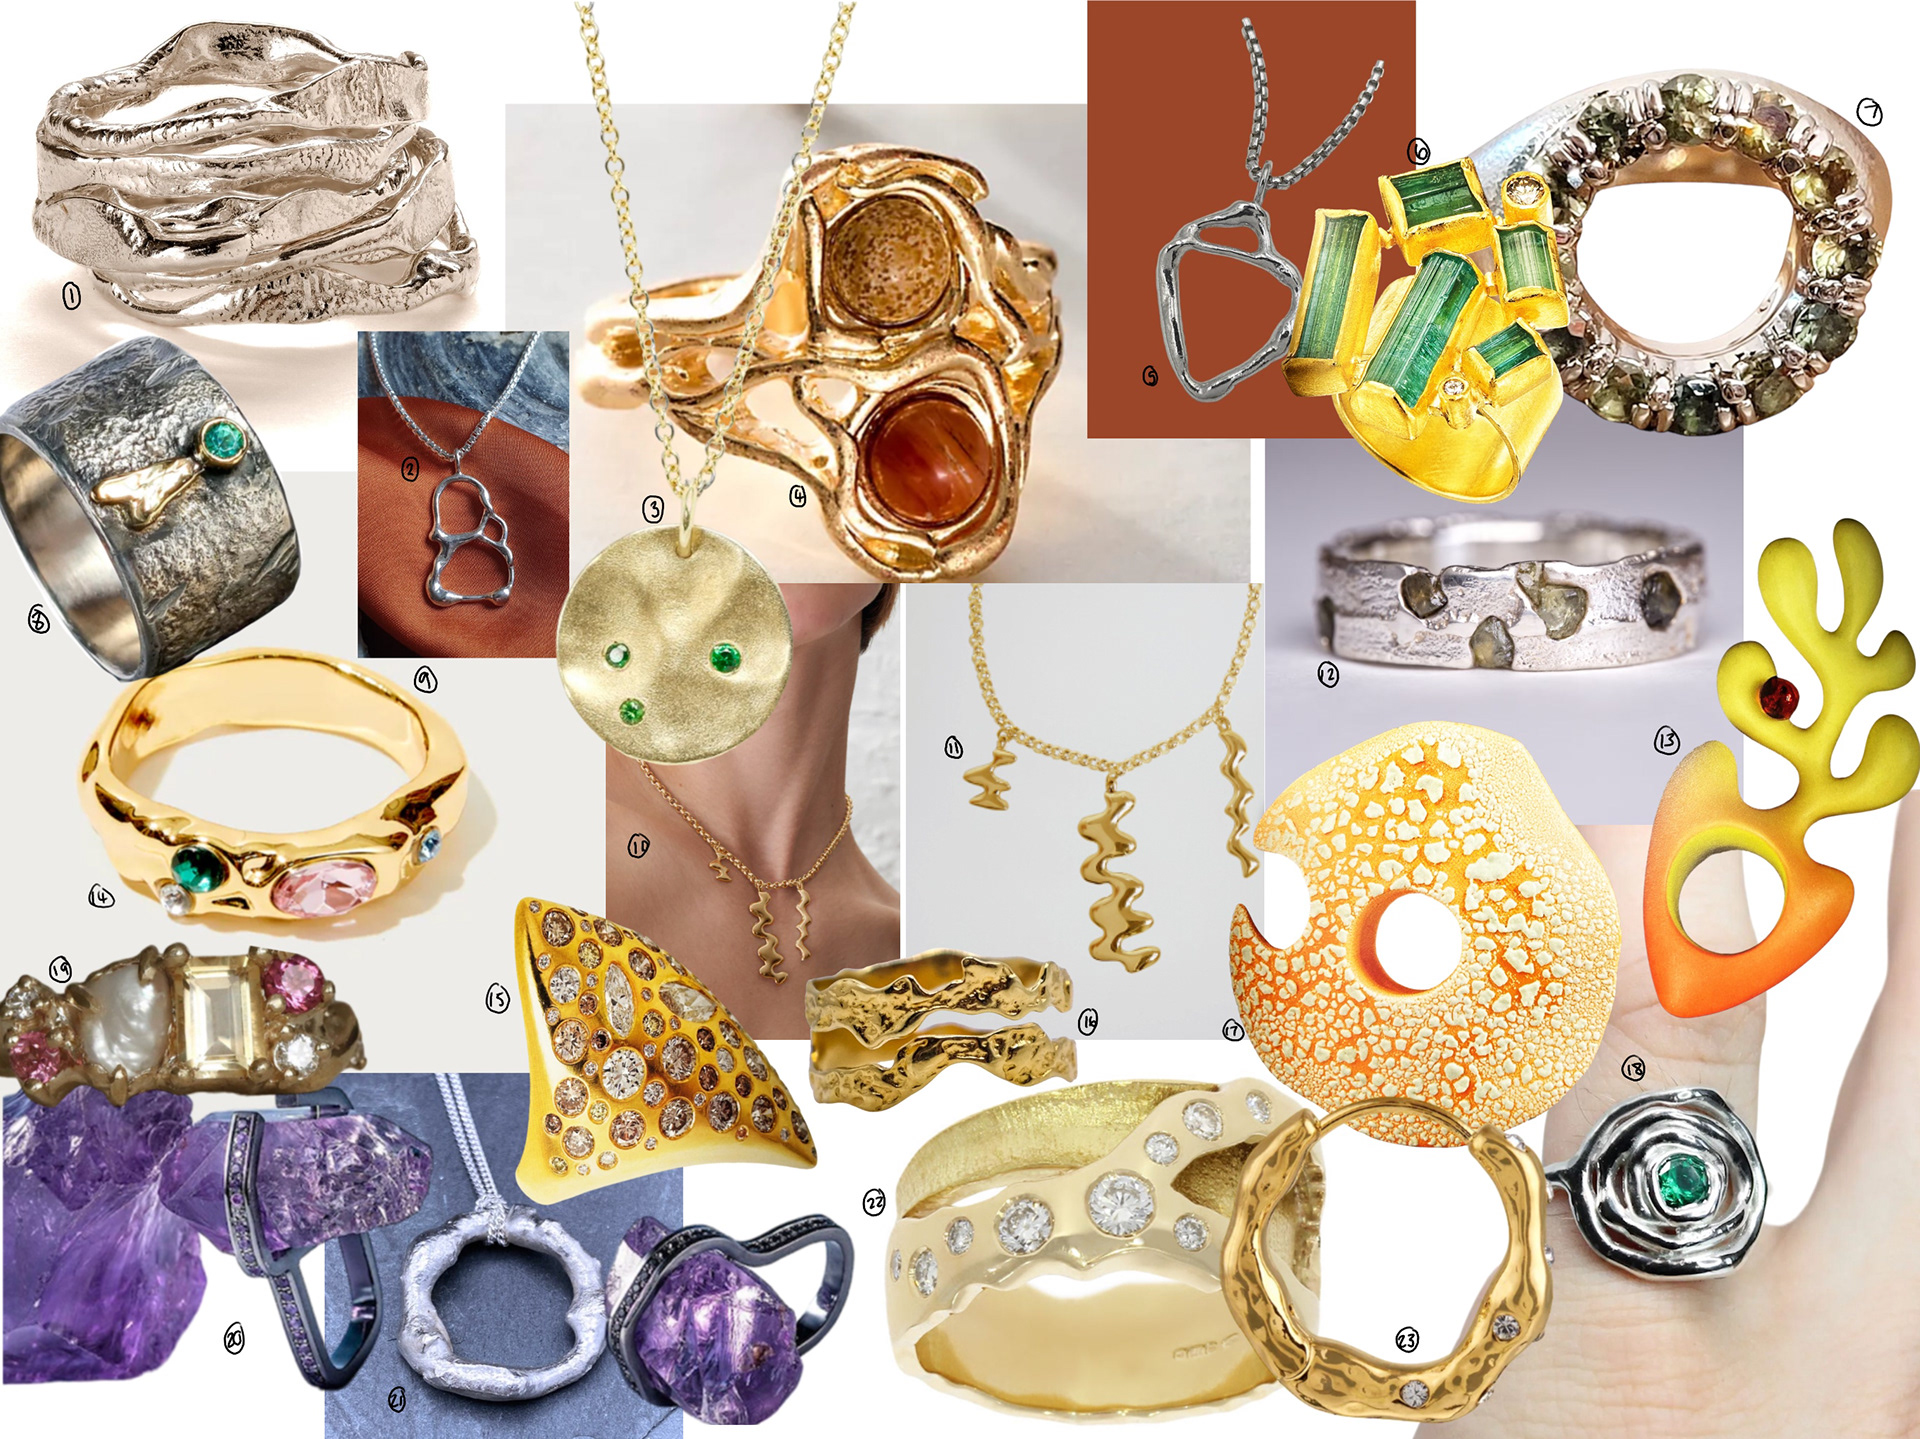
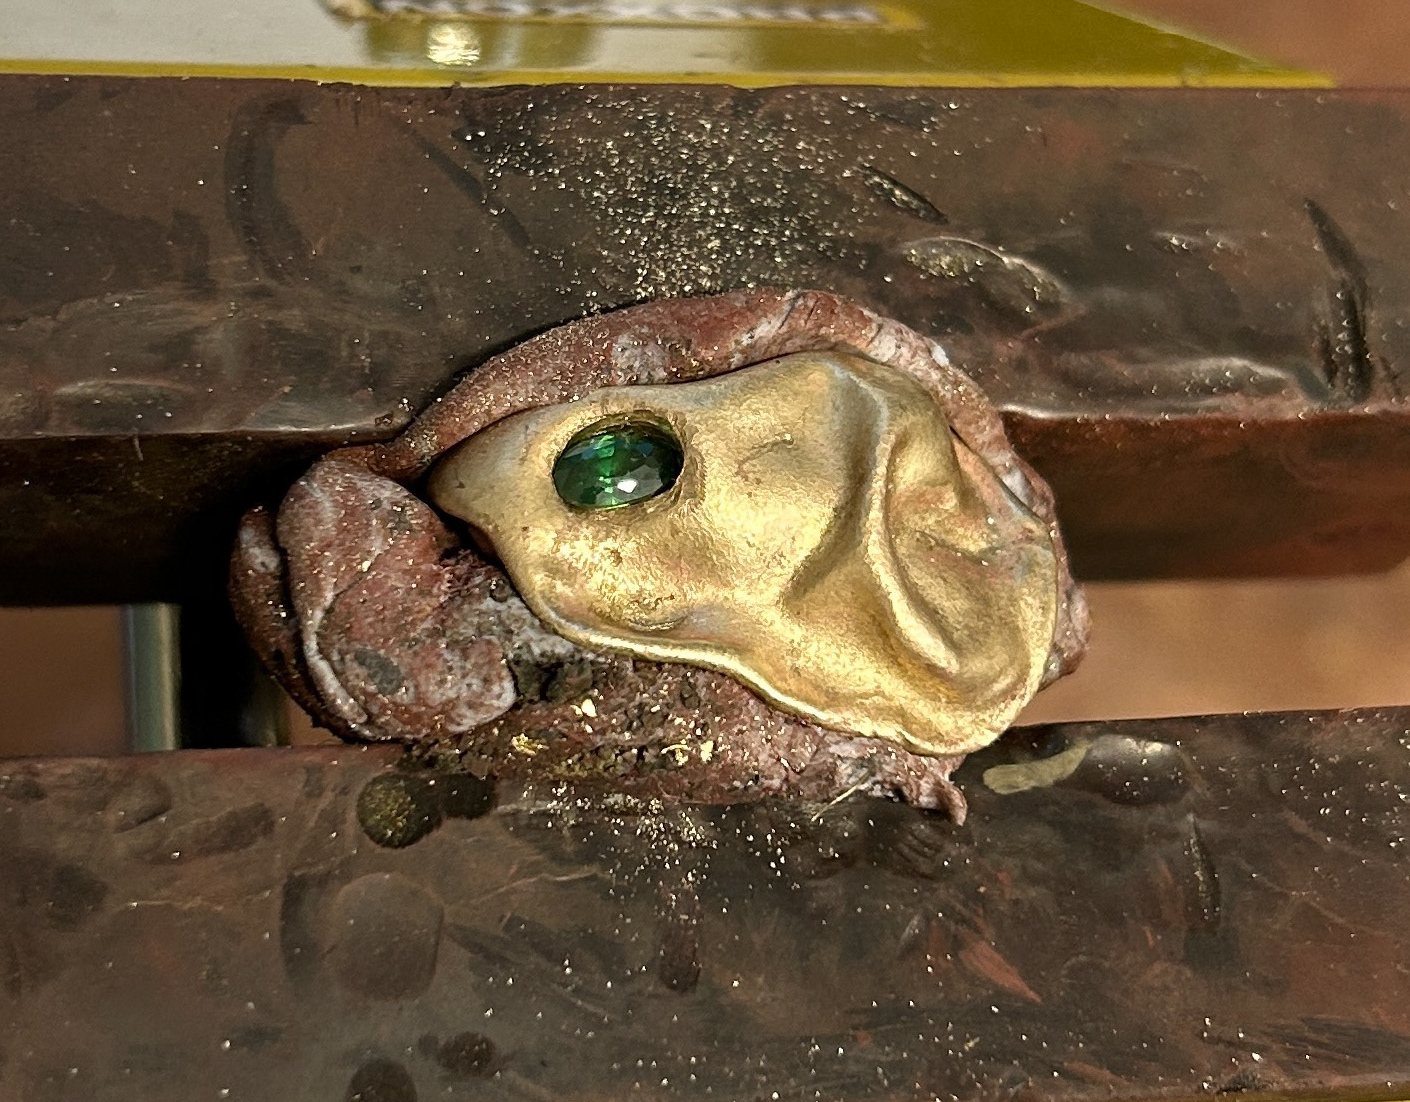
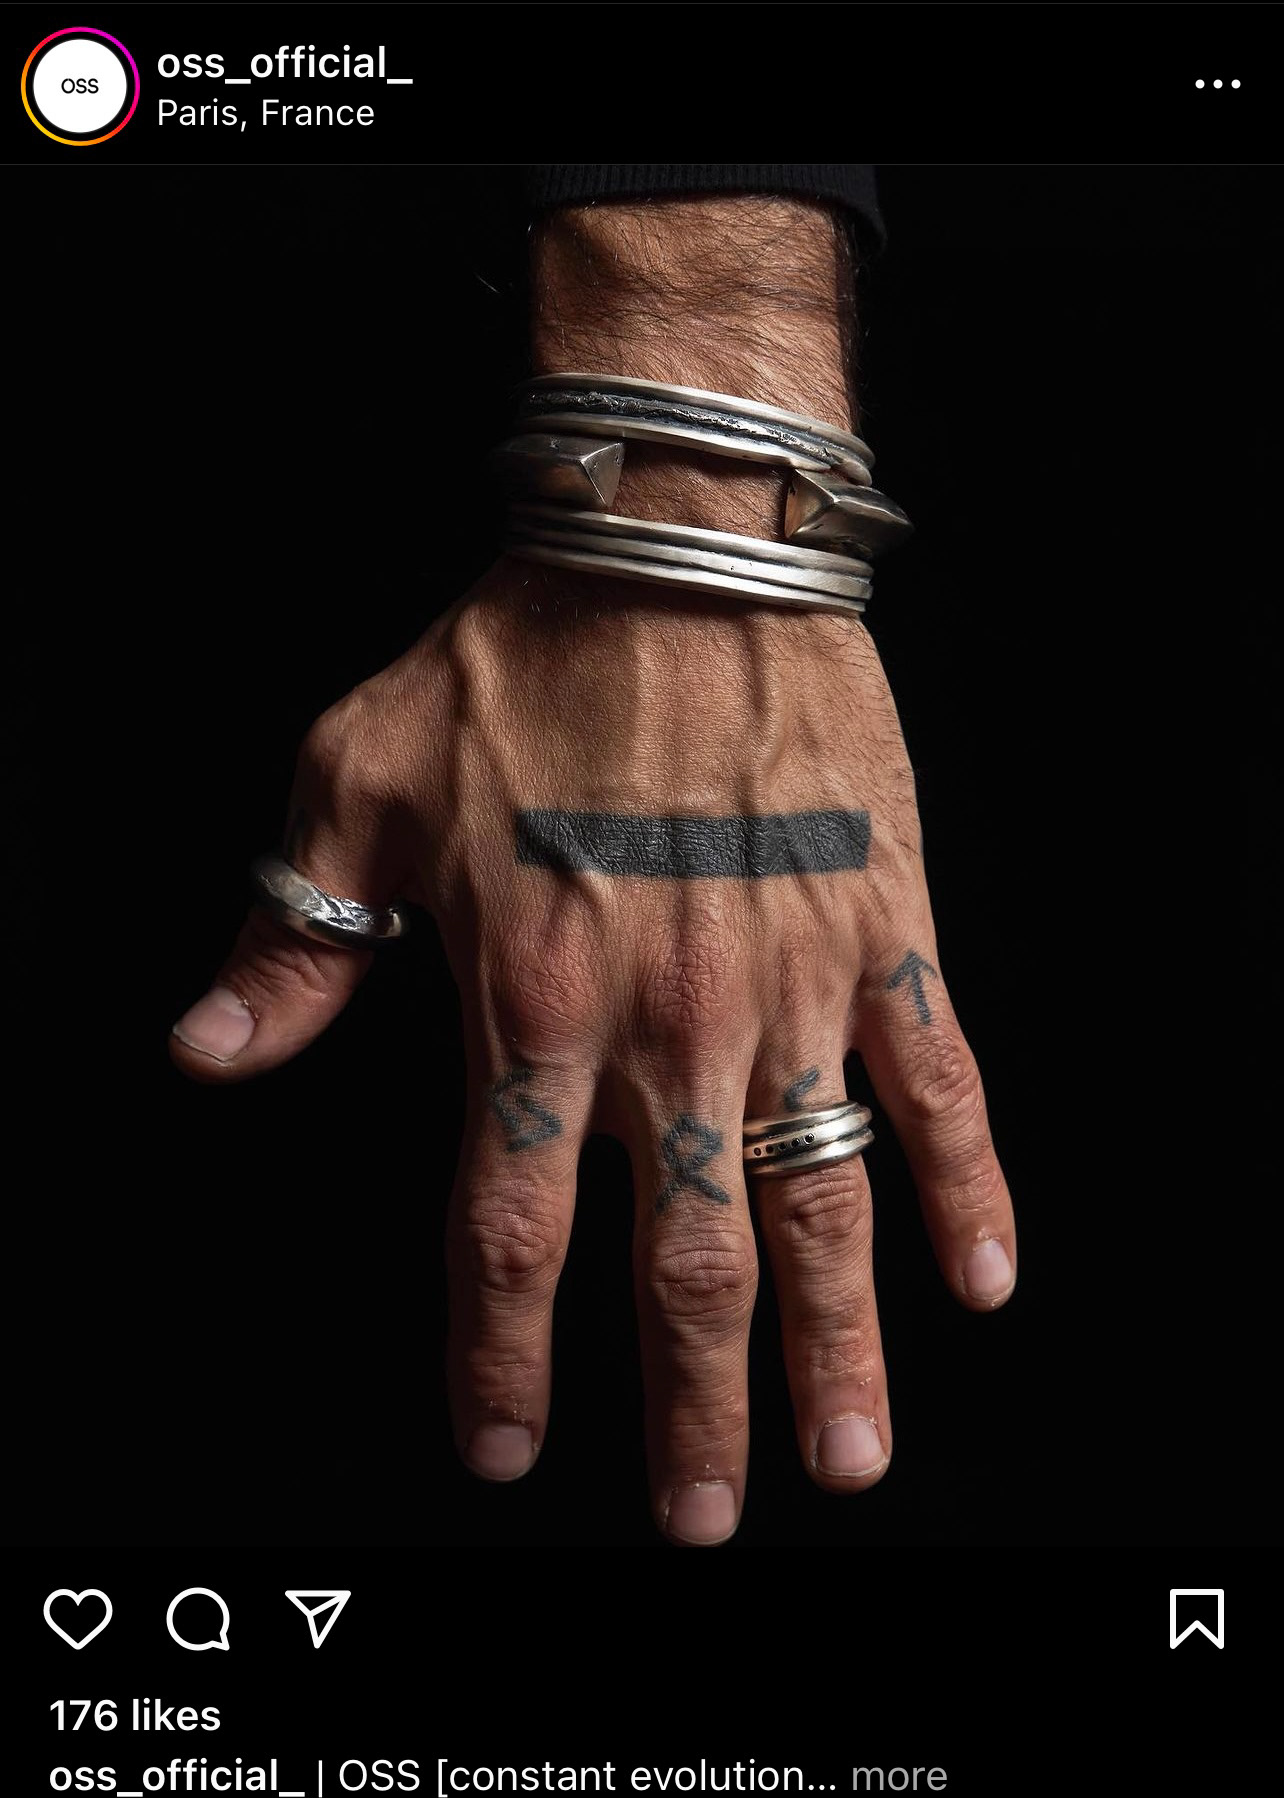
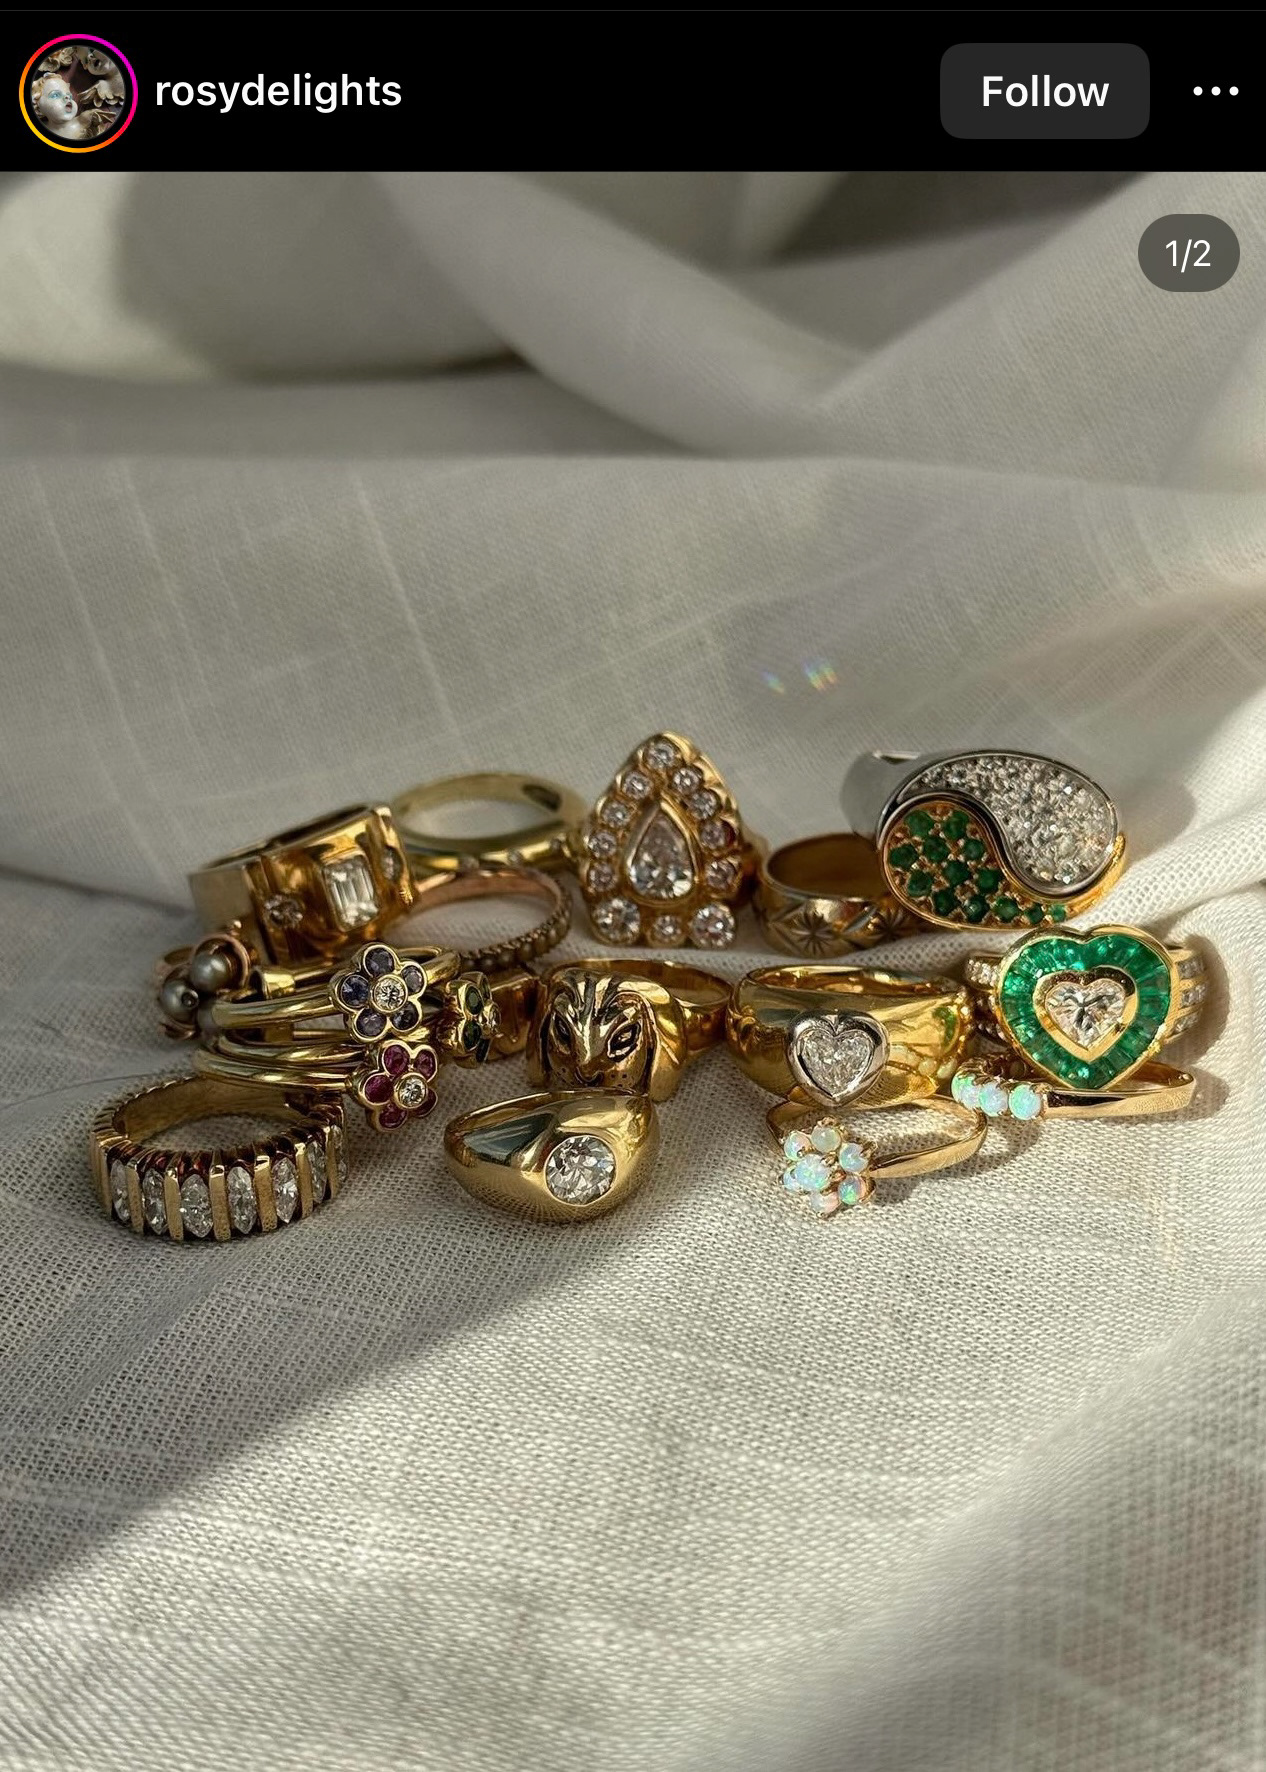
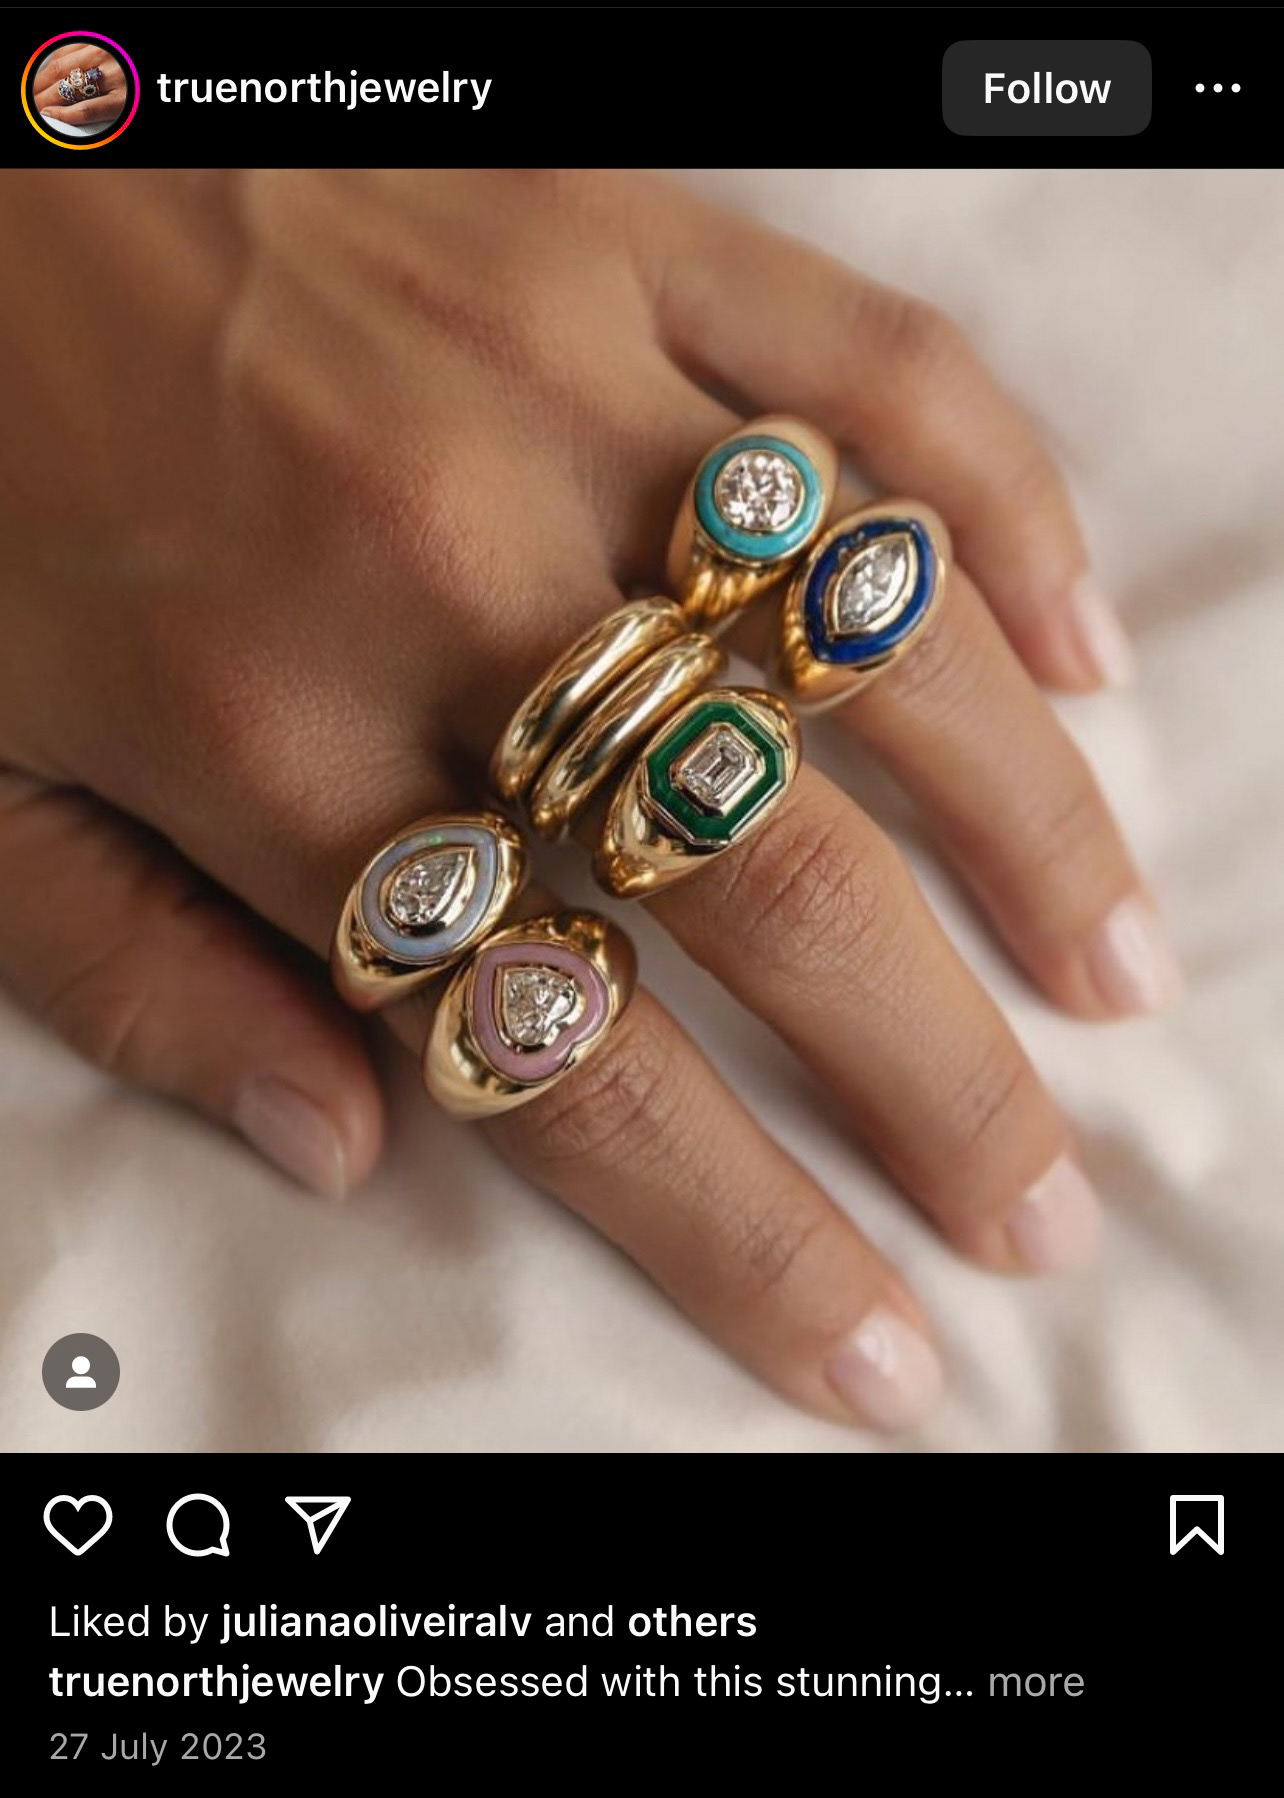
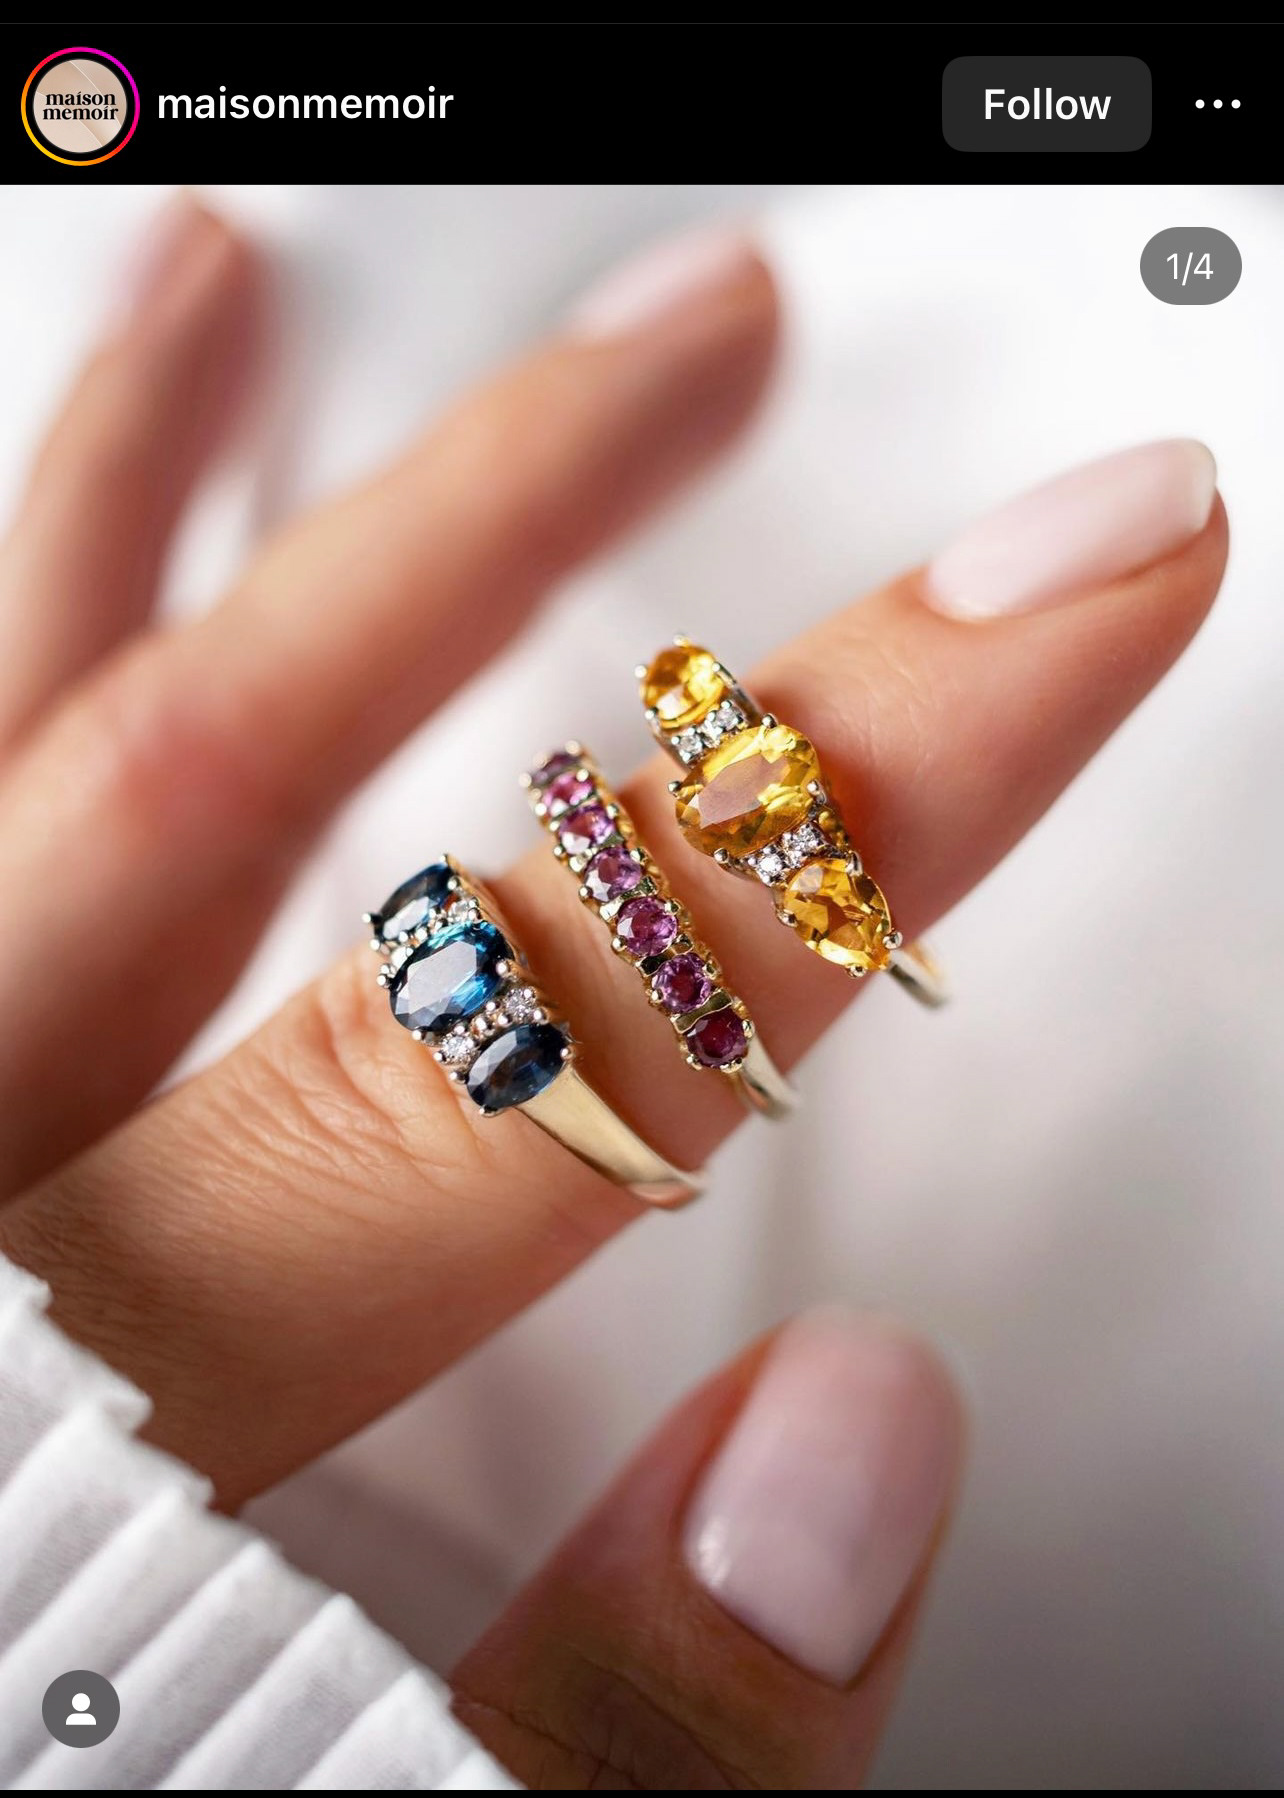
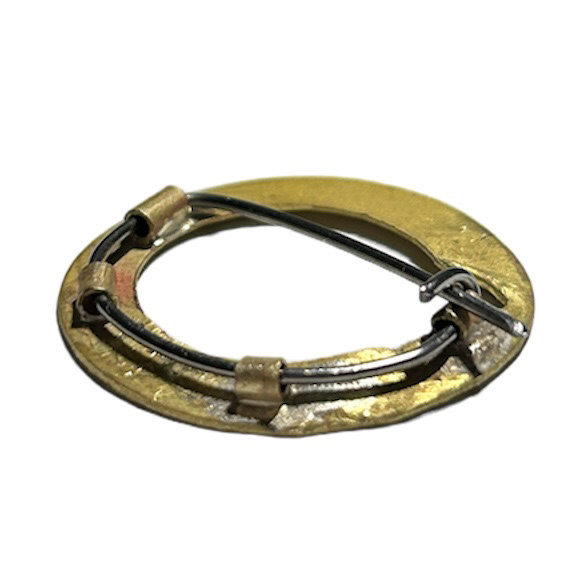
1. Frances Kirk - 'Molten Stacking Rings' sterling silver 2. B Blane Designs 'Molten Necklace'- recycled sterling silver 3. Timothy Roe - 9K gold and Tsavorite Garnets 4. Free People 'Molten ring' Gold plating 5. B Blane Designs 'Molten Necklace'- recycled sterling silver 6. Petra Class - 18K and 22K gold with tourmaline and diamonds 7. Kirra-Lea Jewellery - 9ct gold and Australian sapphires 8. Lydia Niziblian - Emerald, silver, 18k gold 9. En Route x Isa Sung - 'July Ring' 18k gold plated brass and cubic zirconia10. Bar Jewellery - sterling silver necklace with 18K gold plating 11. Bar Jewellery - sterling silver necklace with 18K gold plating 12. Rigby Leigh Jewellery - rough Montana sapphires and recycled sterling silver 13. Jeffery Lloyd Denver - 'Matisse Revisited' Polymer clay ring 14. En Route x Isa Sung - 'July Ring' 18k gold plated brass and cubic zirconia 15. Kirstin Hanson - 'Falling Star' ring 18K gold with diamonds 16. Wolf & Badger - 'Double band hammered lava ring' 18k gold plating 17. John-Thomas Richard - Ceramic ring 18. Garage Bands Jewellery - 'Years Ring' recycled sterling silver and cubic zirconia 19. Irena Chmura 18K gold with freshwater pearl, diamonds and pink tourmalines 20. German Kabirski - Retros Amethyst Ring oxidised sterling silver 21. Paul Atelier - 'Aurora Necklace' solid sterling silver 22. Nicolas Wilde - 18K gold with diamonds 23. Orelia - 'Molten chunky hoops' with Swarovski Crystals
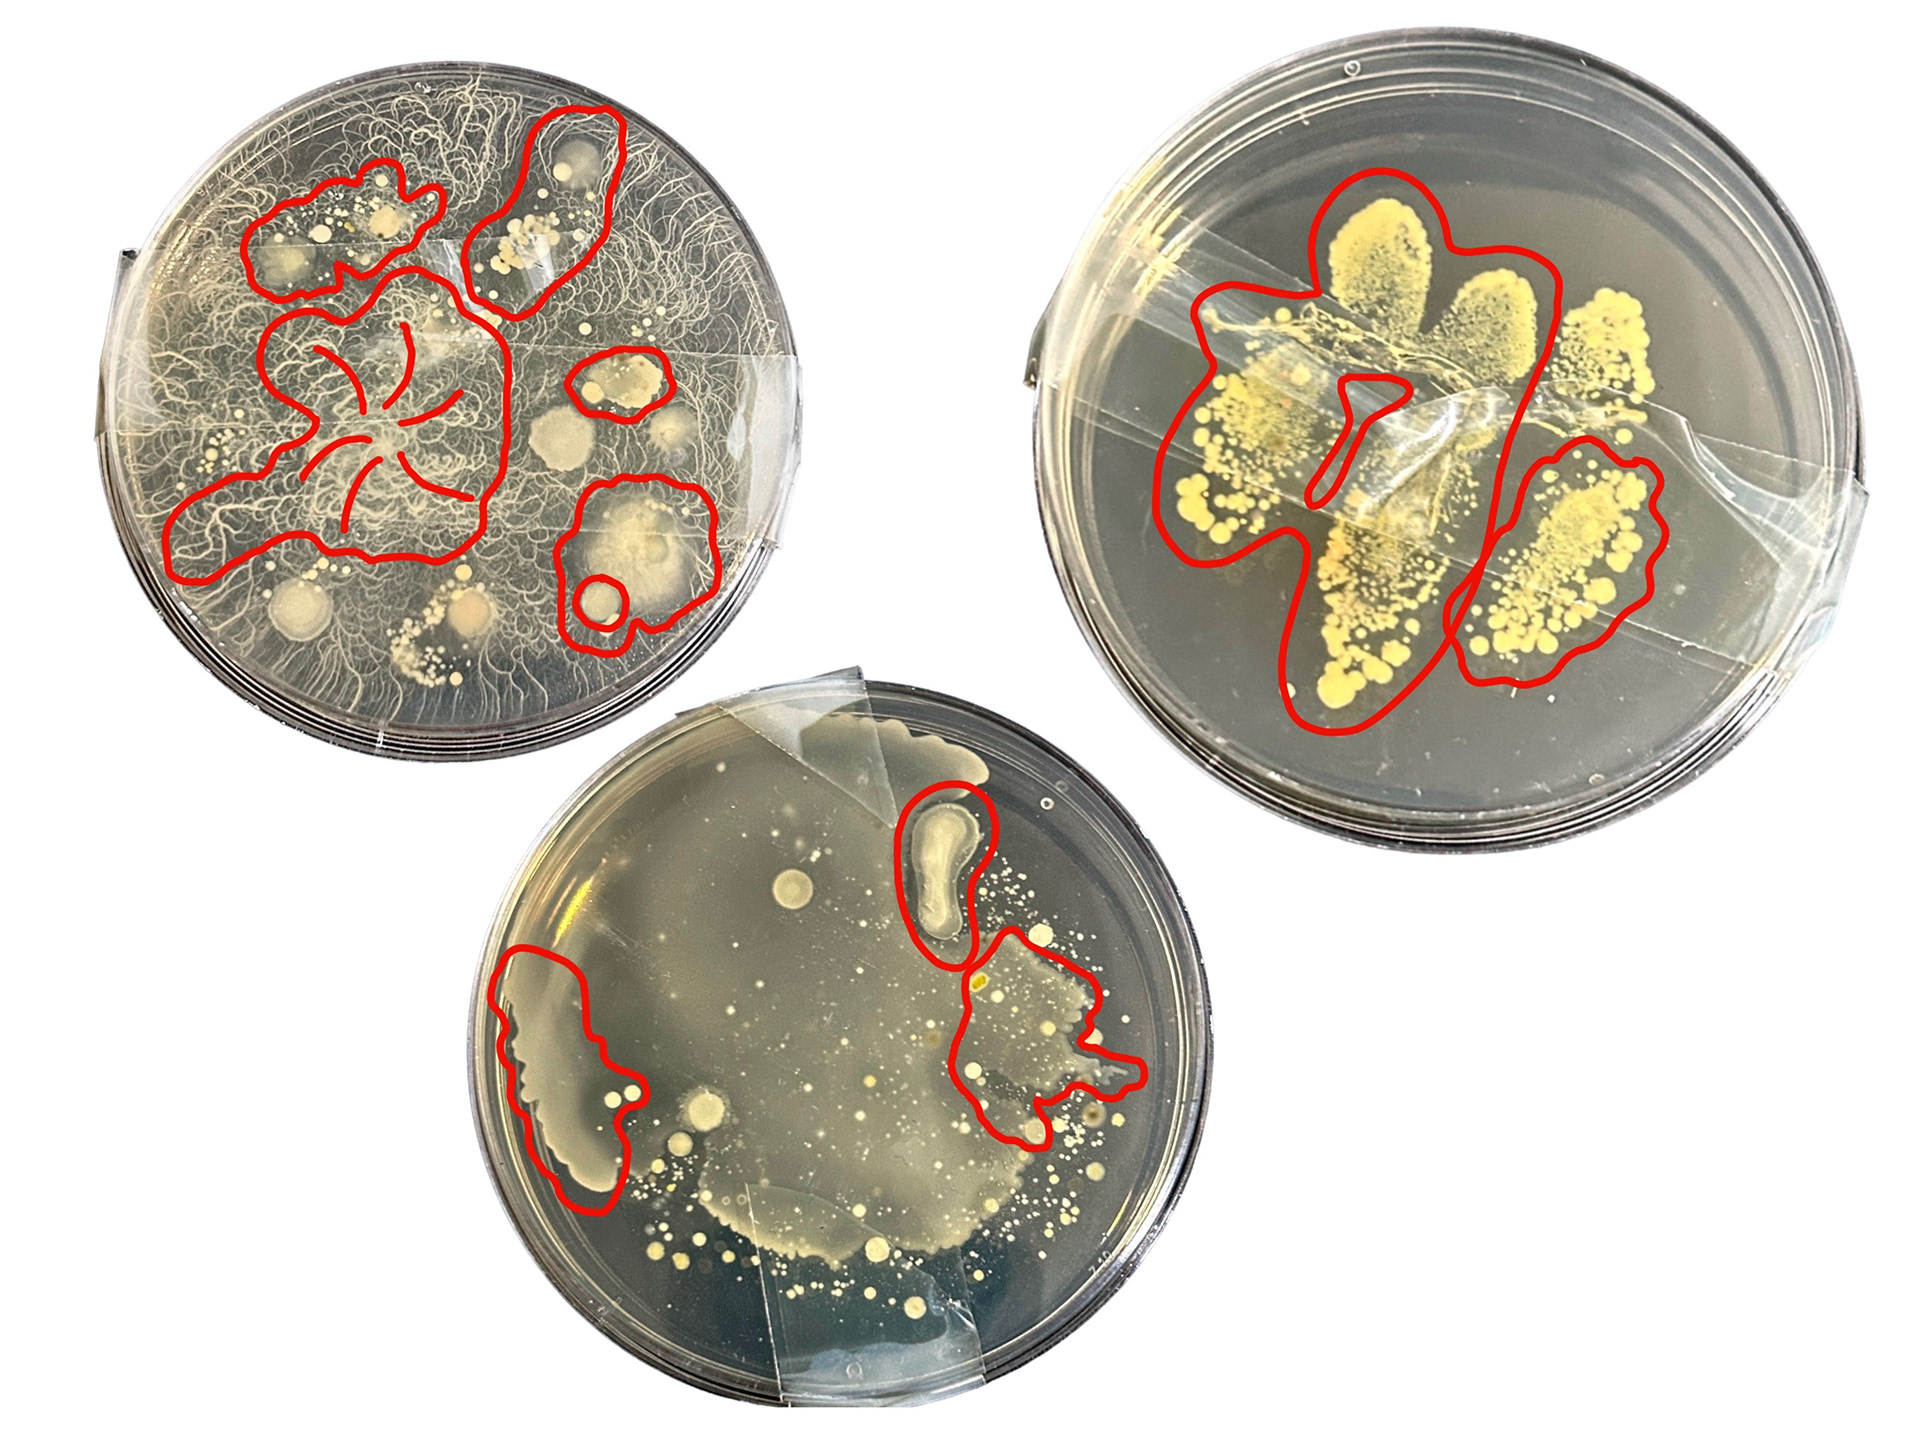


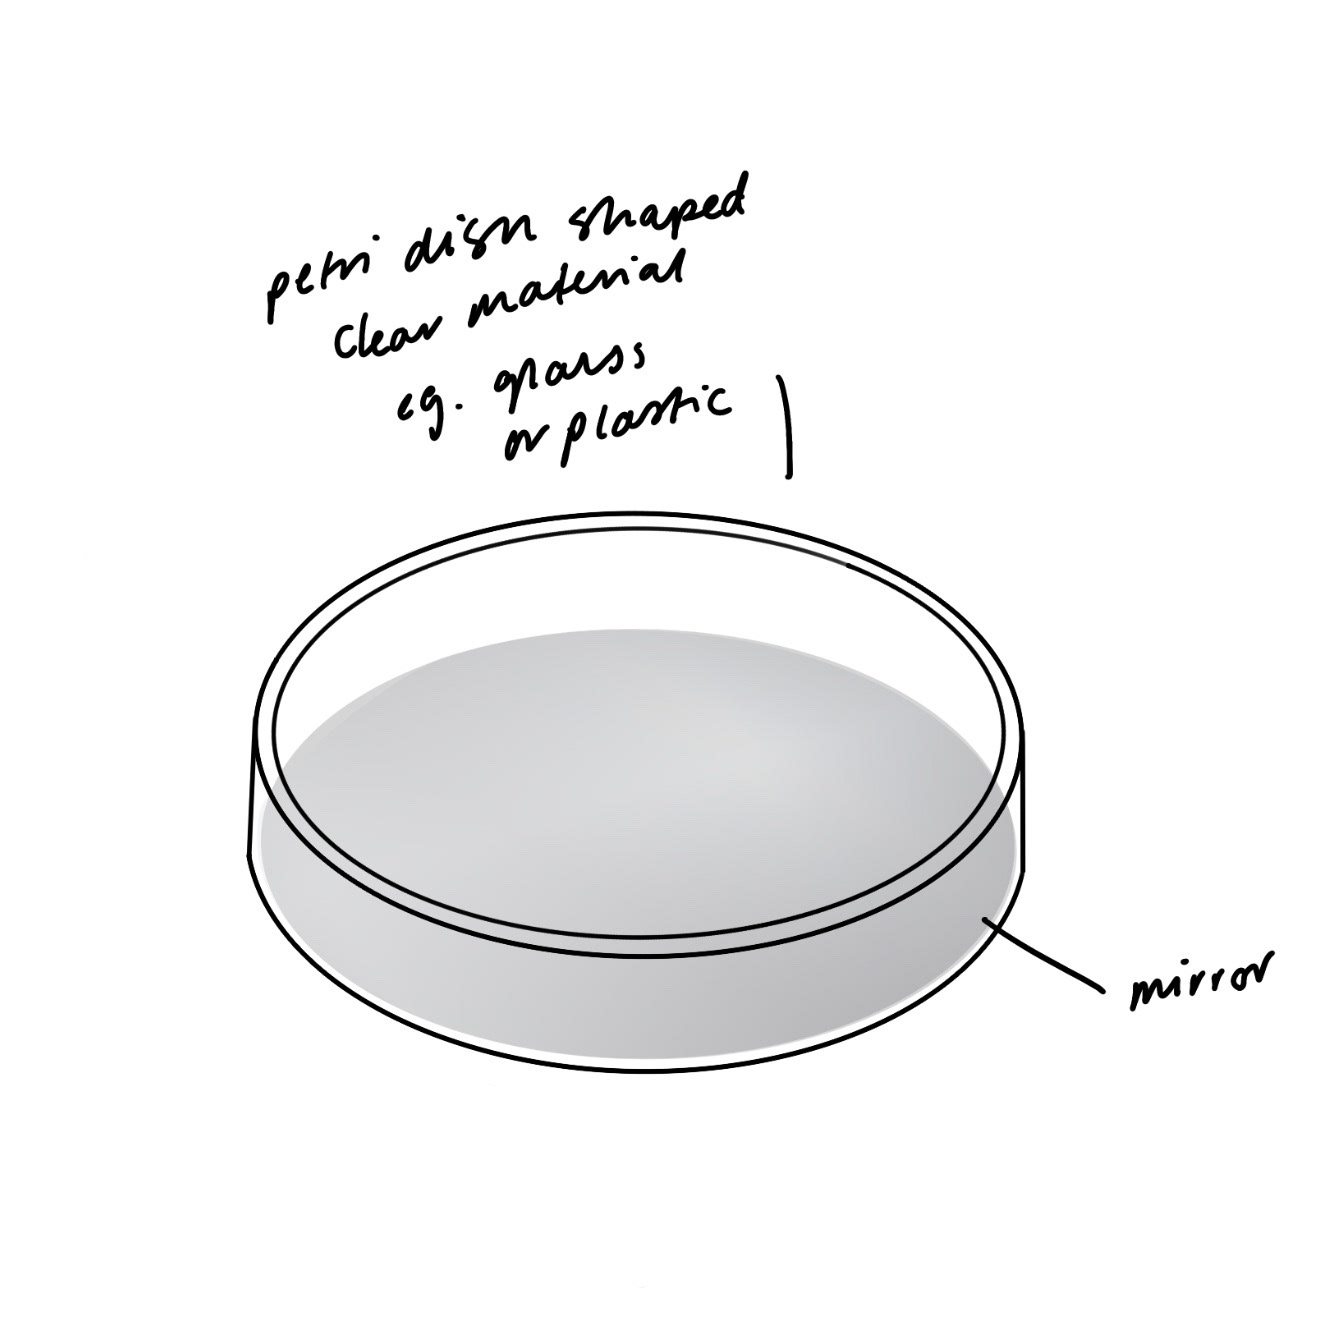
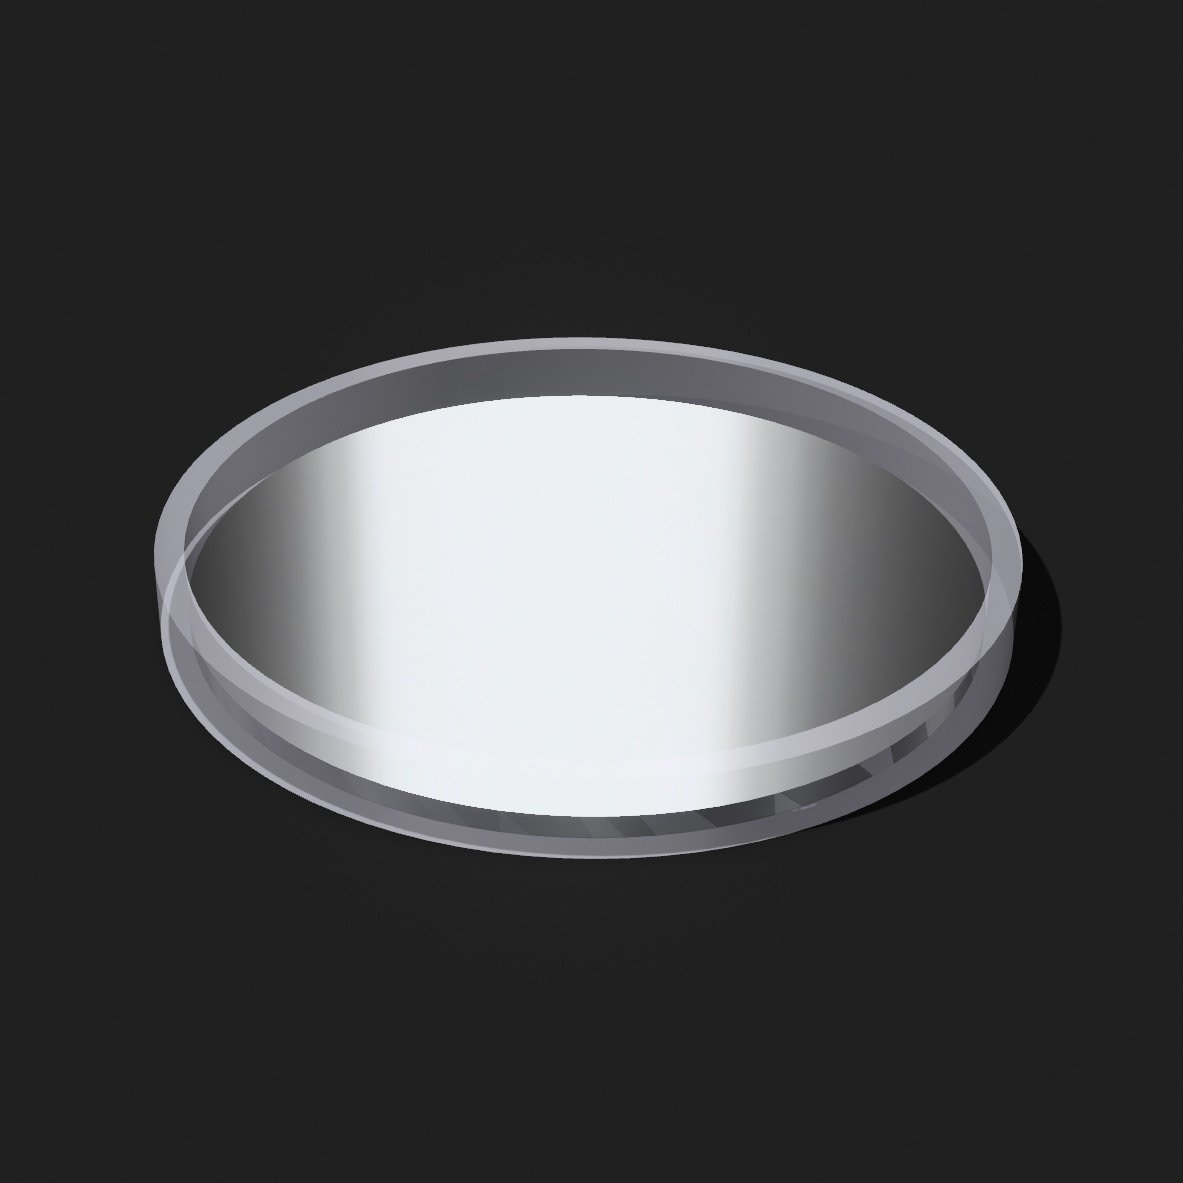
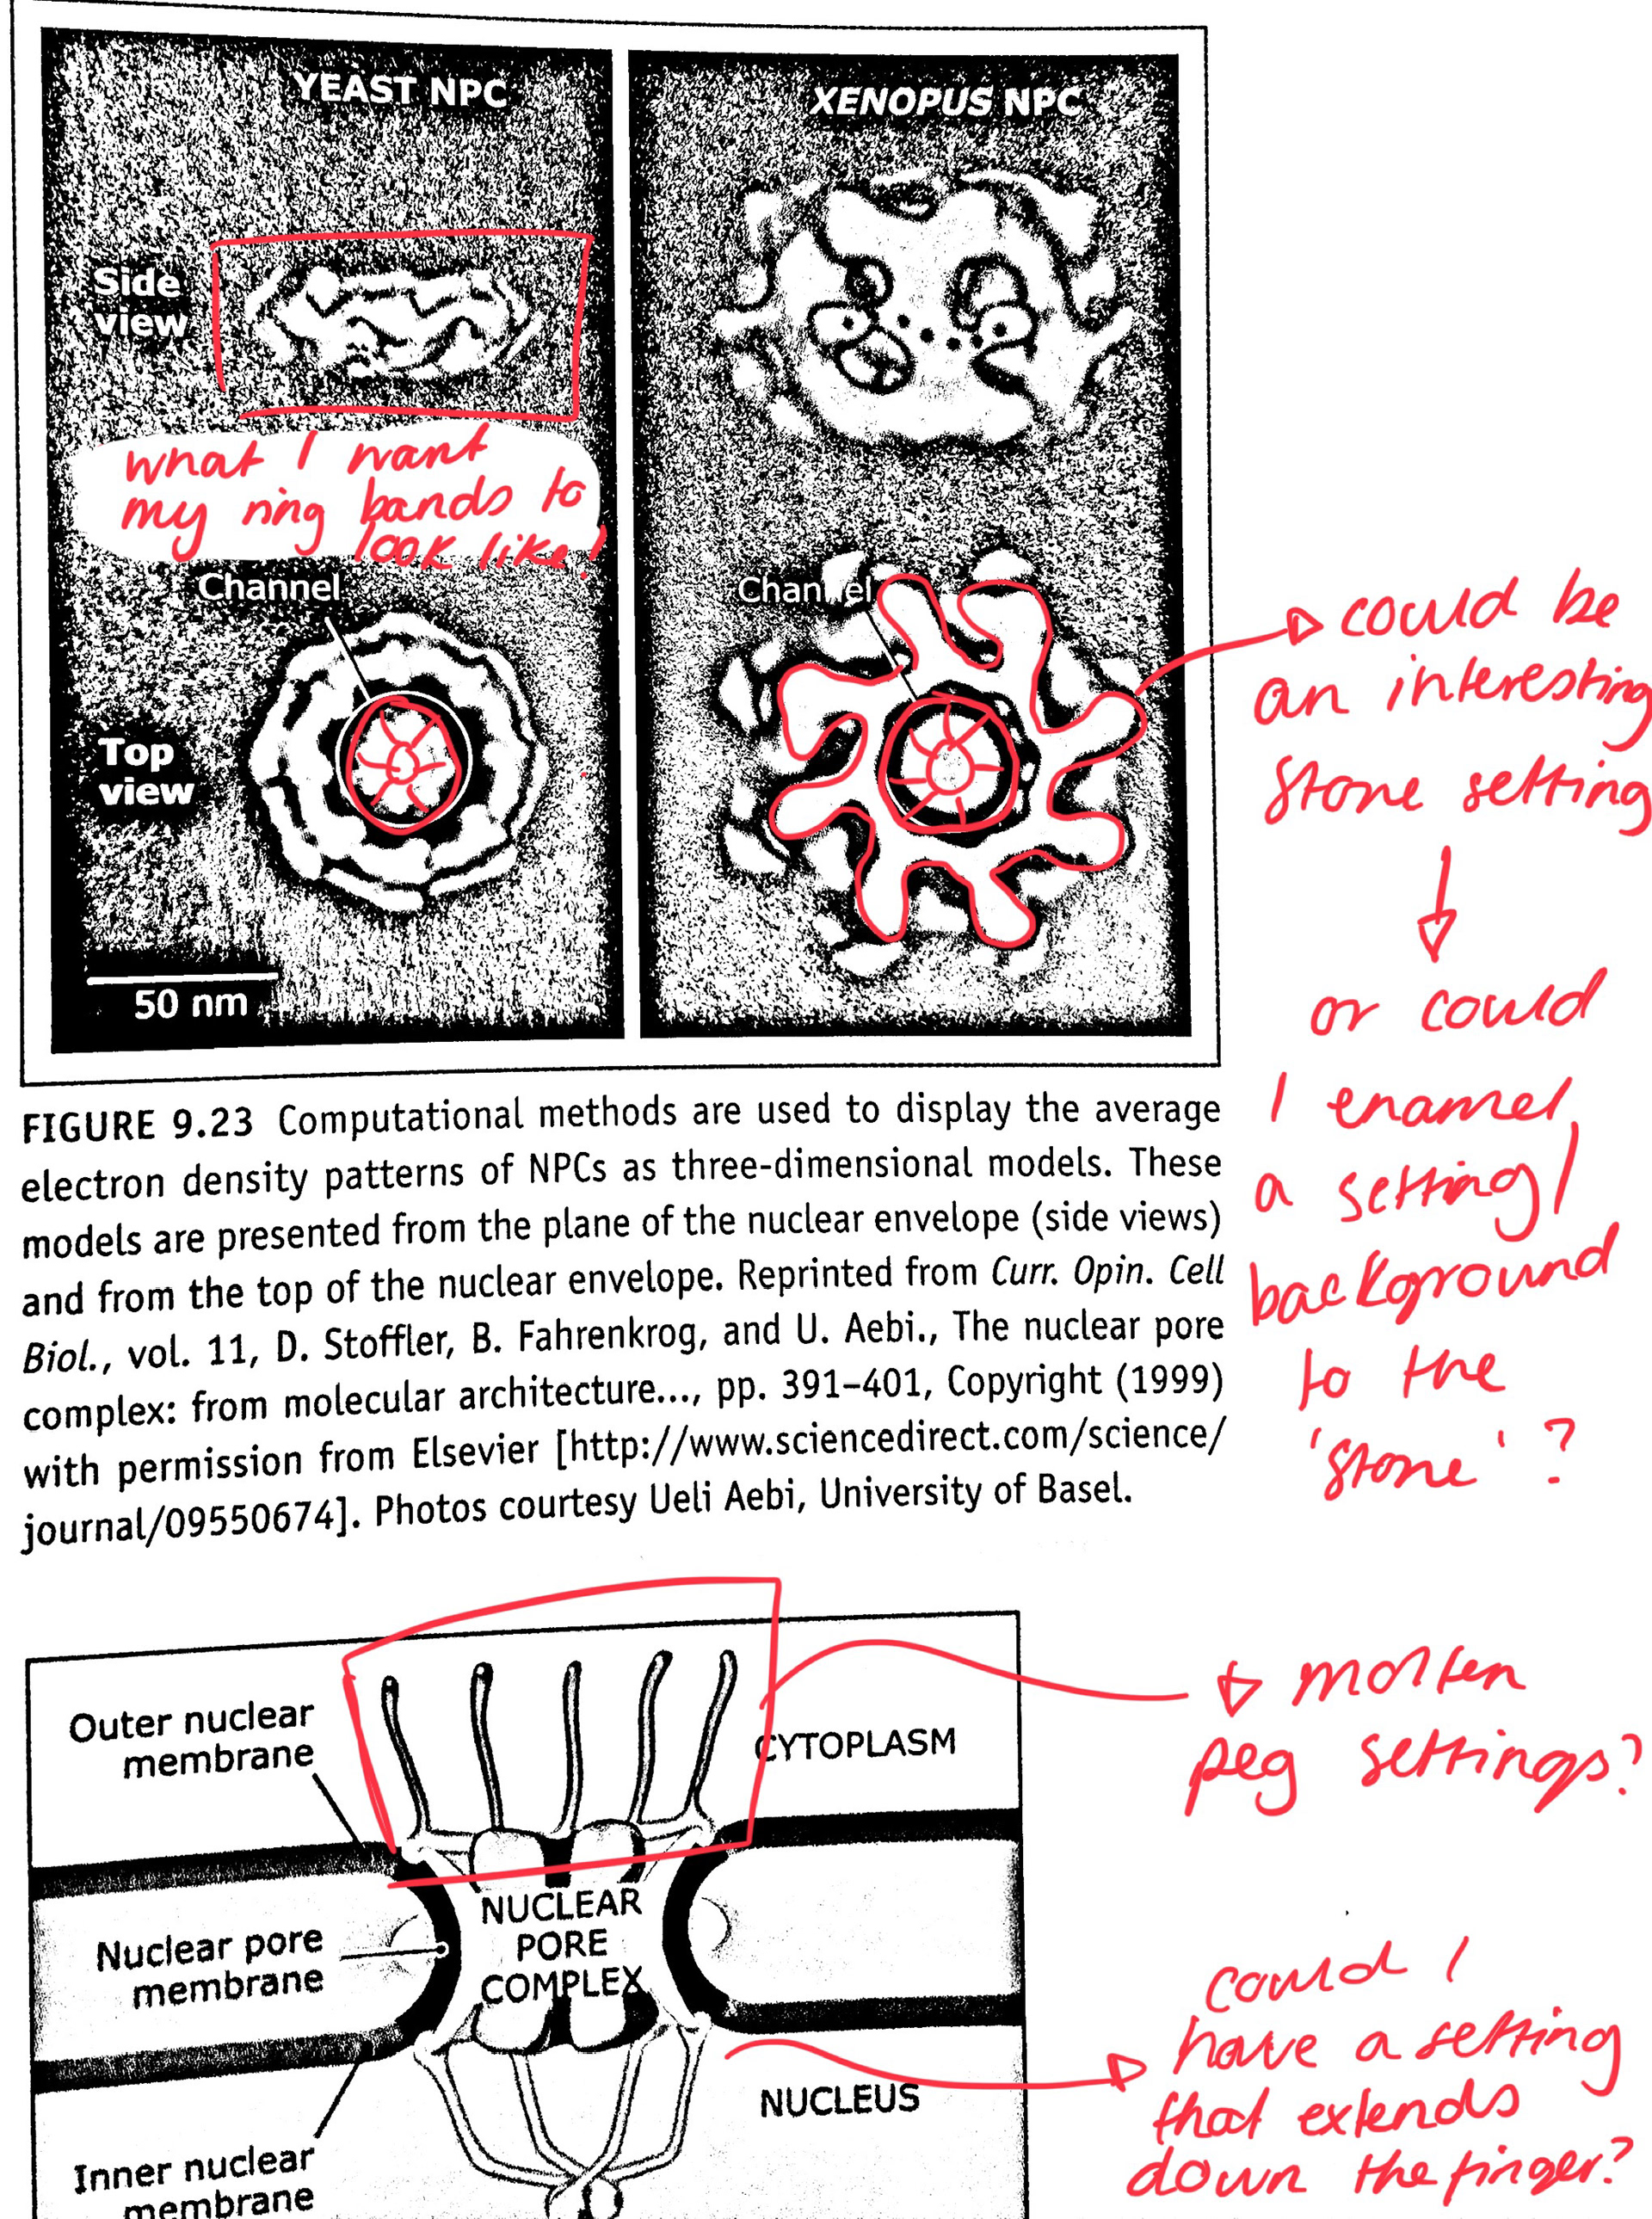
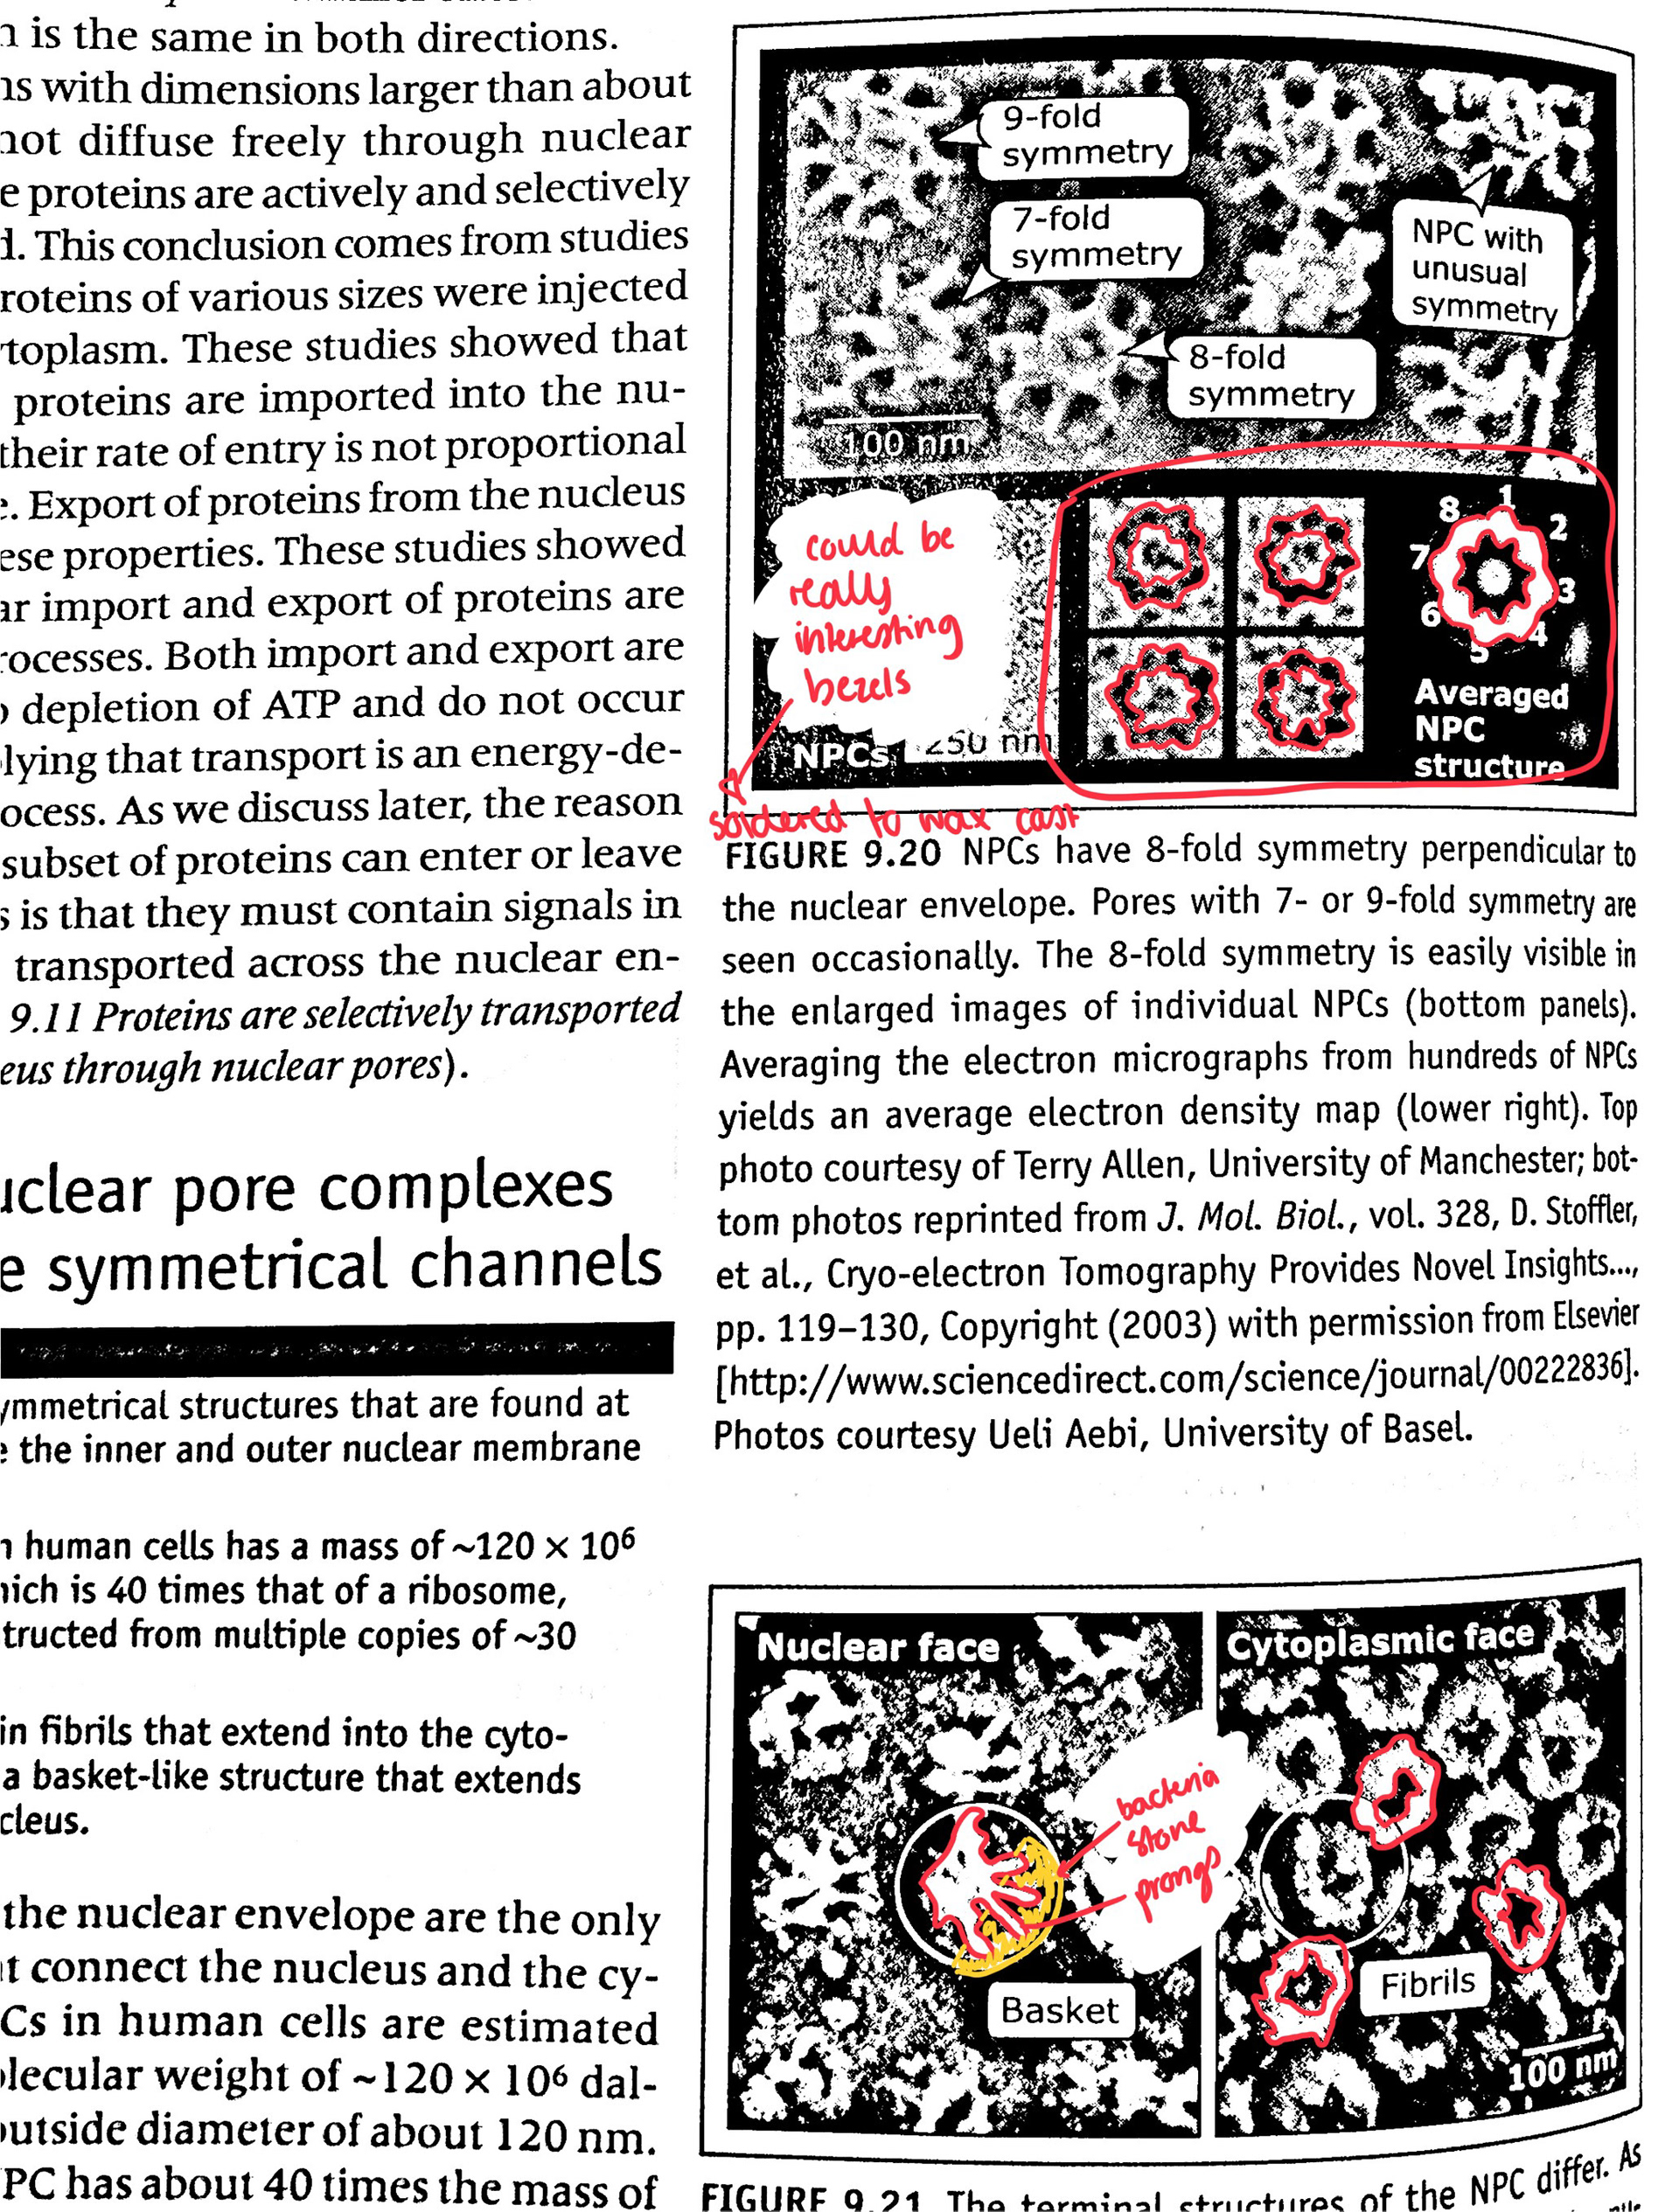
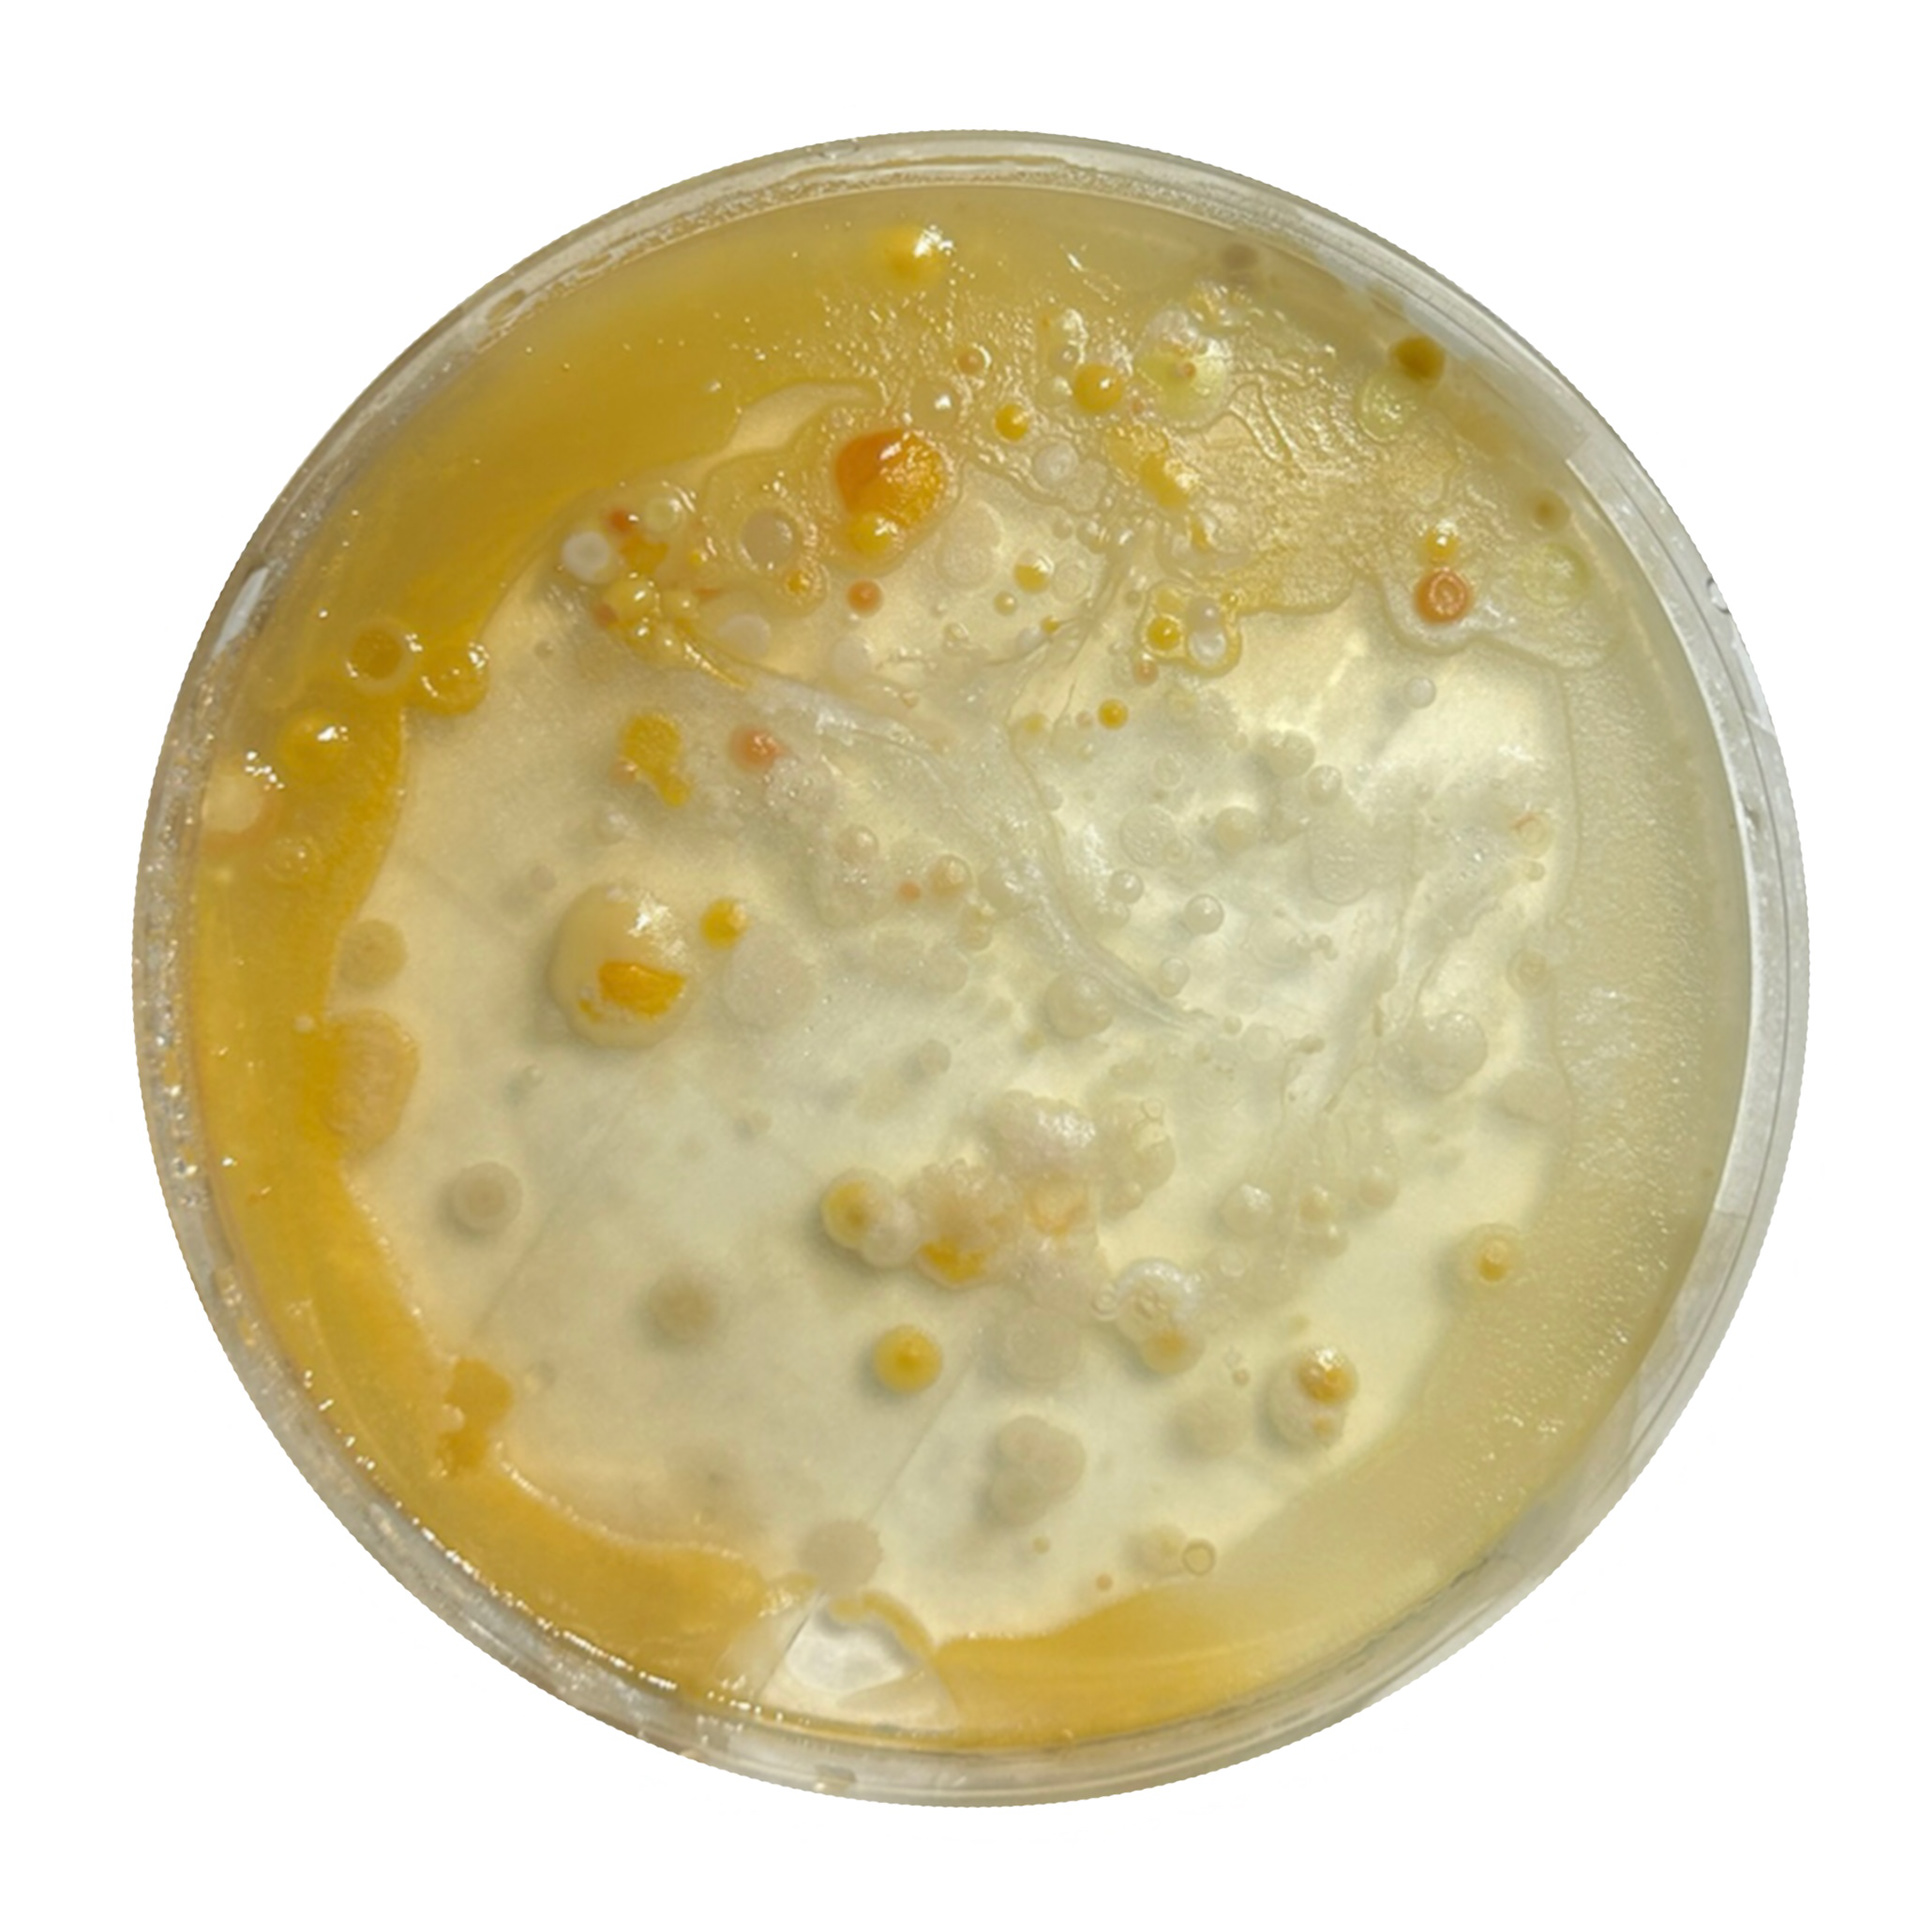
My Bacteria

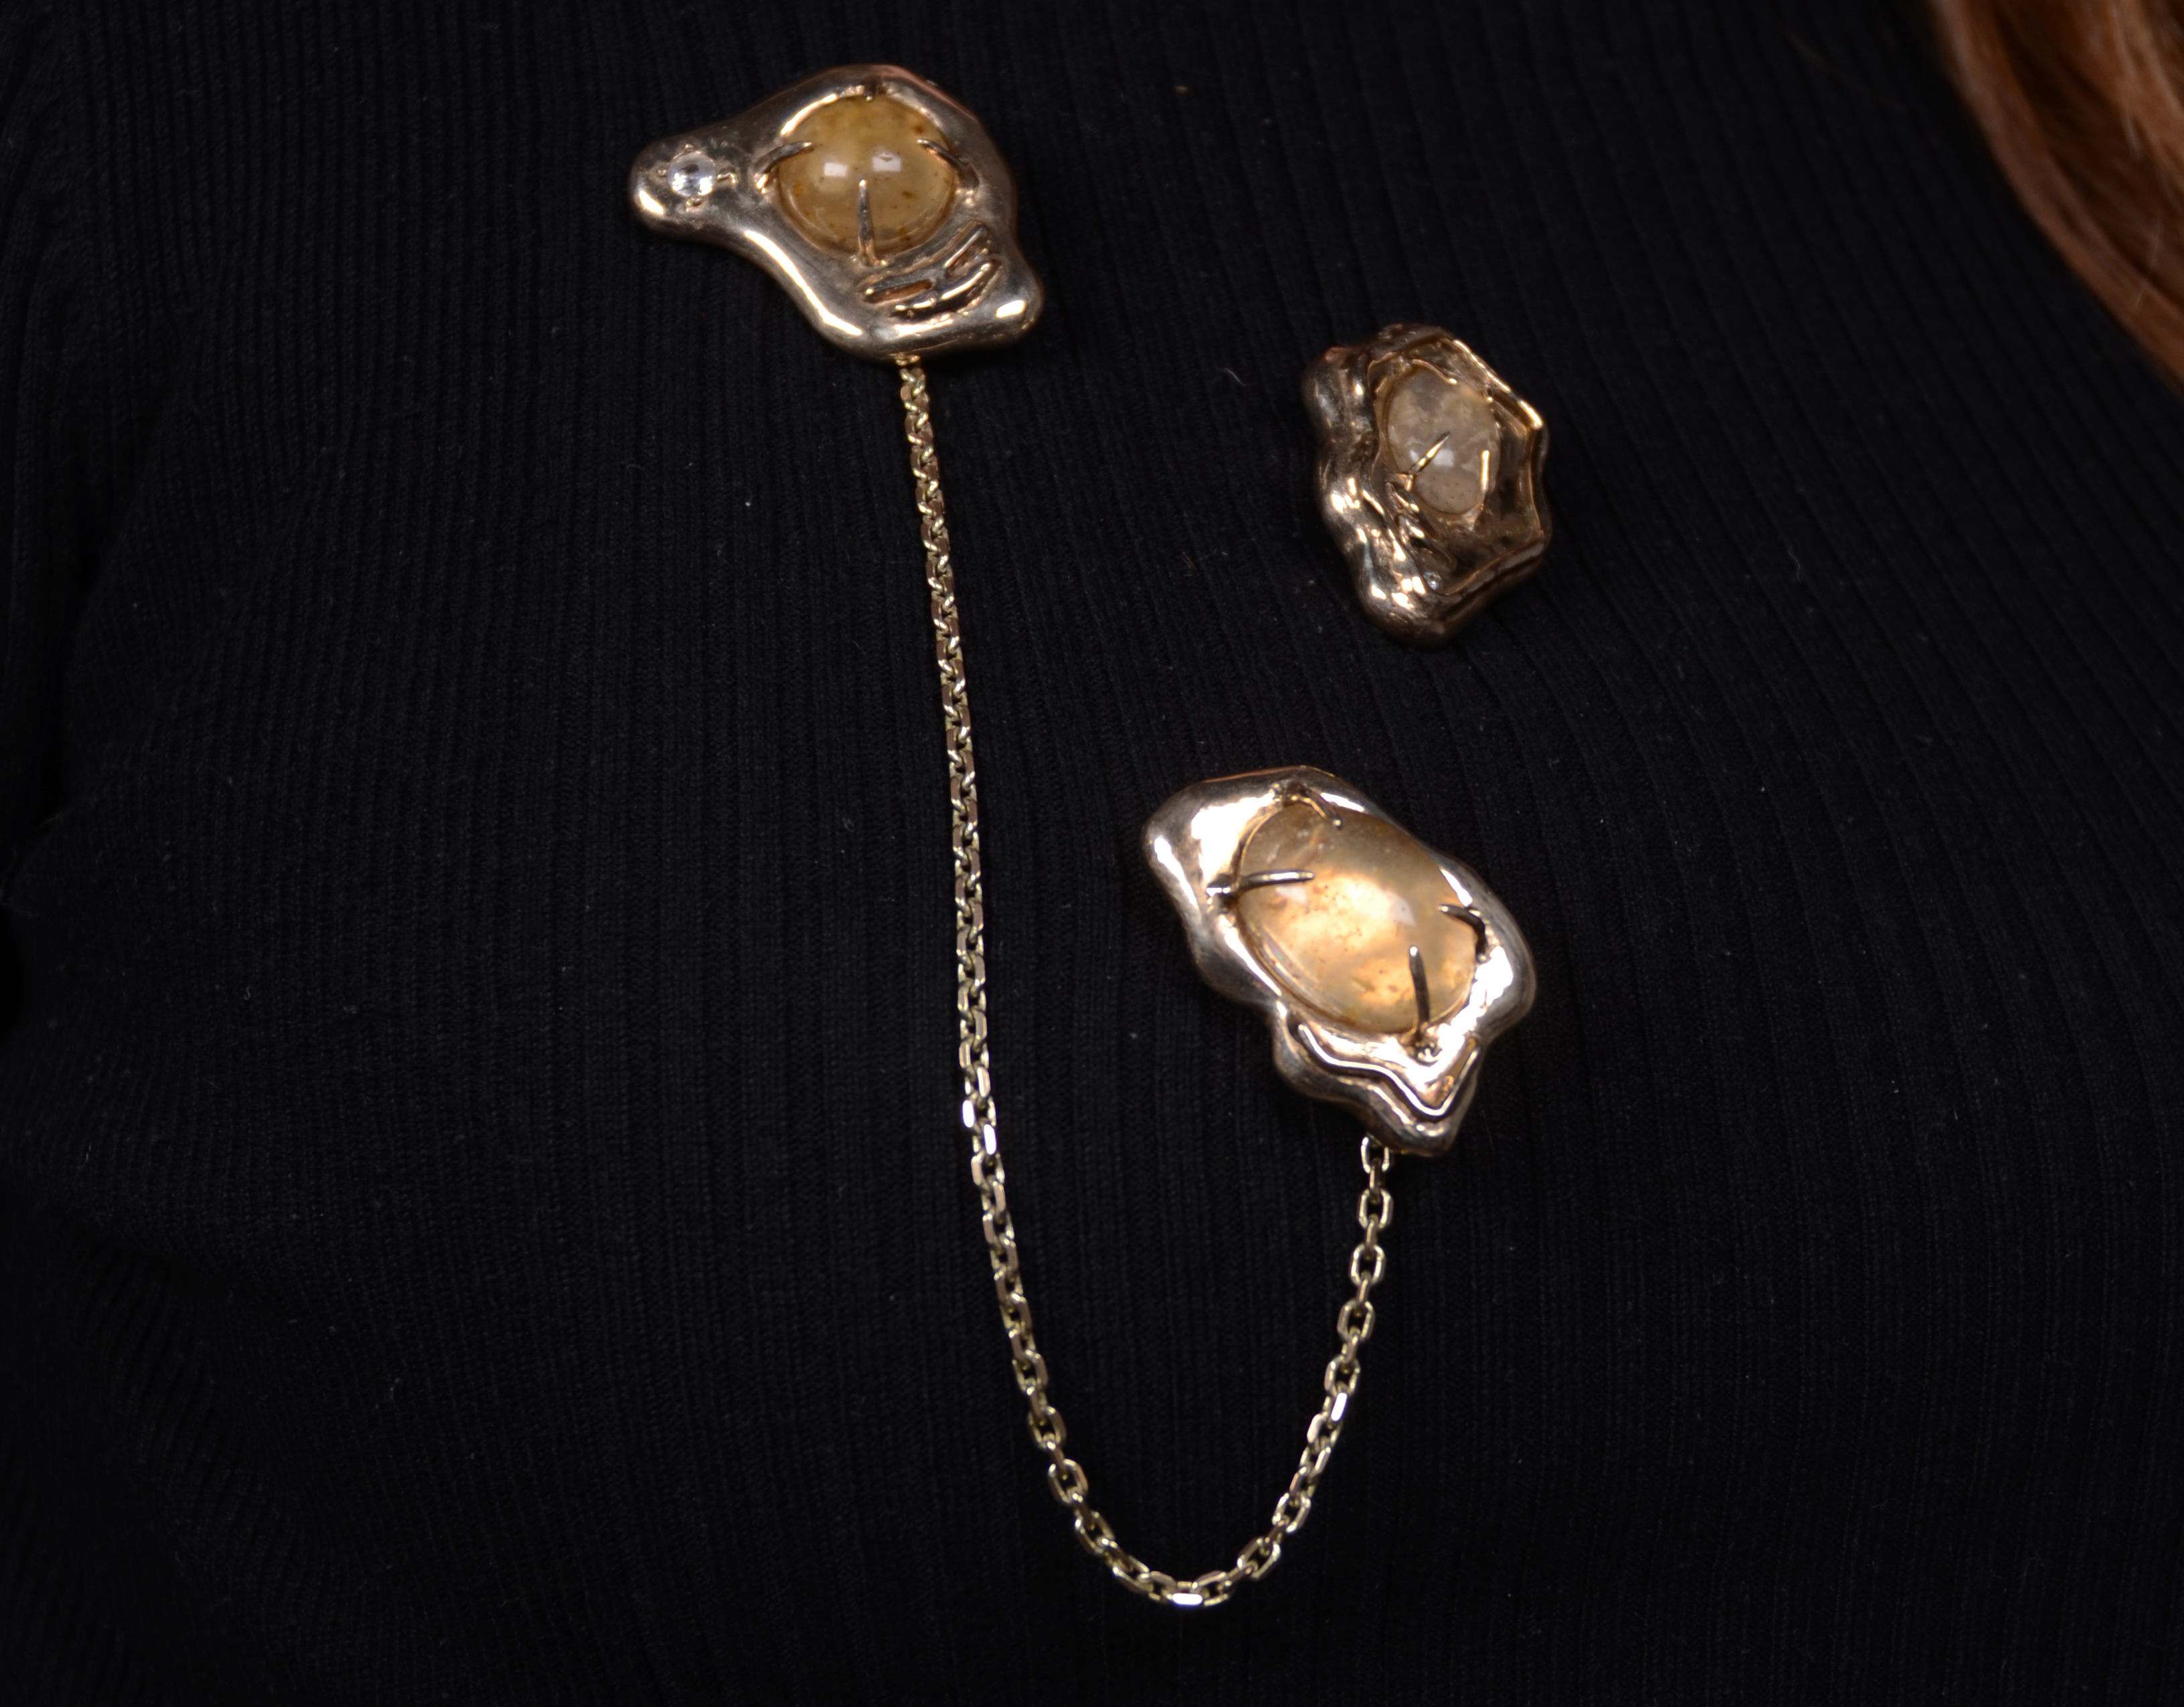
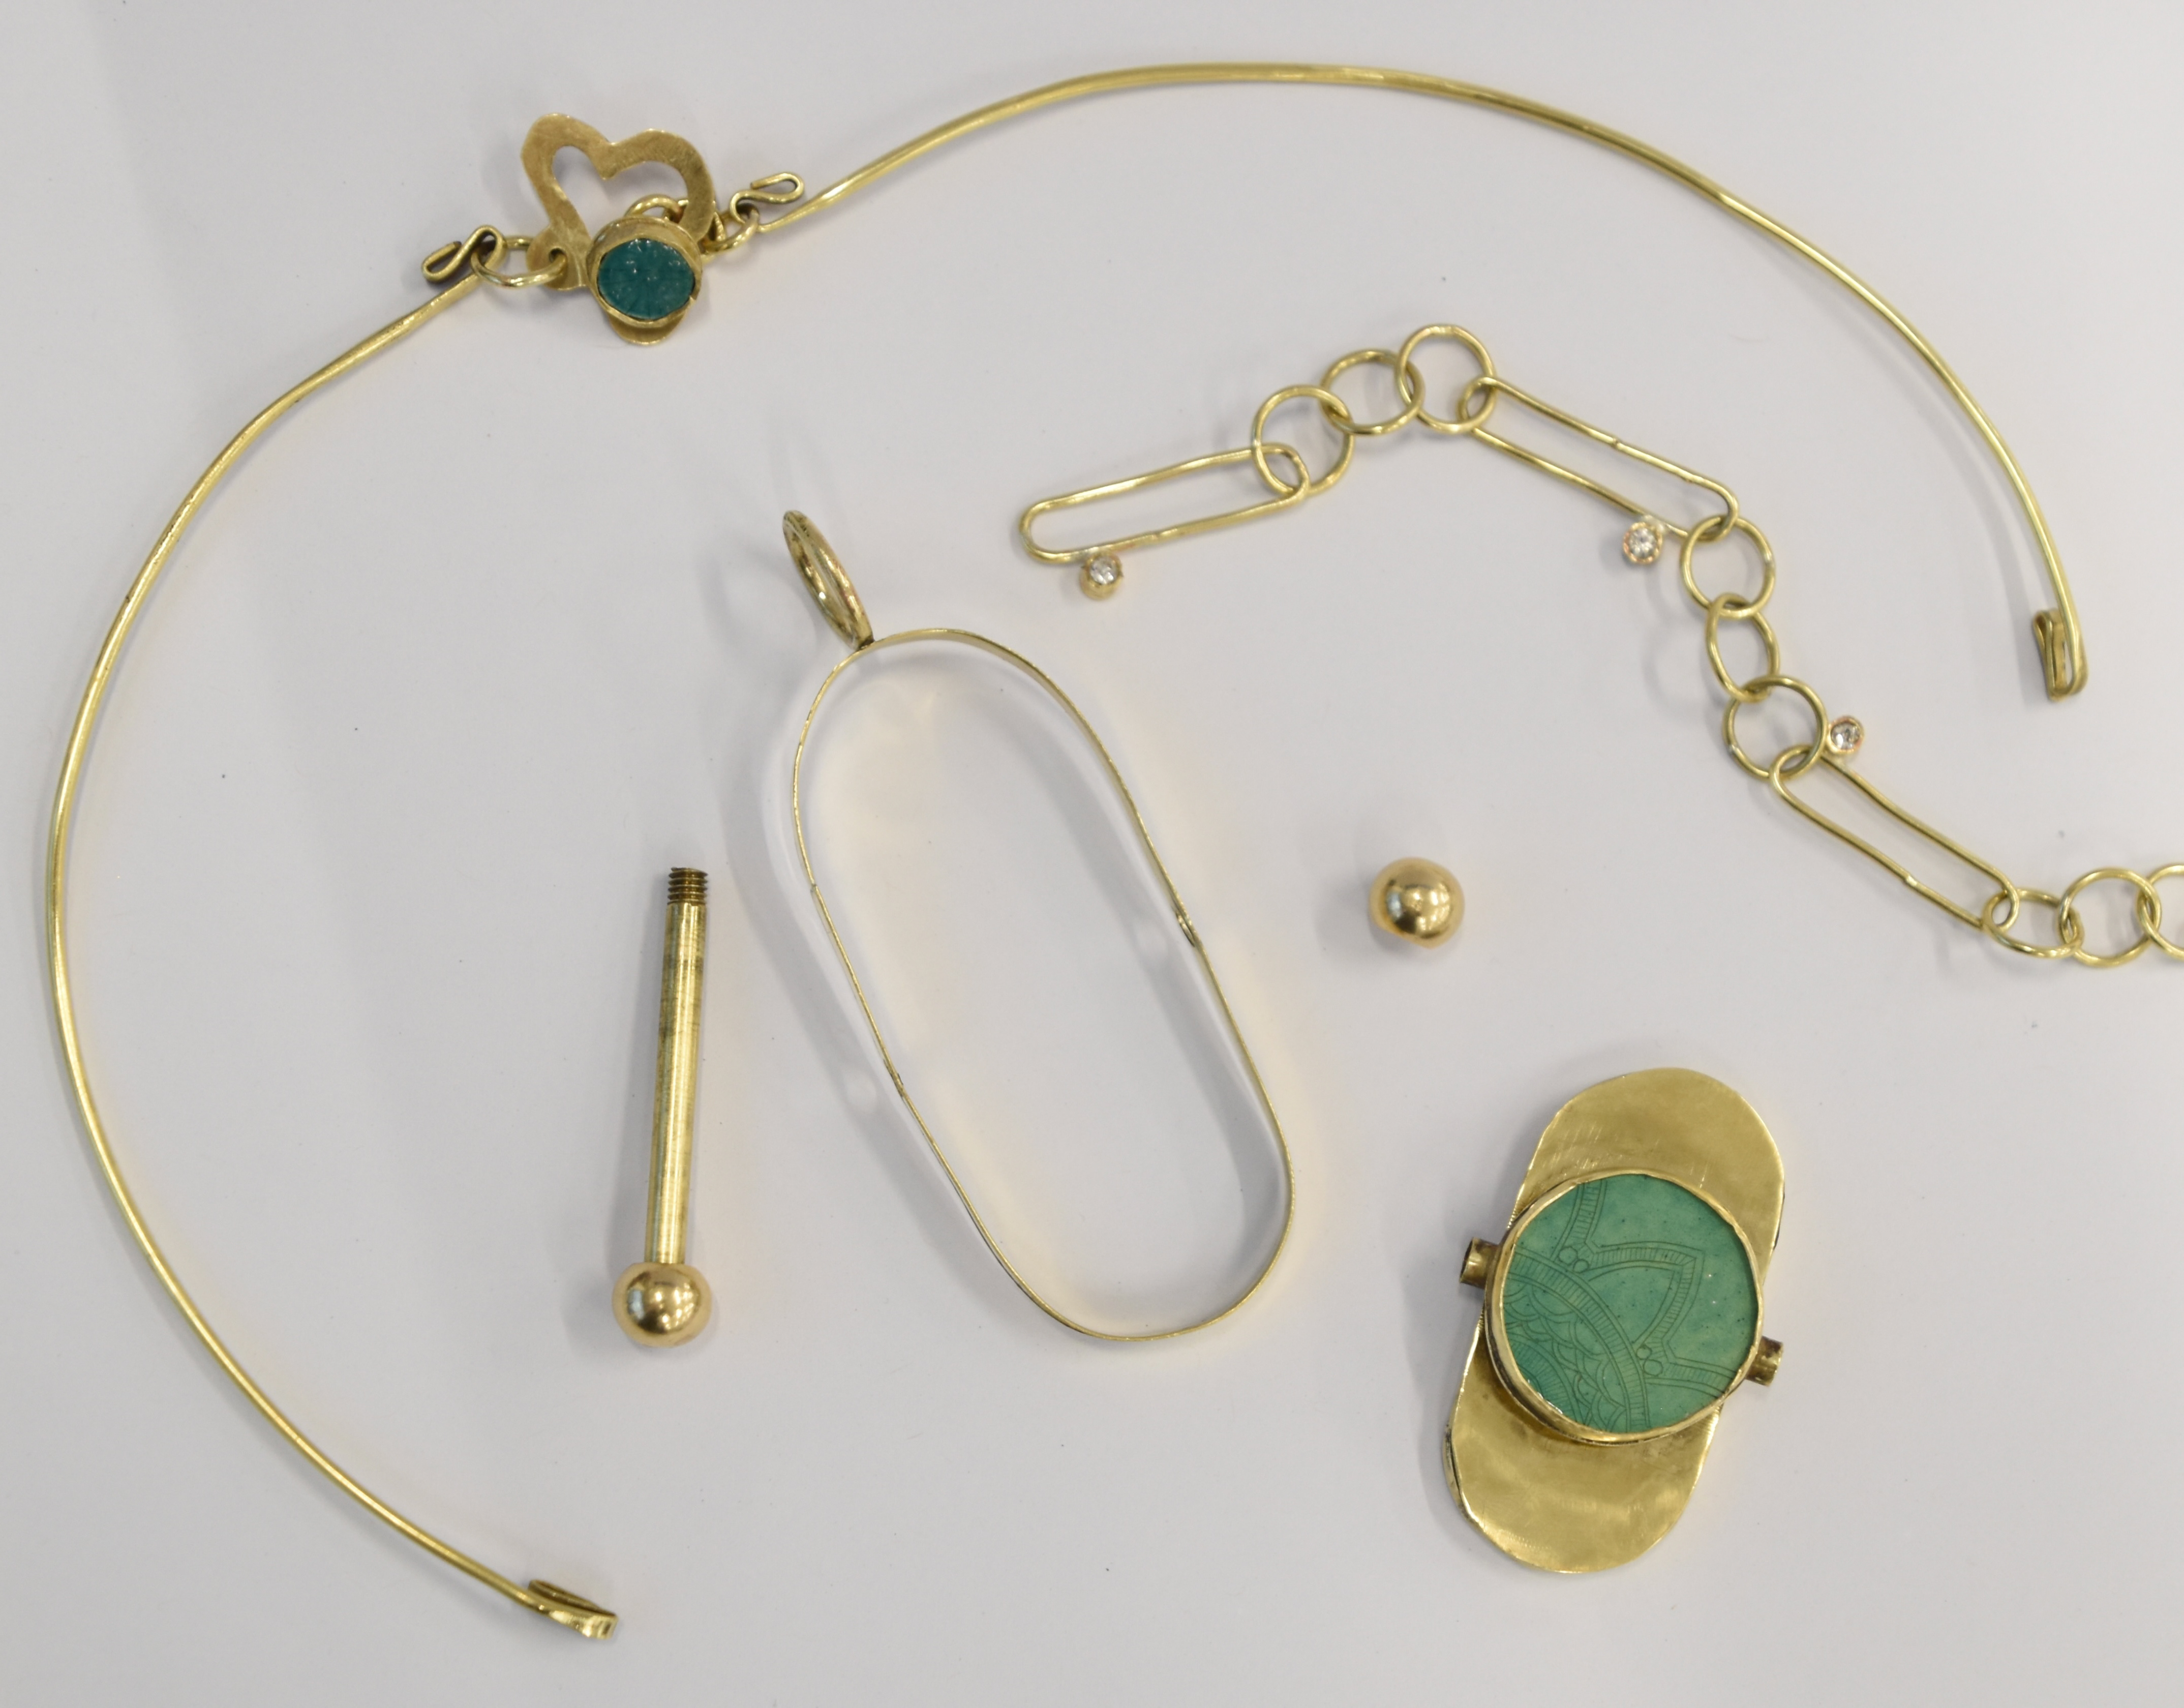
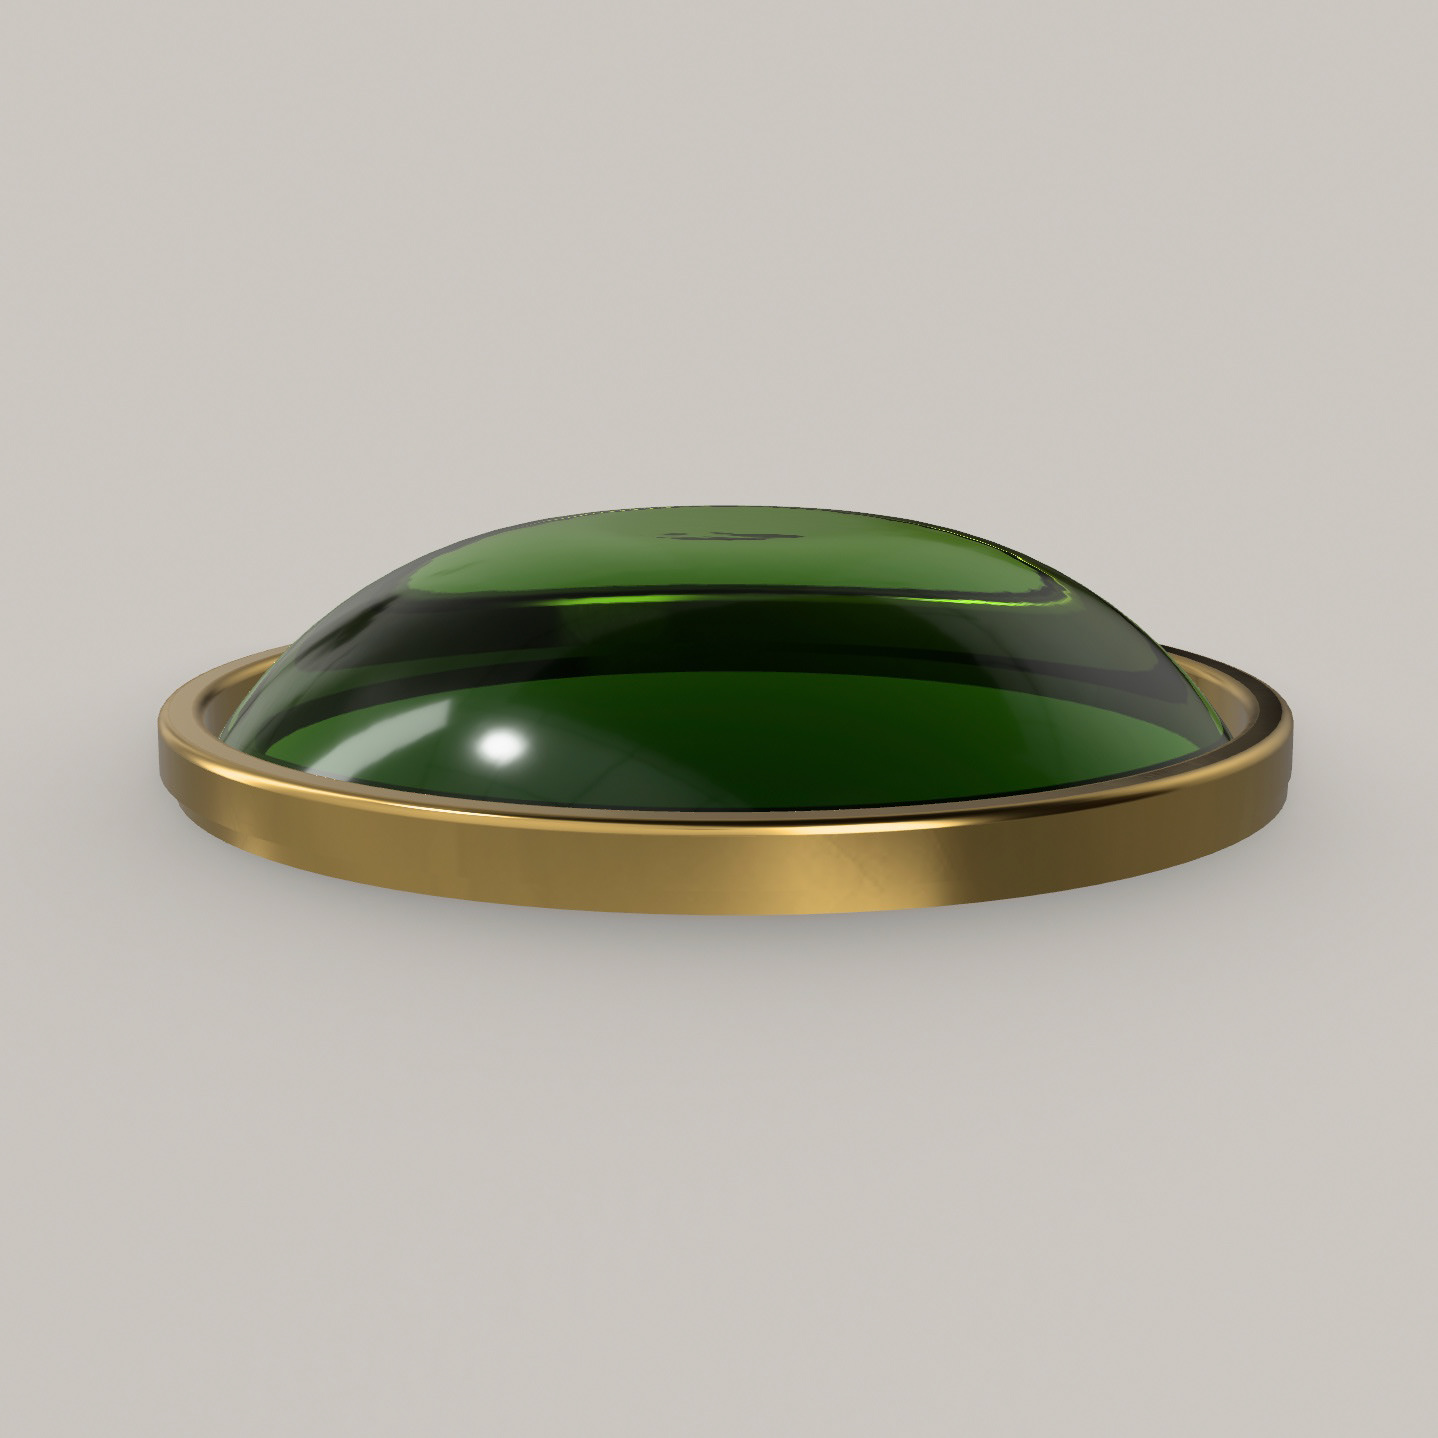
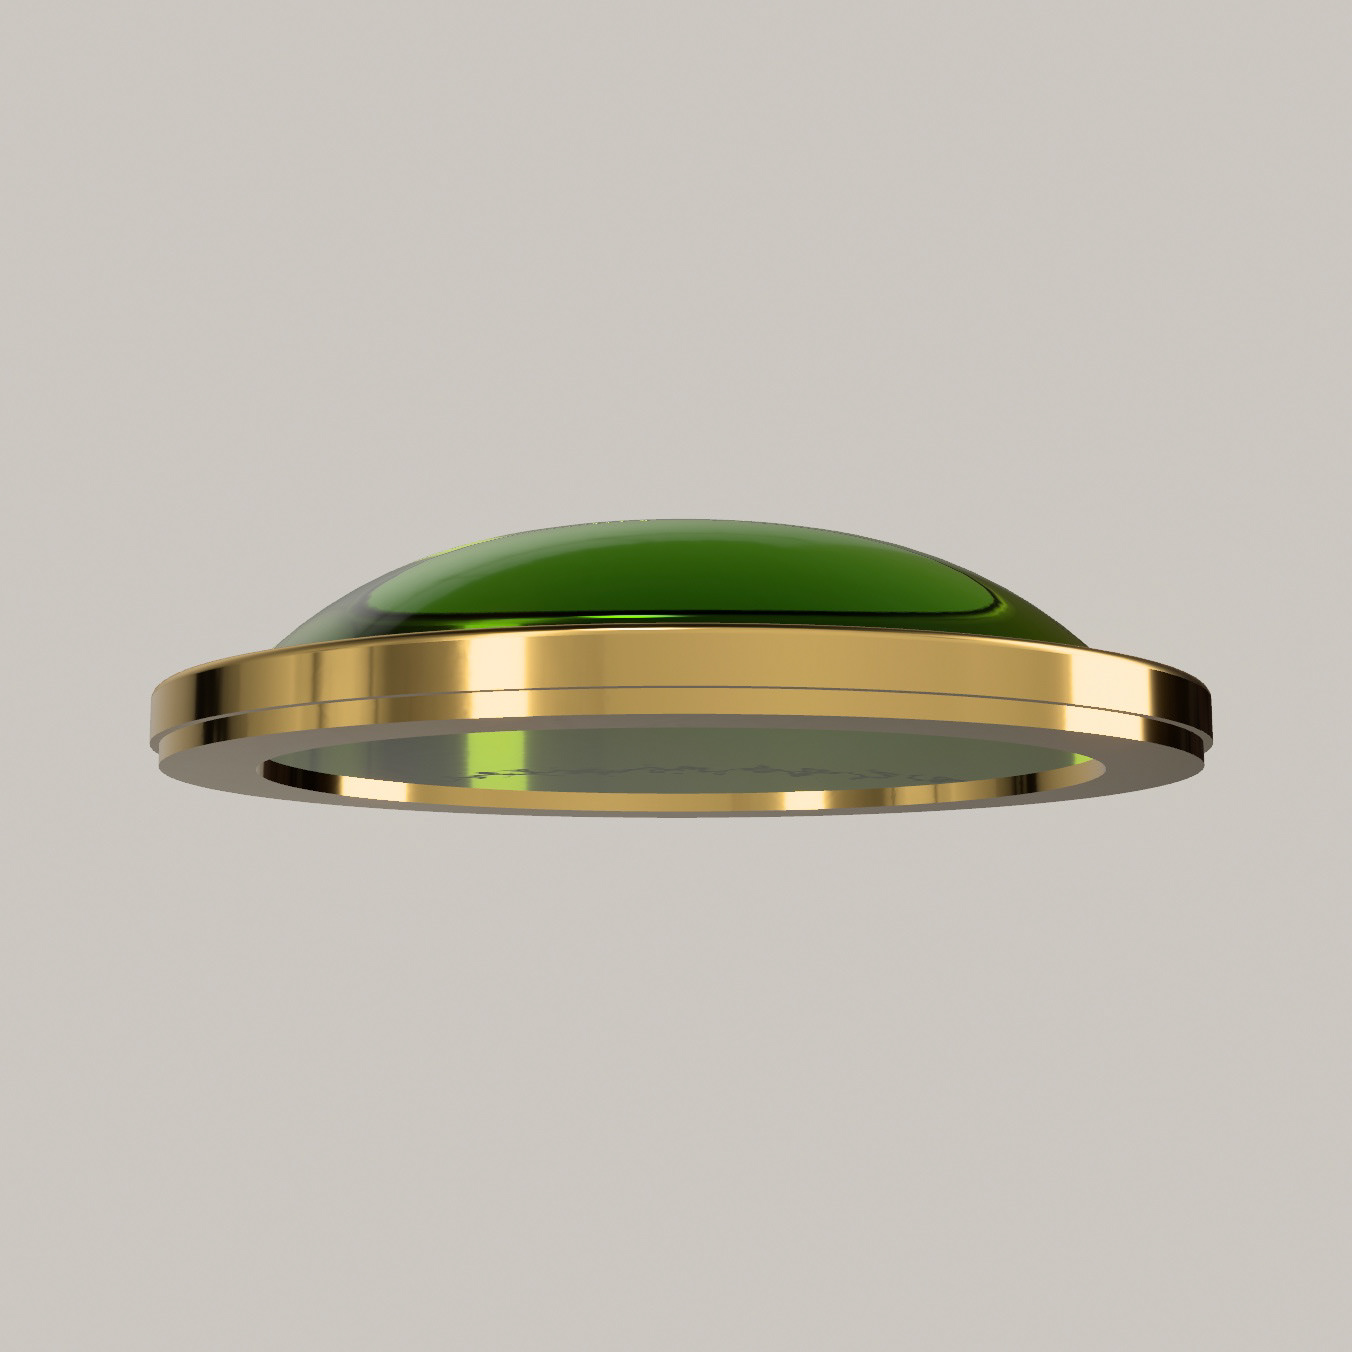
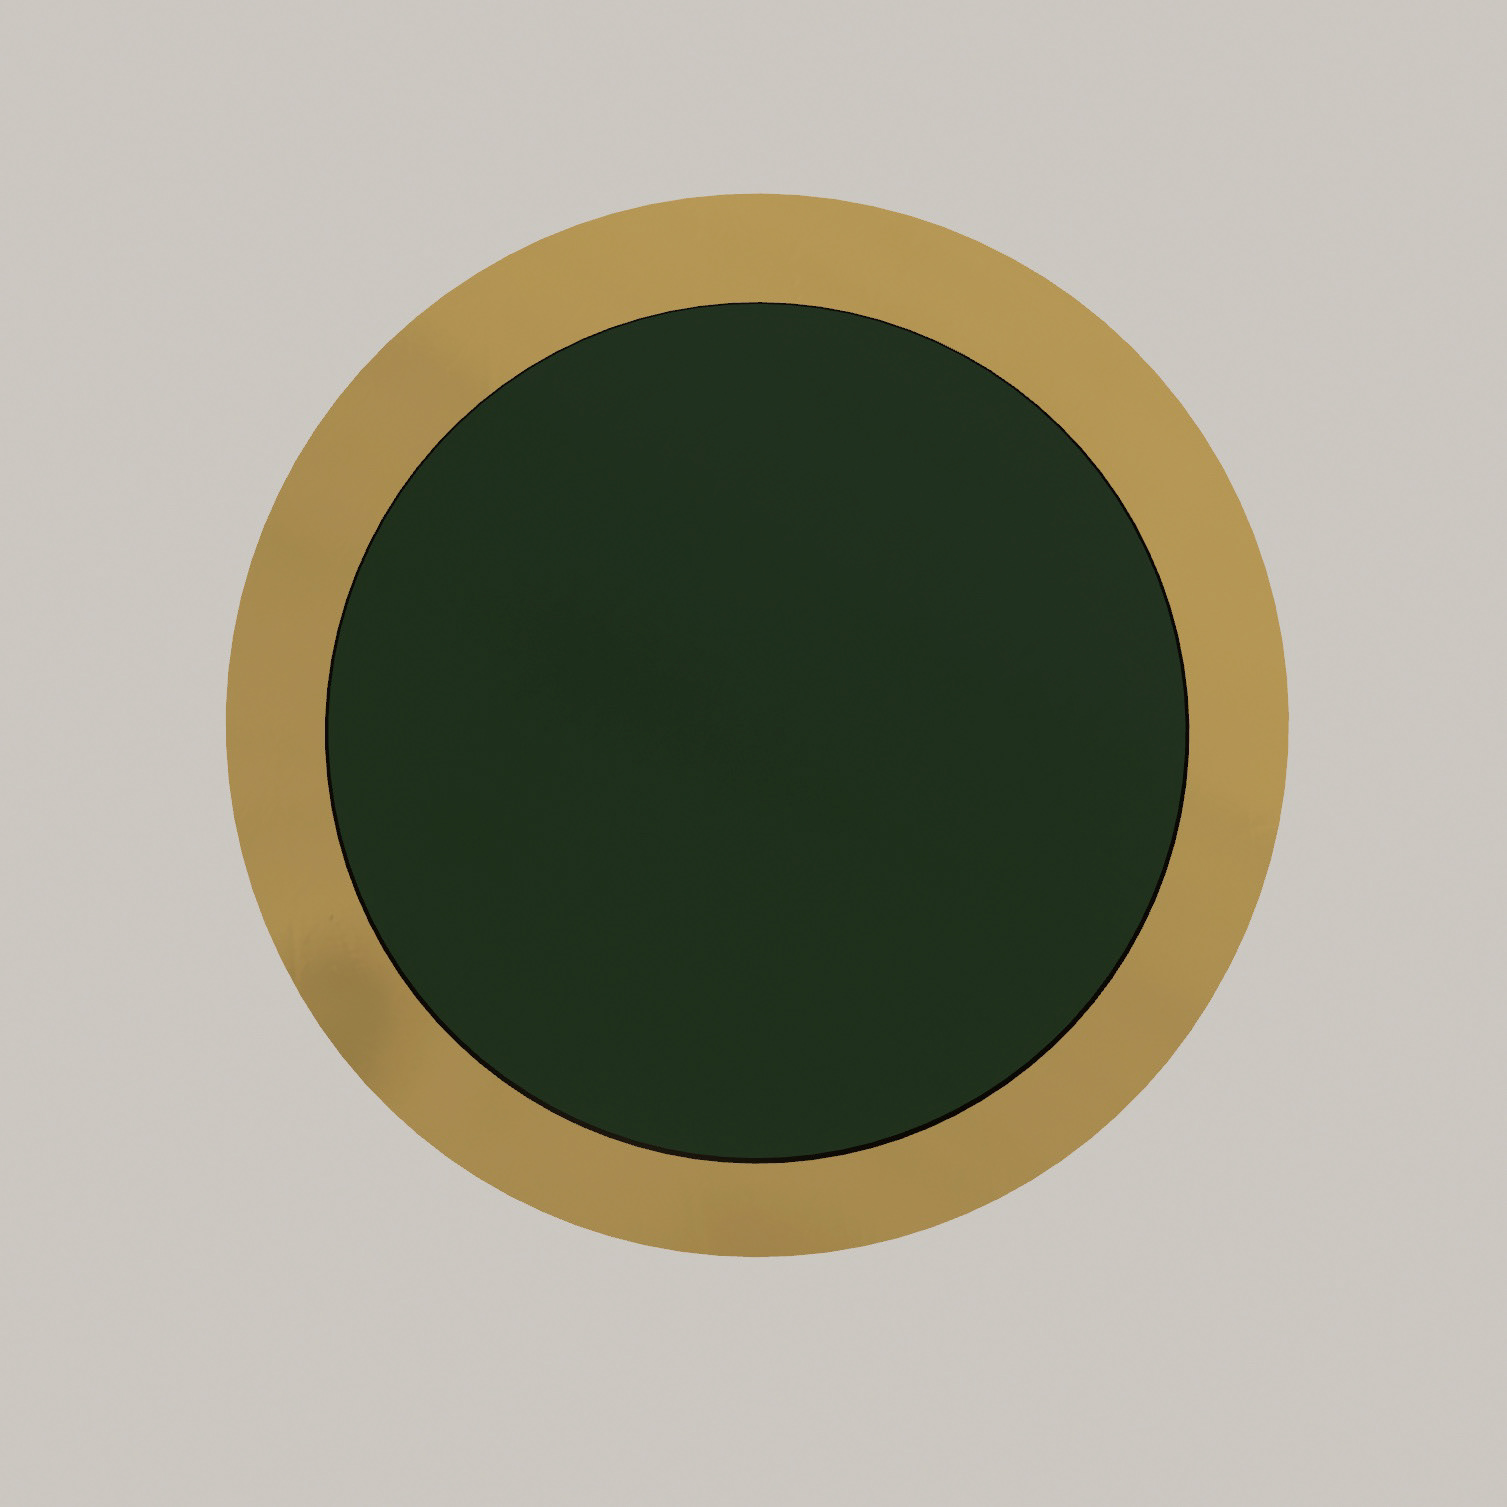
Big Metal
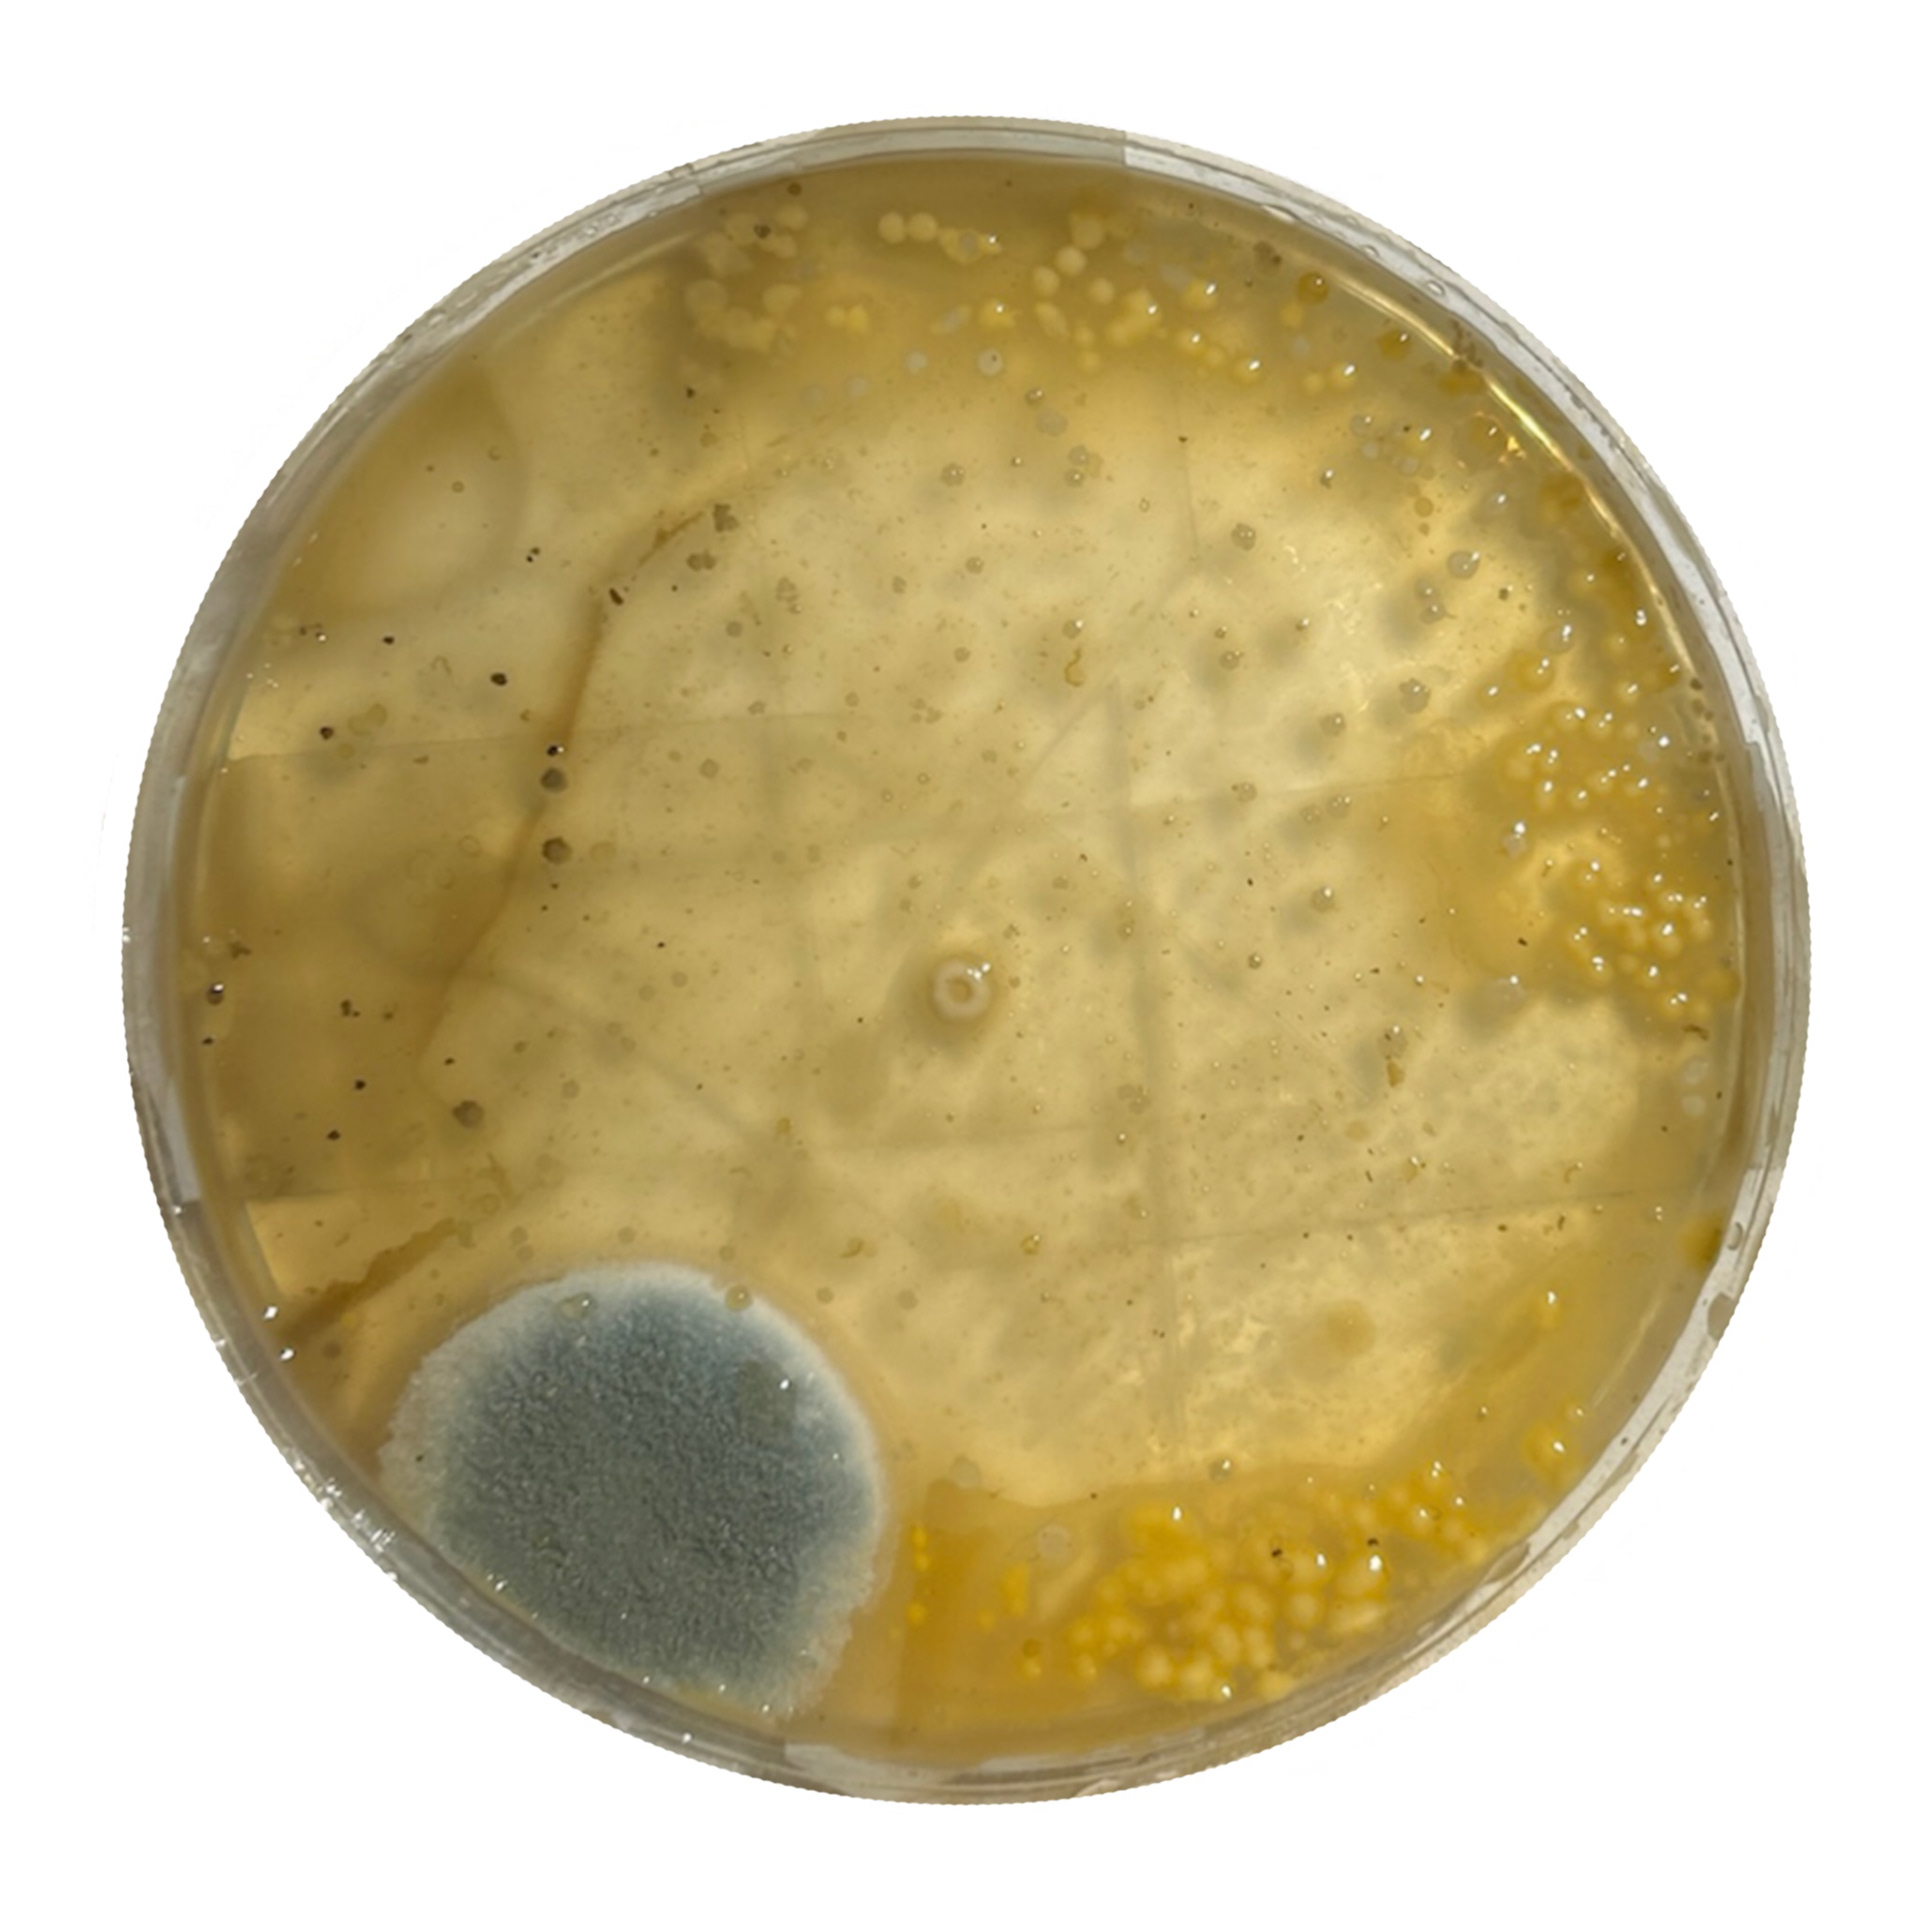
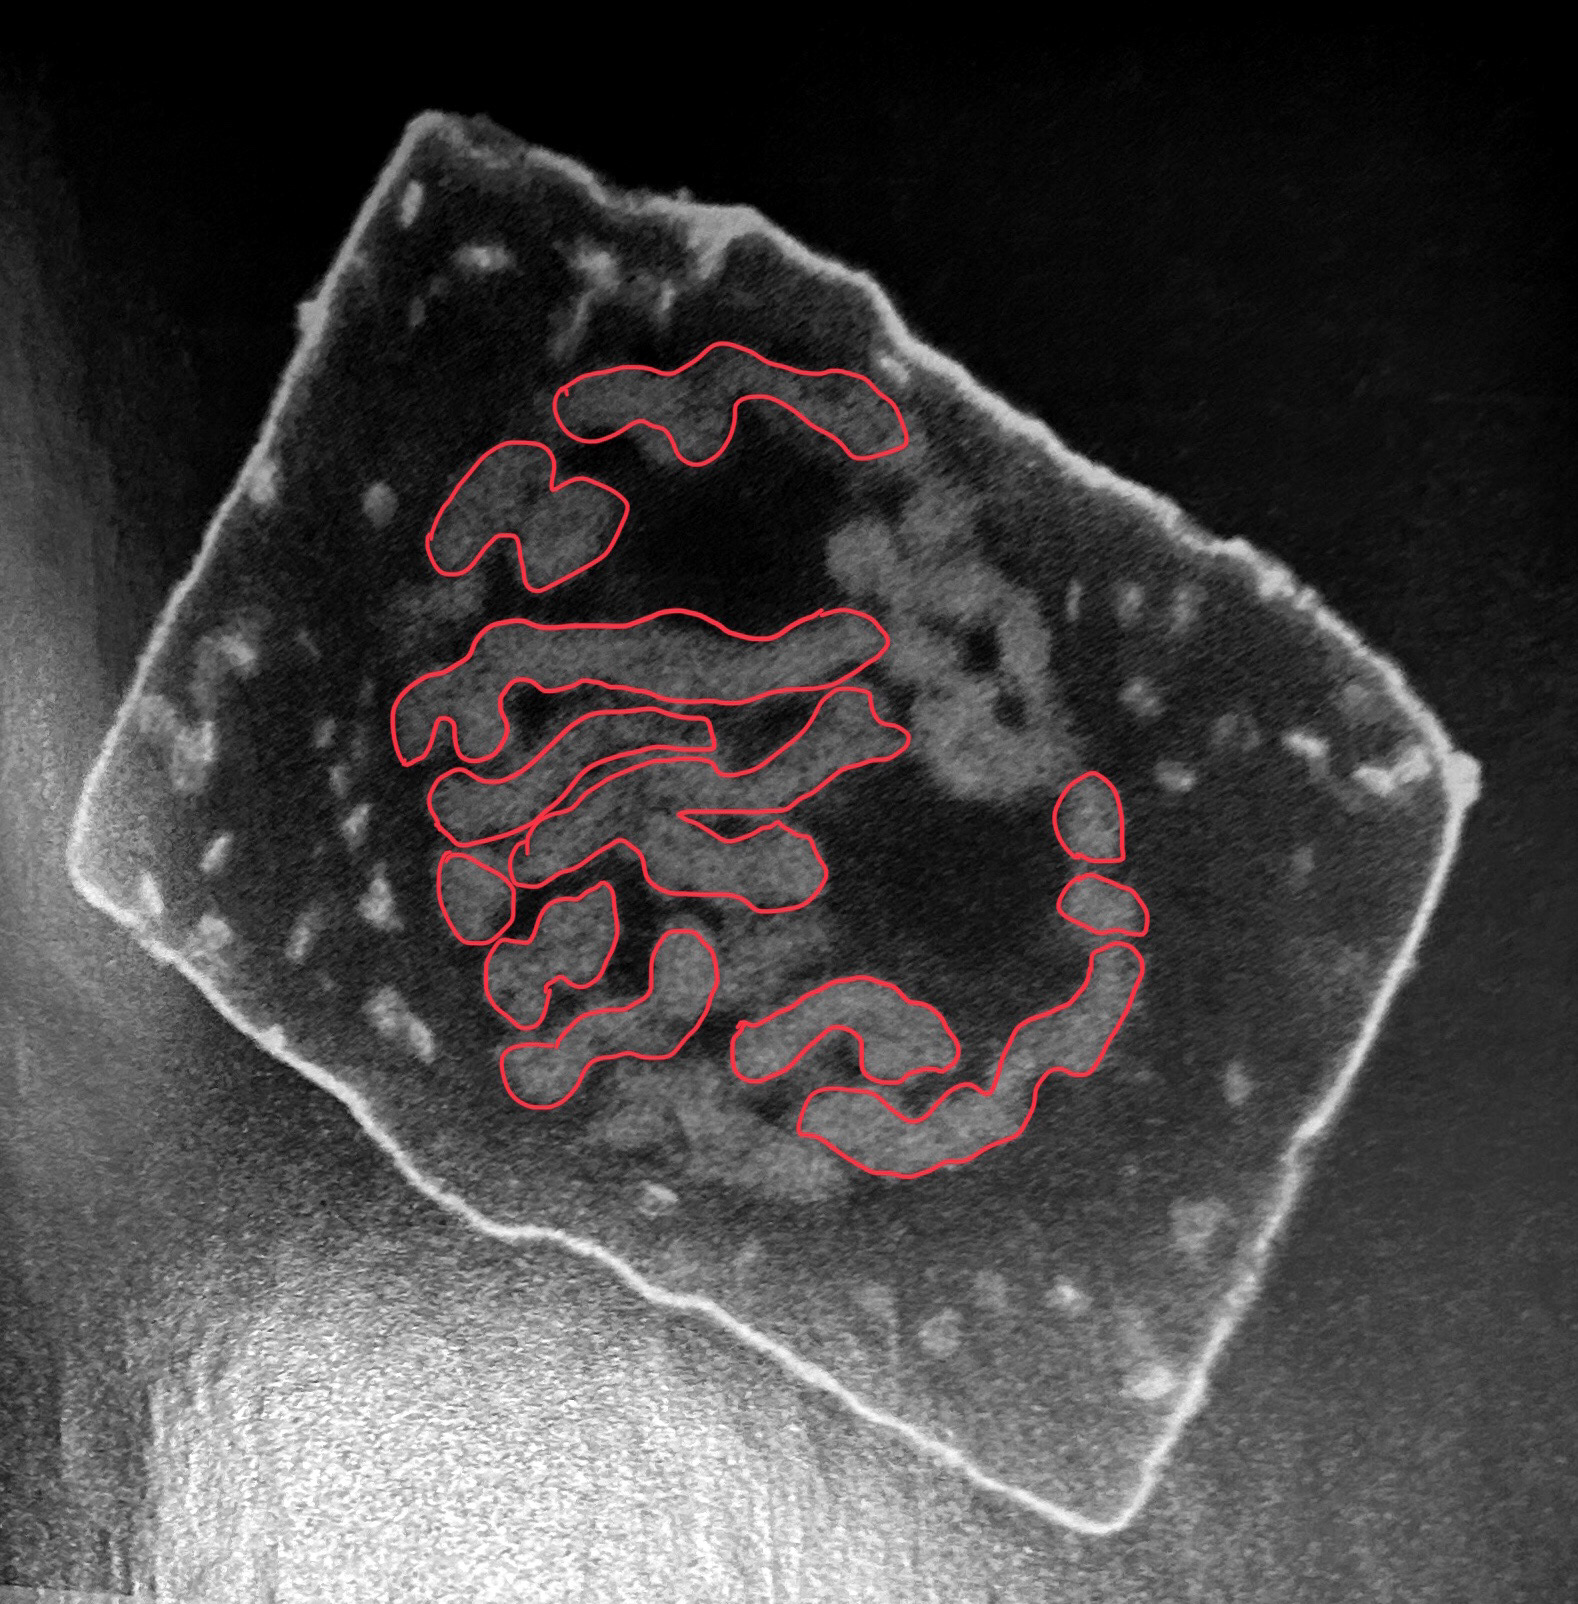
George's Bacteria

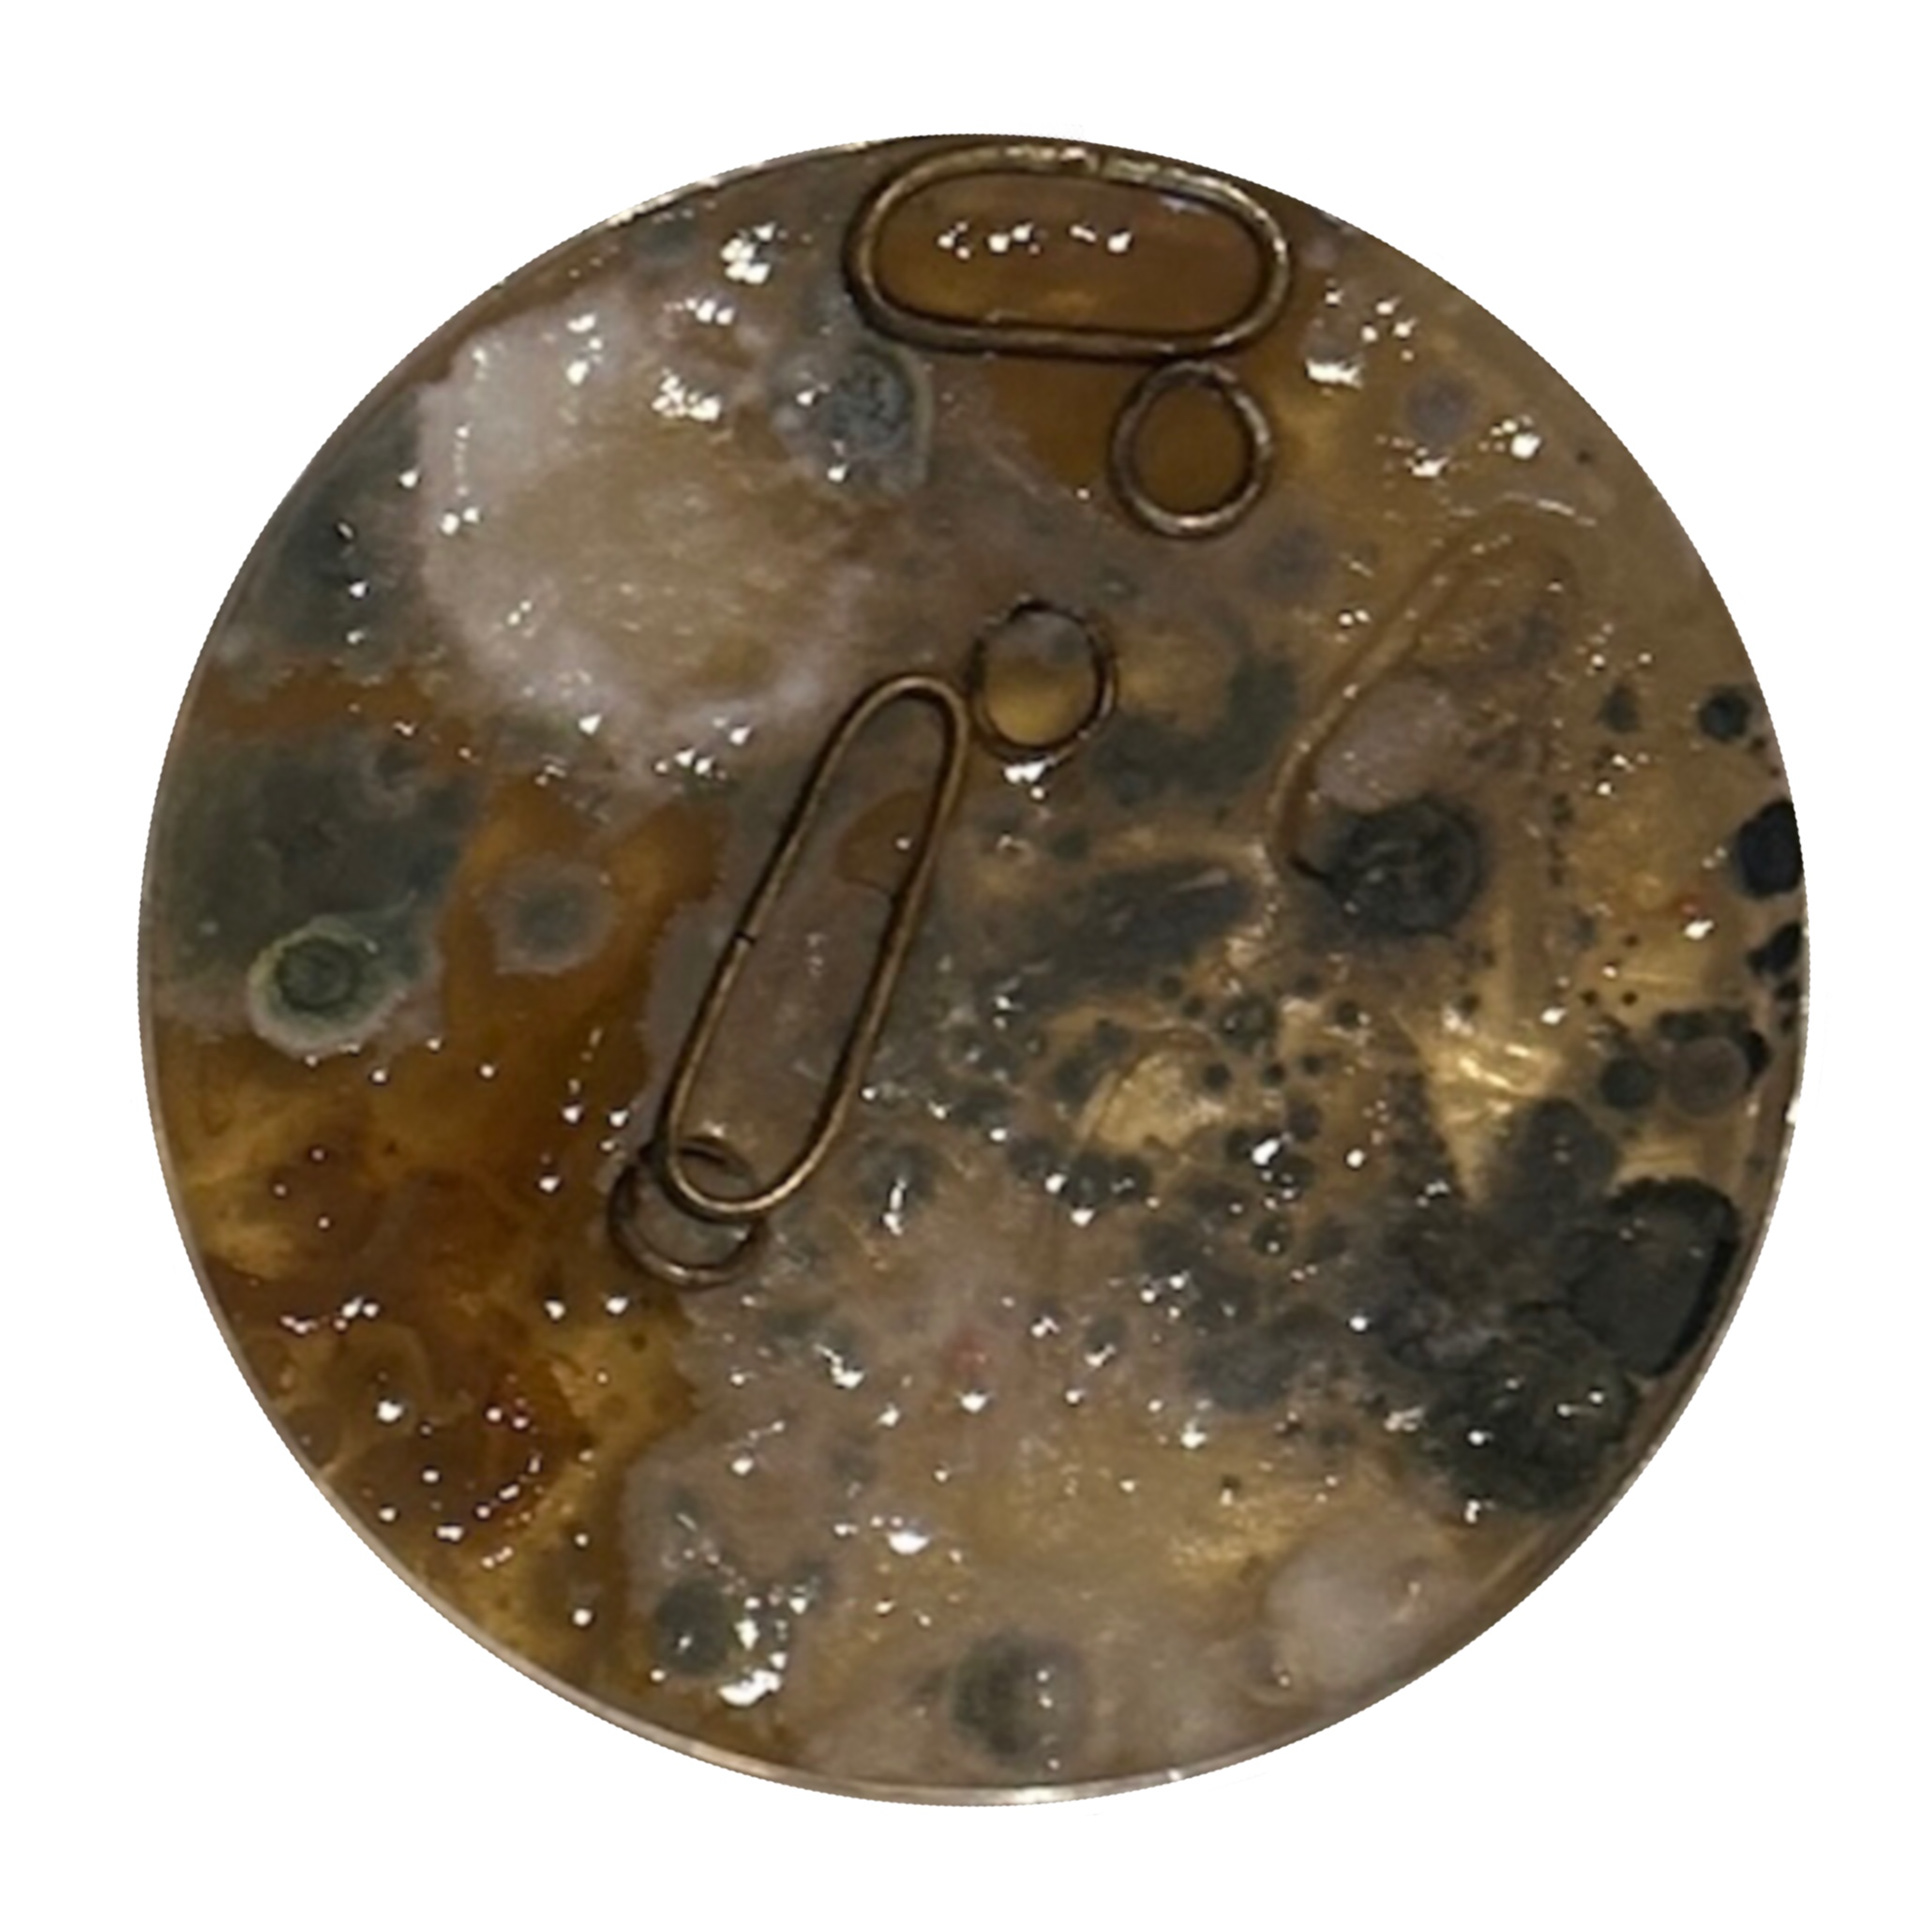
Hot Metal
Will's Bacteria
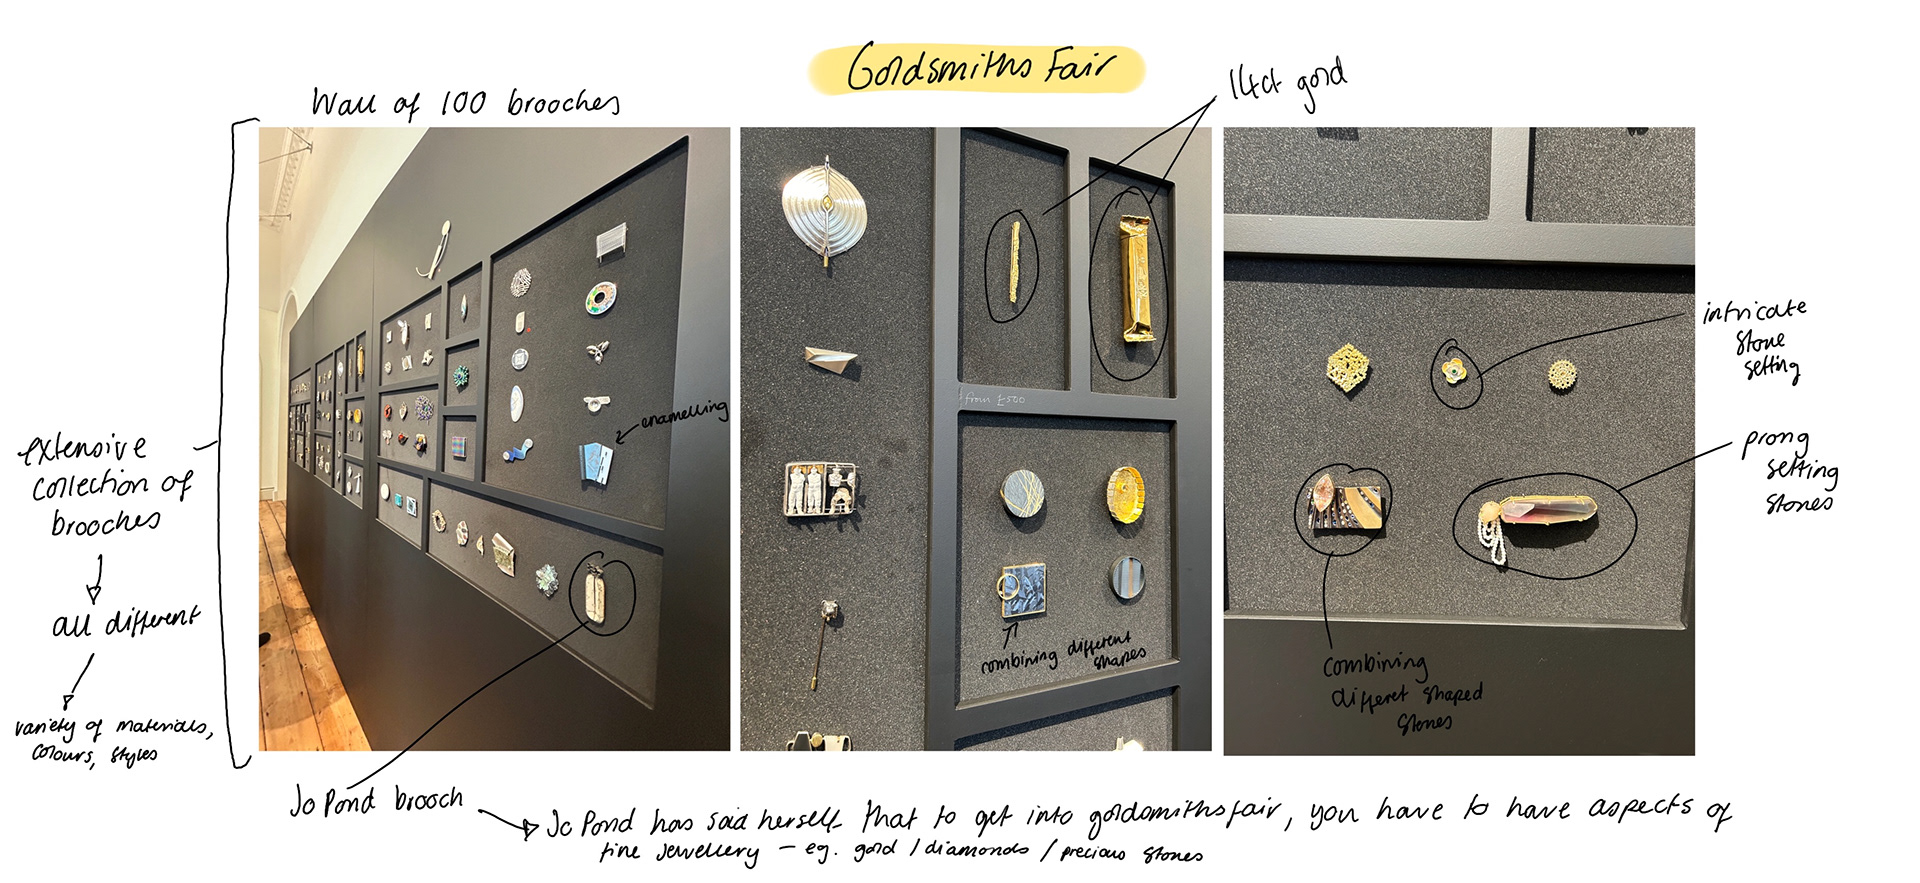
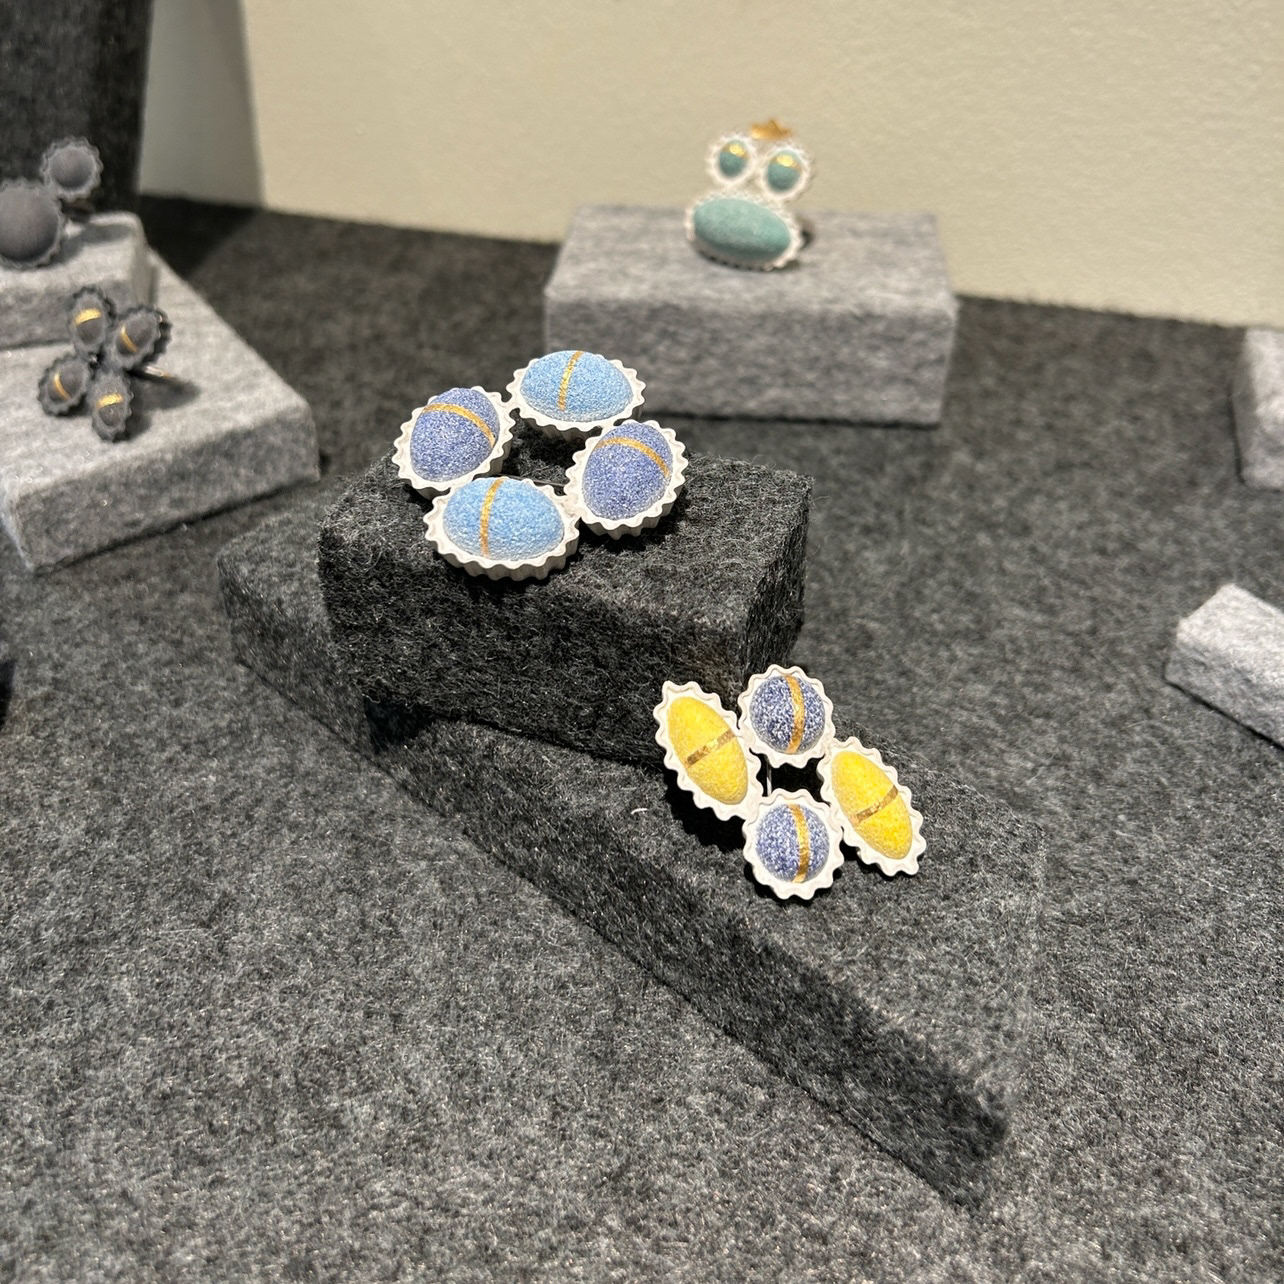
Craft Studio


My Bacteria
Big Metal

George's Bacteria
Hot Metal
Will's Bacteria
Craft Studio
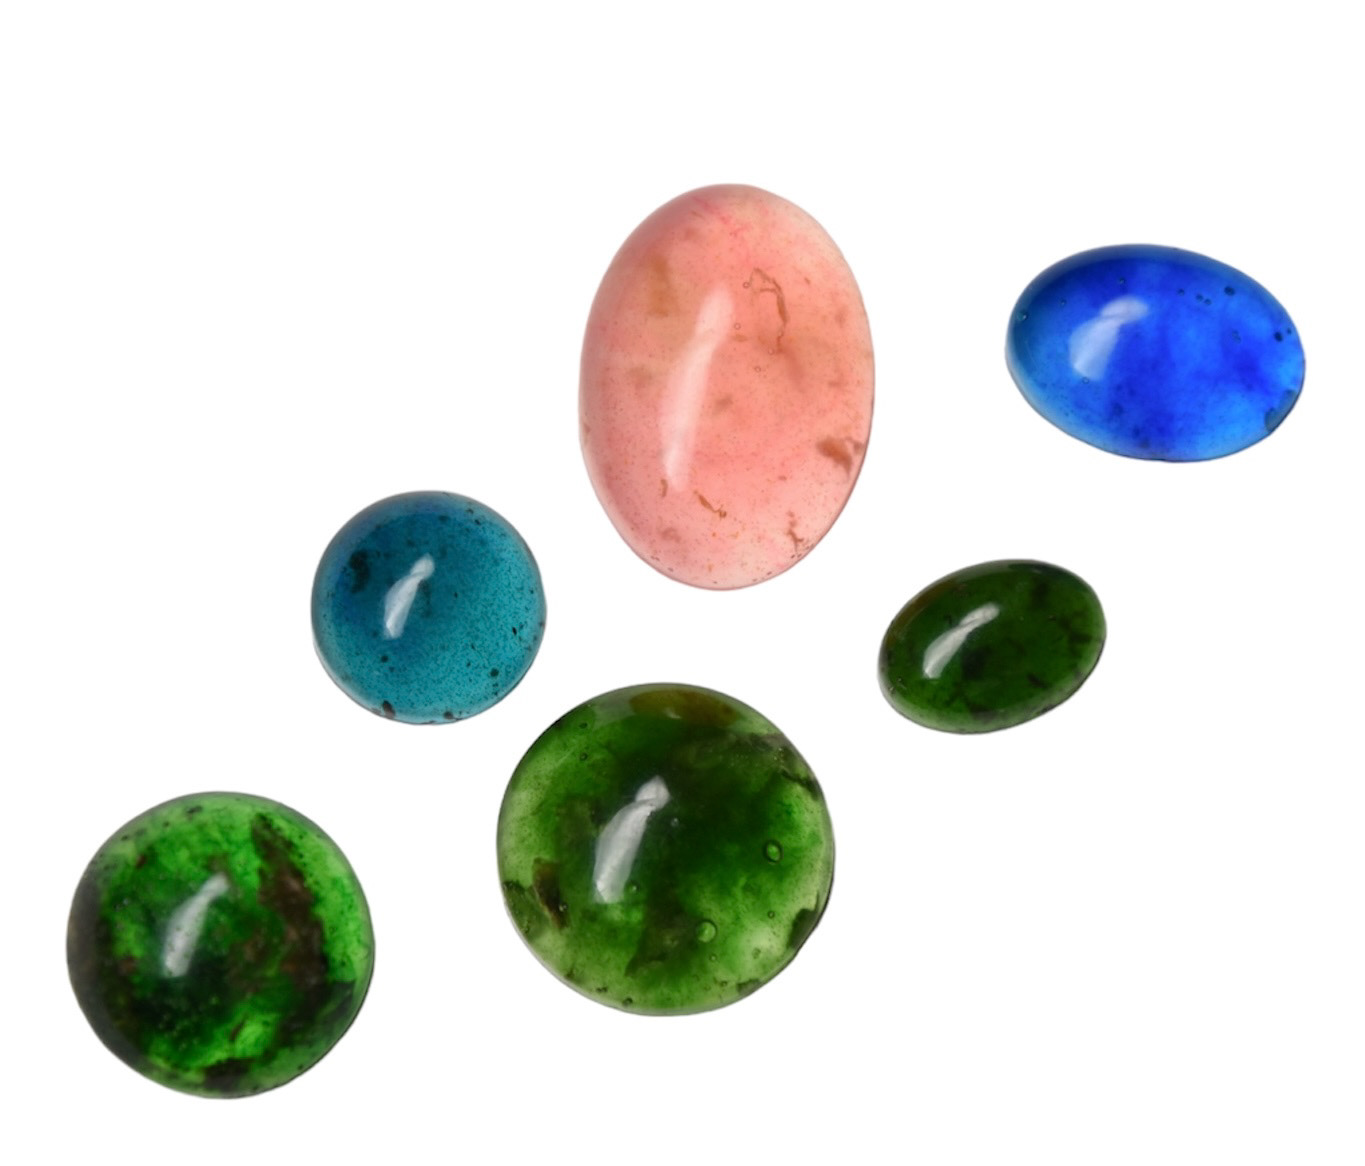
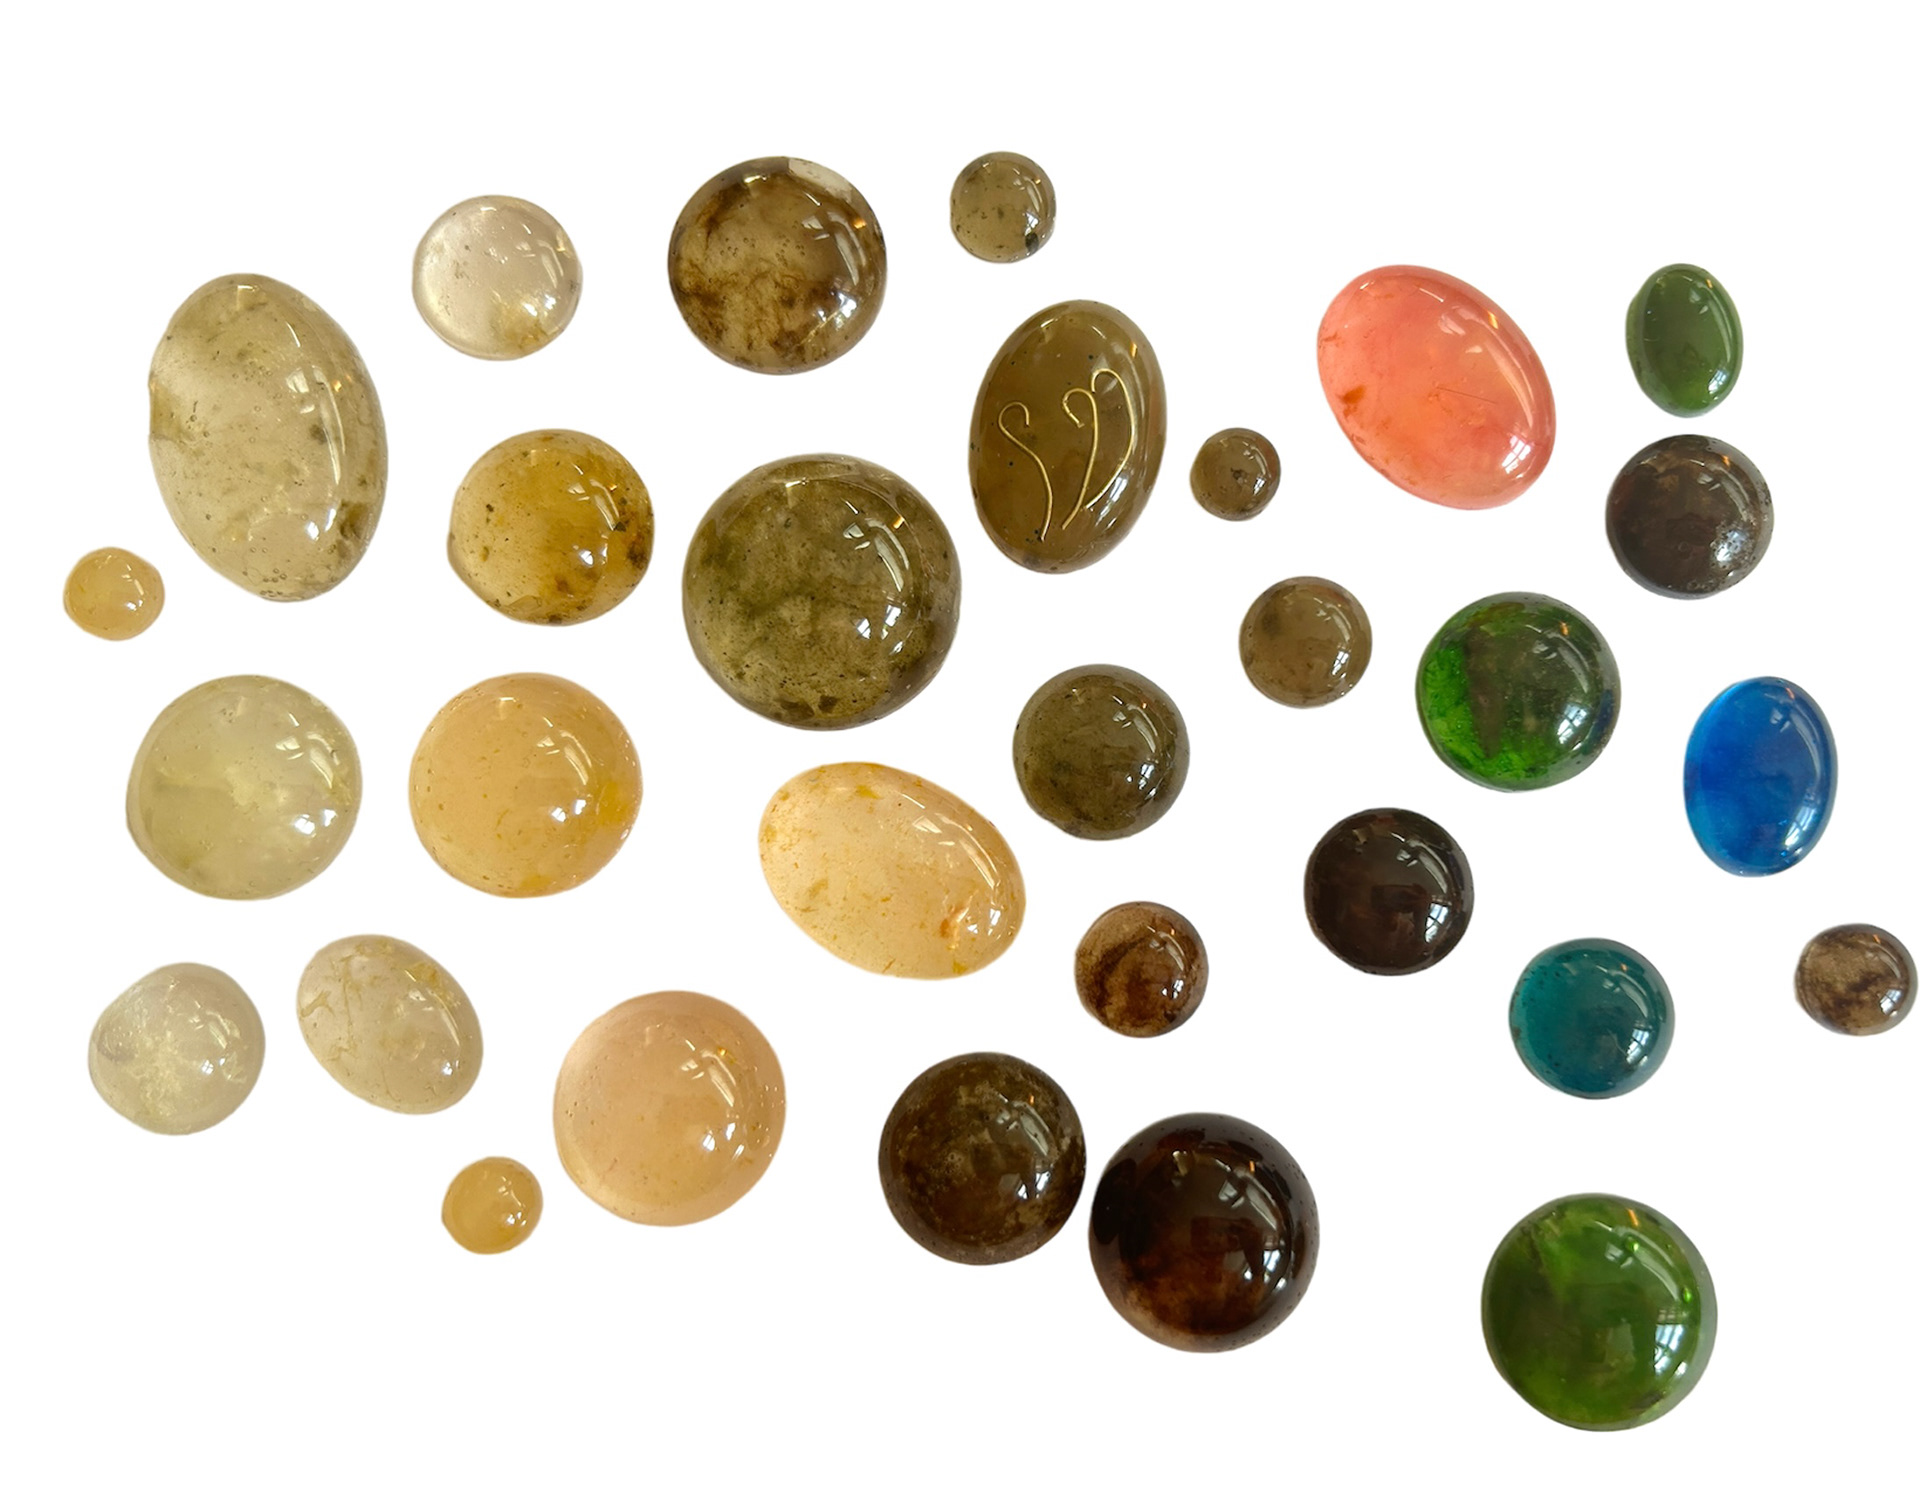
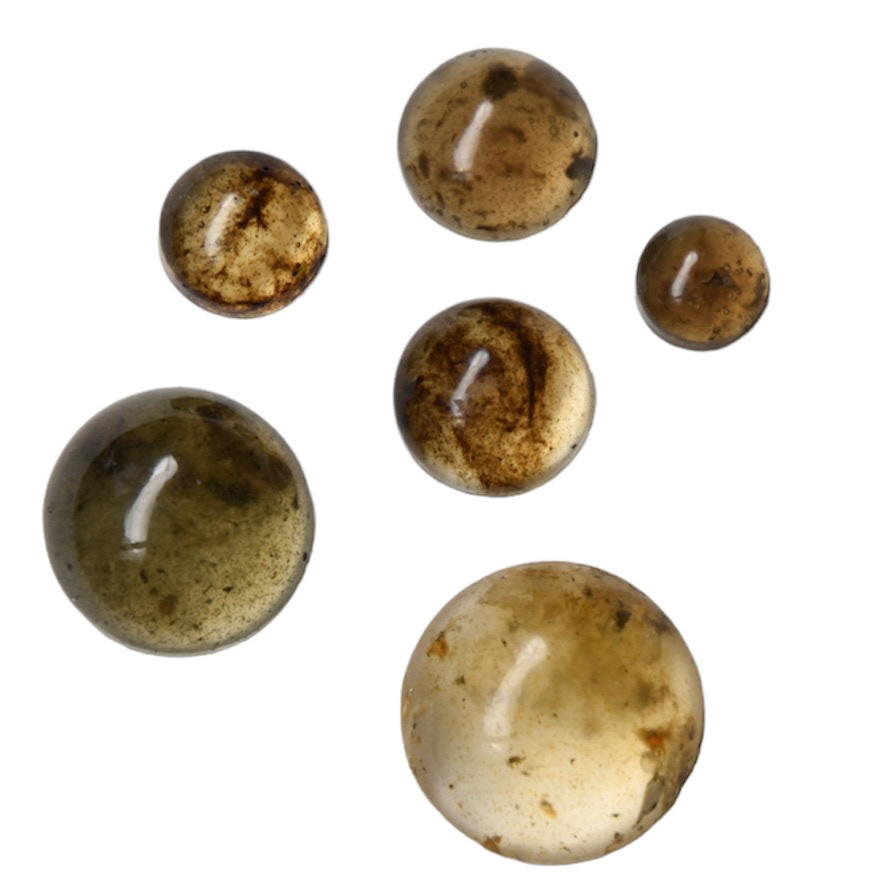
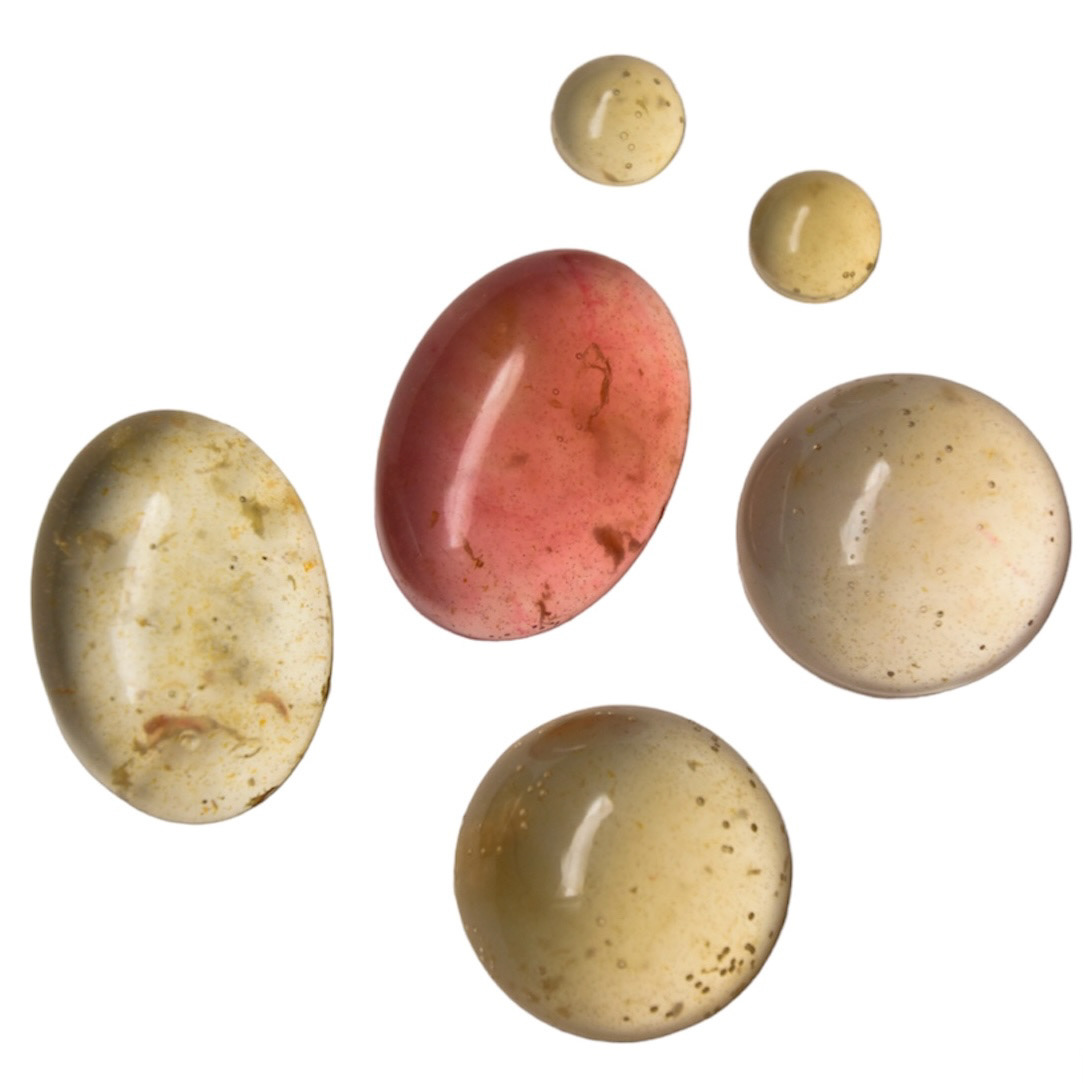
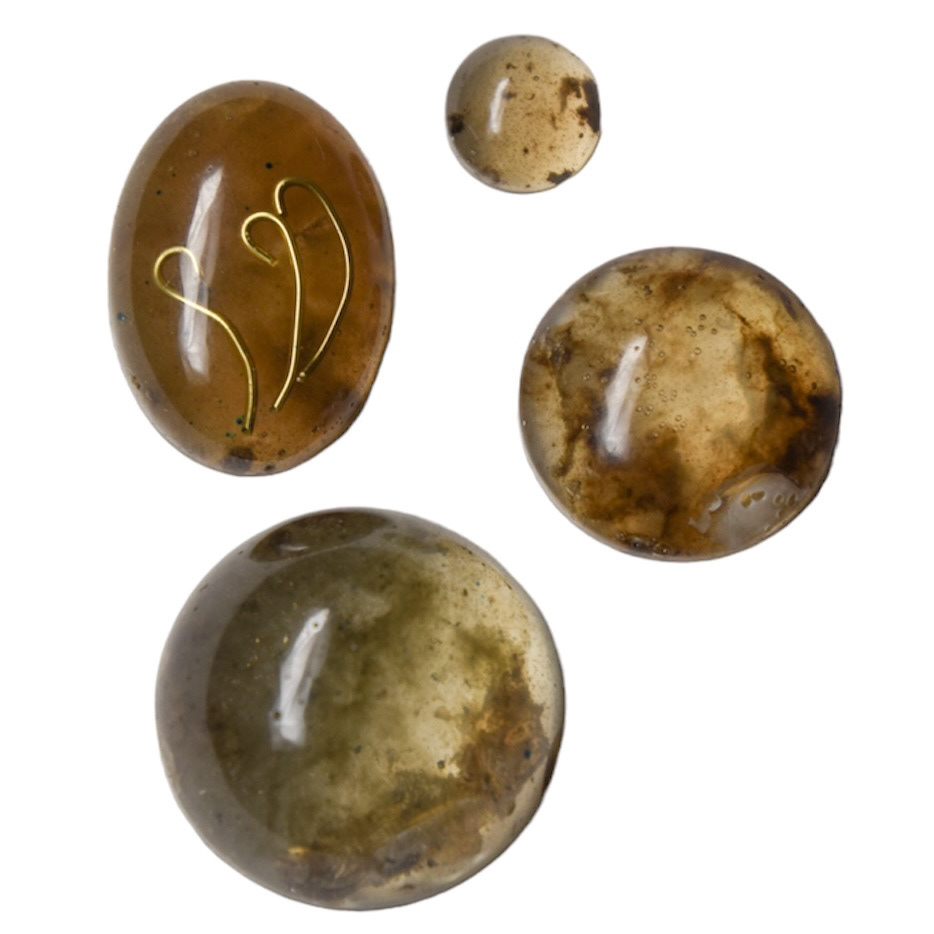
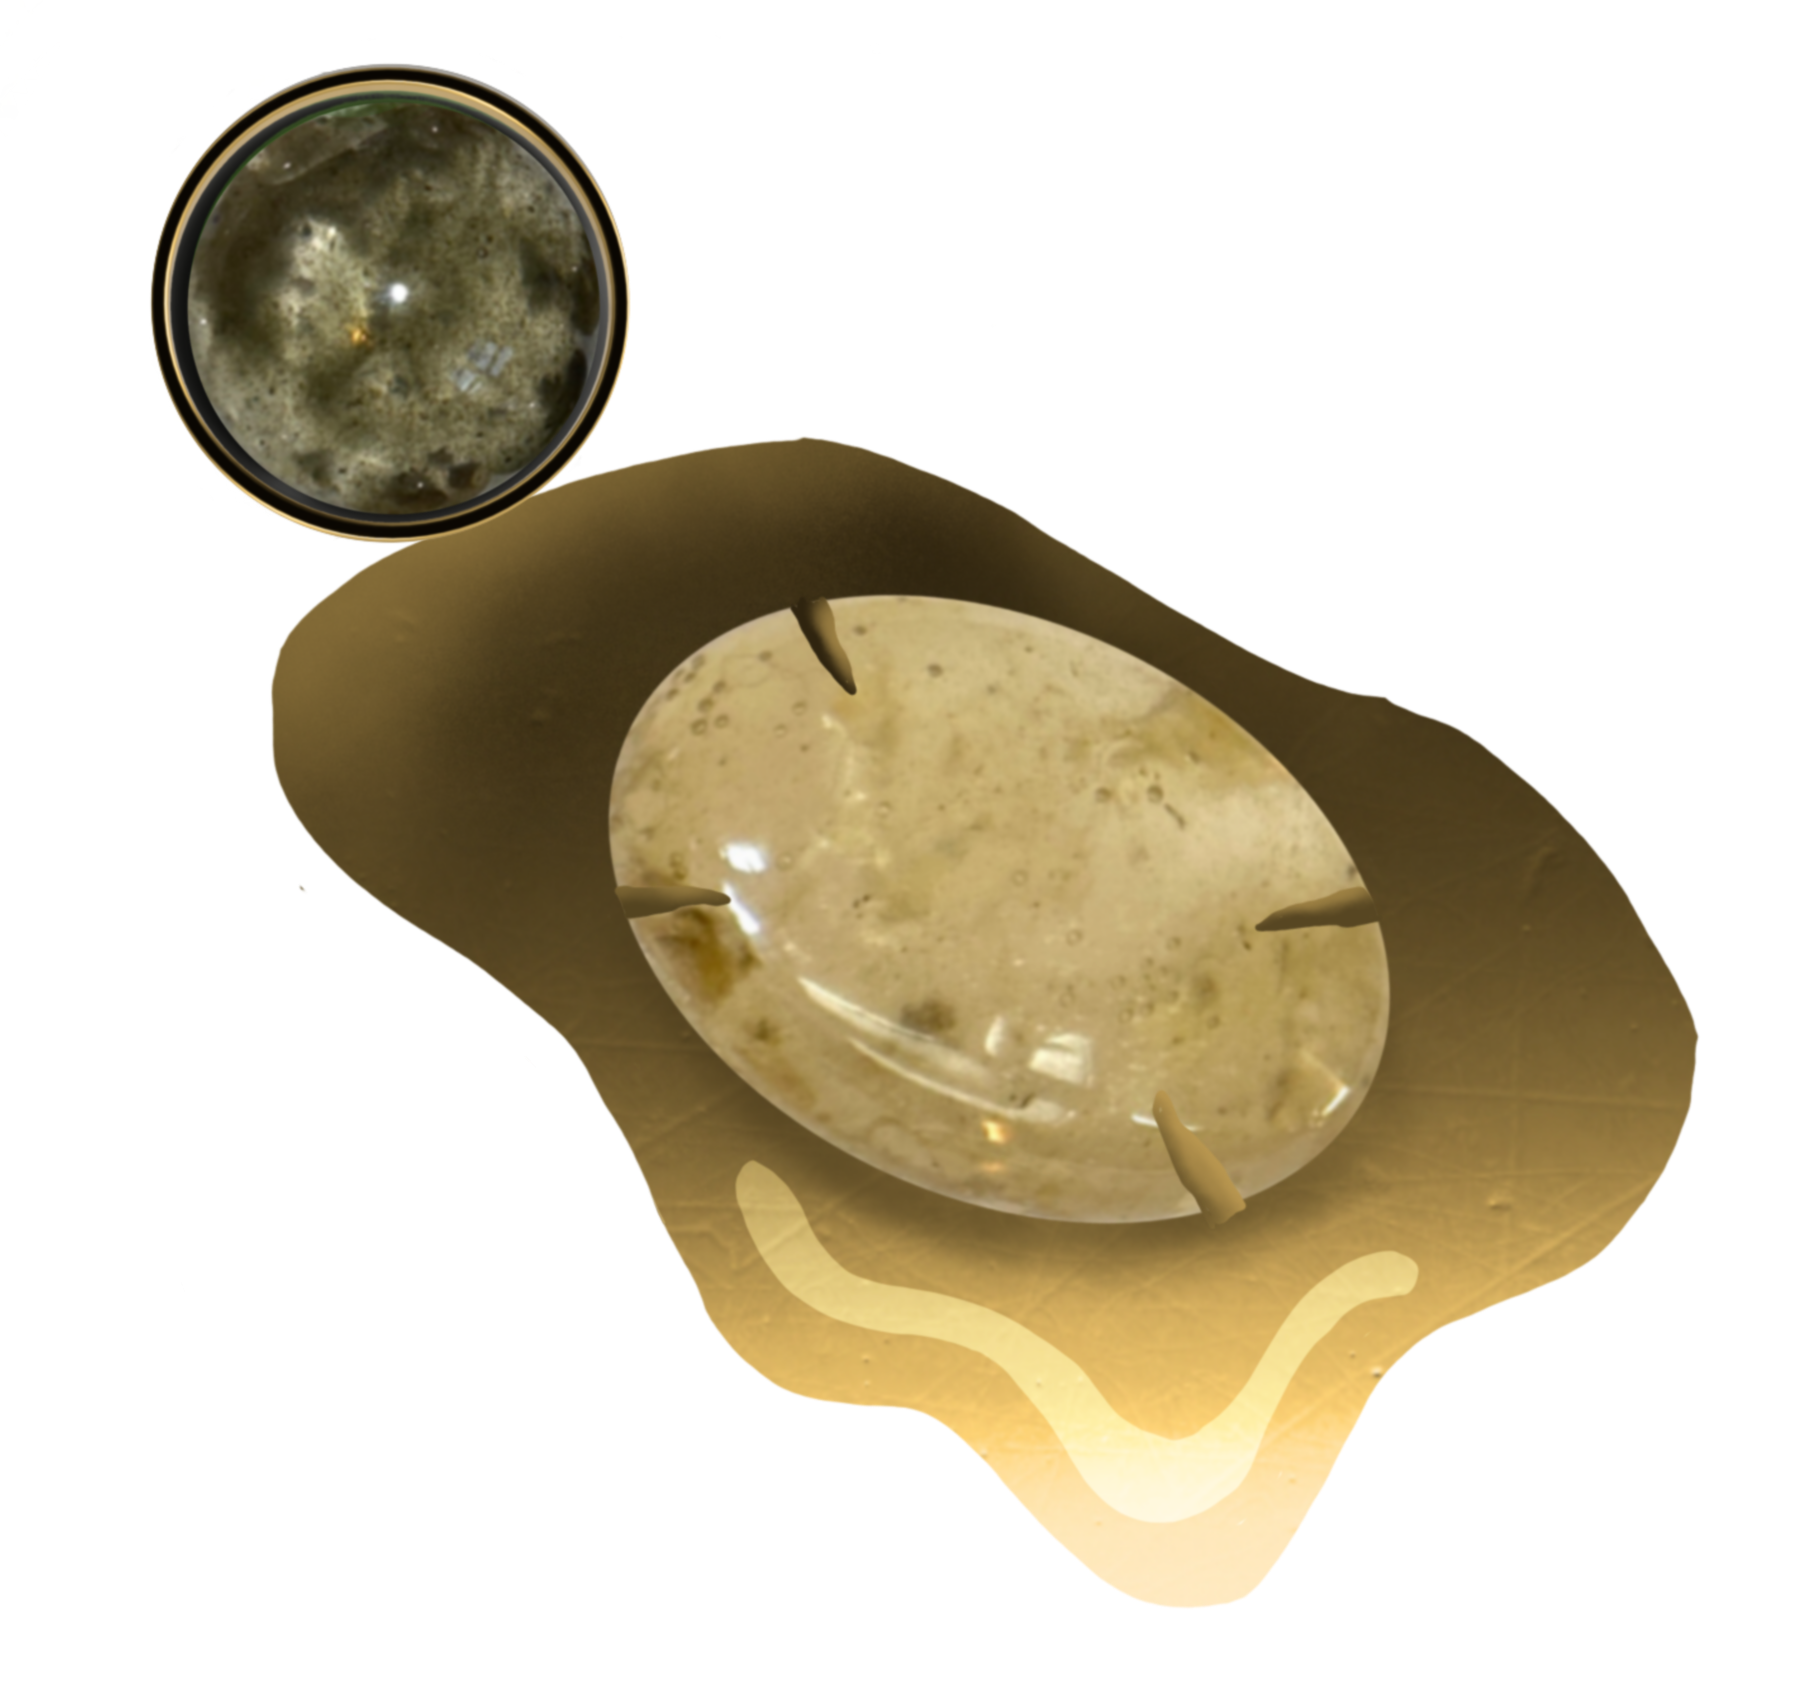
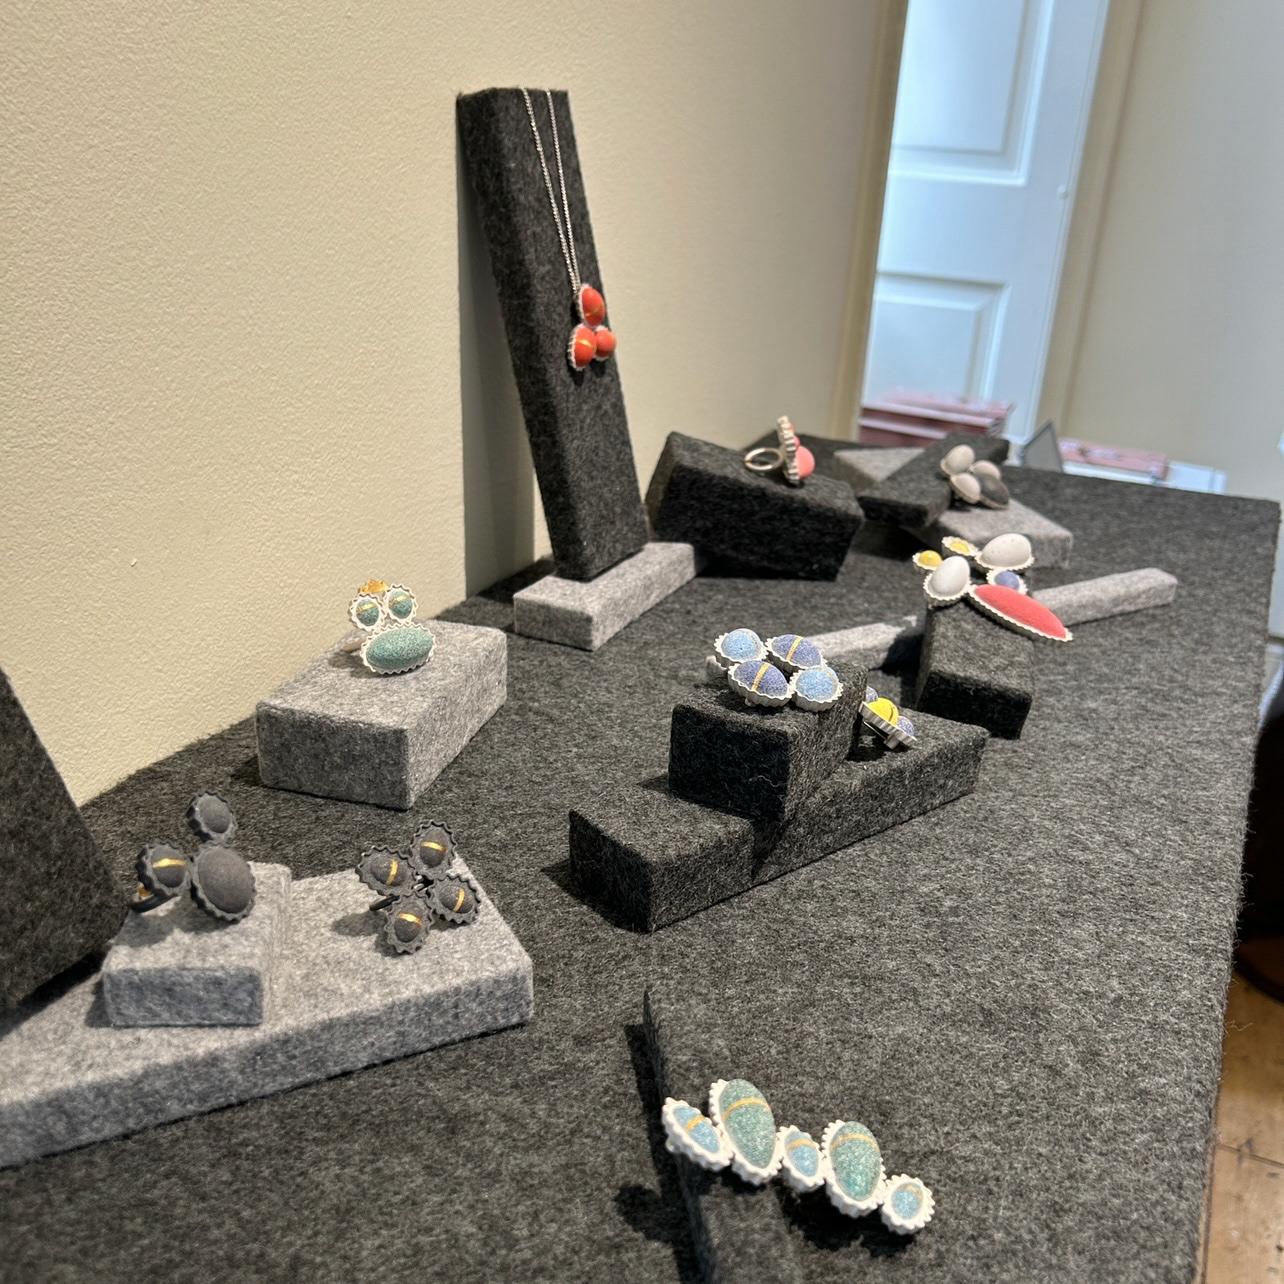
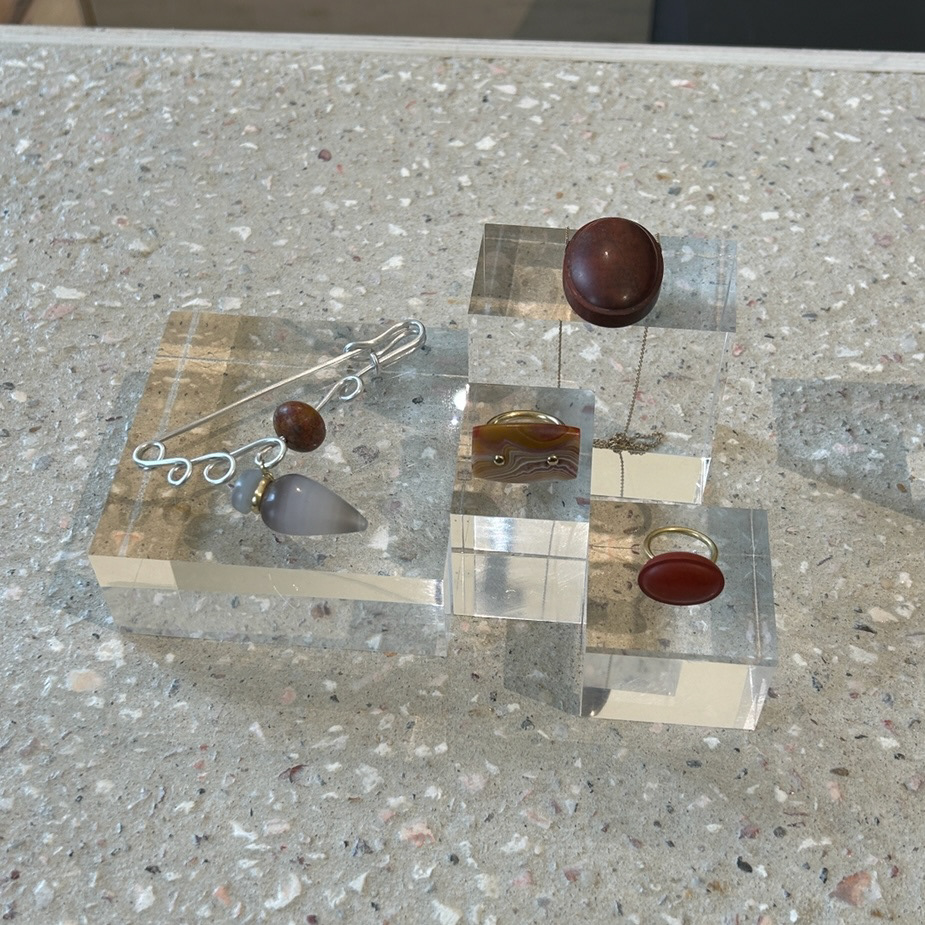
Dyed stones

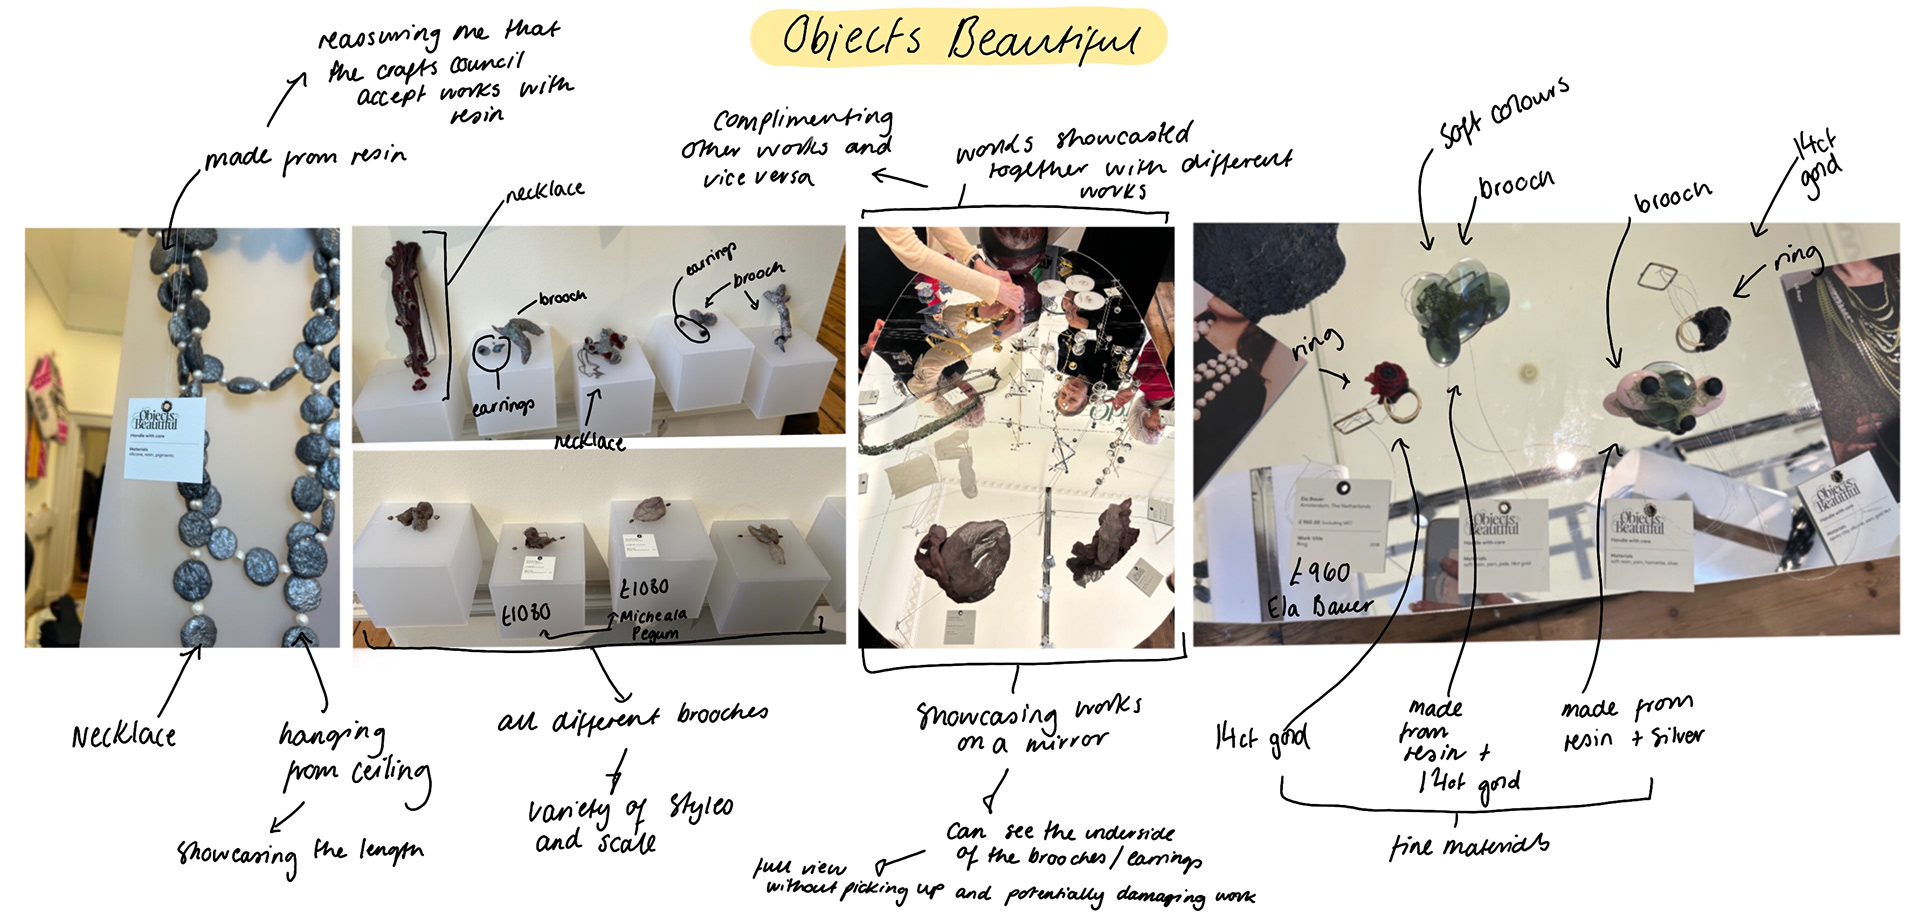


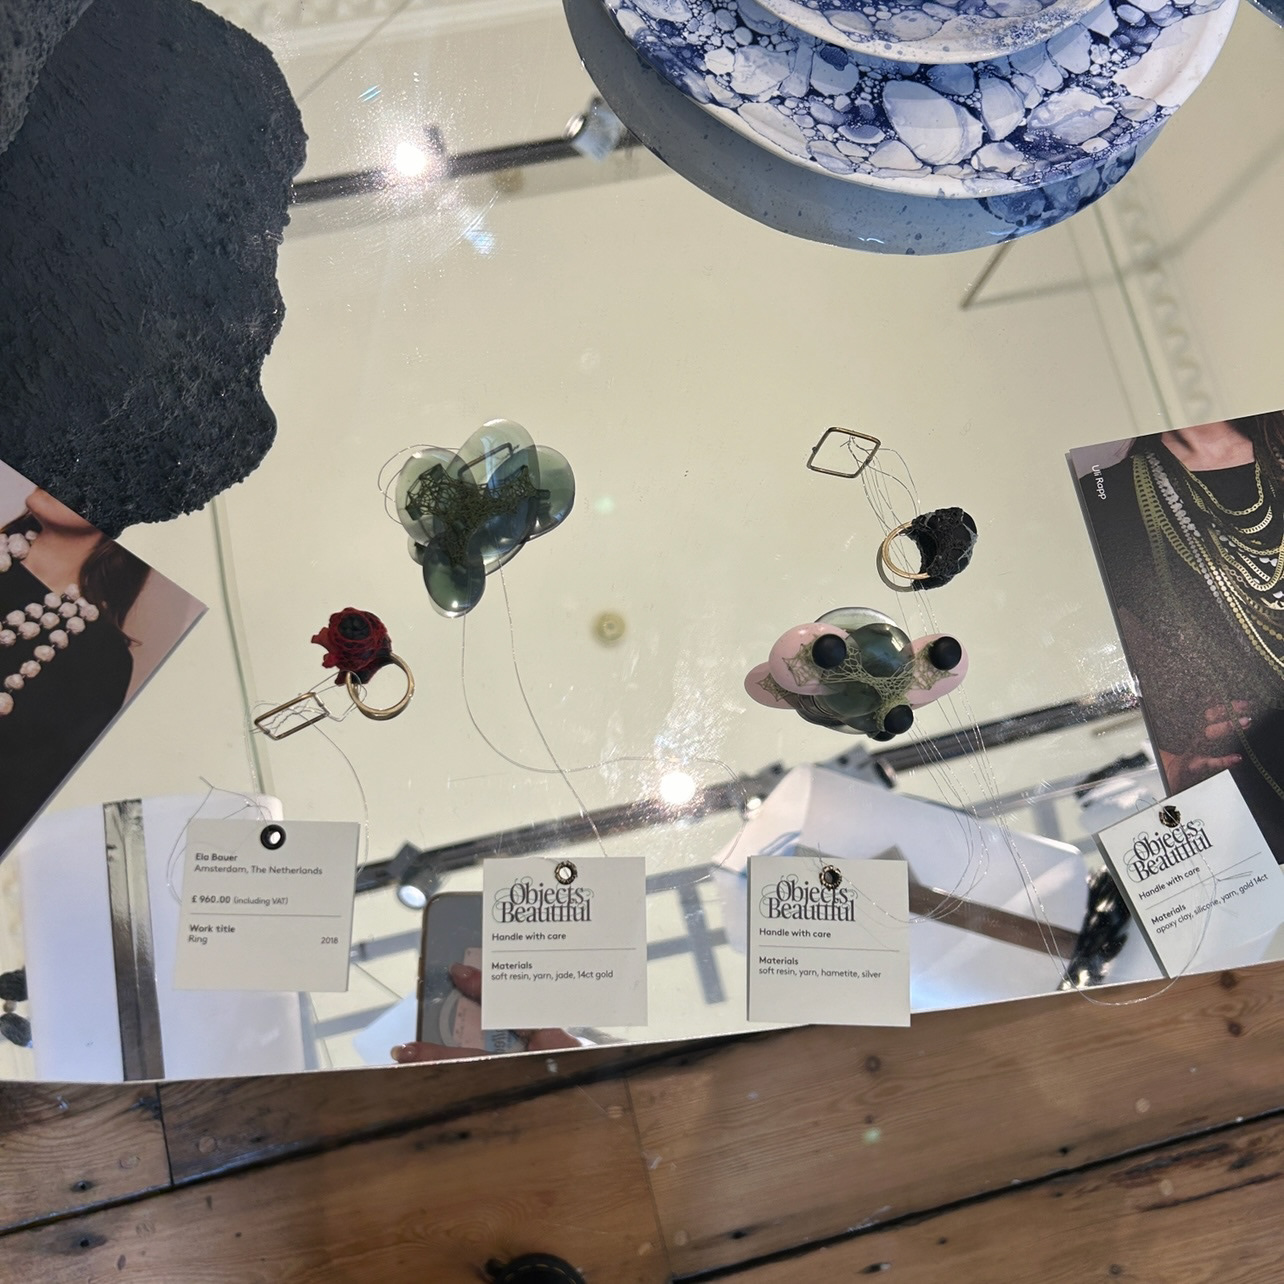
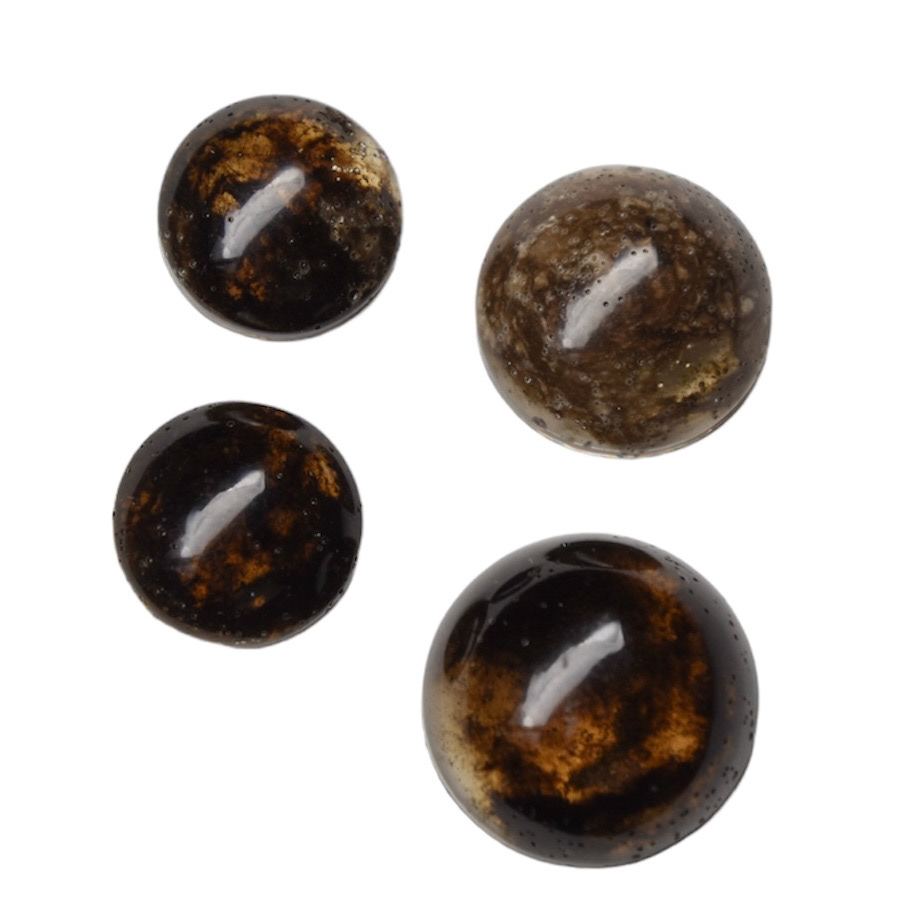
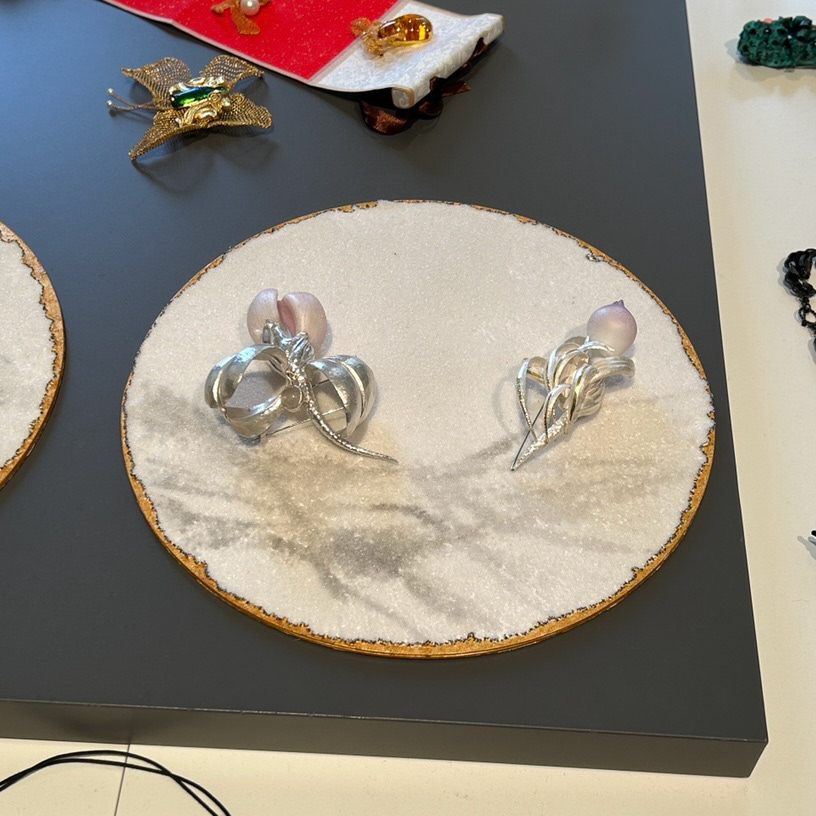
Objects Beautiful
Objects Beautiful
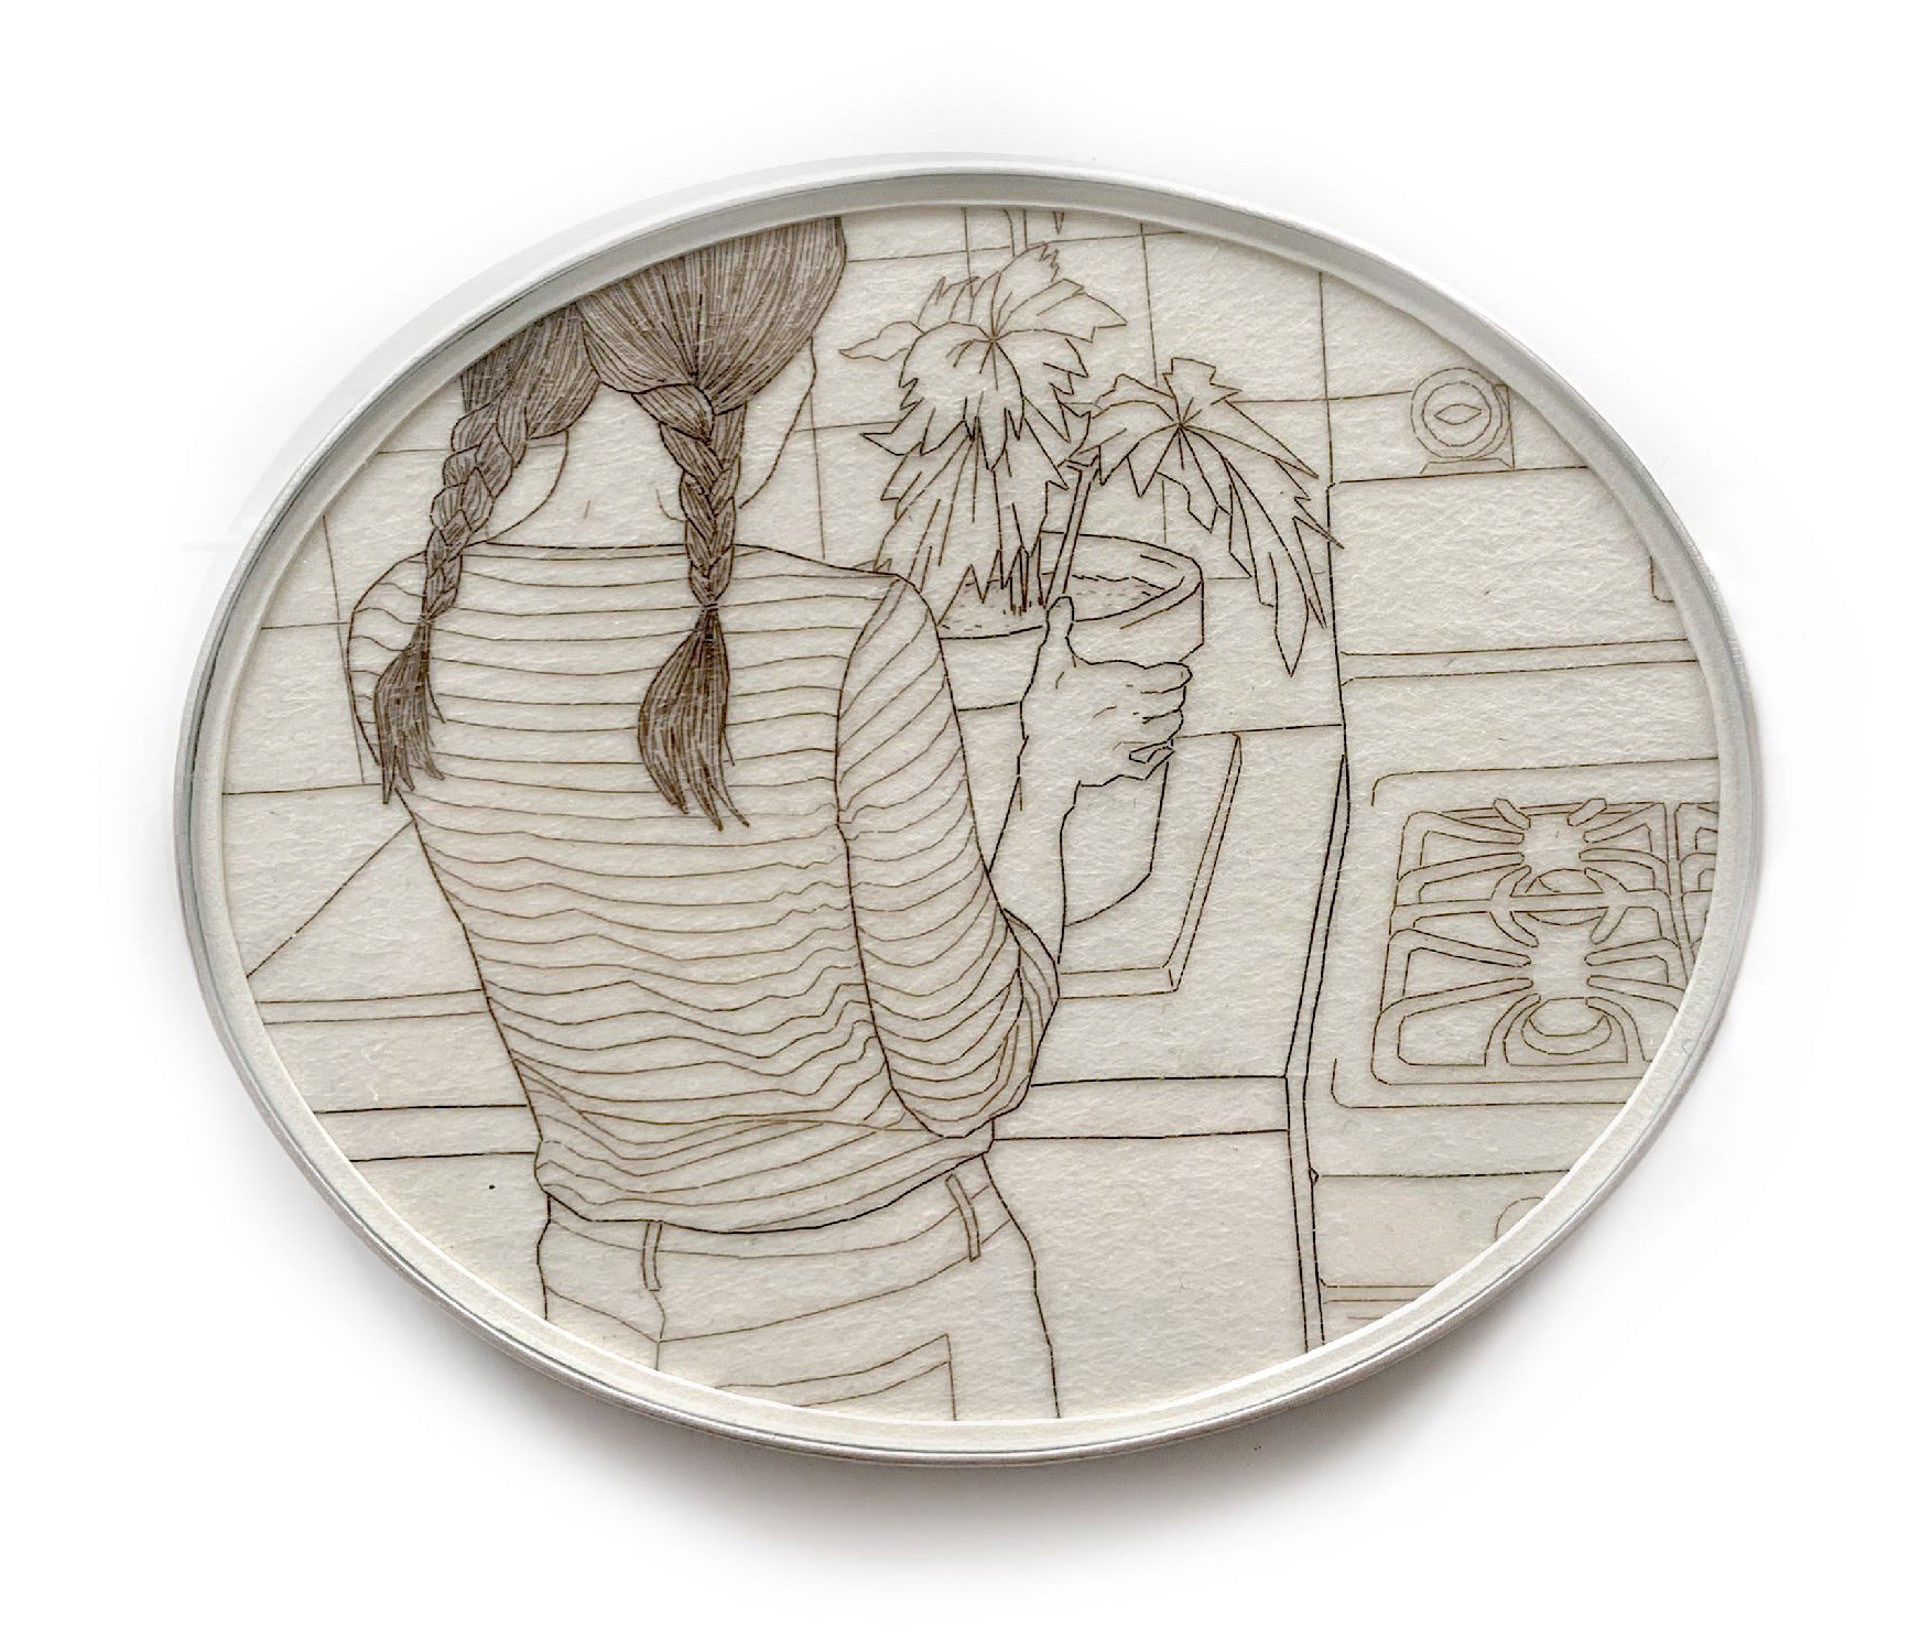
Qiwei Liu
Qiwei Liu
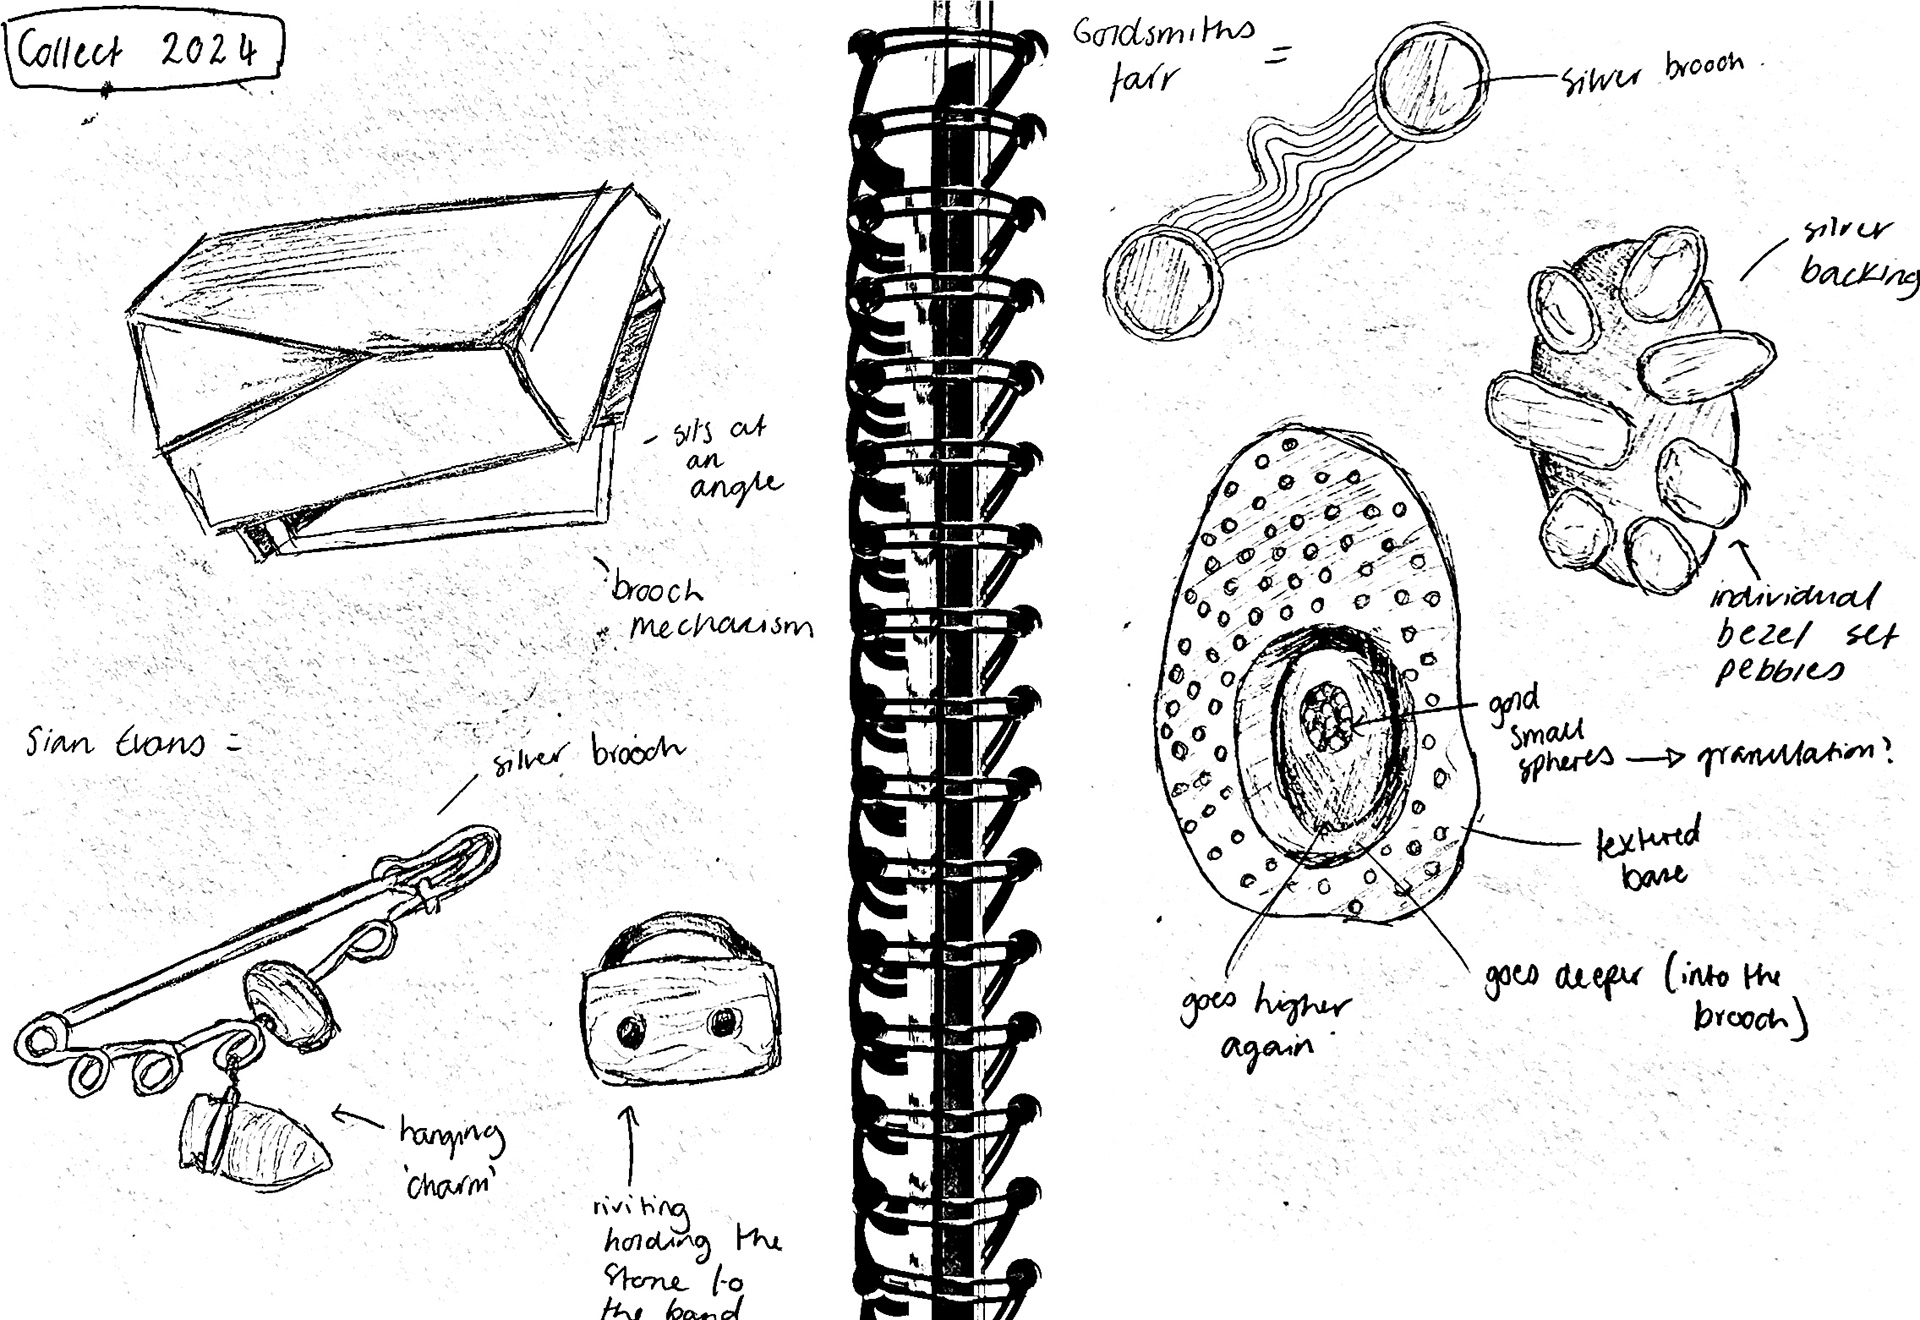
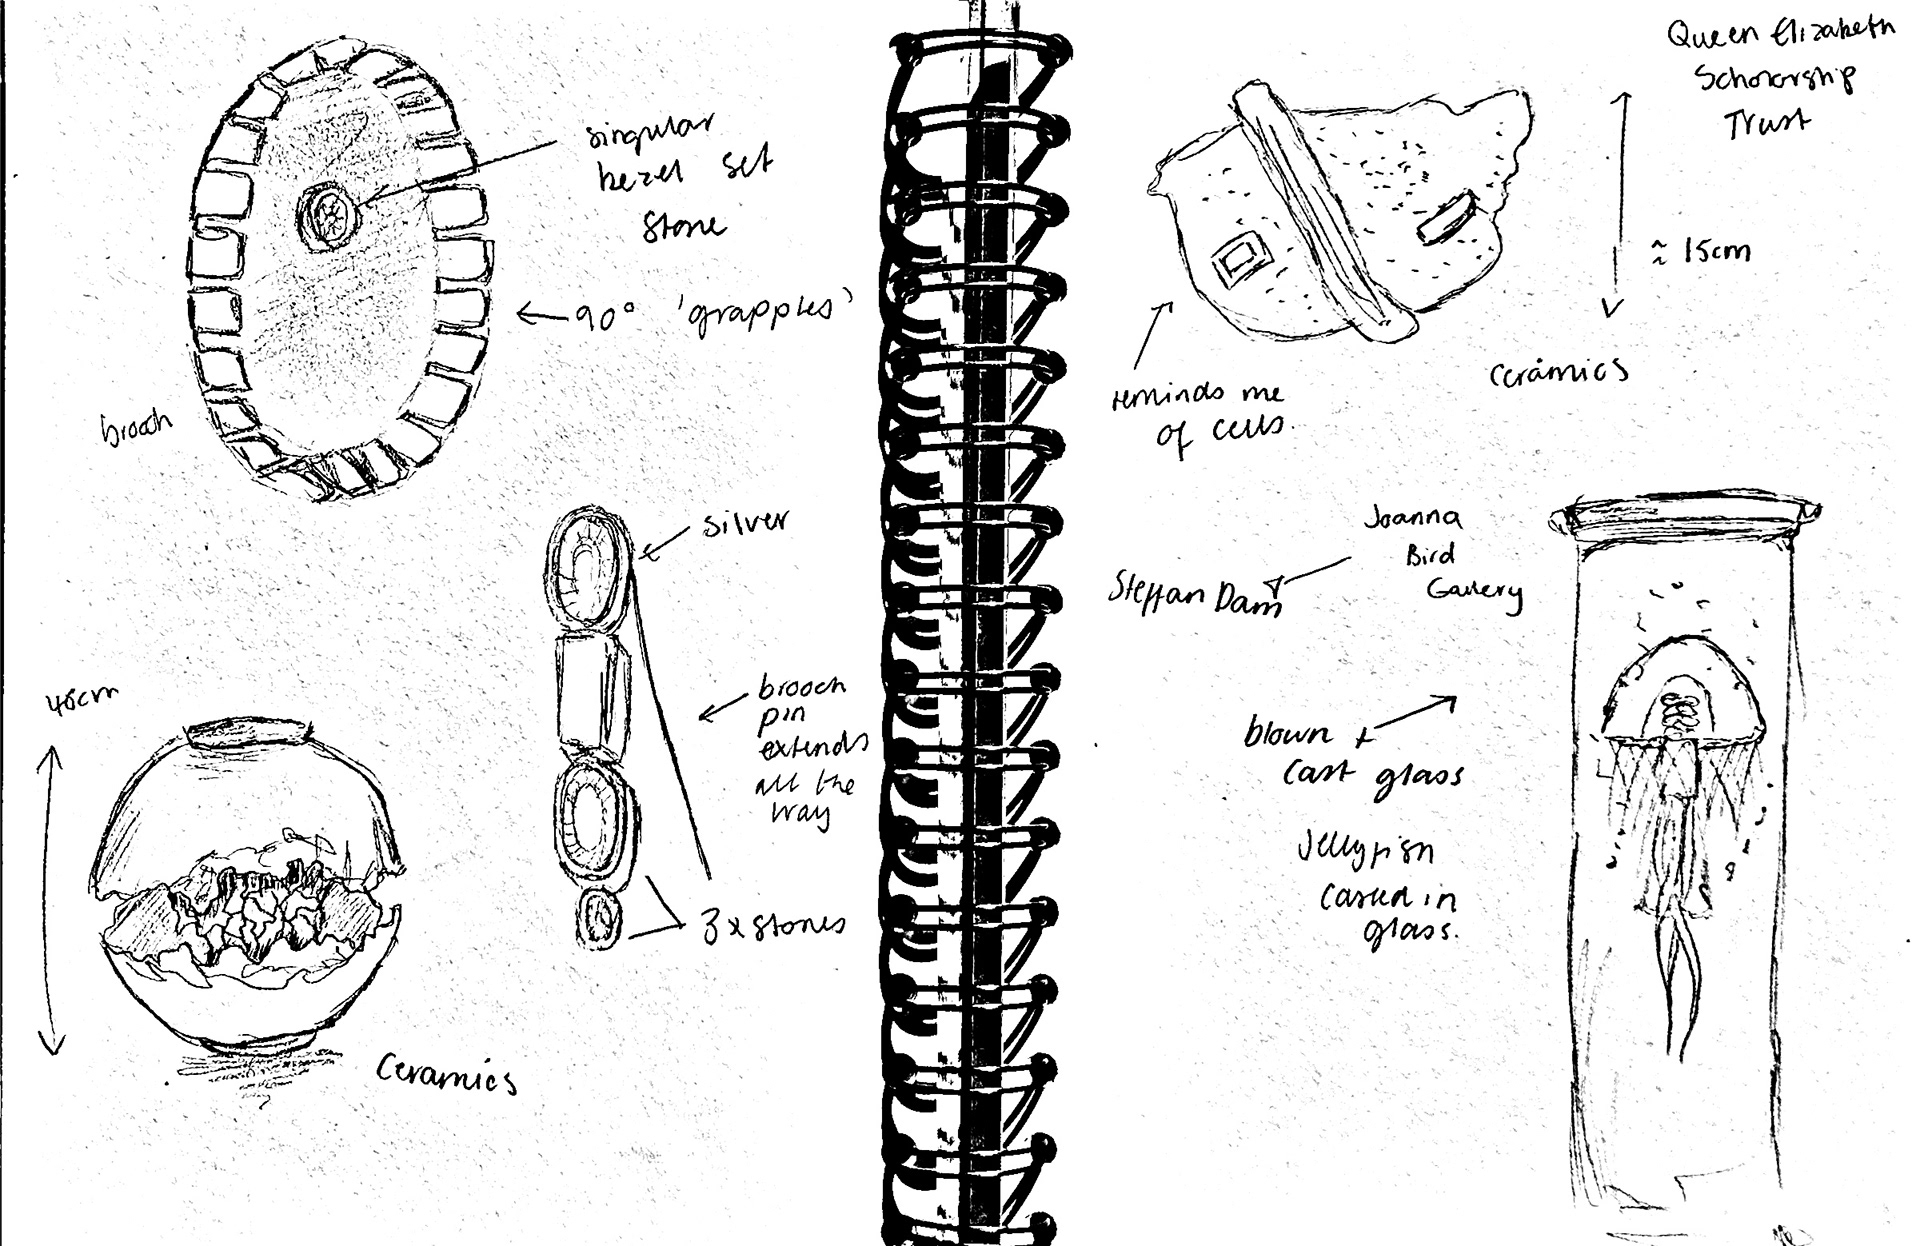
Sian Evans
Xiaoli Ning