Stone Settings
Bezel Setting
First attempt
Second attempt
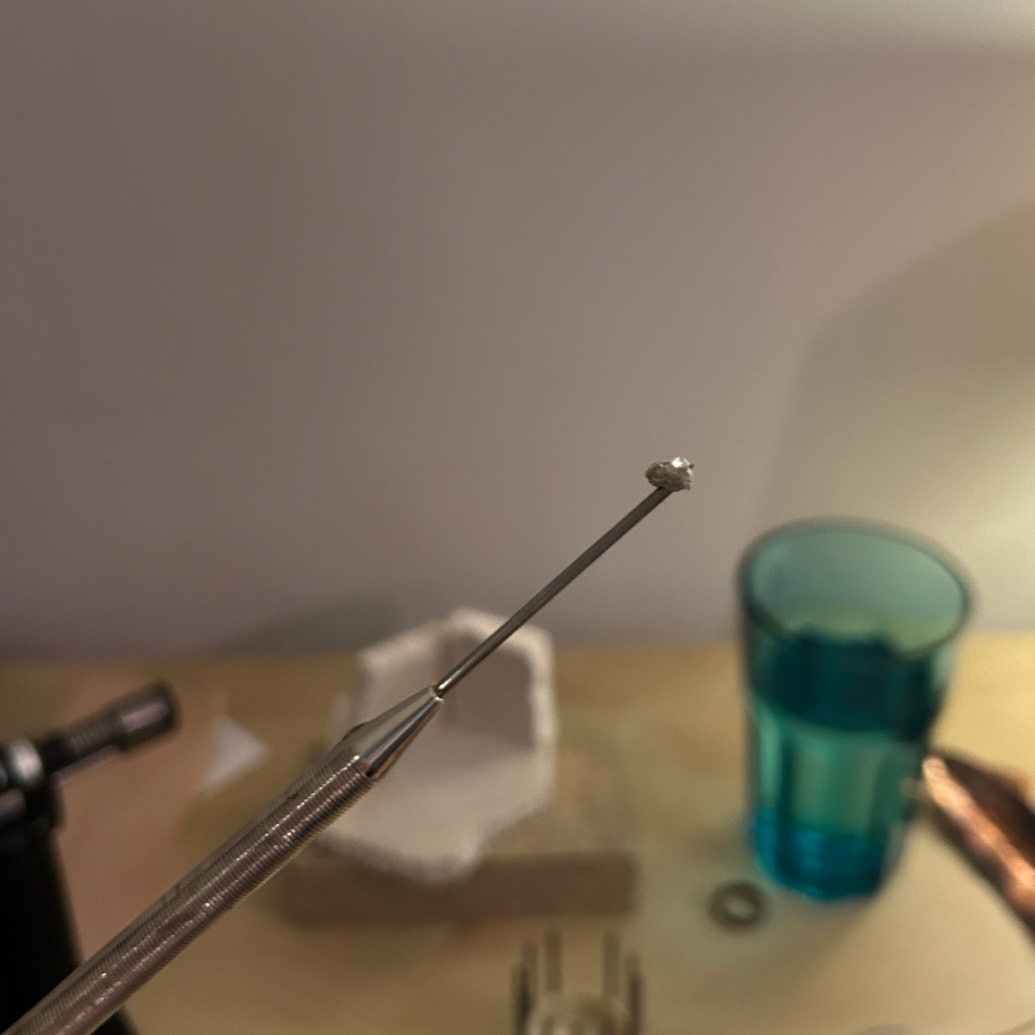
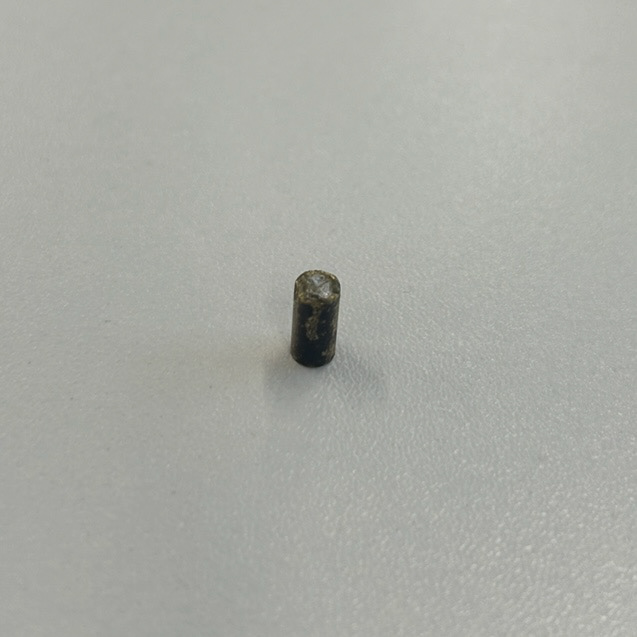
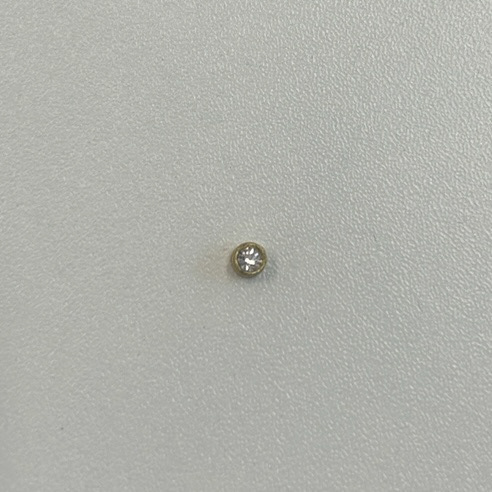
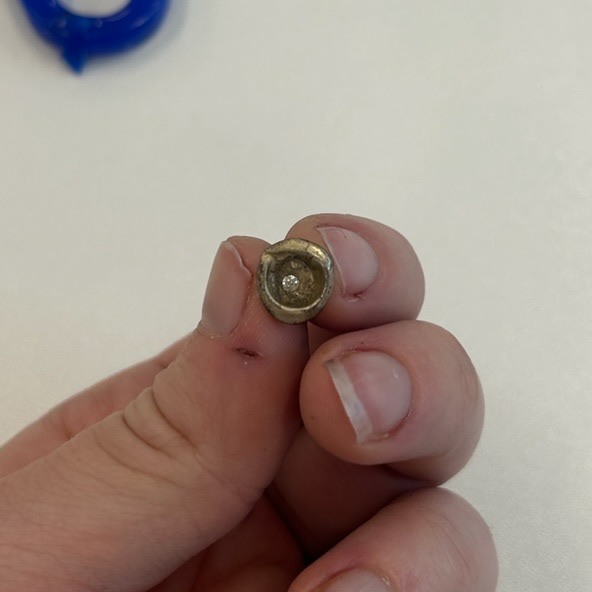
For my first sample, I created a bezel setting using solid brass tubing. Using solid tubing instead of hollow meant I had to use burring tools to make a seat for the stone. This also meant that I could create an accurate-sized seat using the correct width tools, rather than relying on the inner tubing of hollow brass tubing being the exact fit, which can sometimes be hard to find. With my first attempt, I accidentally cracked the stone while I was hammering the outer setting into place. This made me question whether the stones I had purchased were actually Cubic Zirconias as the description said, or whether they were glass. For my second attempt, I used leftover cubic zirconias from another project, which resulted in a much neater setting.
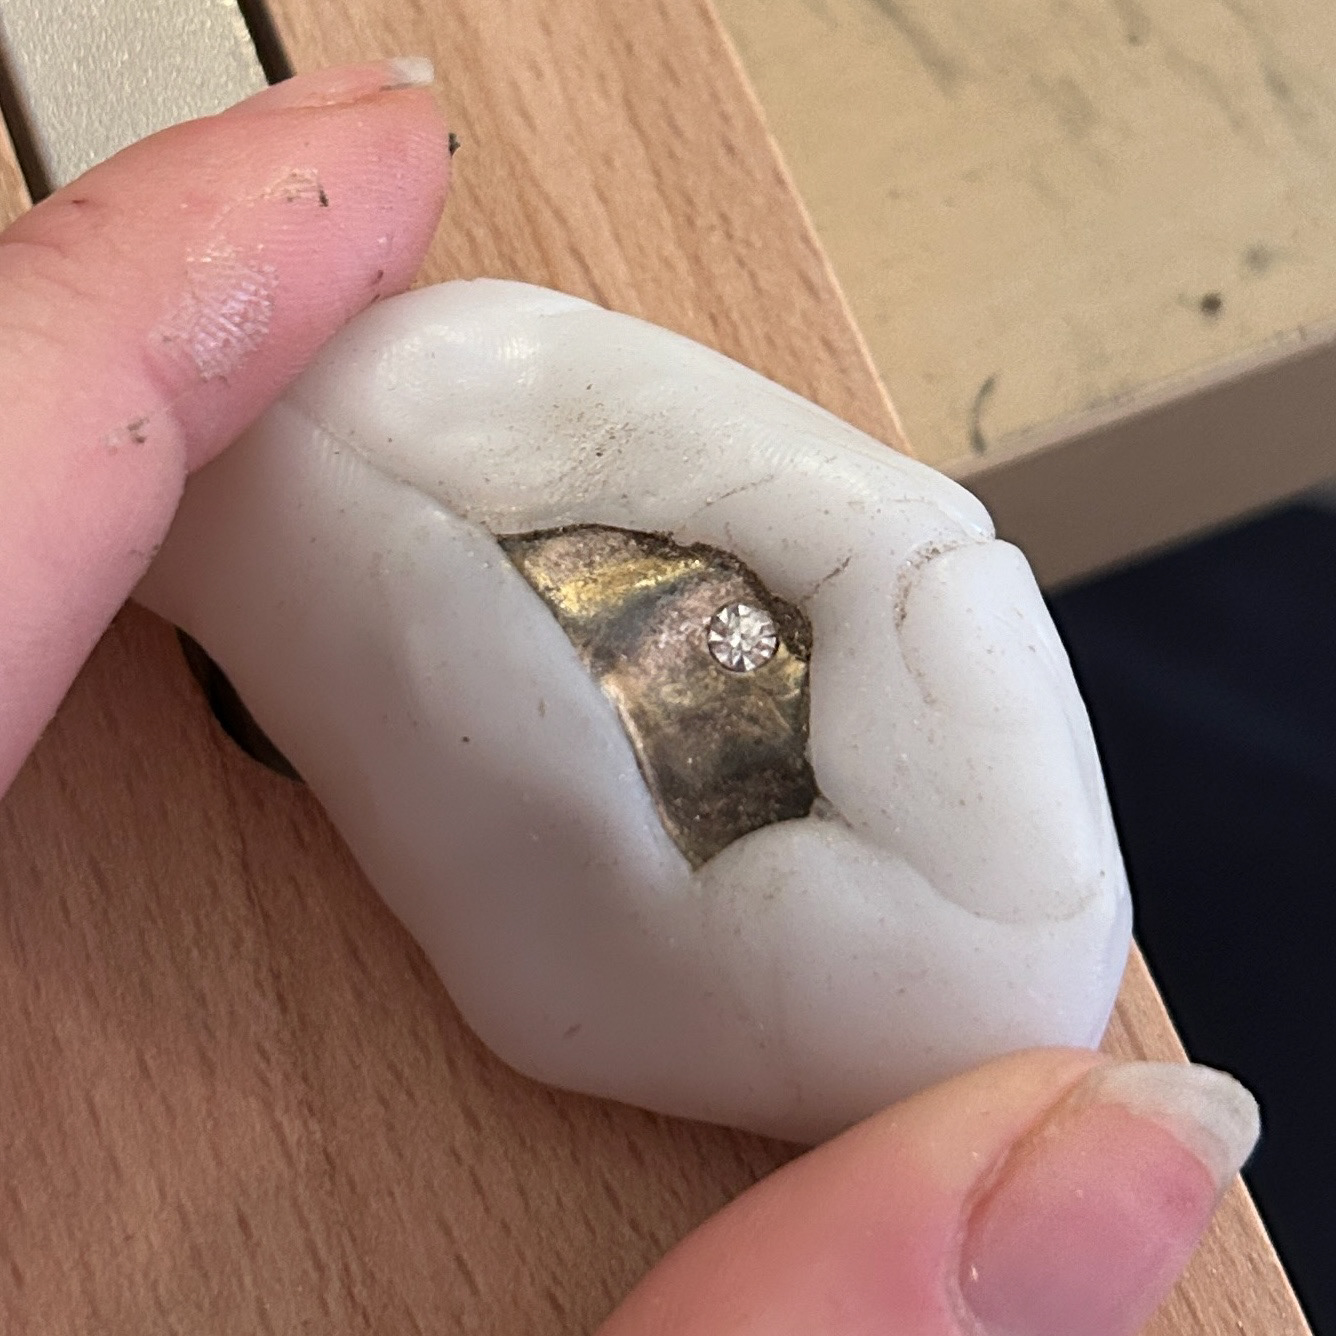
Flush setting

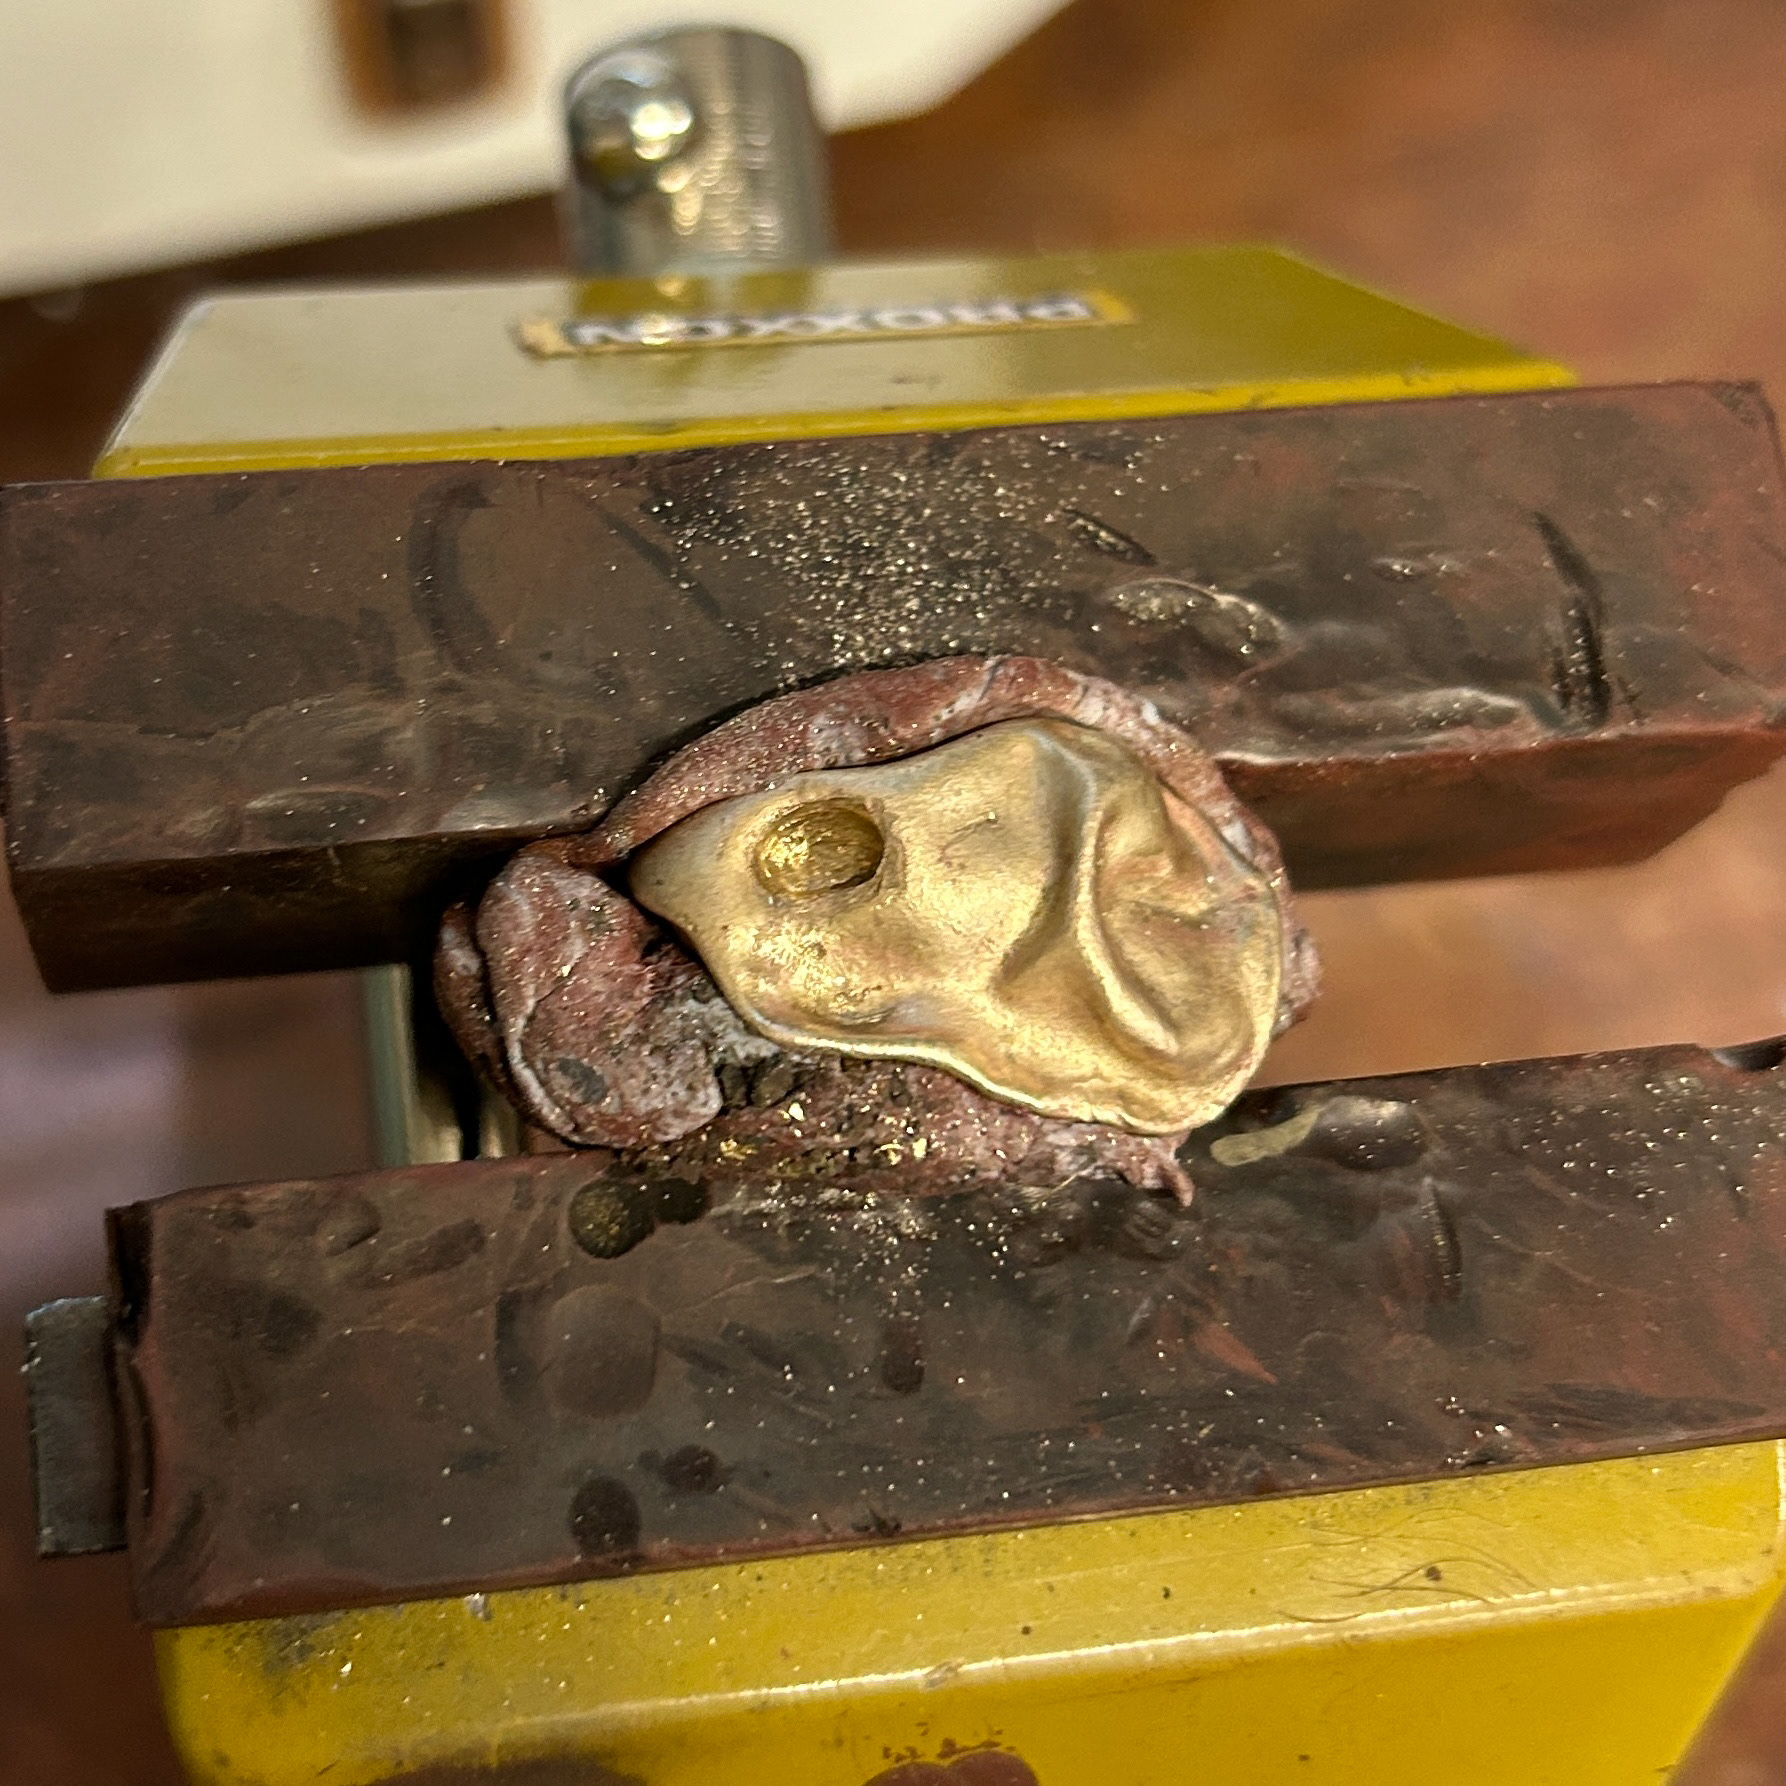
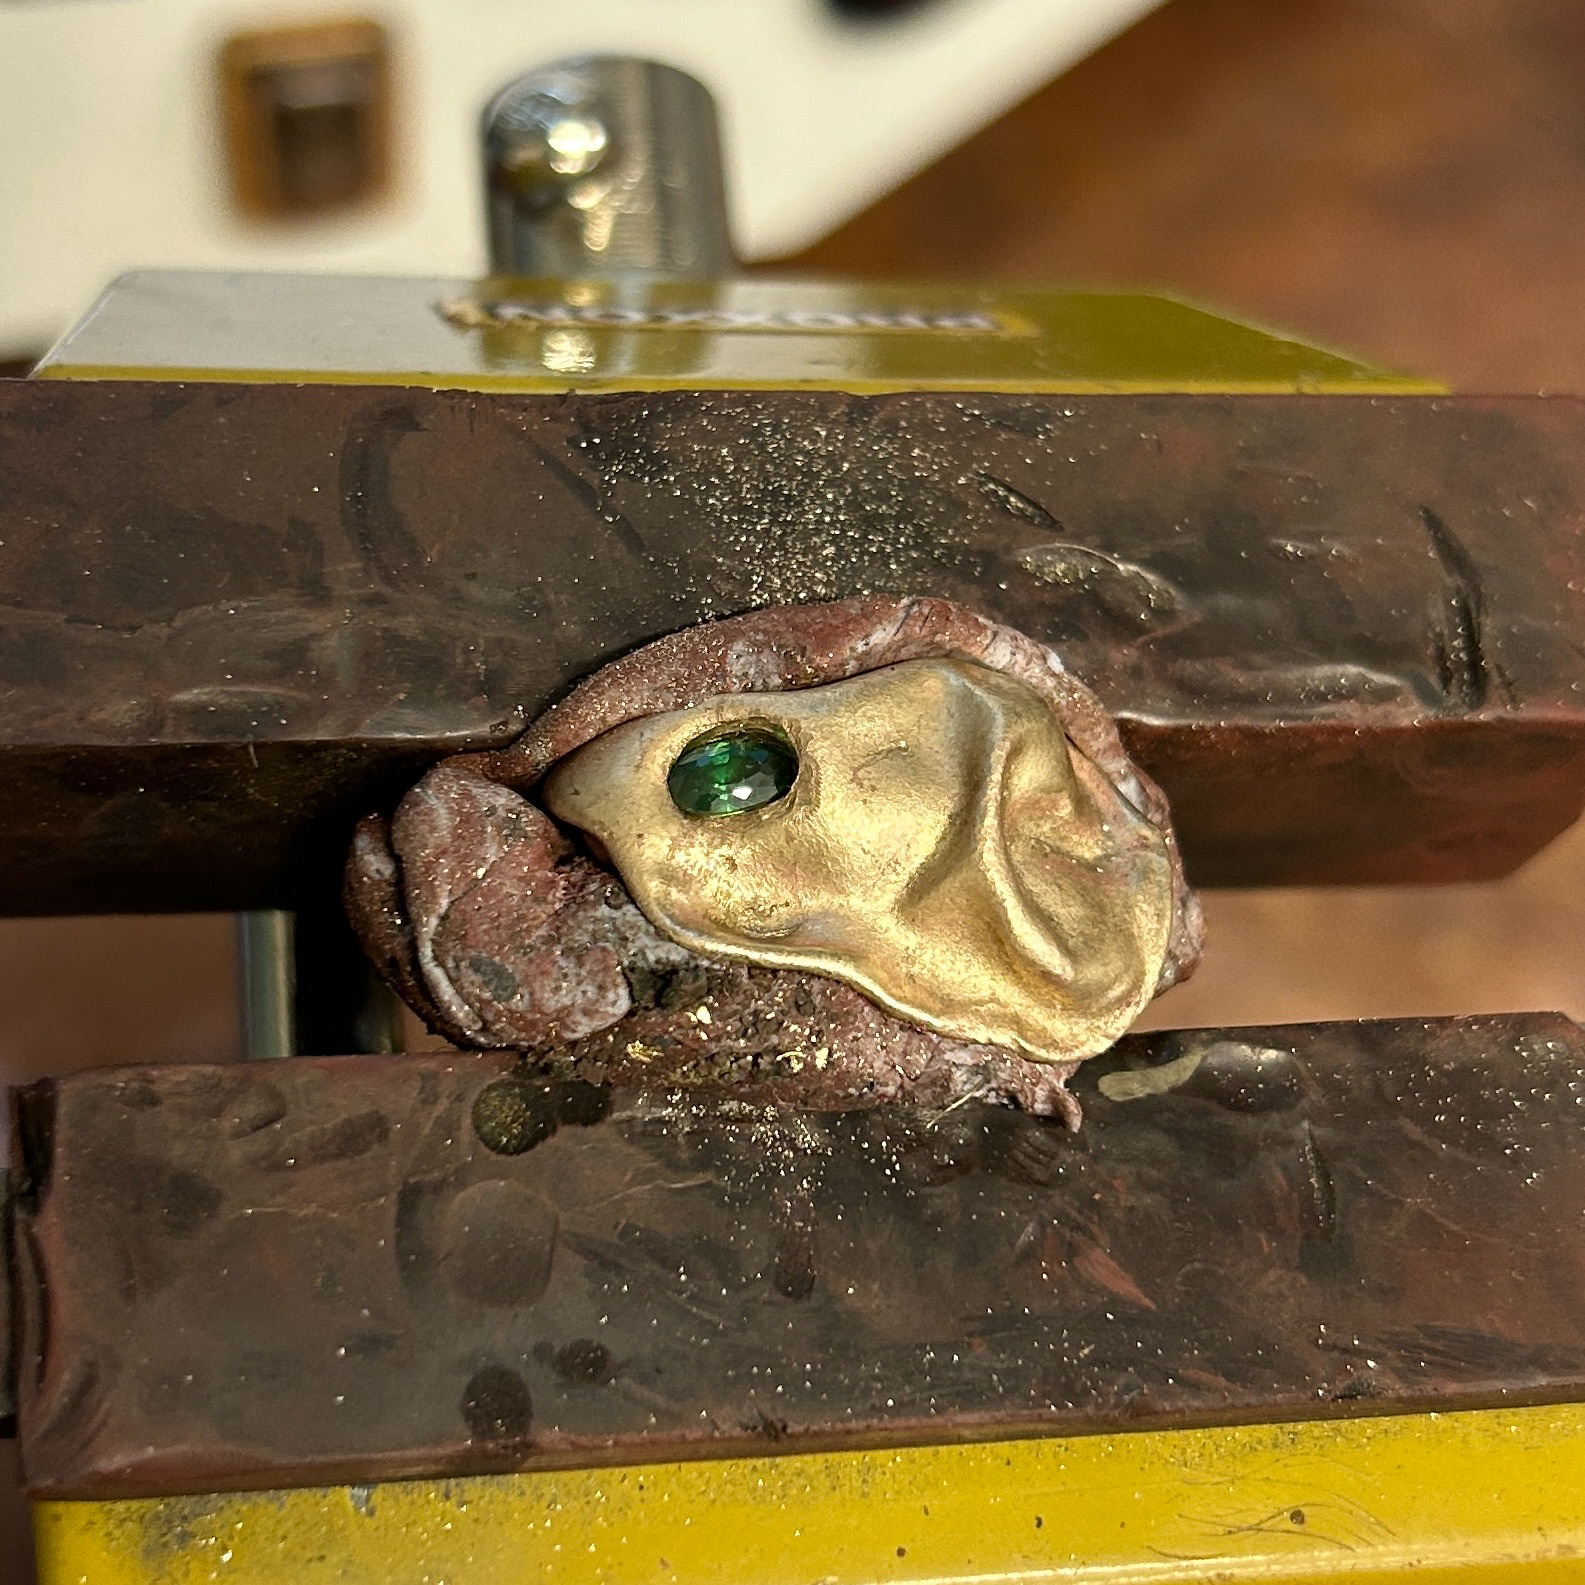
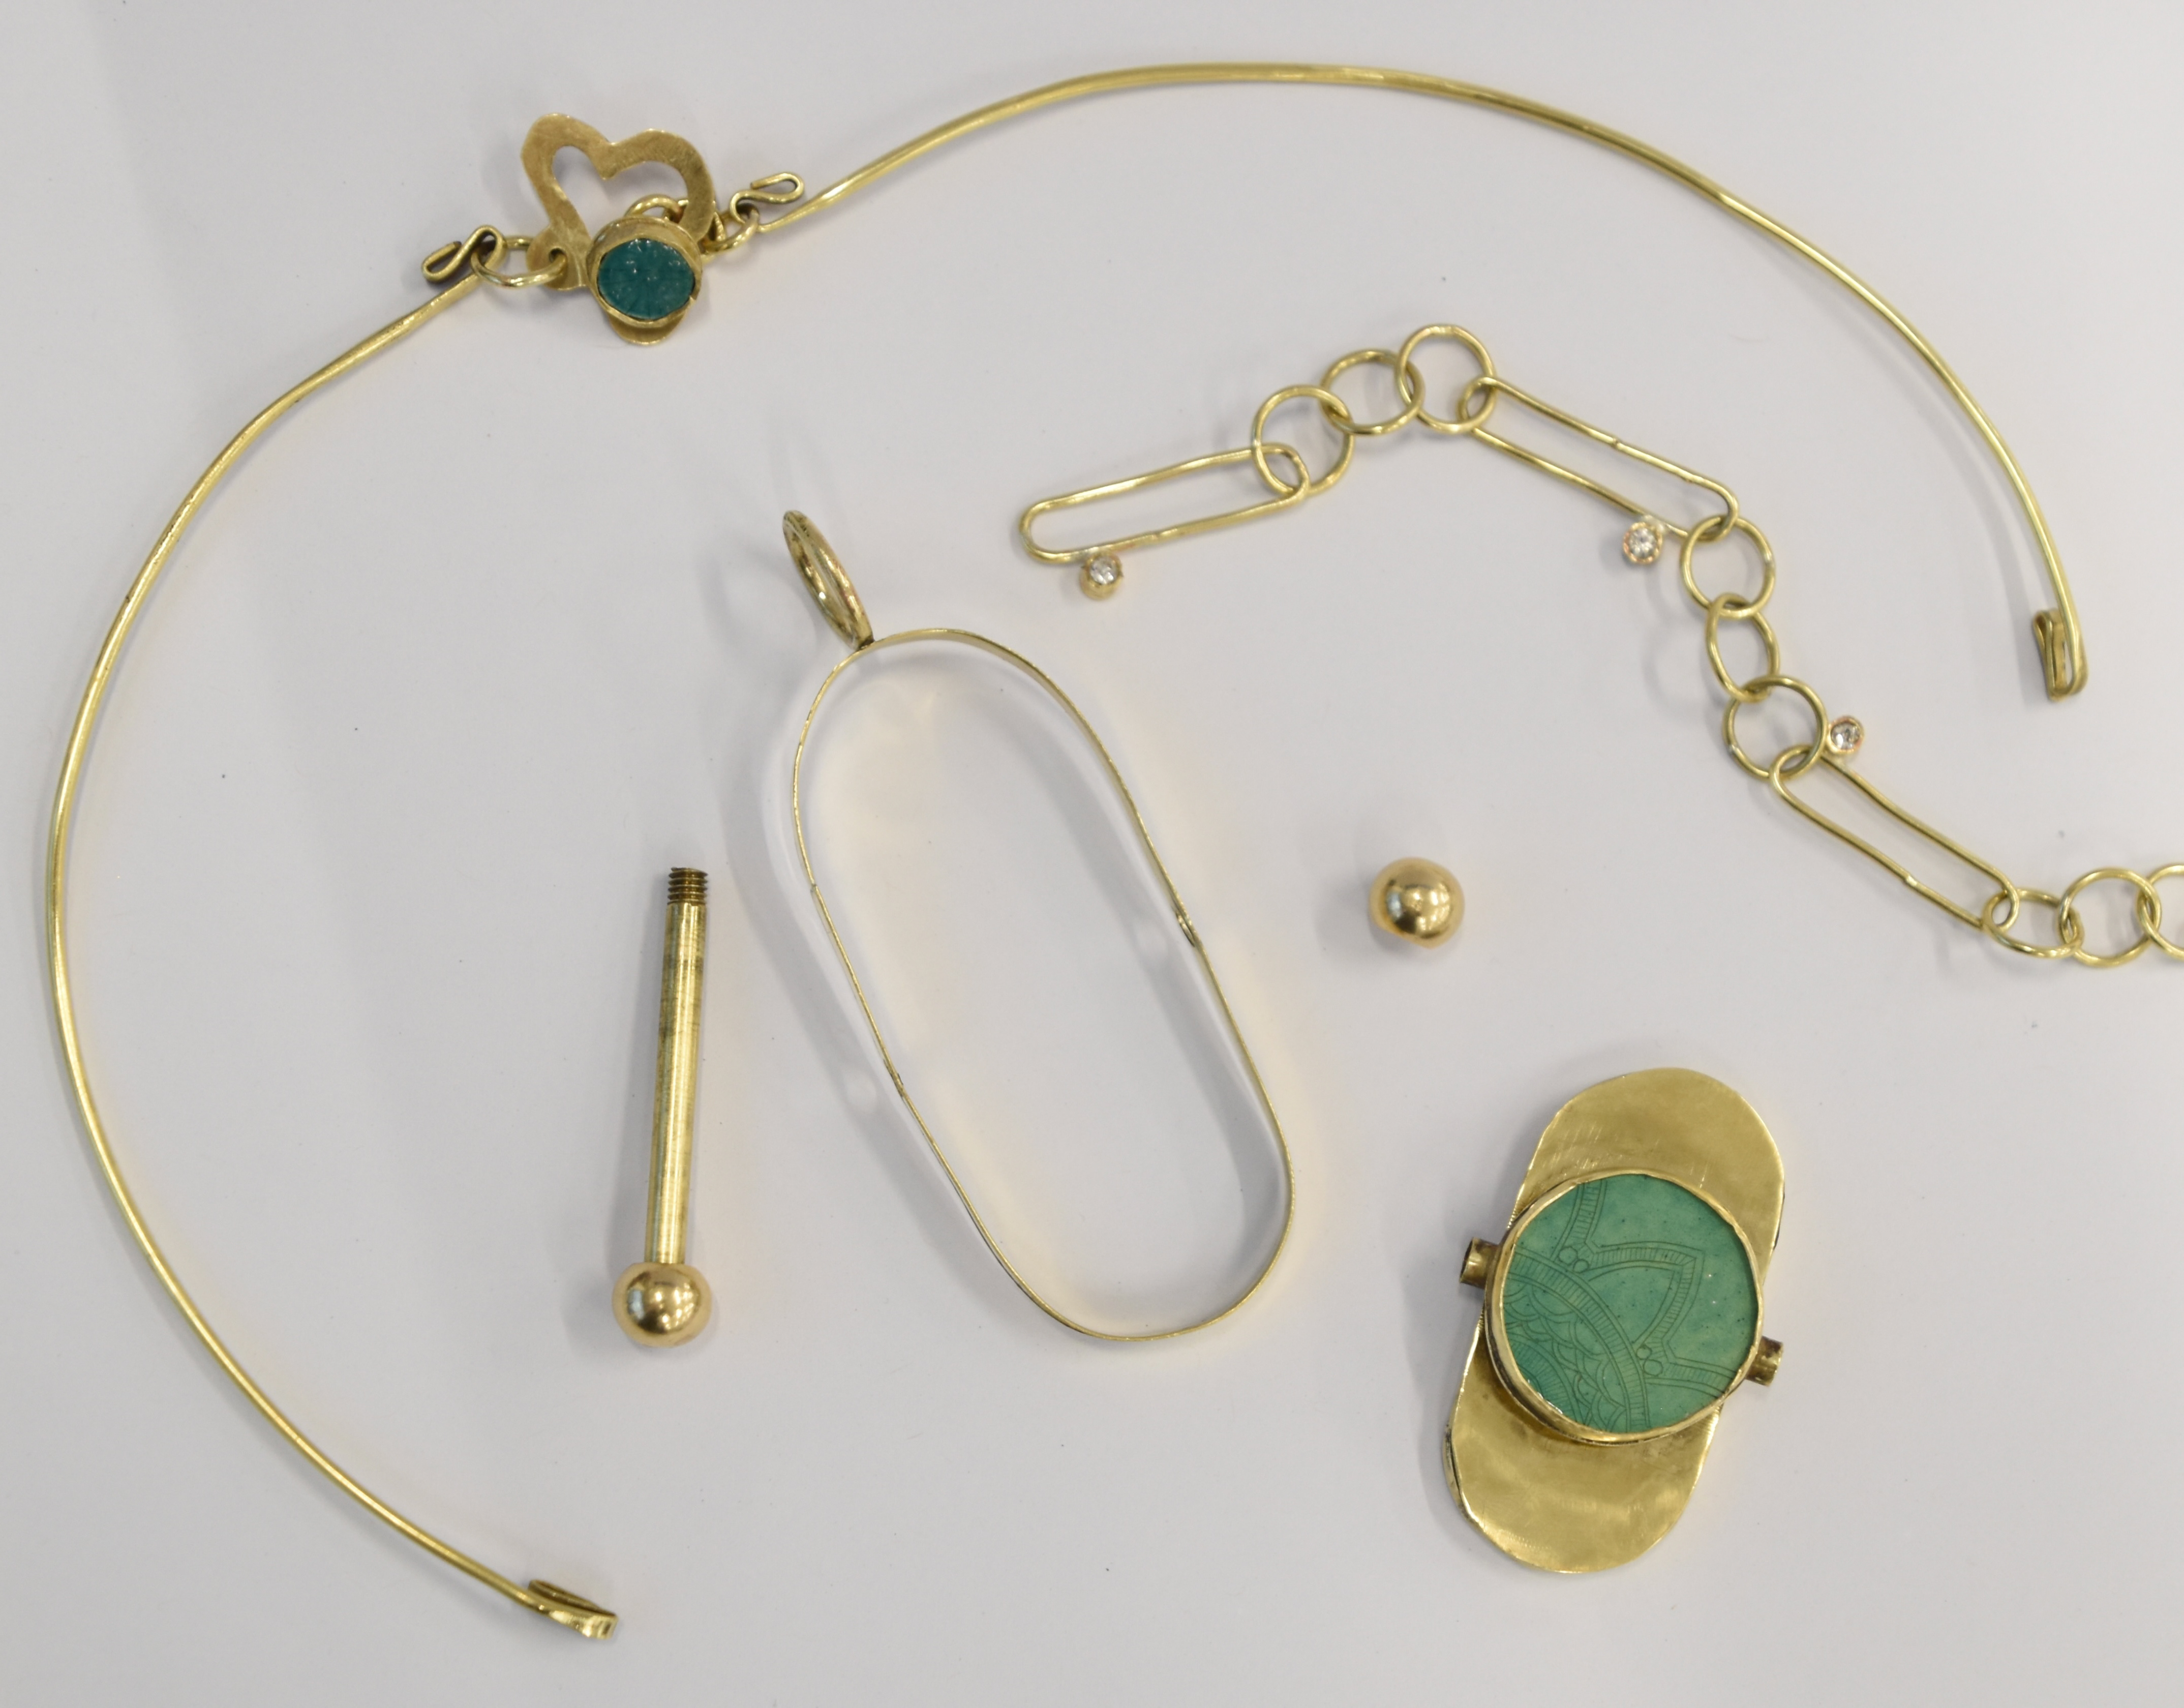
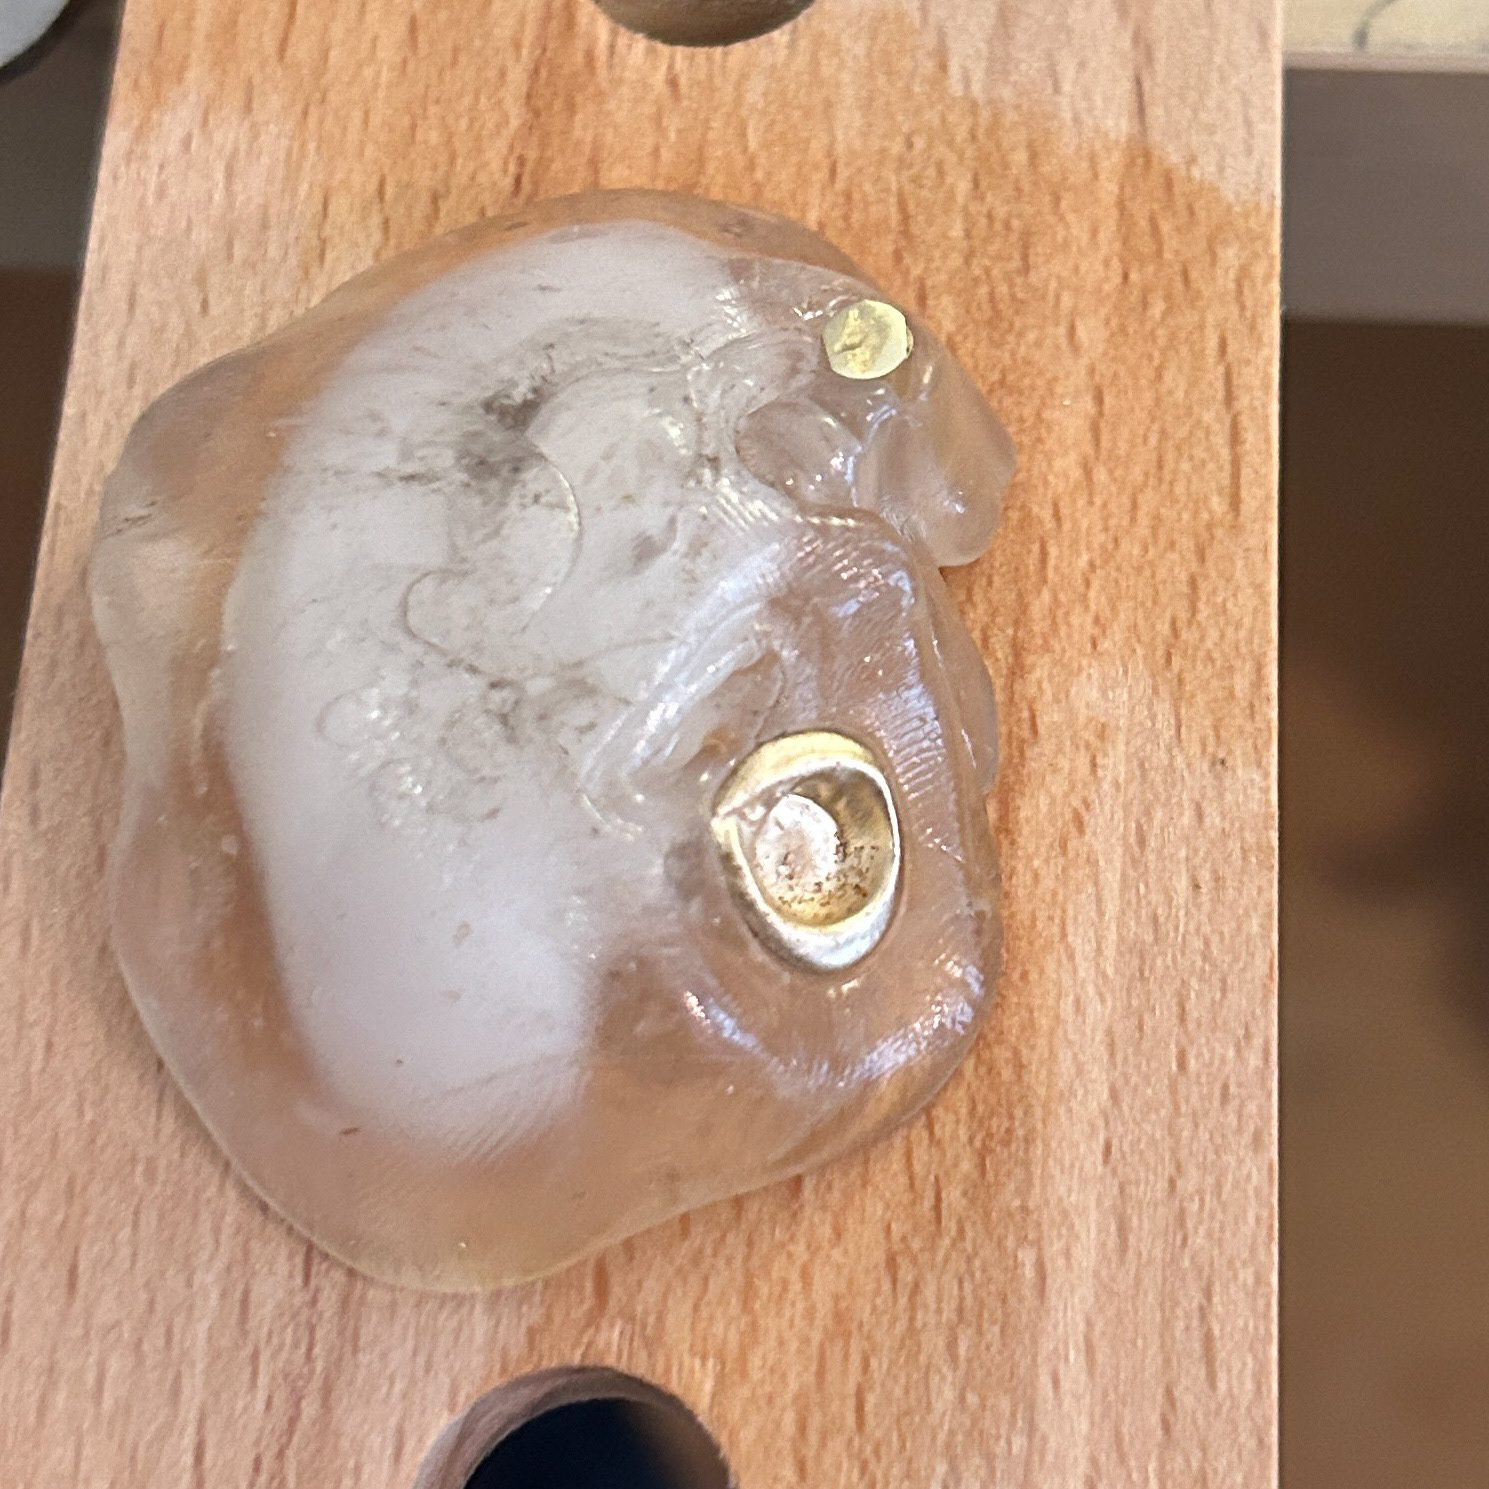
This was my first attempt at a larger stone setting. This was made using brass and a green oval cubic zirconia. The brass was leftover from casting and so had all of these organic and flowing forms from the cold water. I decided that I wanted to set a cubic zirconia within one of these curves, using a flush setting. I used an emerald green cubic zirconia as I felt it complimented the brass, however, the oval shape was quite hard to work with. In retrospect, I should've started with a circular stone and worked upwards to an oval shape. However, I decided that if I could work with an oval shape, then I could work with a simpler circular stone.
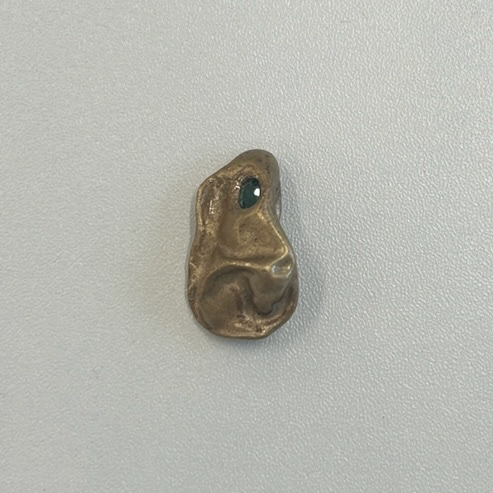
Here I tried using the same sort of brass with a circular cubic zirconia. I learned from my previous setting that annealing the metal often helped the burr glide through the metal. On this sample, I used my burring tools, which are sharper than the ones in the workshop, which helped make the setting quicker and neater.
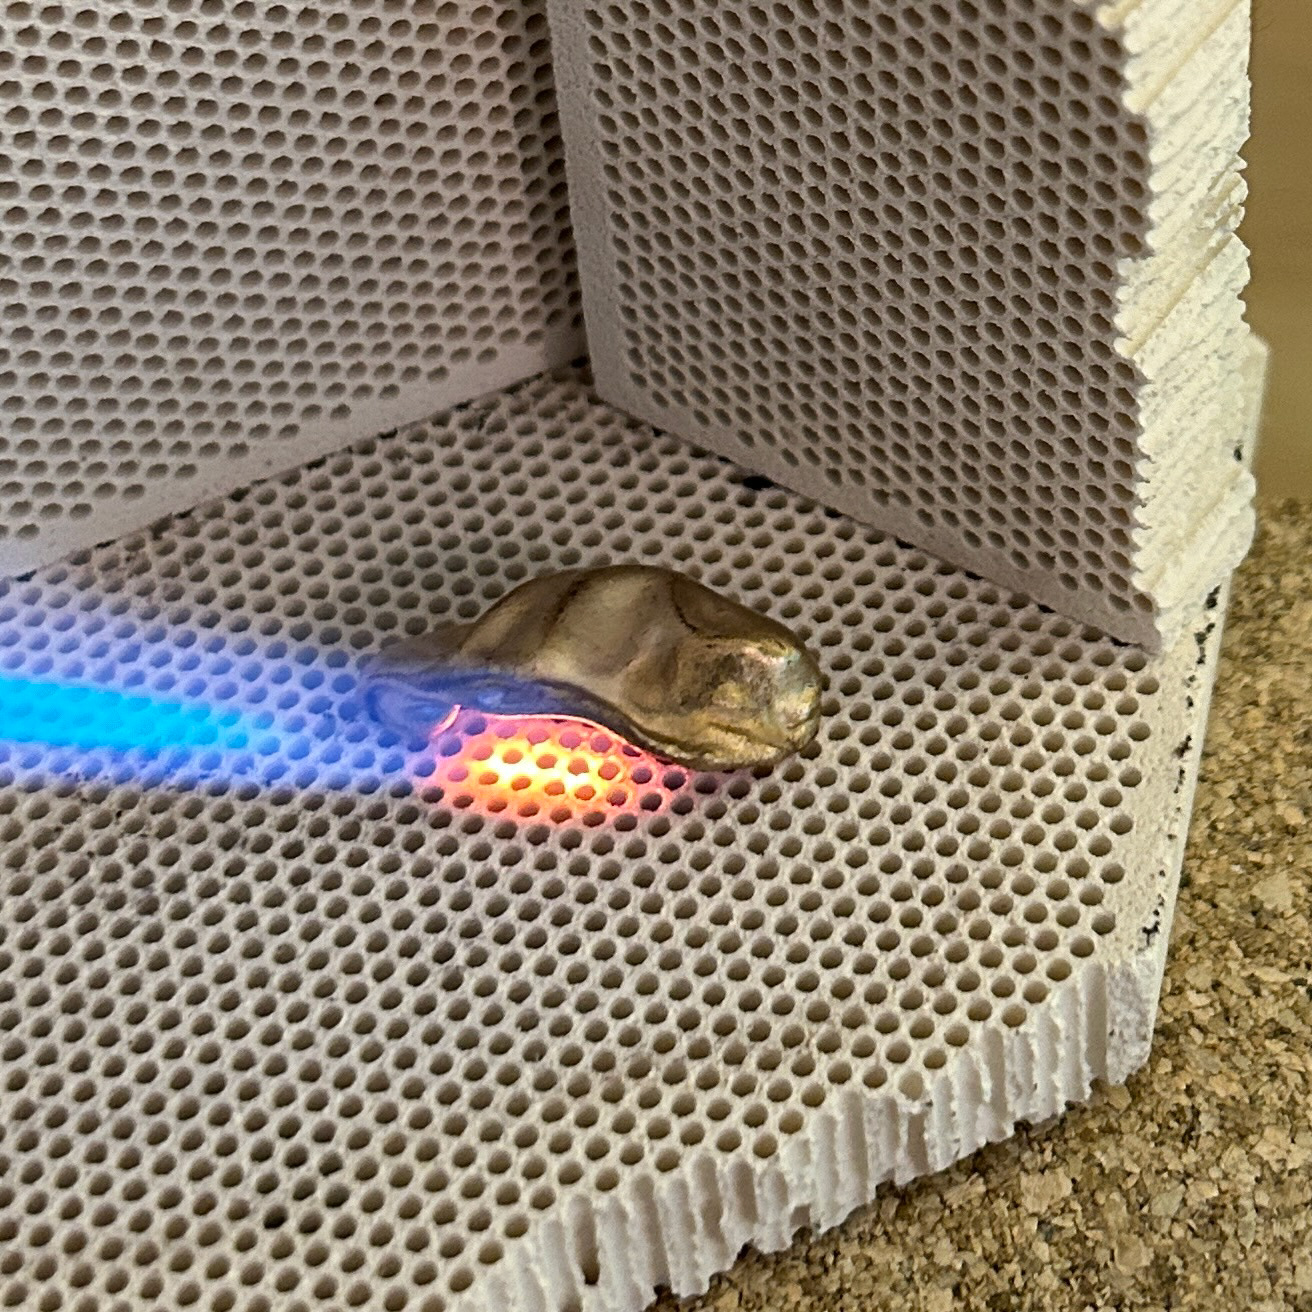
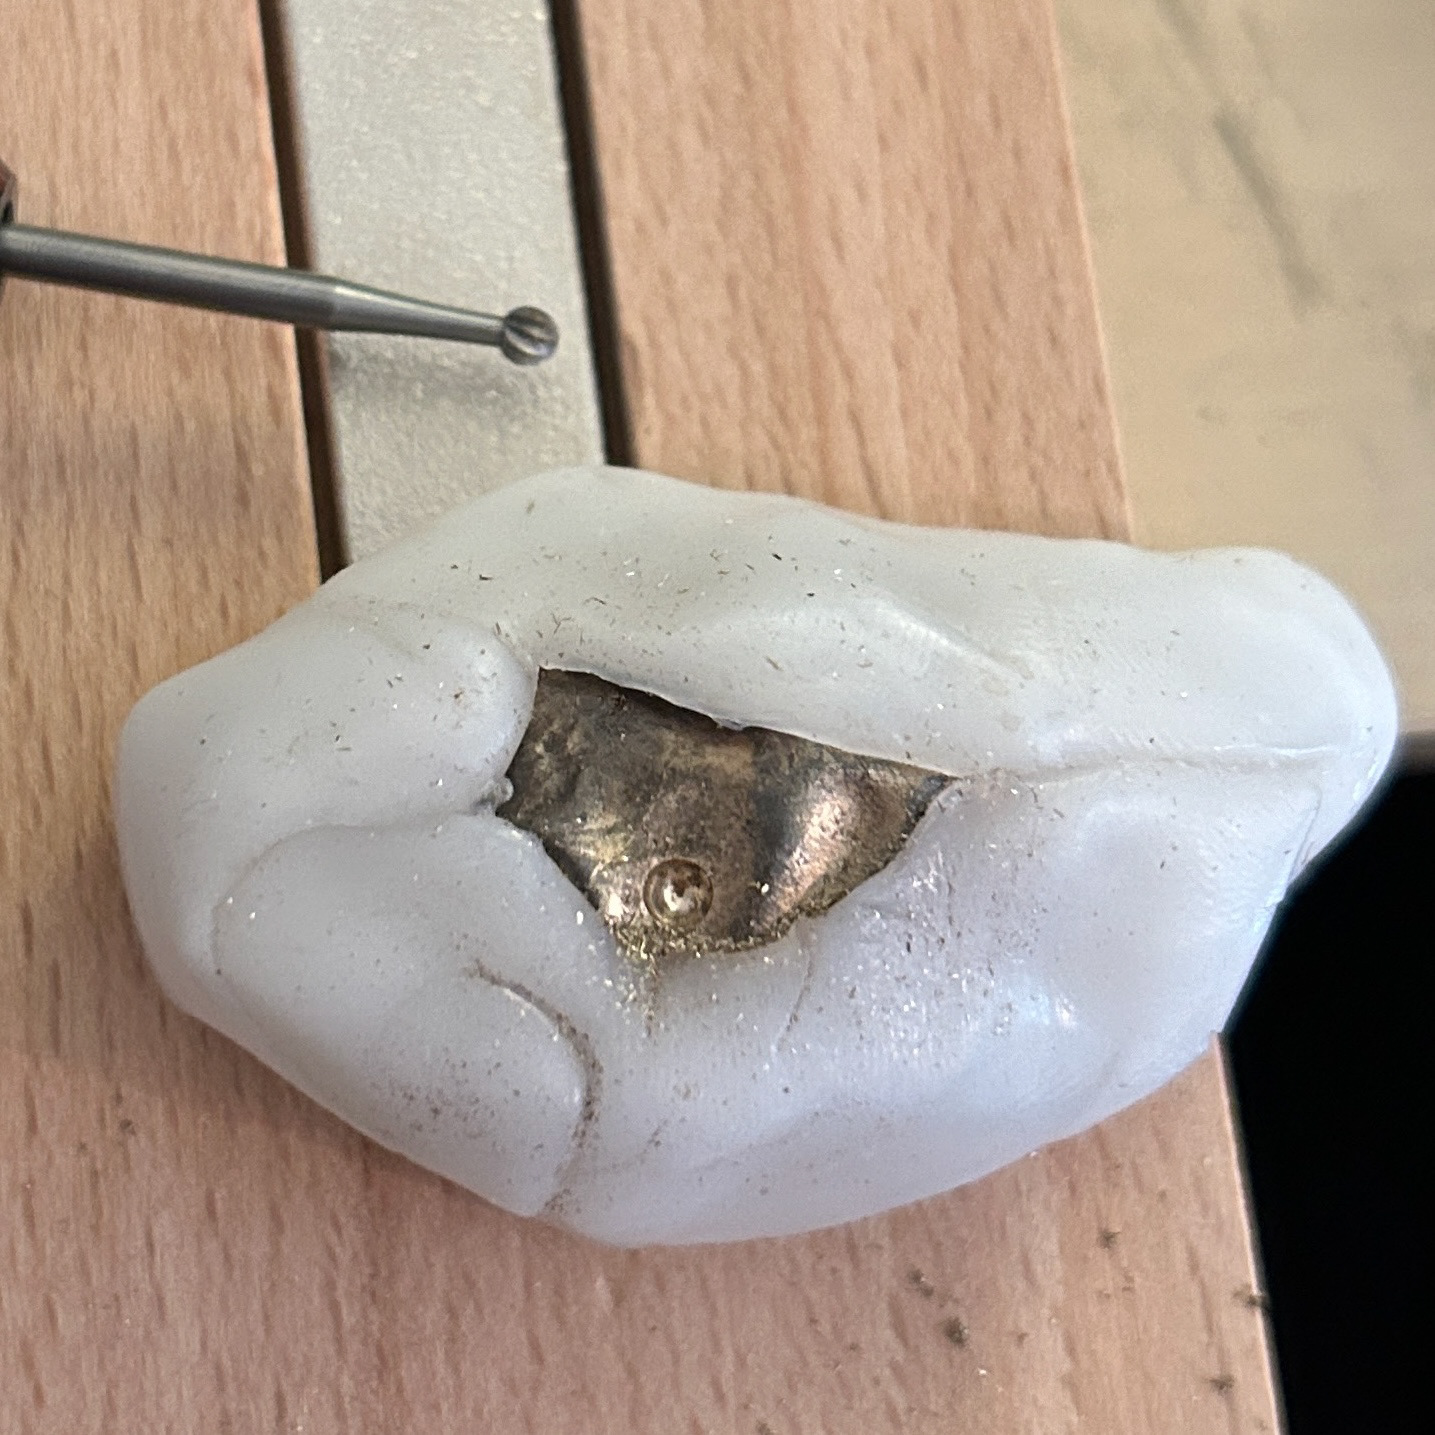
On this sample I used the same techniques, but on a smaller scale. This was 1.5mm Cubic Zirconia which was also set in one of the waste cast brass pieces. For the smaller settings, I decided to use polymorph to secure the pieces in place while drilling.
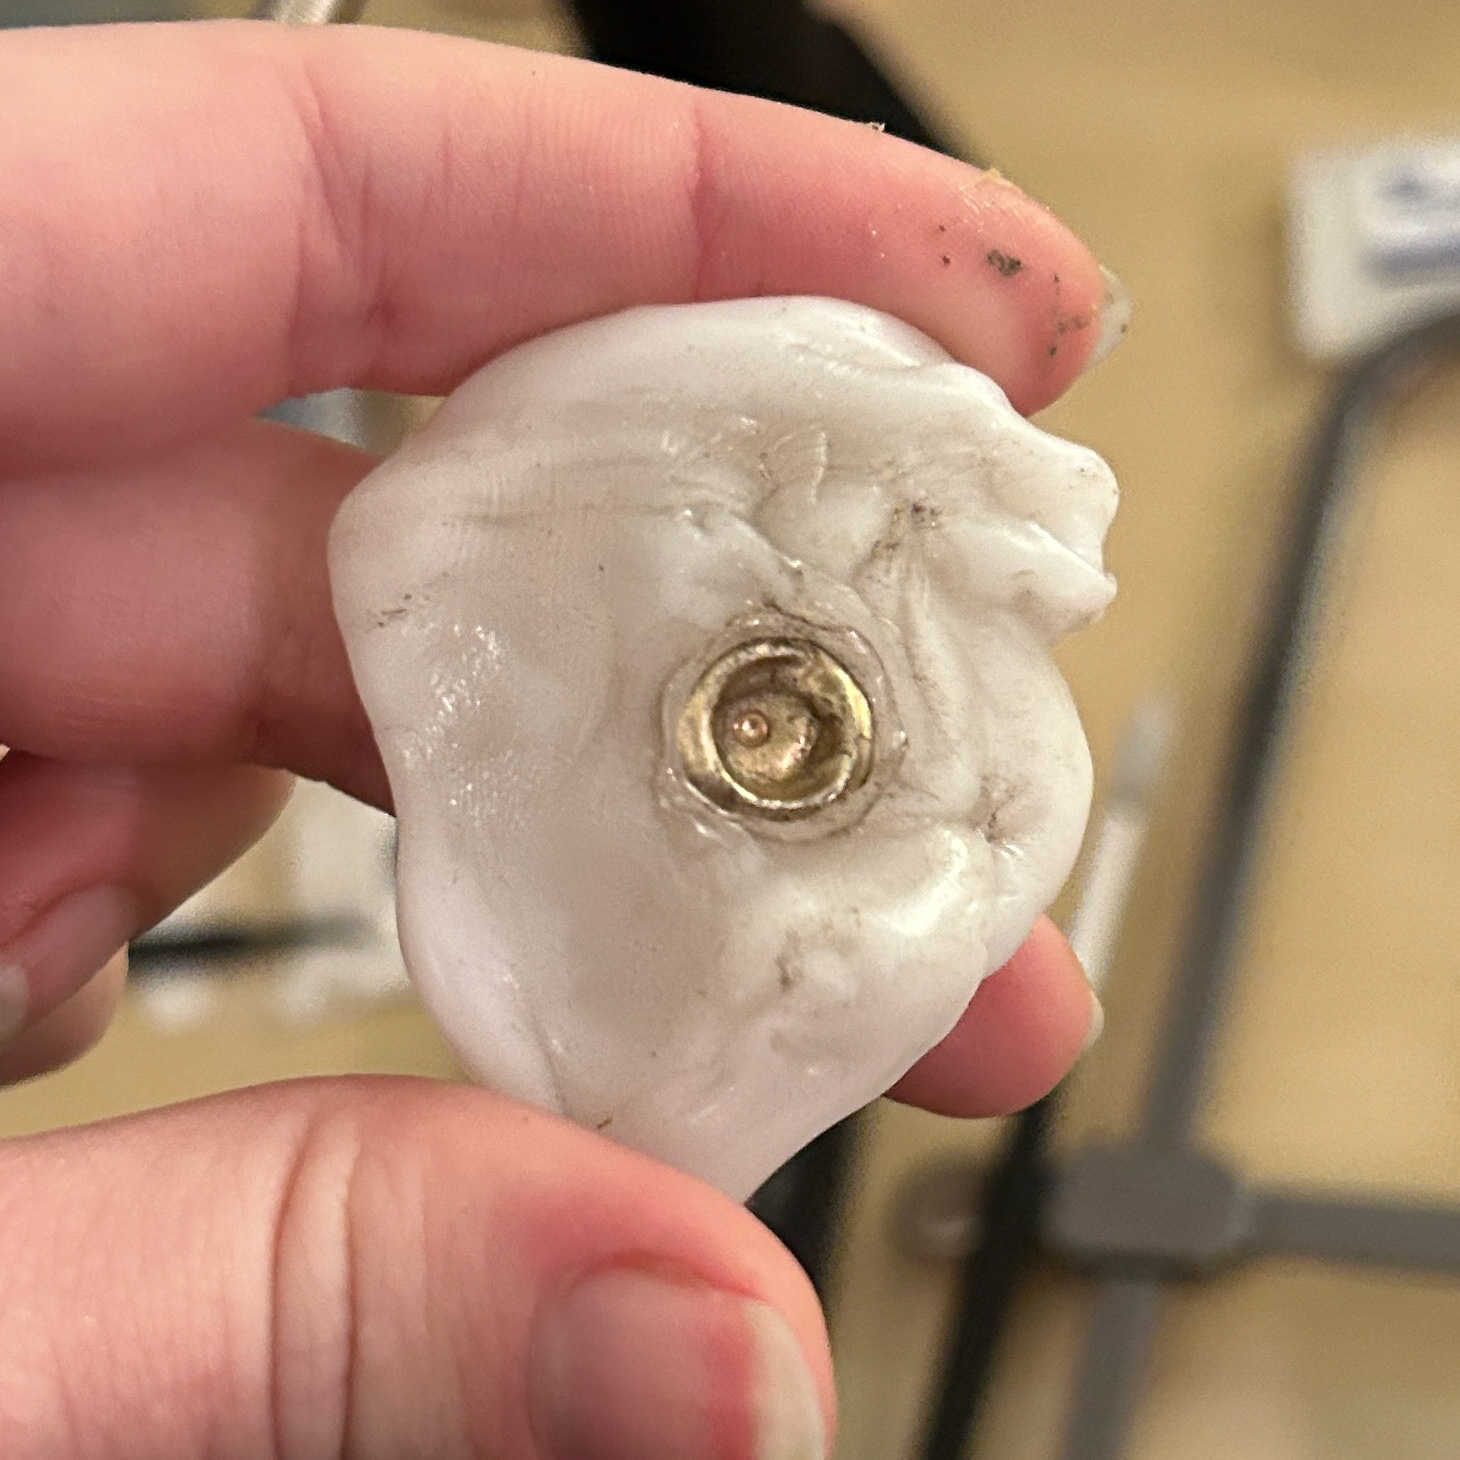
Prong Setting
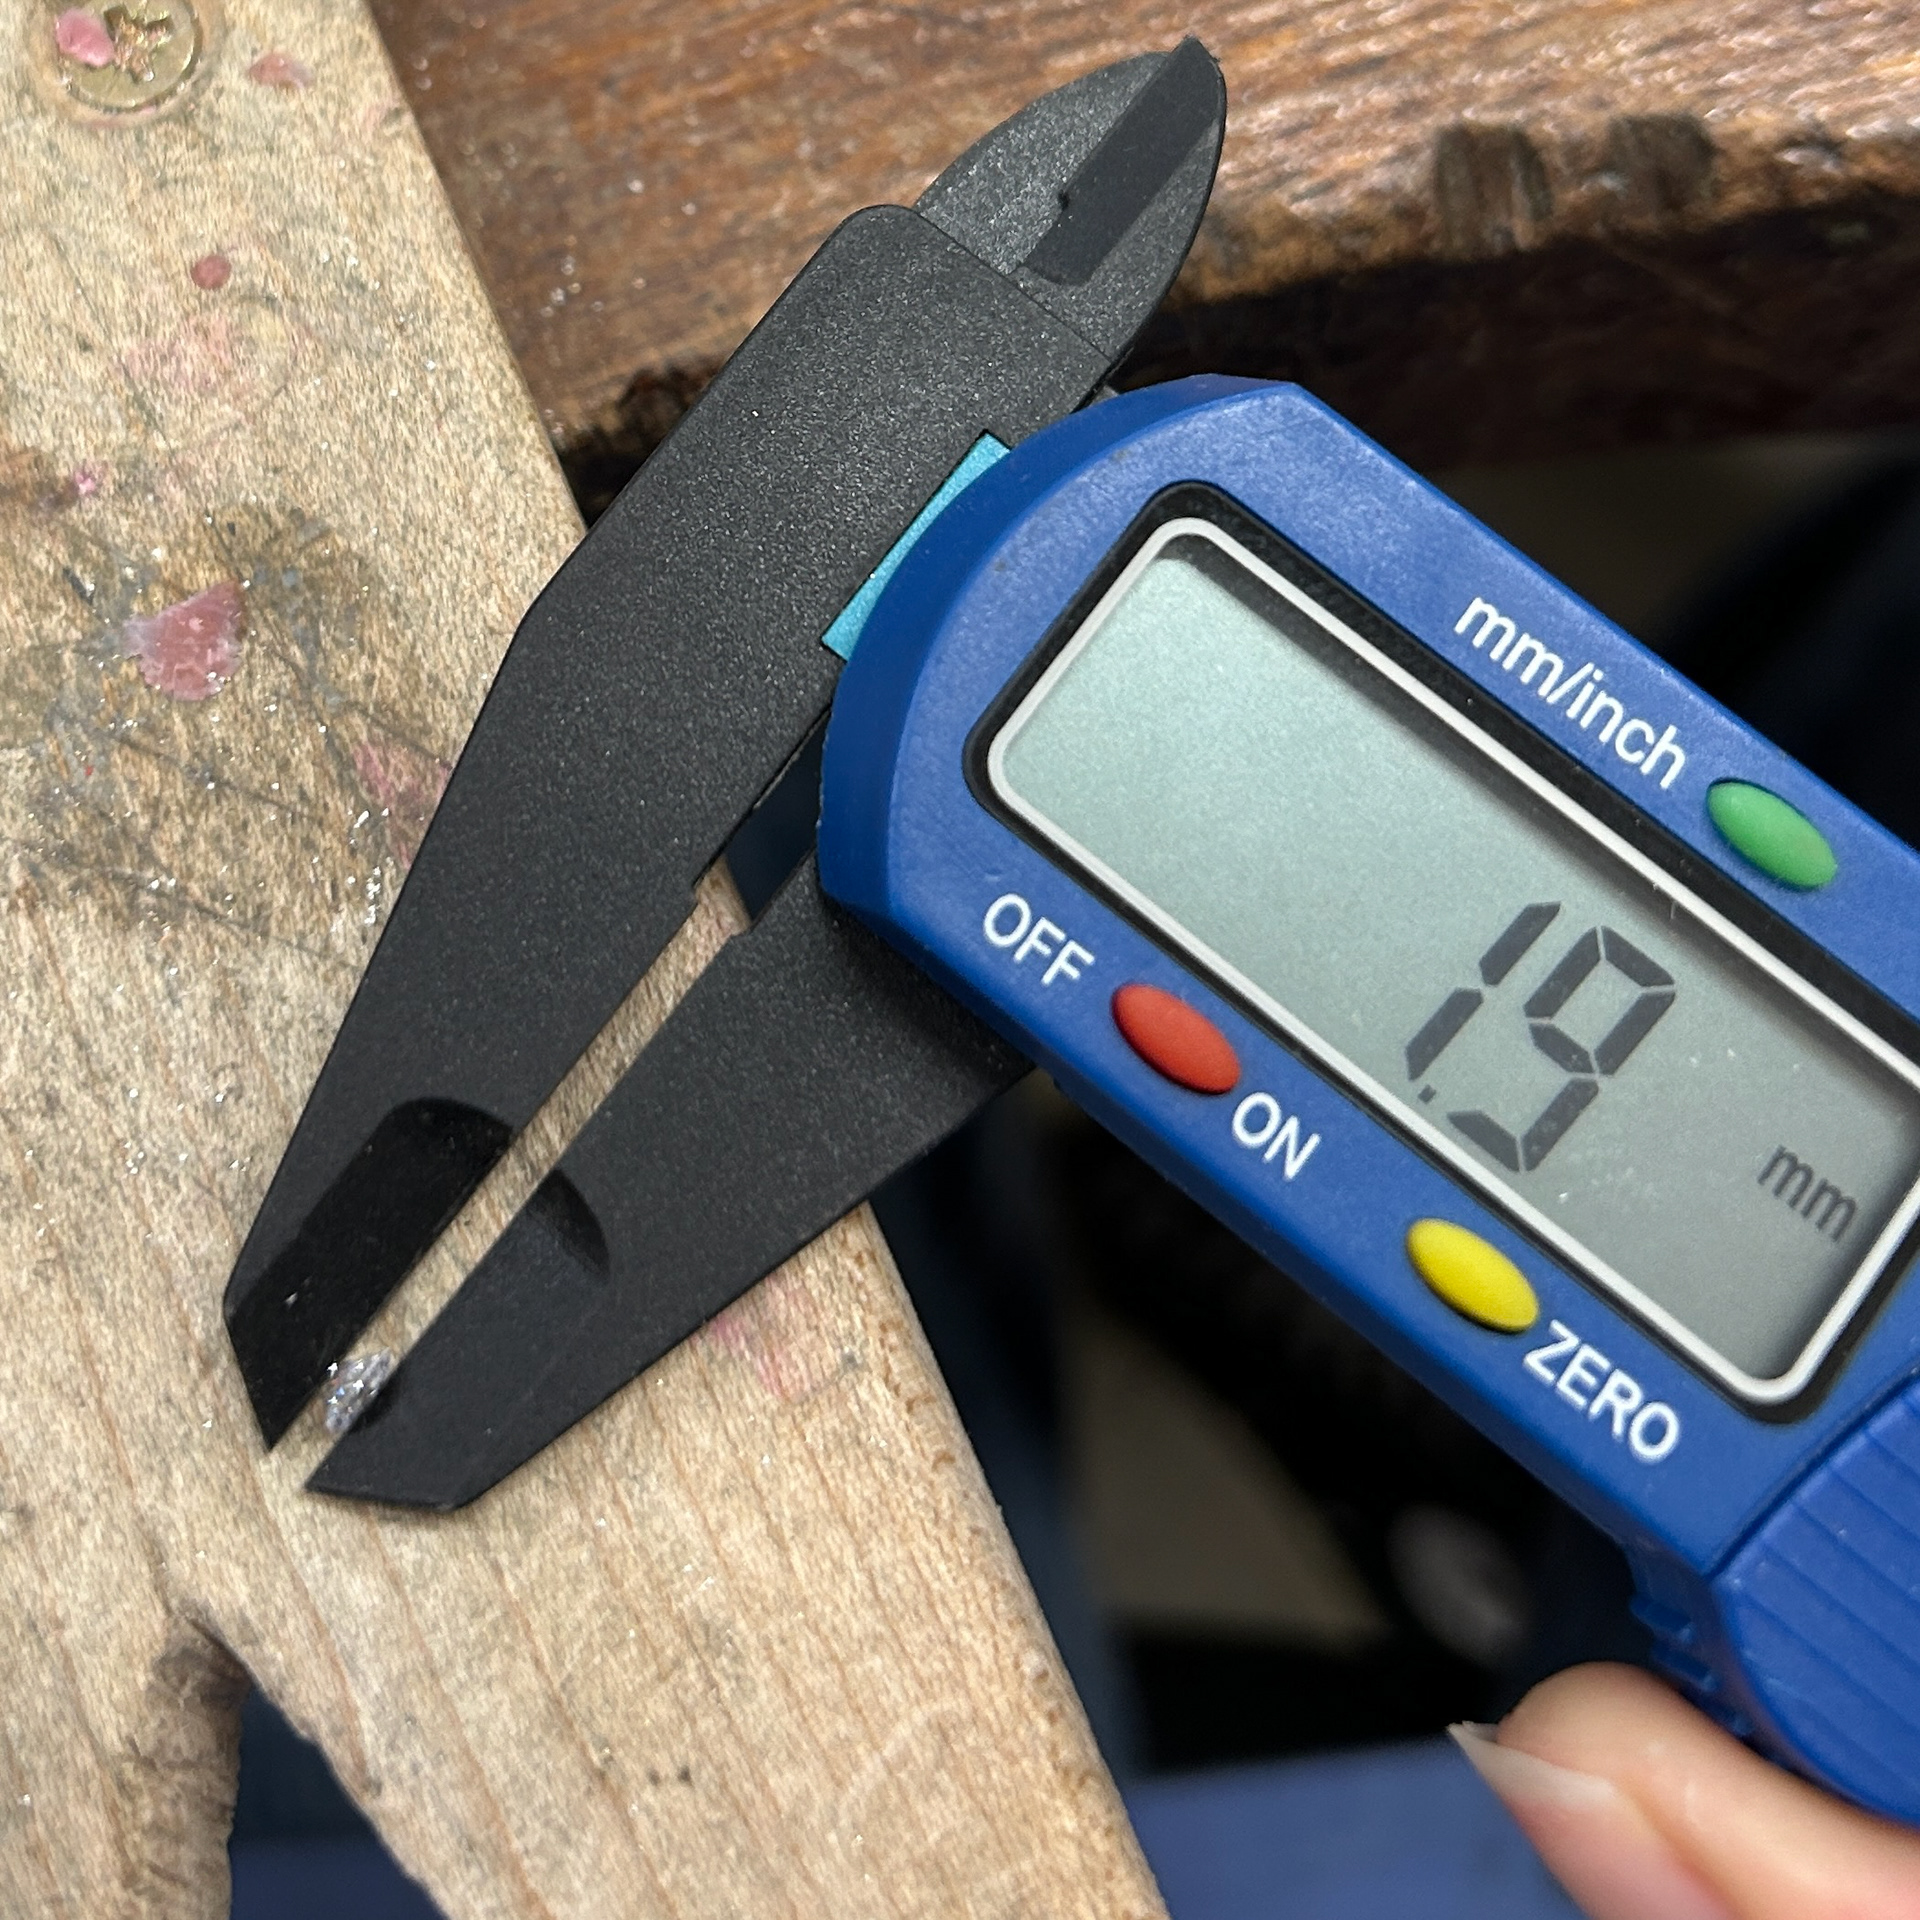
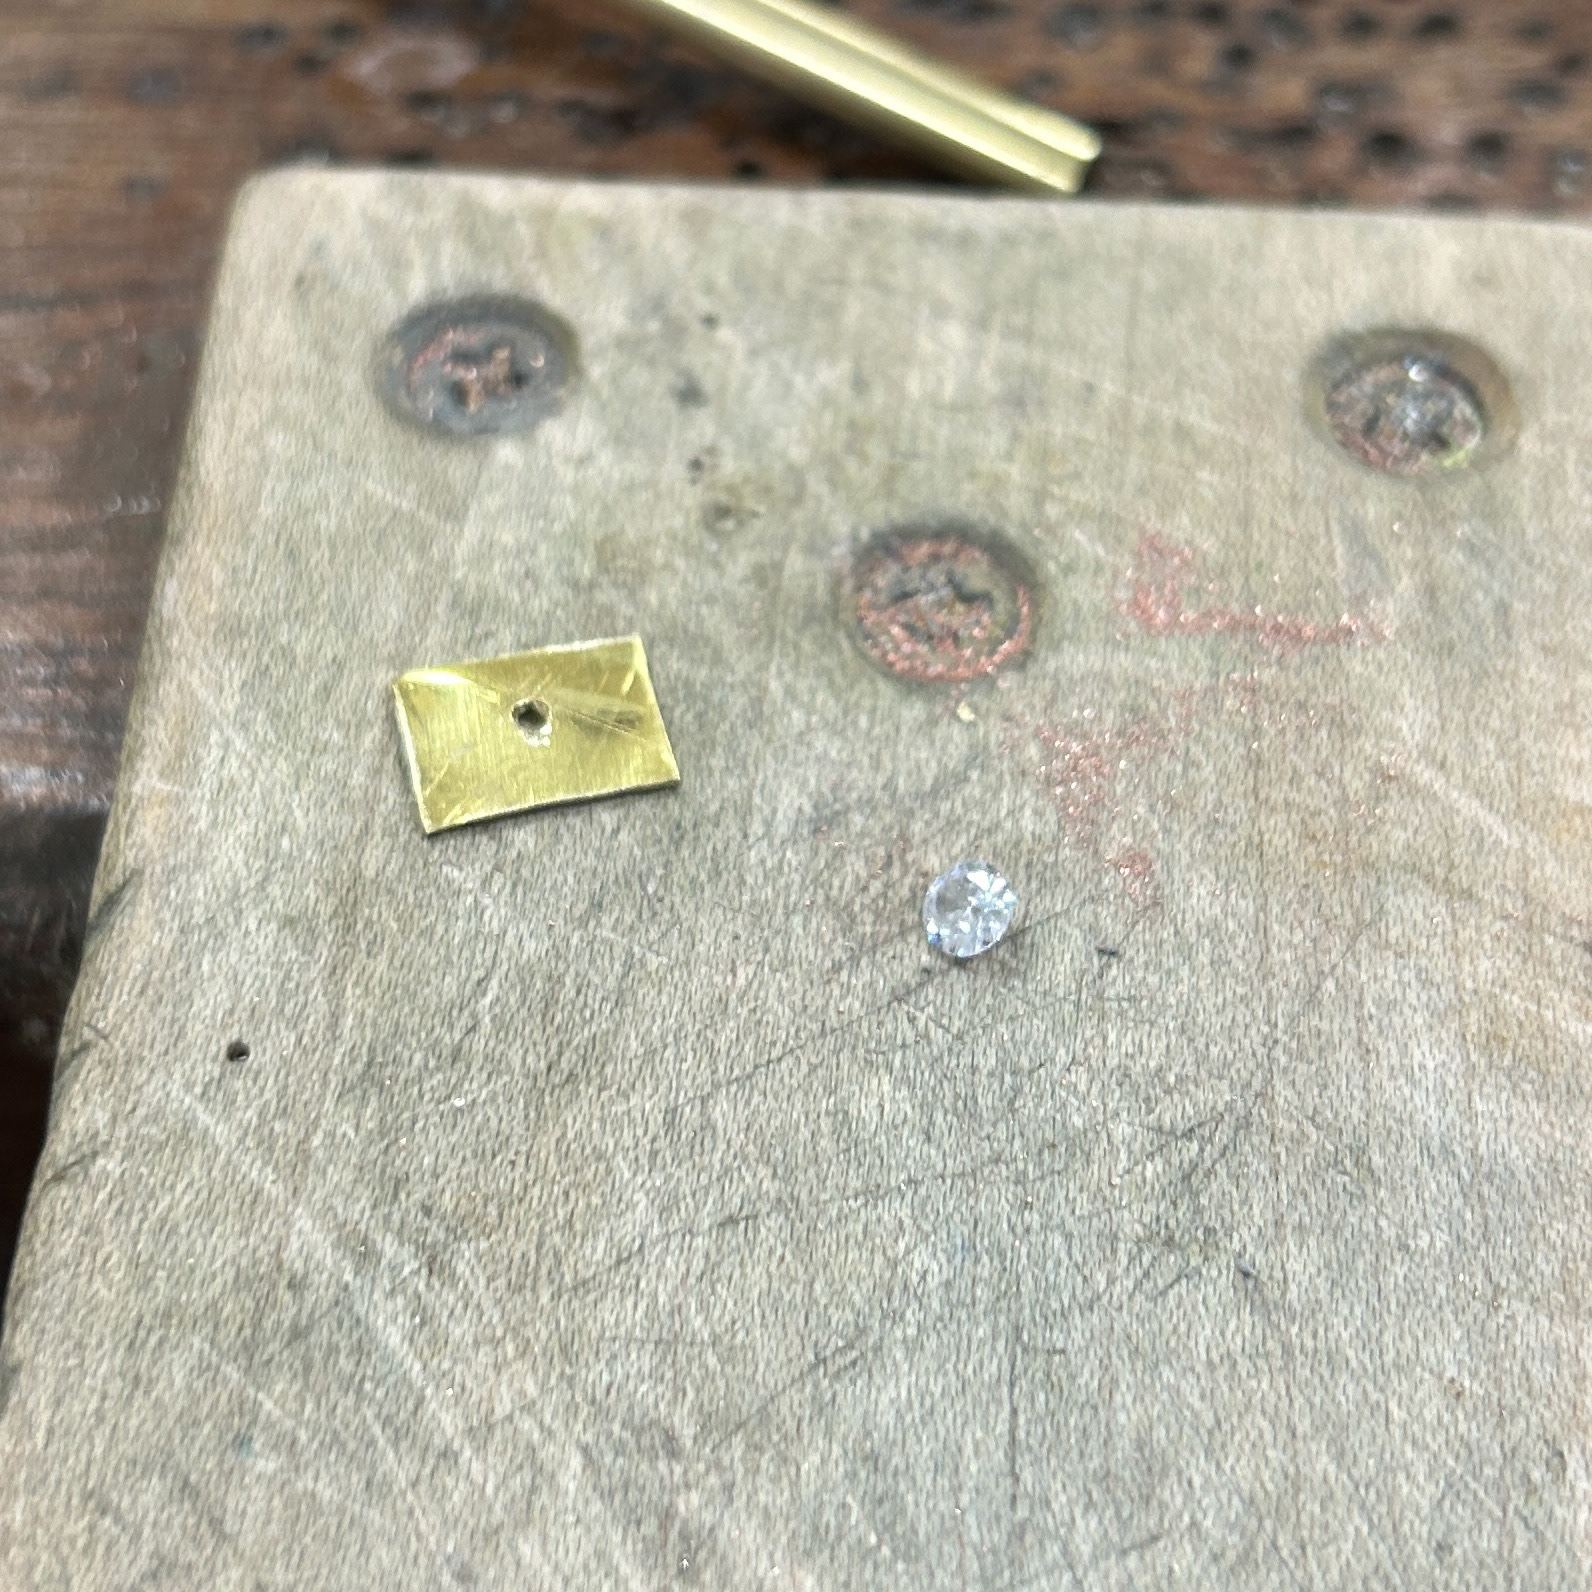


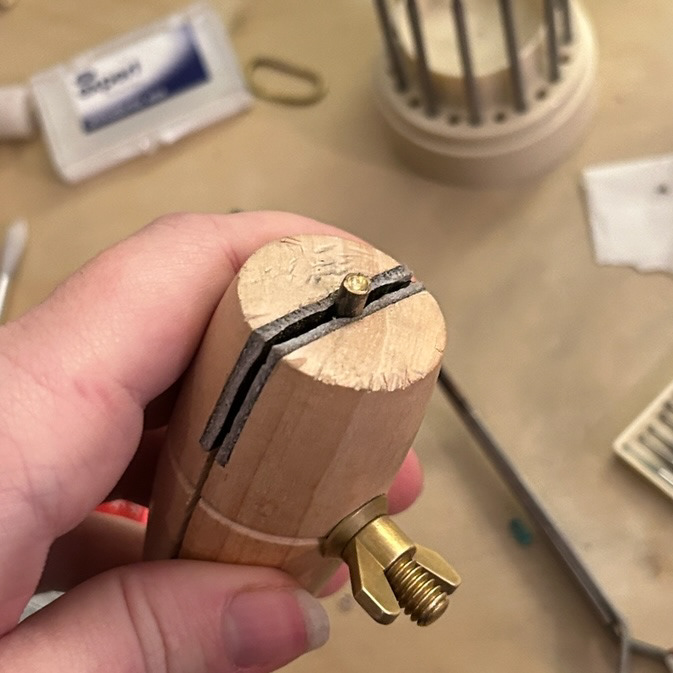
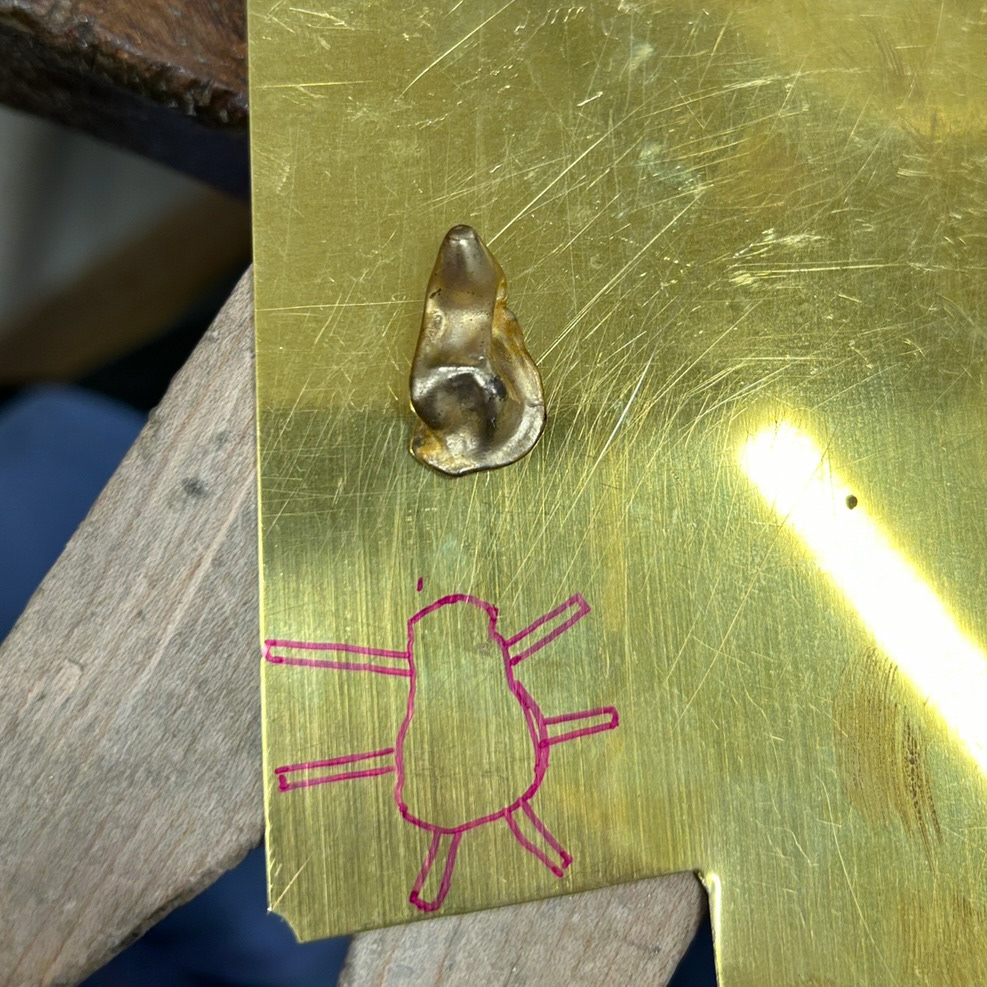
For another sample, I wanted to create a small prong setting using brass tubing, rather than soldering individual prongs. This required precise measurements of the stone depth, to make sure the prongs would fit over the stone. As well as that, I used a small hole in the base of the setting so that the pointed end of the stone would sit flat, rather than tilting at an angle while securing the edges. I created the prongs with a piercing saw and filing in between each cut to make the prongs thinner. After securing the stone, I realised that for future settings, I needed to make the prongs much thinner, and slightly shorter as they covered too much of the stone
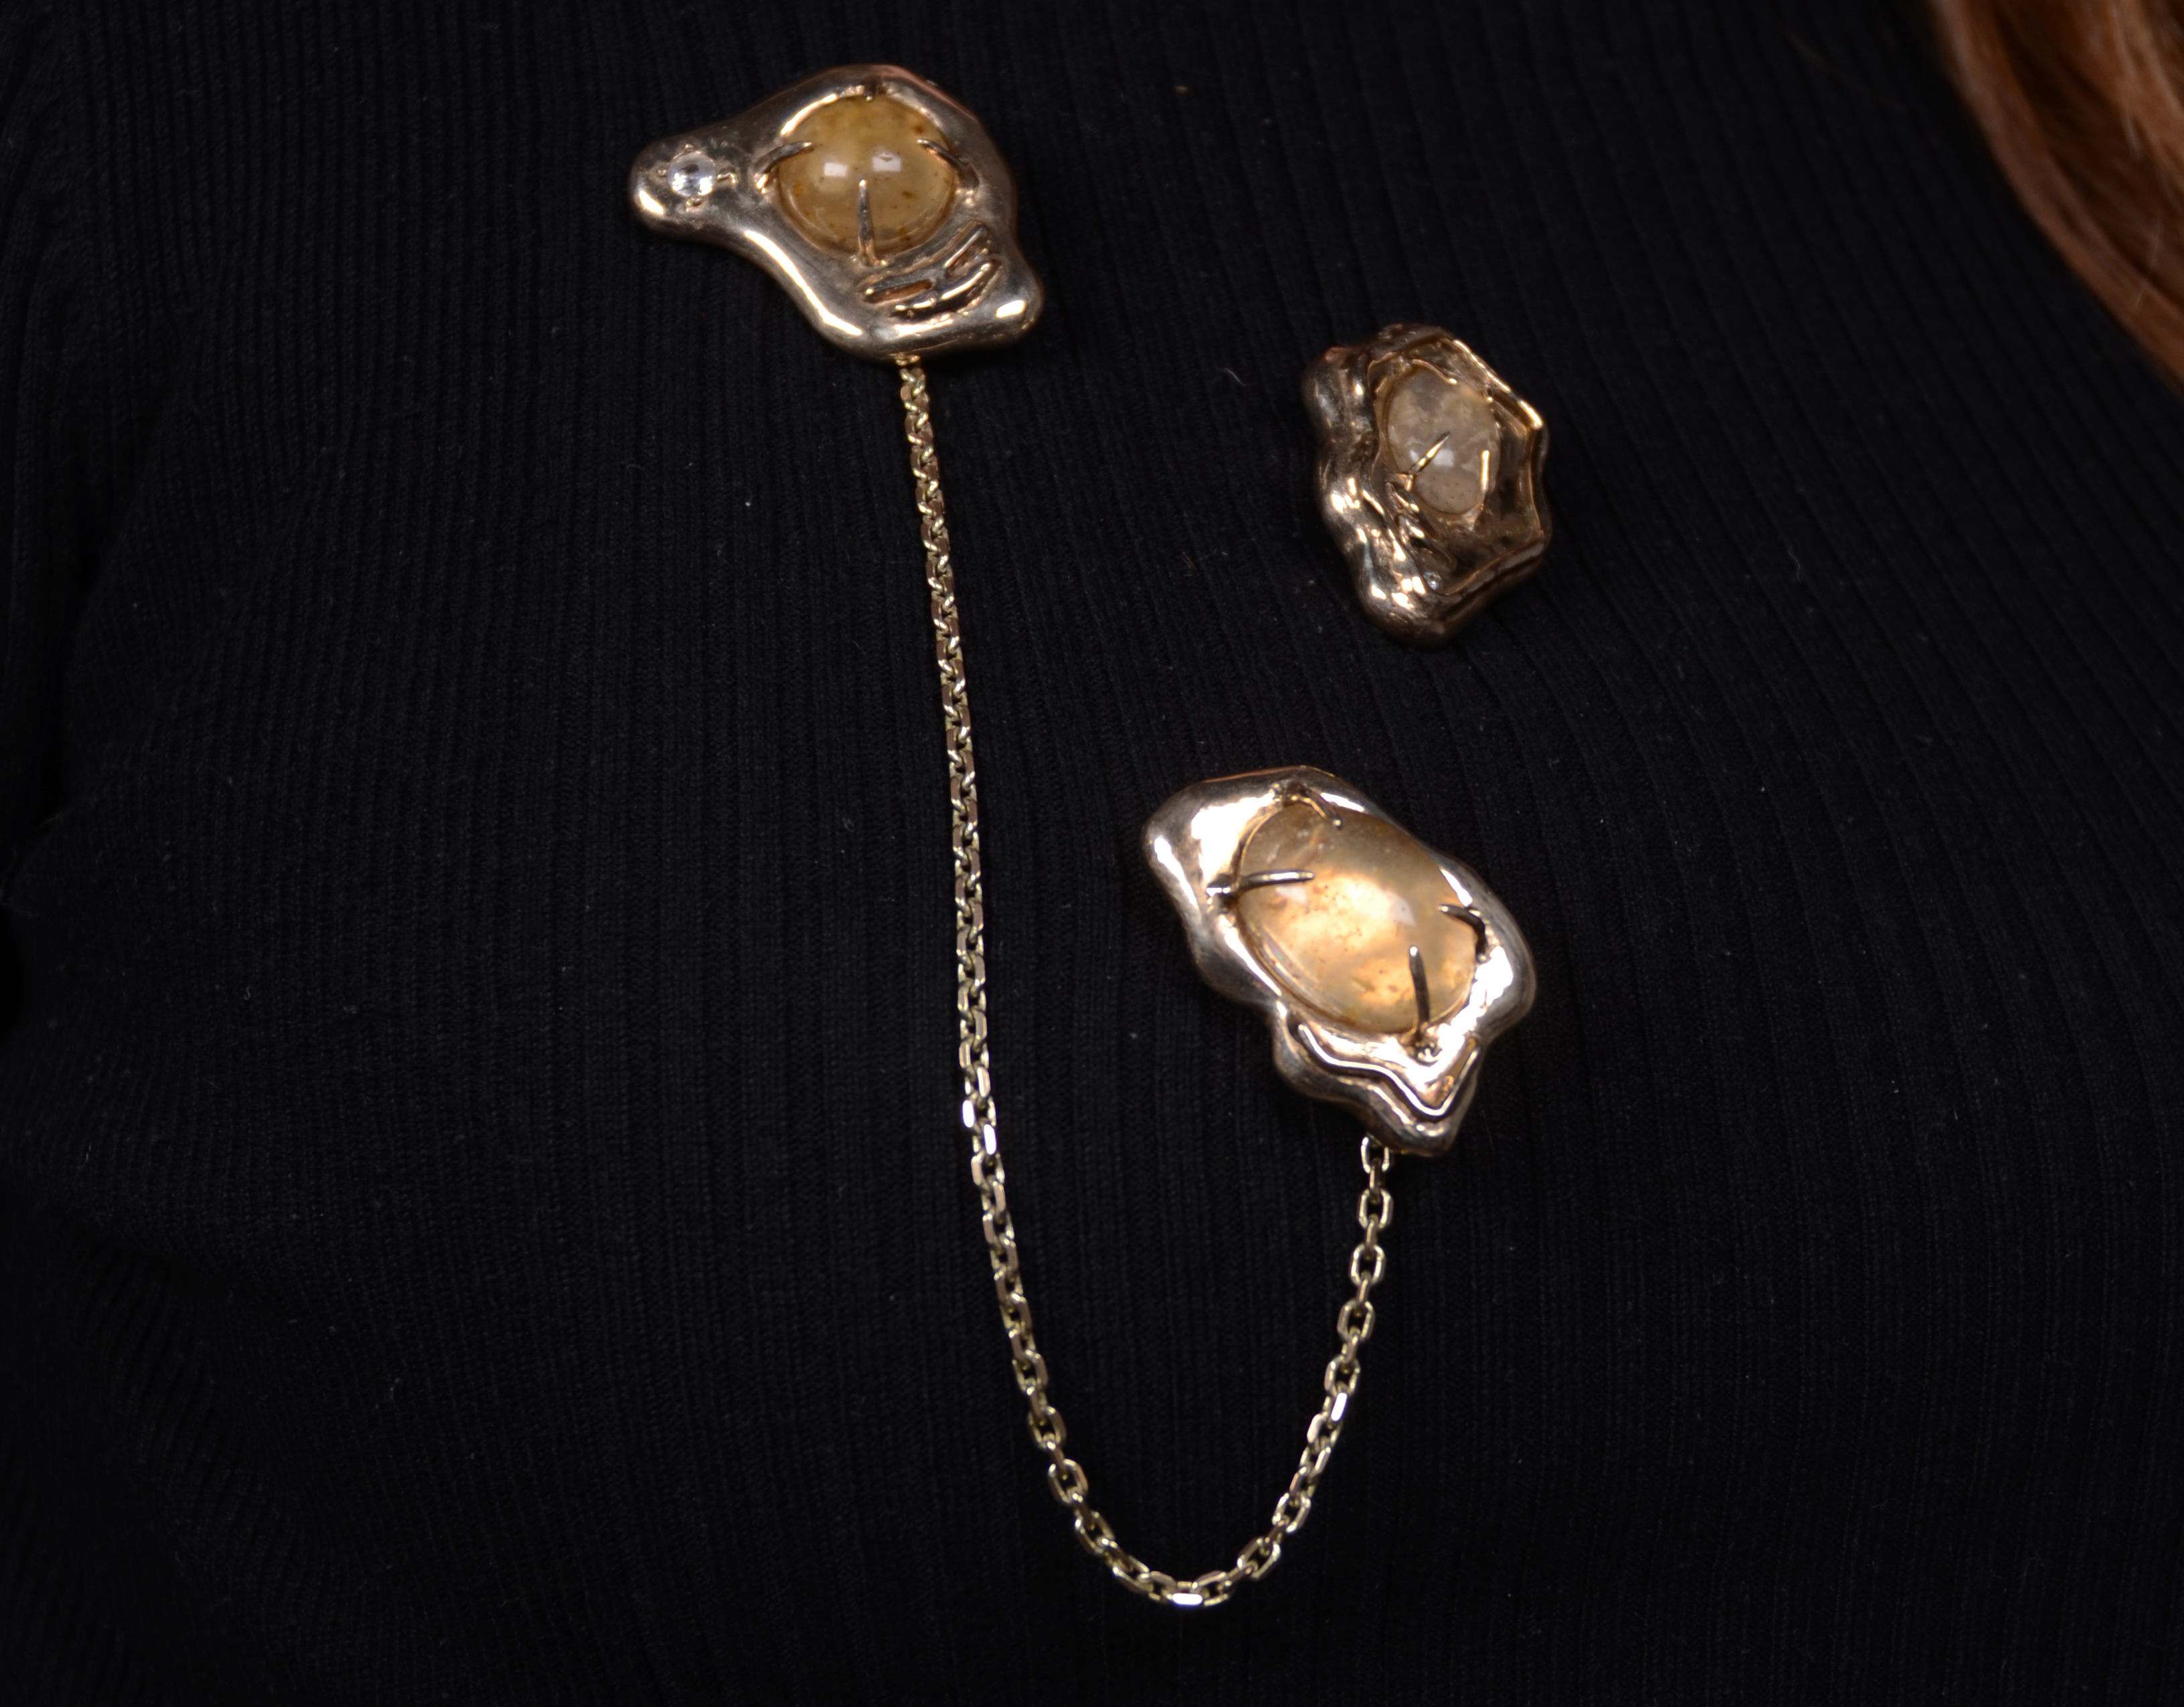
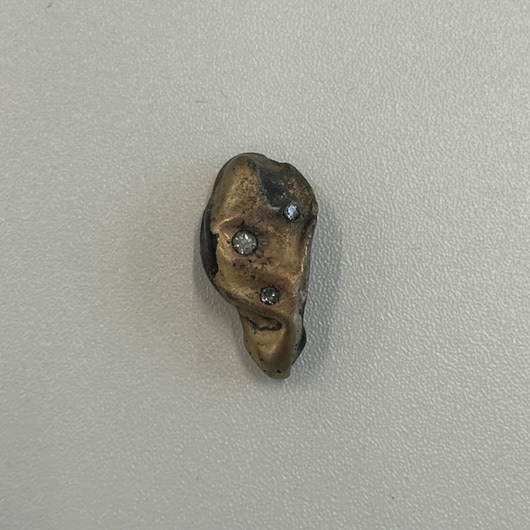
Claw Setting
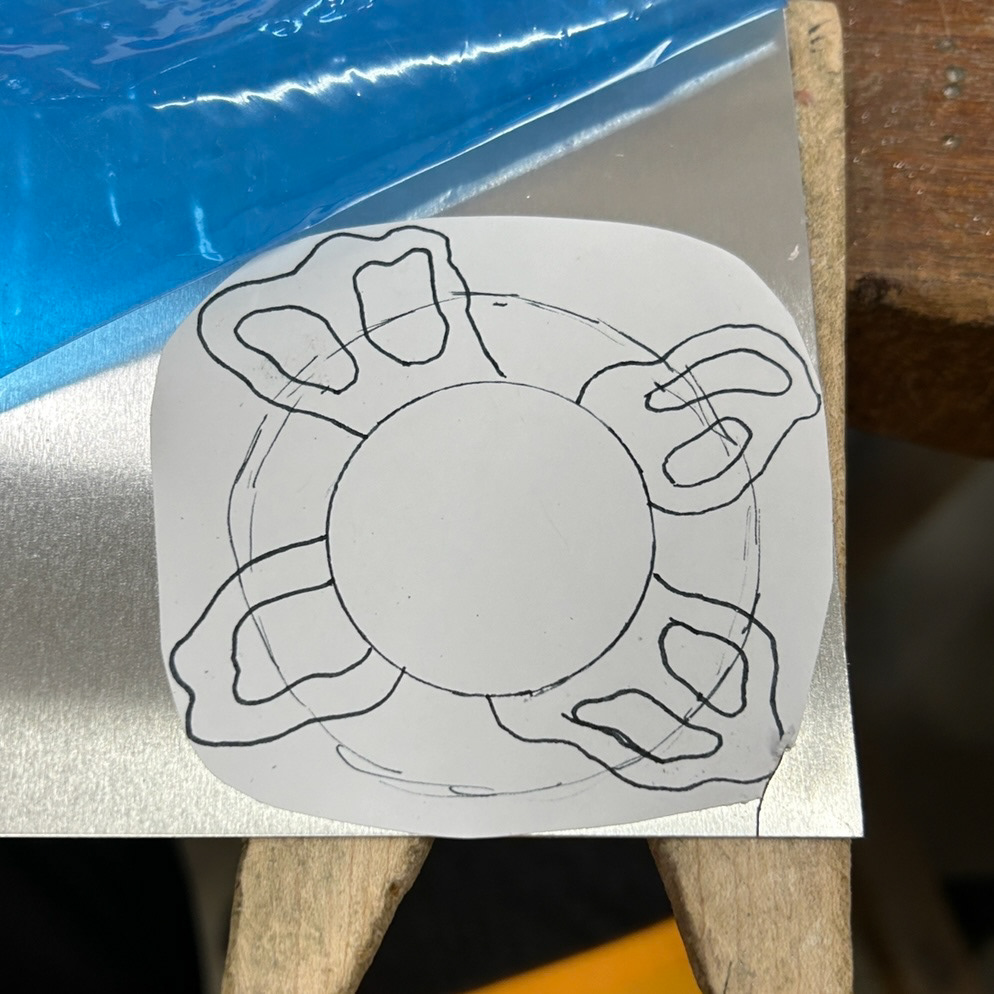
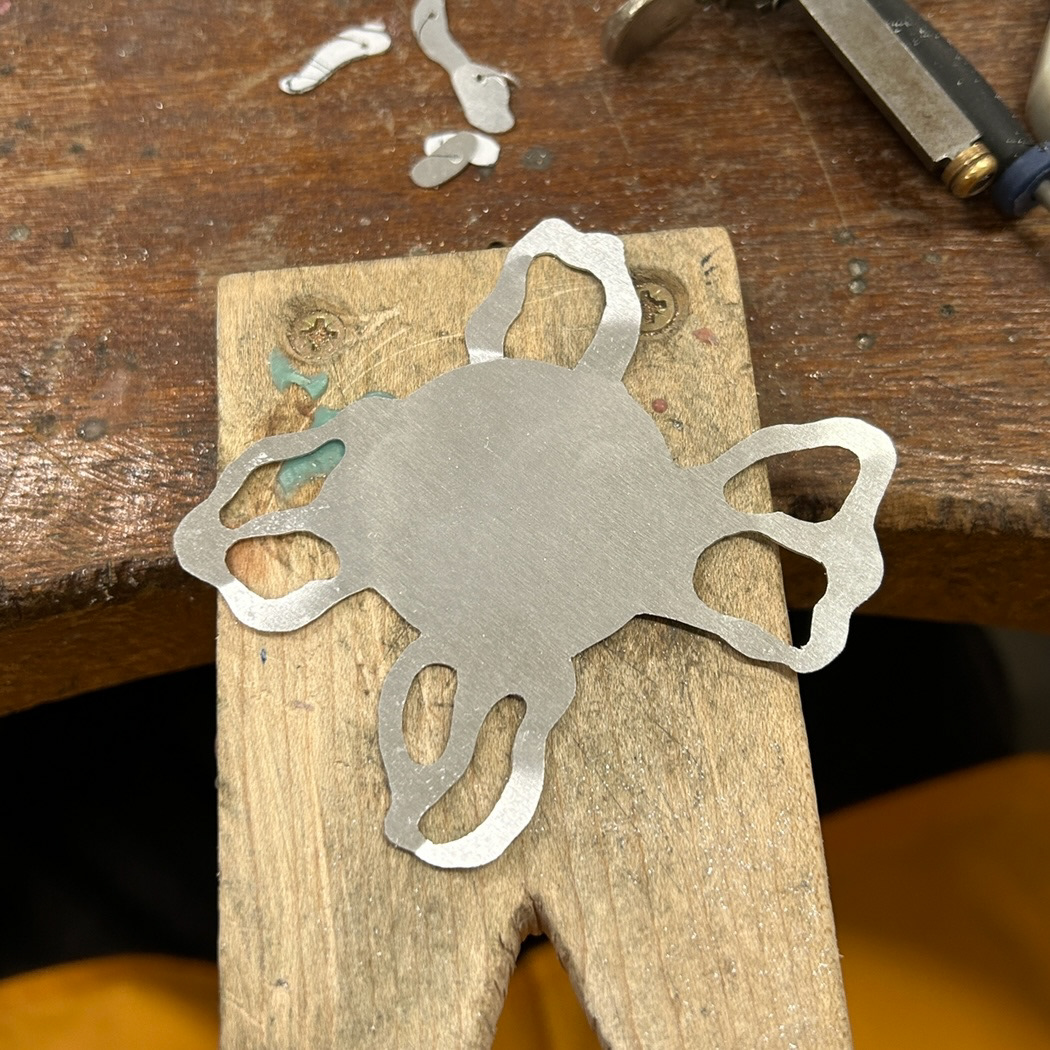
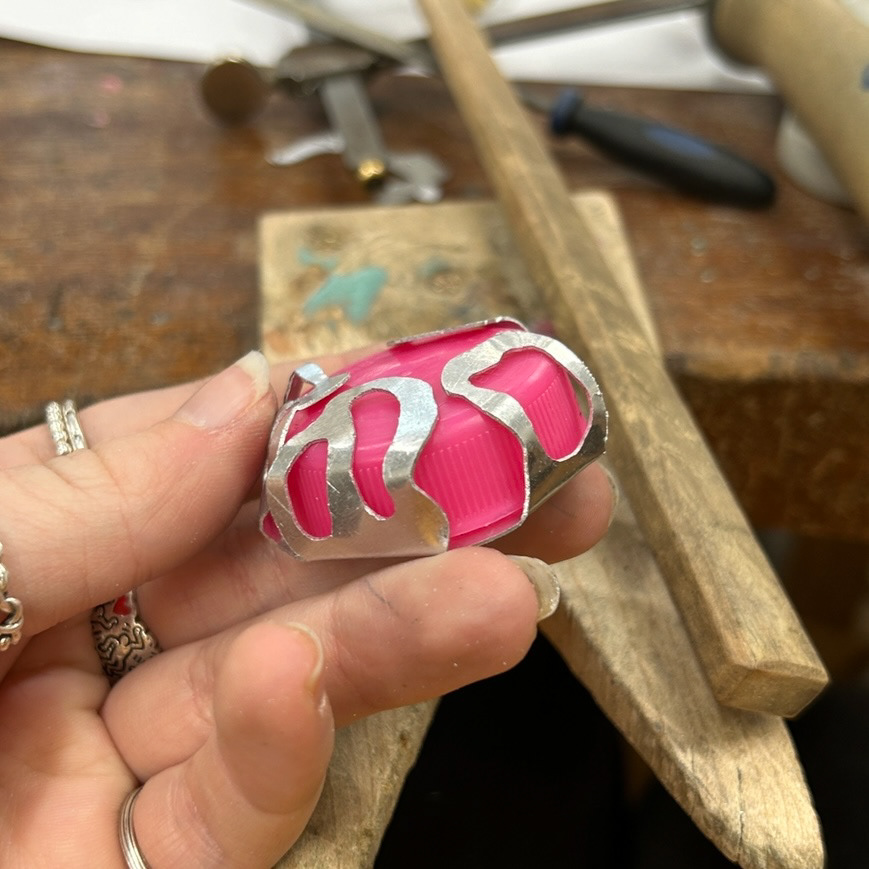
While creating the previous setting, I questioned whether the prongs could have a more experimental feature to them. I decided to create an experimental claw setting, with a focus on the claws having a design inspired by the shapes found in Gill Mallet's work. While I wasn't a fan of the execution, I do want to experiment with stone setting and combining different elements in how the stones are set.
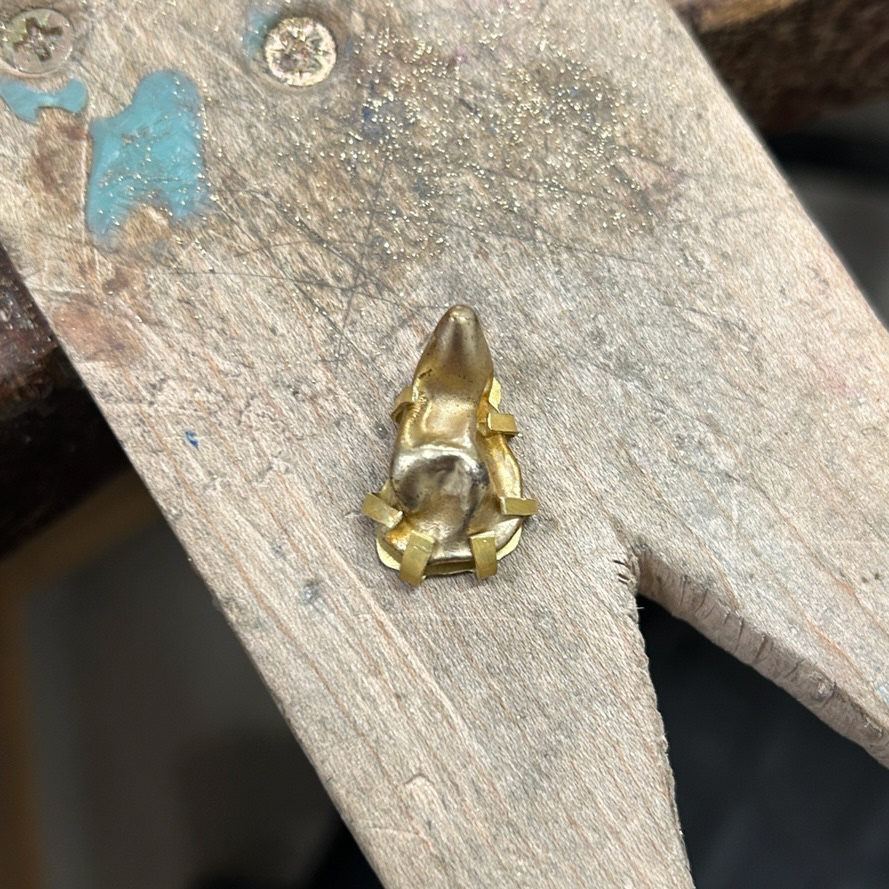
After creating the setting above, I wanted to challenge myself by setting an irregularly shaped piece of brass. I did this so I could see how using claws would secure the stone in place. I feel as if using thinner claws to display the stone would've been a better design choice. However, I am intrigued by how using claws in a design could look, creating a setting that looks vulnerable, while still being secure.
Wax Experiment
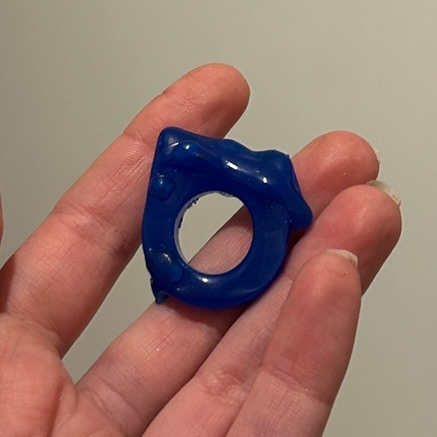

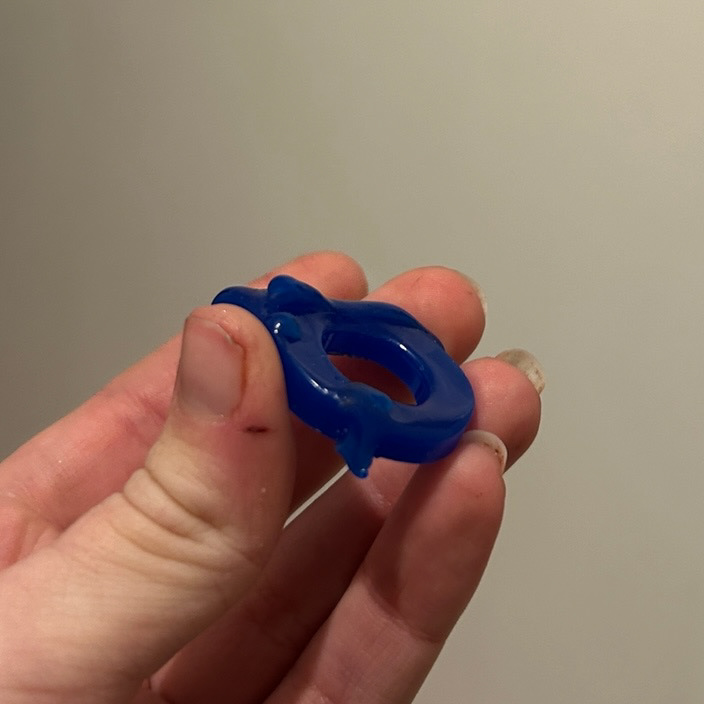
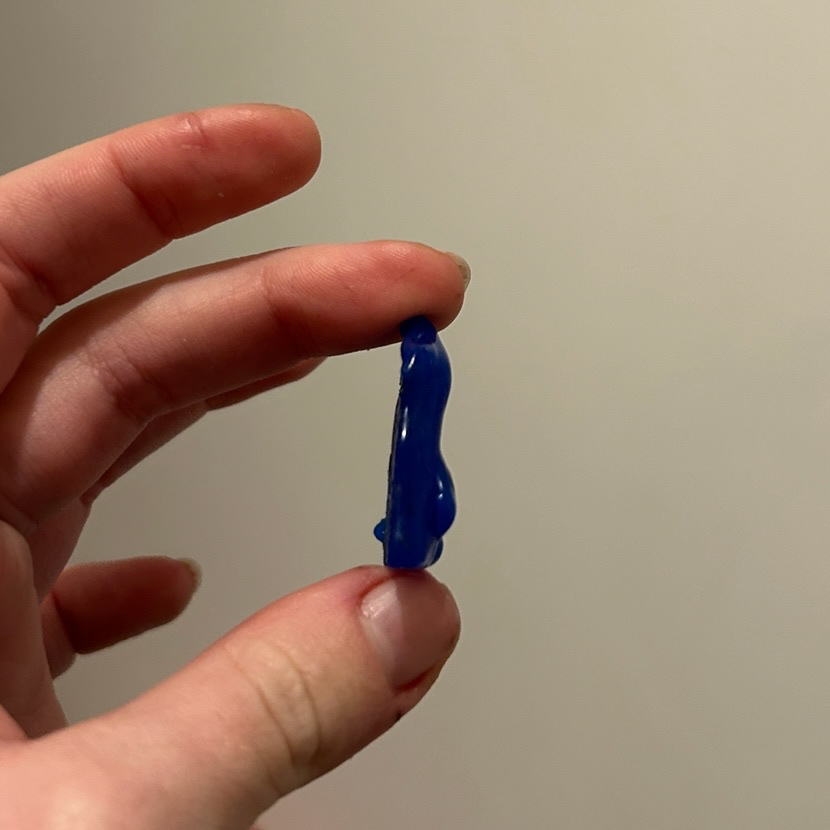
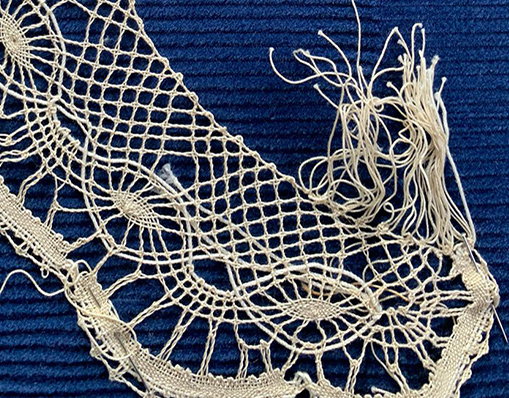
Inspired by Gill Mallet and Susannah King, I wanted to explore using texture in my work. I knew that I wanted to use lost wax casting with this project to create a molten texture. As wax has a low melting point, I decided to use my blowtorch on a low setting a melt parts of the ring wax to create that molten texture. I found that I liked this way of creating texture because of how the wax behaves when it melts. As I have never used wax or a lost wax casting technique, I plan to experiment with this more and test the capabilities of wax casting.
Making Experimental Stones
From my previous project, I have become very interested in using 'alternative' stones. For this project, I have grown bacteria to be encased in resin to make 'stones'.
To make these stones, I have used epoxy resin so that the cultivated bacteria does not escape. However, I want to research if any bio-resins or natural resins would also be appropriate for this, as epoxy can be harmful to the environment.
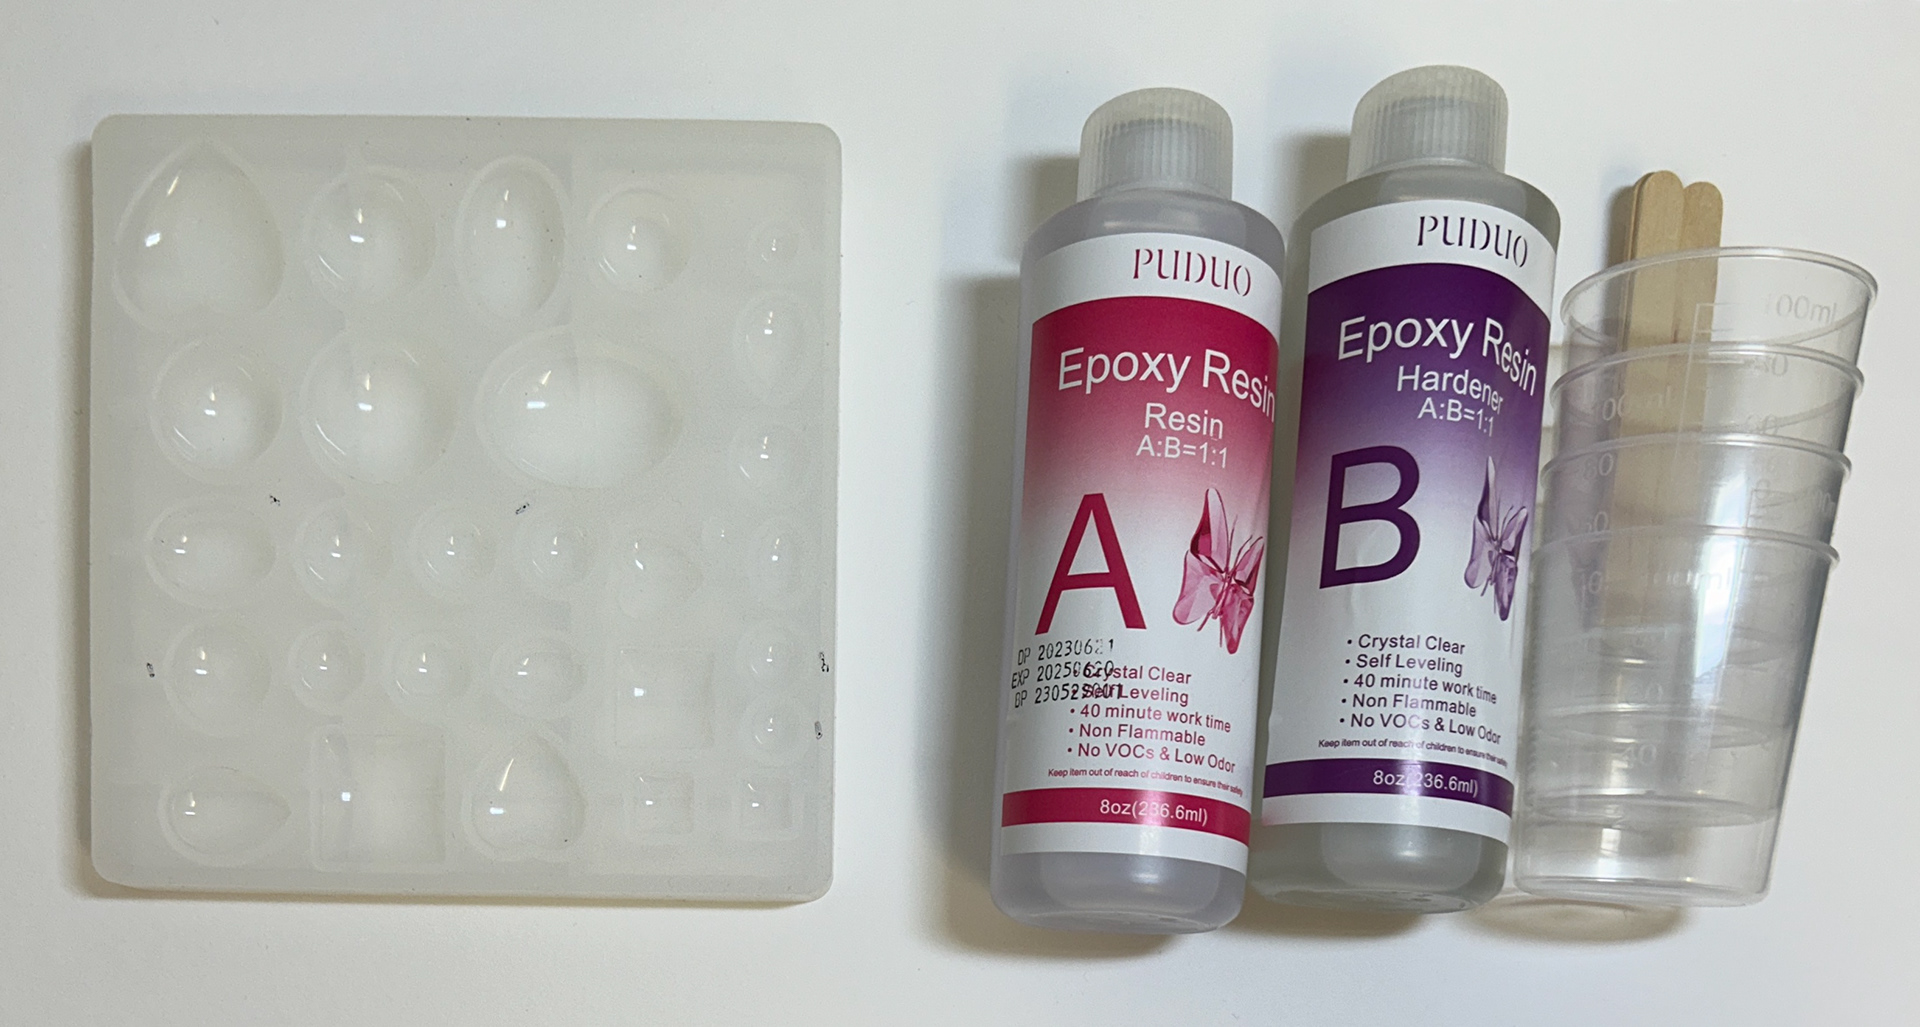
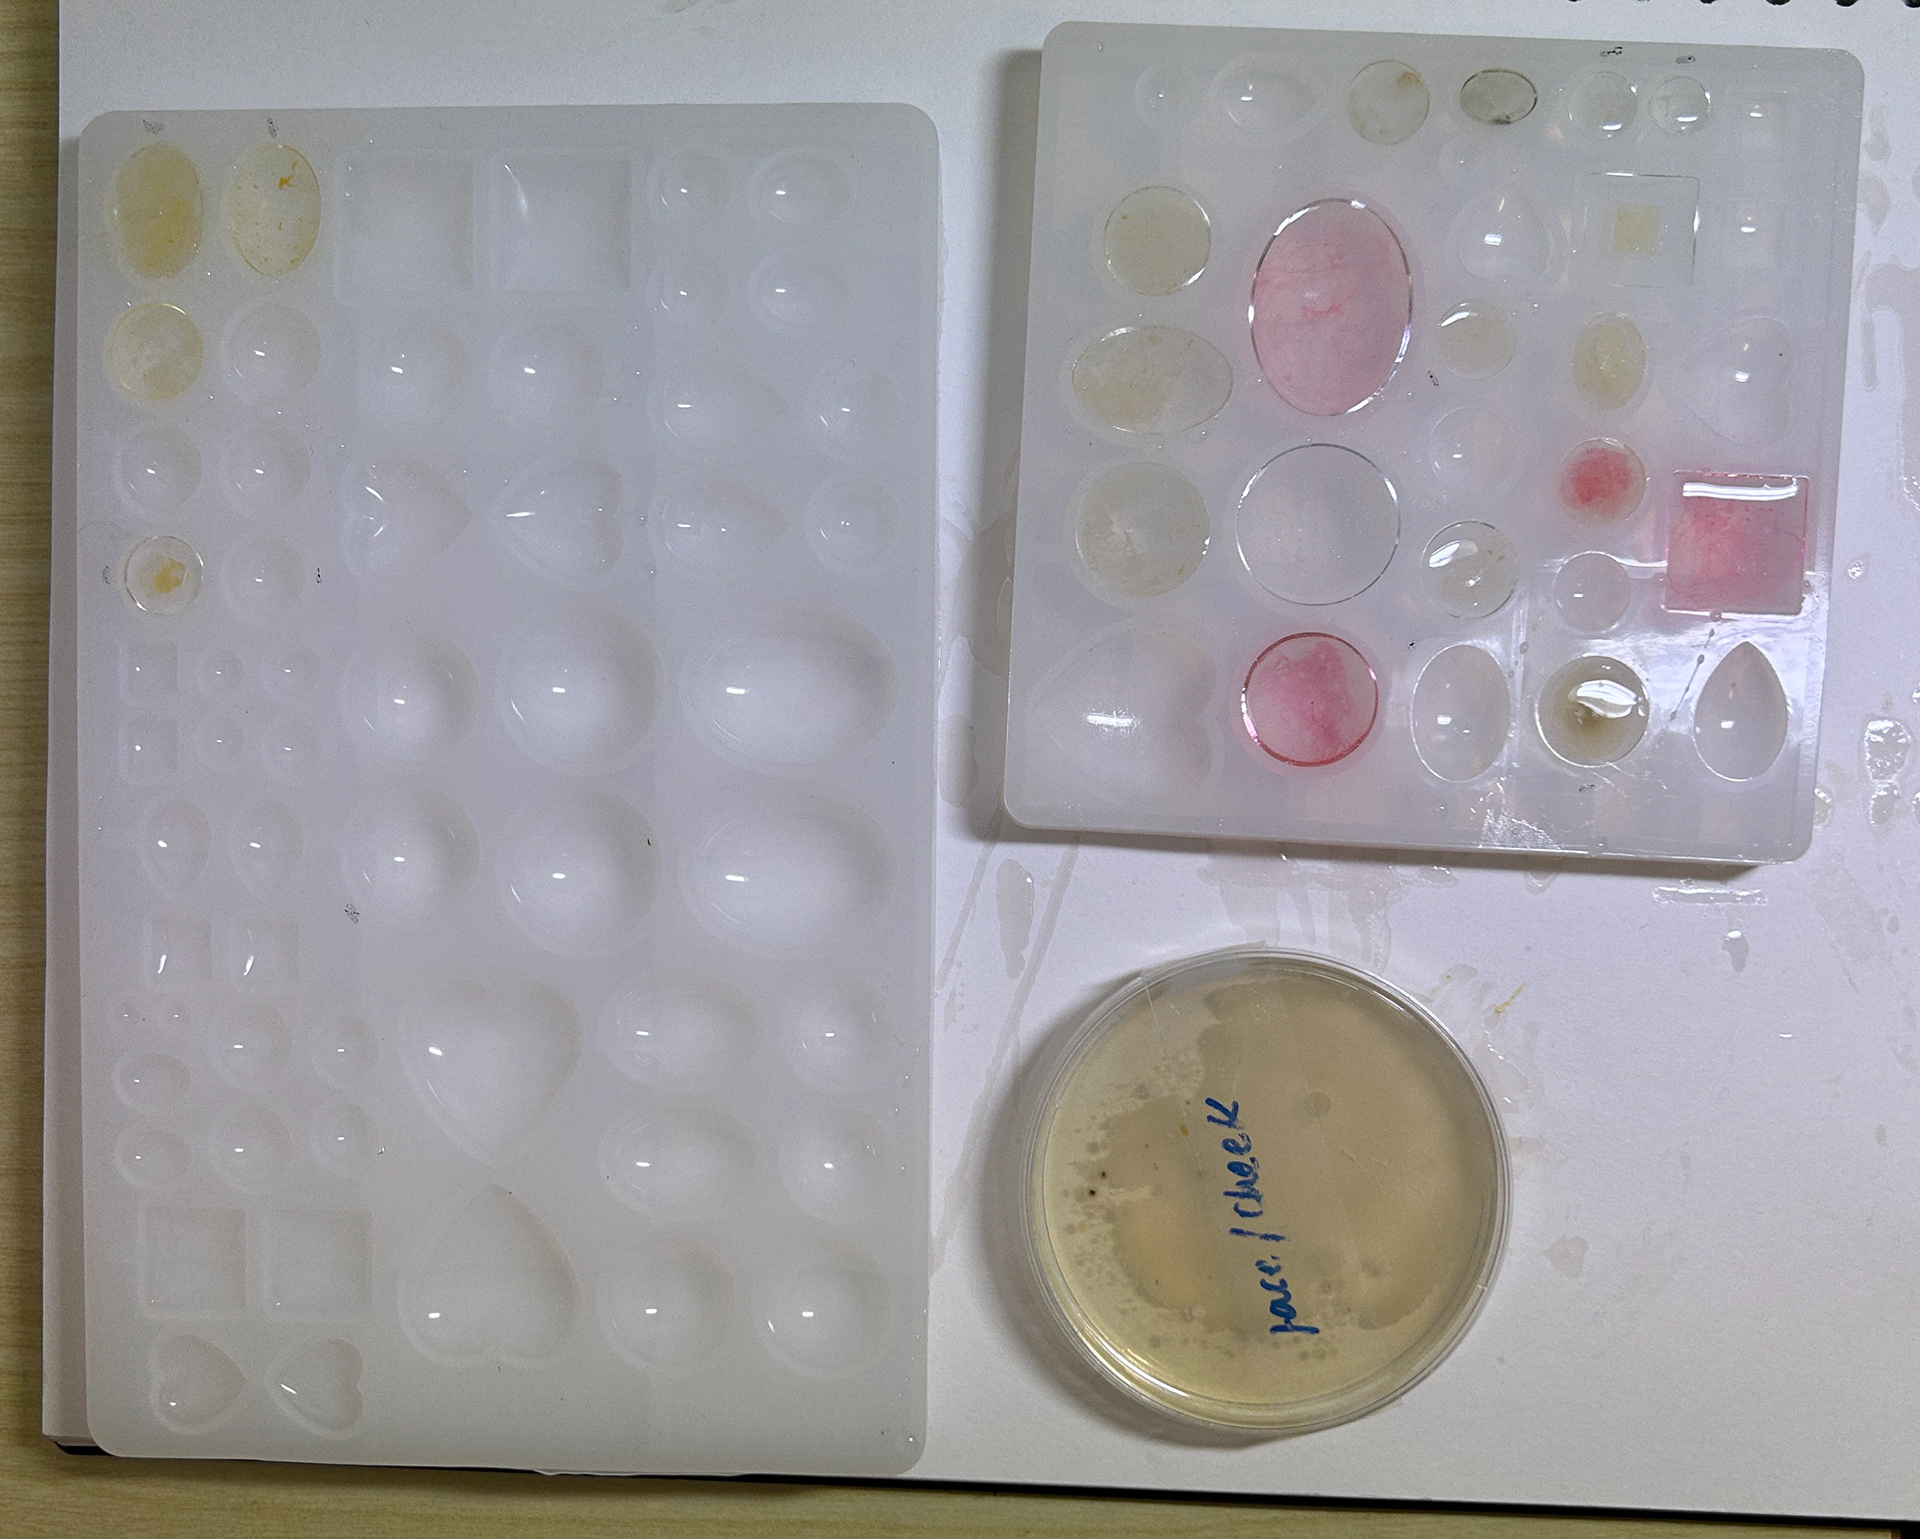
To transfer the bacteria into the silicone moulds, I mixed equal parts of resin and hardener into a plastic cup and poured them directly into the Petri dishes. I could then use a wooden stick and 'scrape' the bacteria from the plate and mix it with the resin. After that, I could then use the wooden stick to transfer the resin-bacteria mixture into the moulds. For the three larger pink moulds, I added pink dye. This was because I was estimating how much resin I should mix up, as I have never used epoxy before and wasn't too sure how much I needed. I added the dye so I could see how much resin was left over after I had used the rest of the bacteria. This has given me a better idea of how much resin I would need if I were to make more stones, resulting in less waste material.
Finished Stones
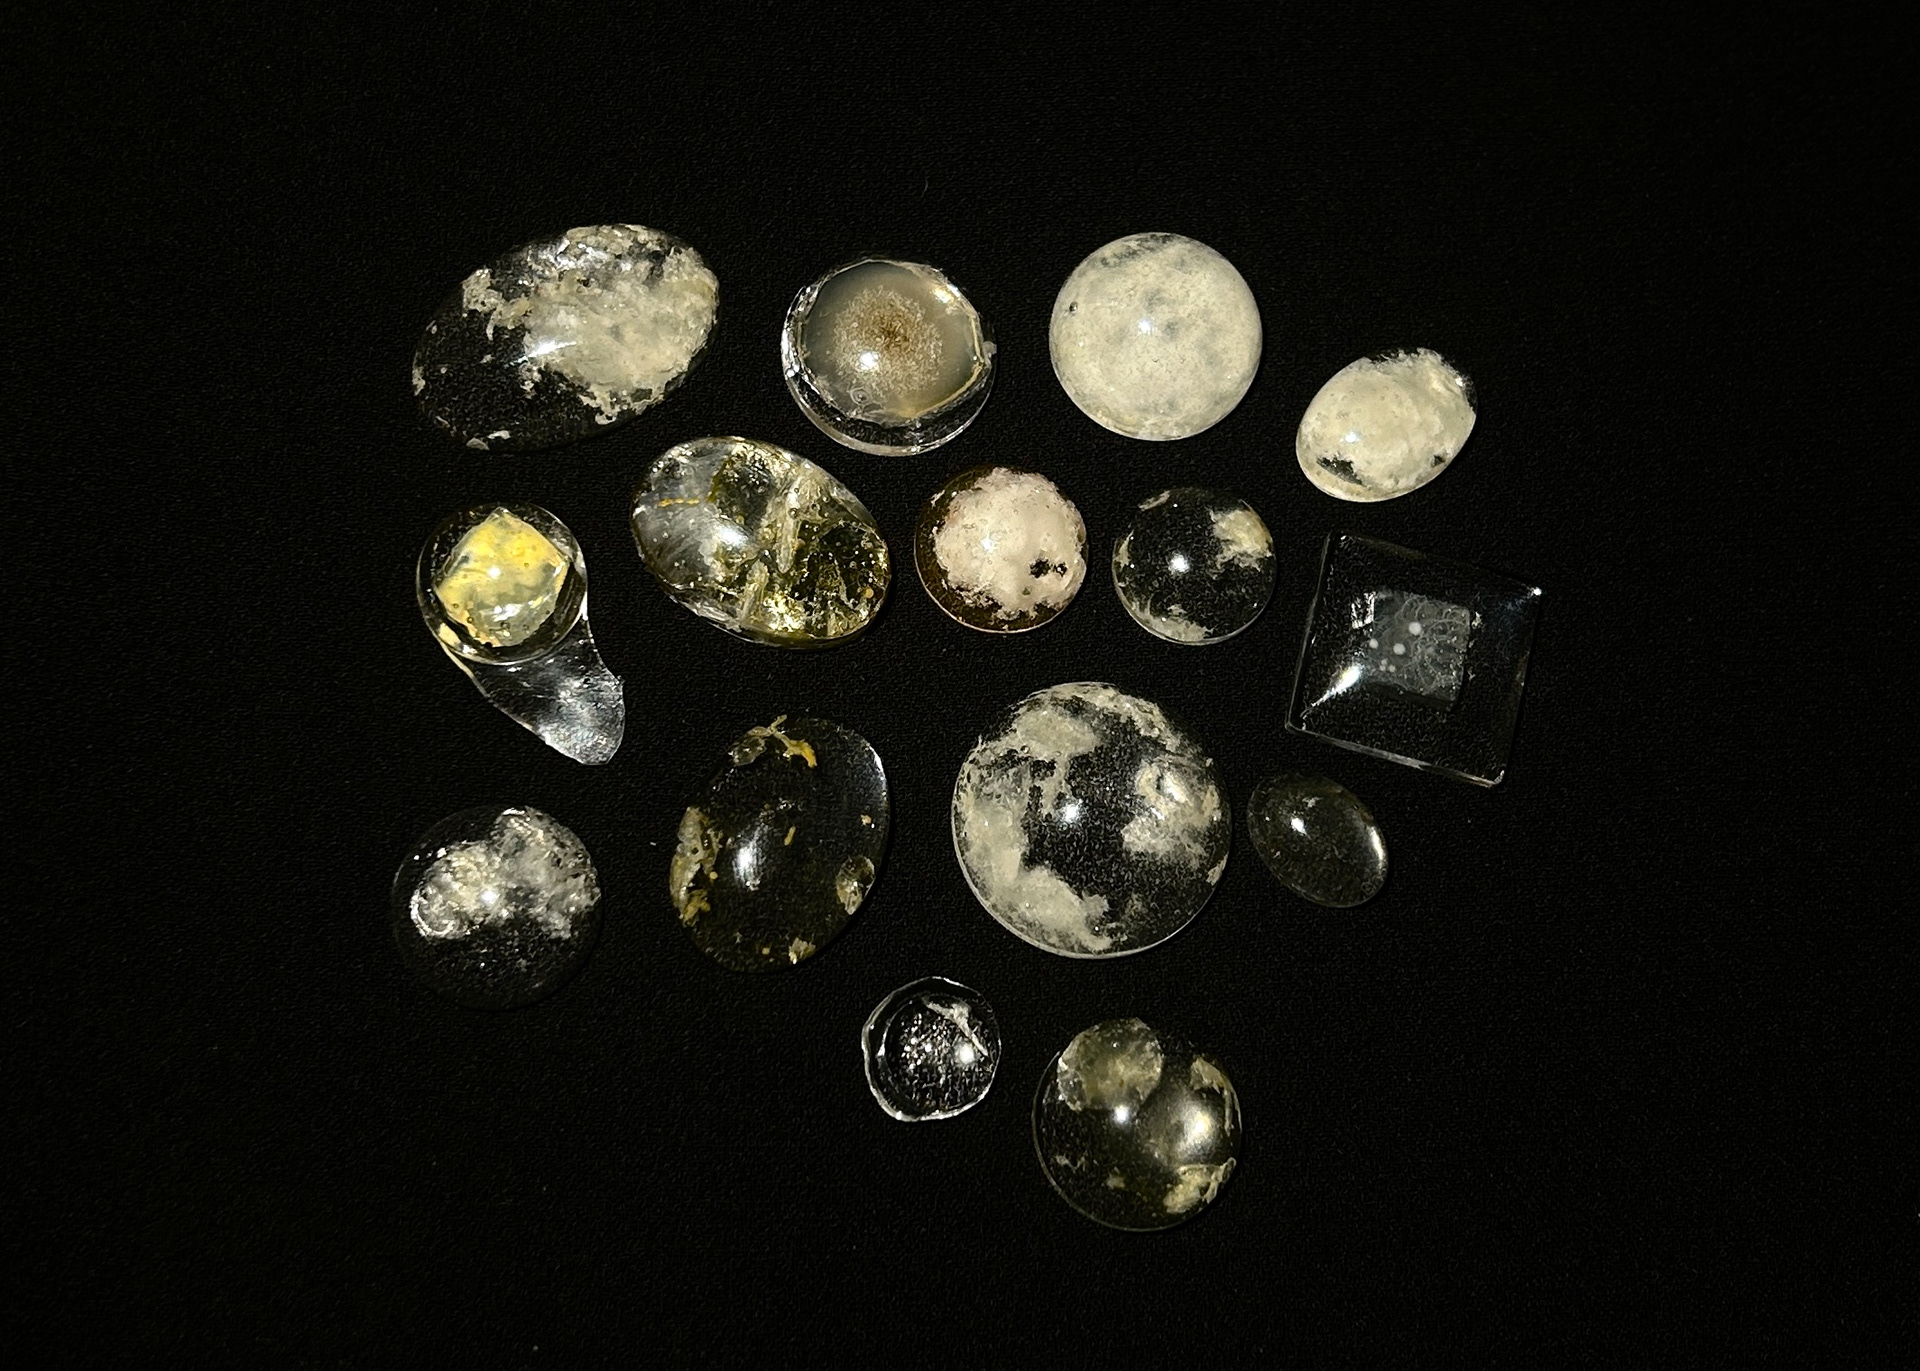

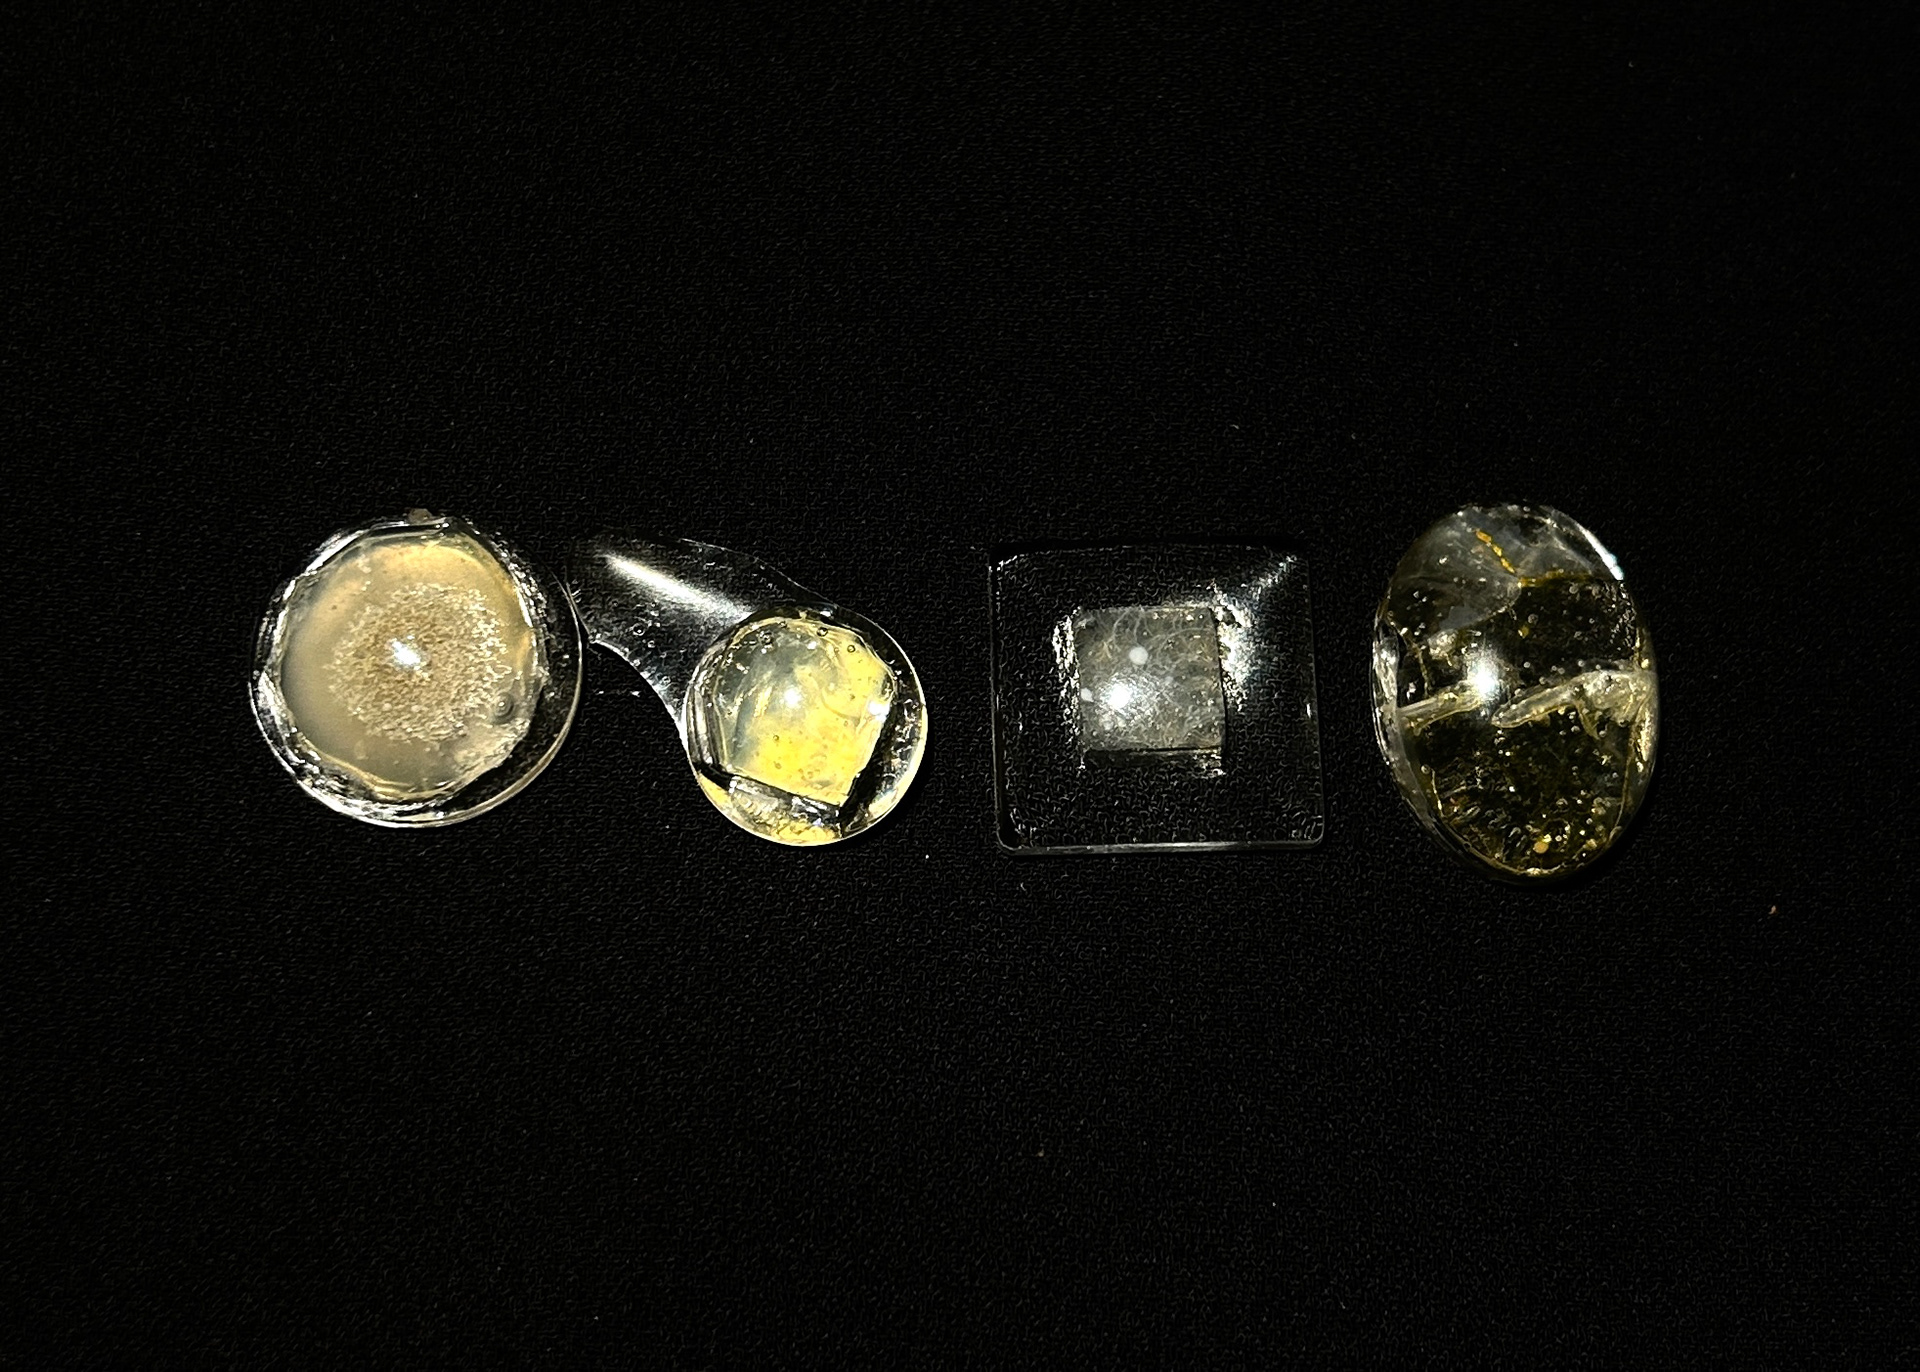

For some of the stones, I used some of the bacteria still connected to the nutrient agar. I used a craft knife to gently remove pieces of the agar and transferred them onto a layer of the resin already in the mould. I wanted to experiment with keeping the original composition the bacteria had made, especially the fibrous ones that intertwine with each other.
I want to practice setting these stones in brass and silver. Both of these metals are anti-microbial, which would give the finished pieces an interesting juxtaposition when paired with stones made of bacteria. Silver is also commonly used by artists who show at collect.
Epoxy Resin Alternatives
When making my ‘stones’ I decided first to use epoxy resin. This material can be controversial as epoxy can be harmful to the environment, is made using fossil fuels and is non-recyclable. I have decided to look at more natural and less harmful alternatives. As I am using cultured bacteria, I do need to take into account health and safety considerations. I do not want to have a resin that can break down if it comes into contact with something that is commonly found every day, for example, water or alcohol.

Here I researched two different types of resin that are made with less harmful materials and compared them to epoxy. Both of the more environmental resins are more expensive, as they both use newer technology to develop and make them. However, I do want to try using the Bio-based resin. This has very similar properties to epoxy but is made with 50% bio-sourced material, and therefore is better for the environment. This resin can only cast up to 20mm, however as I plan to cast more of the smaller moulds, I don't think this could be an issue.